|
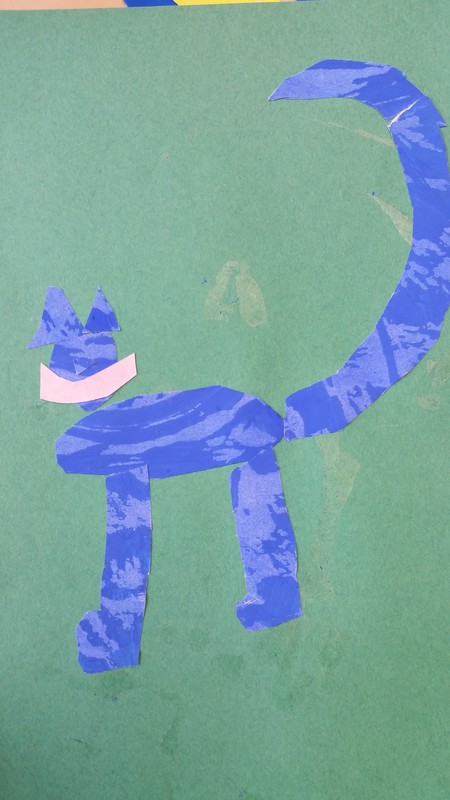
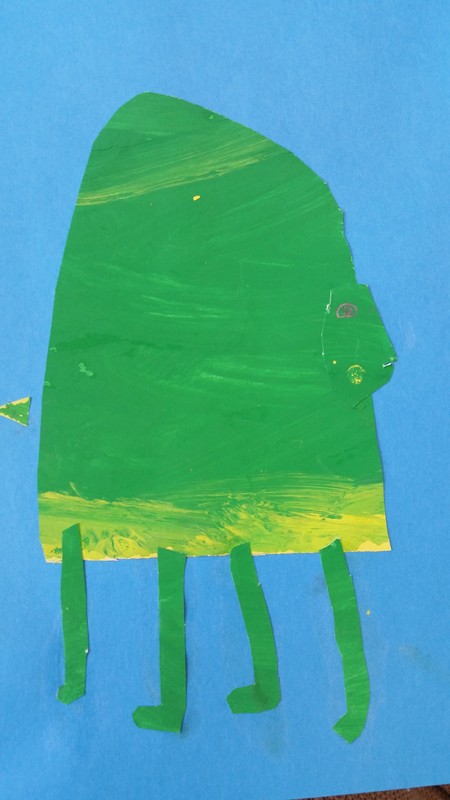
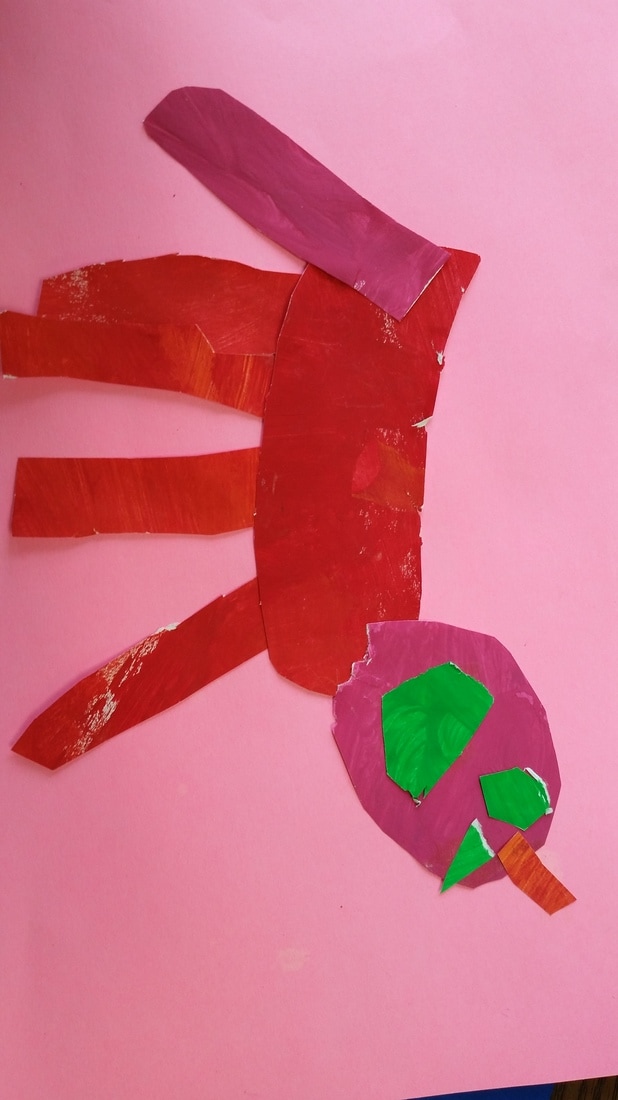
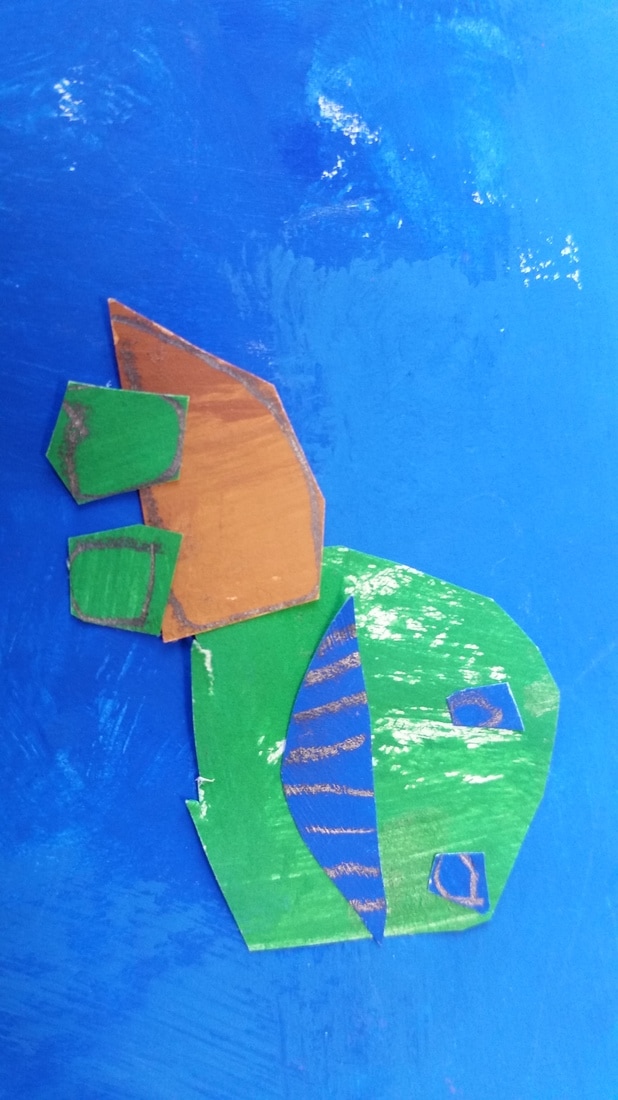
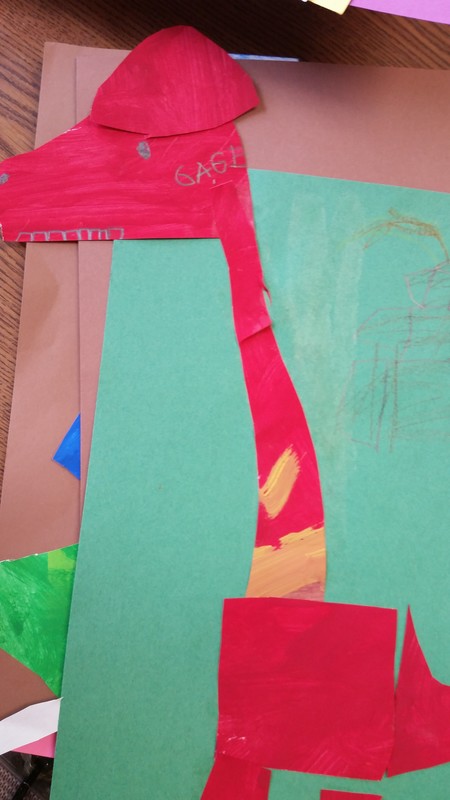
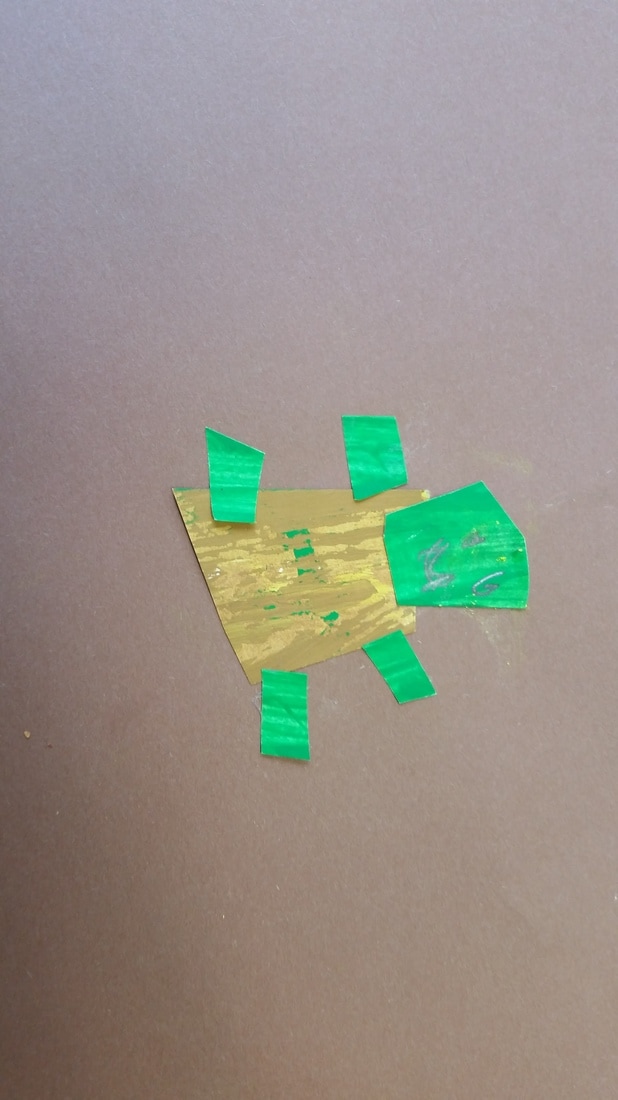
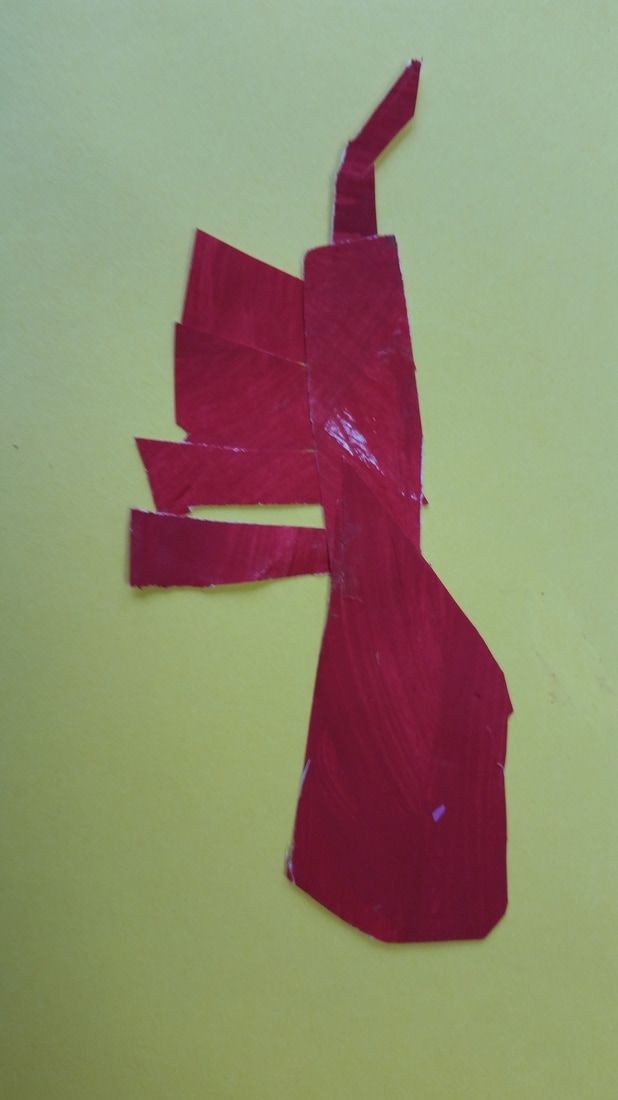
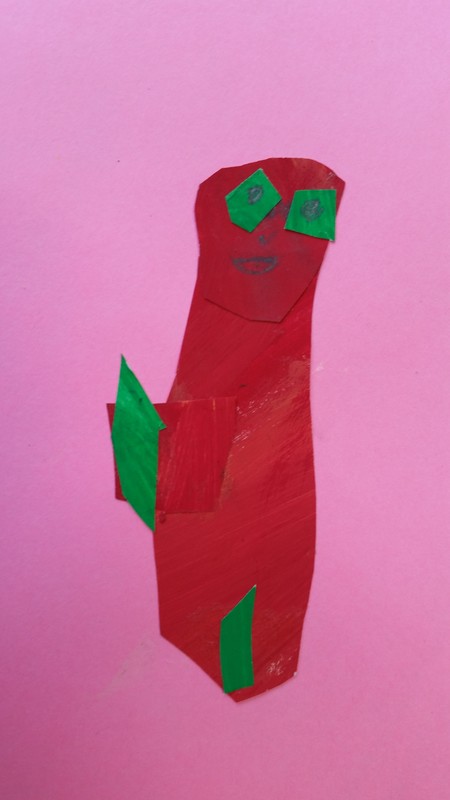
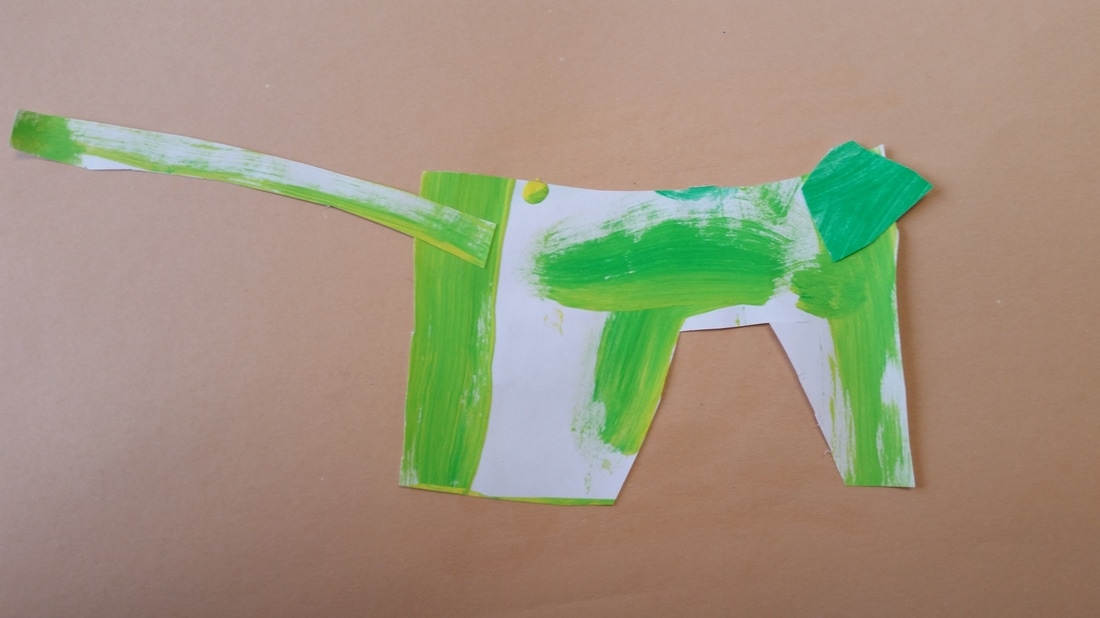
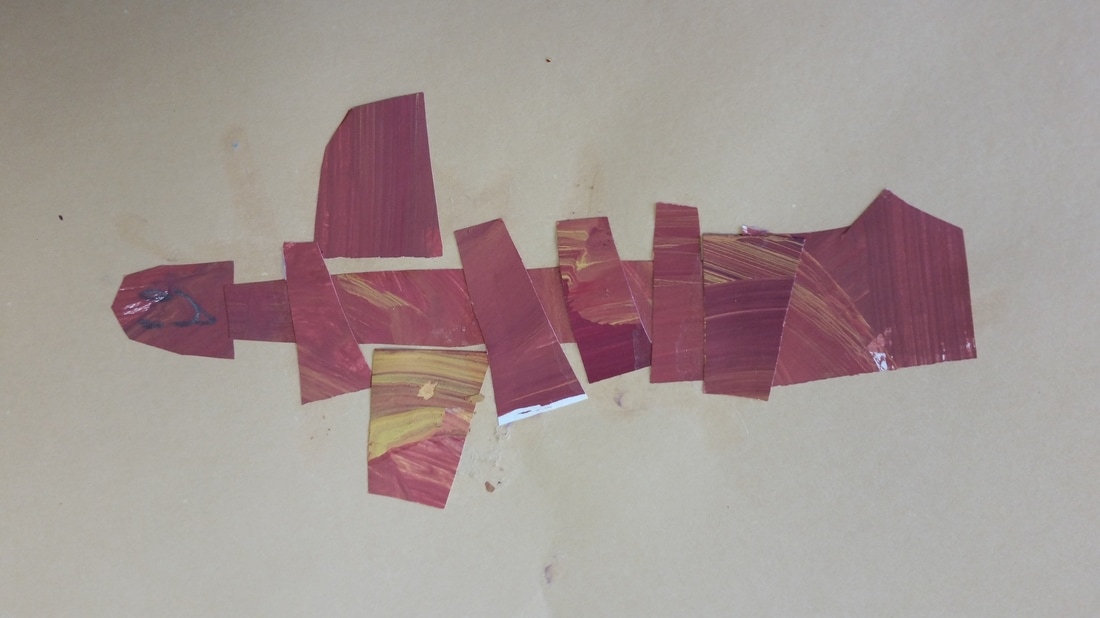
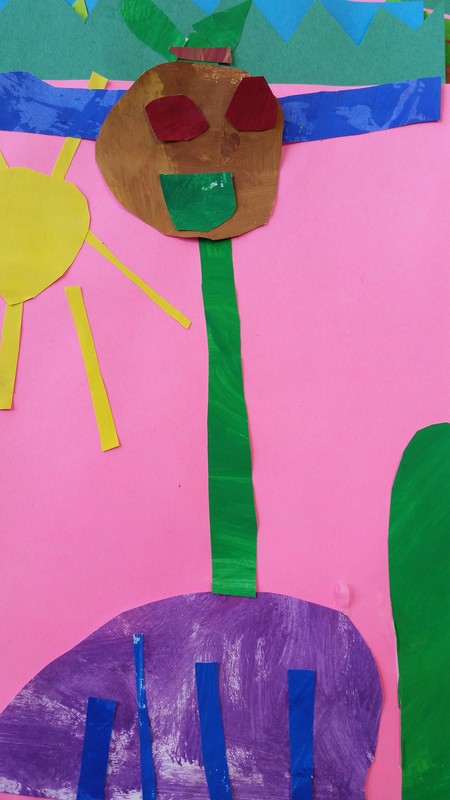
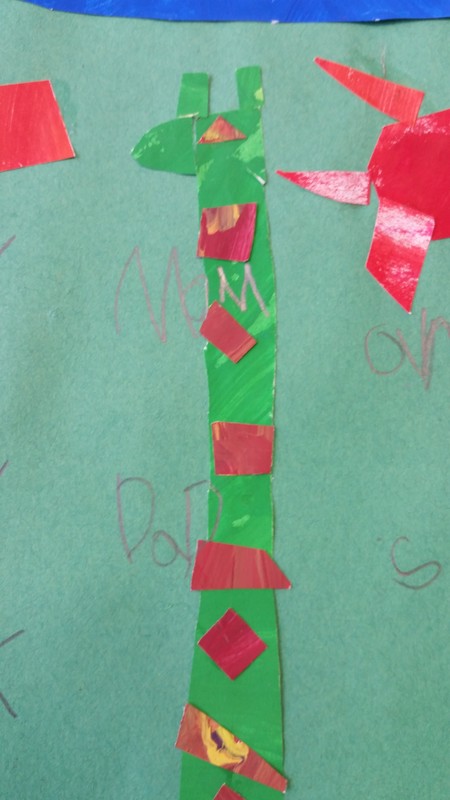
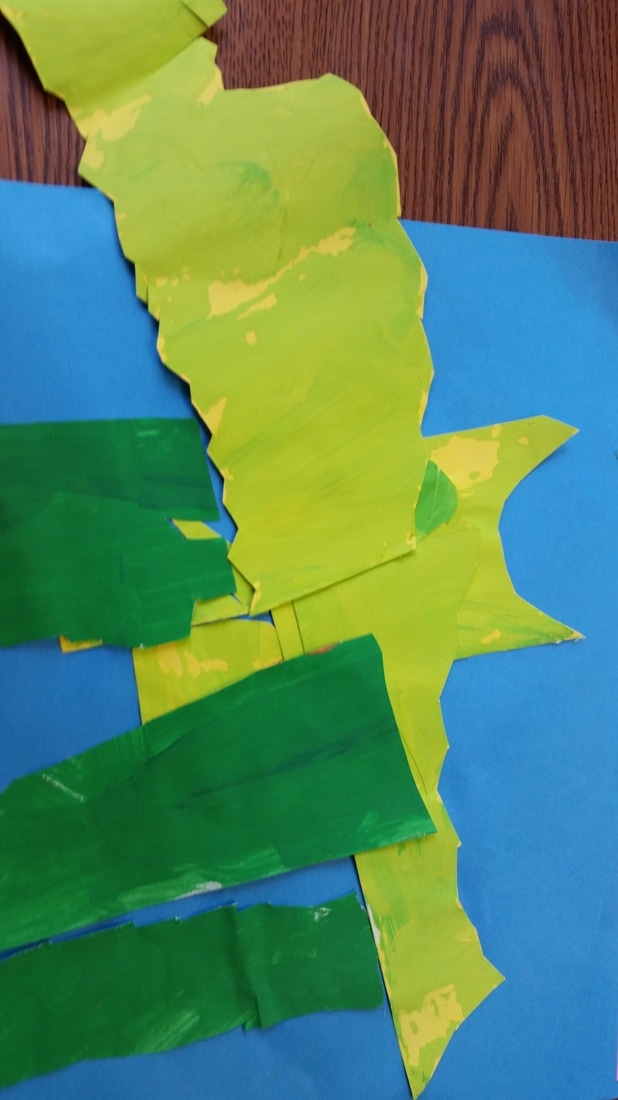
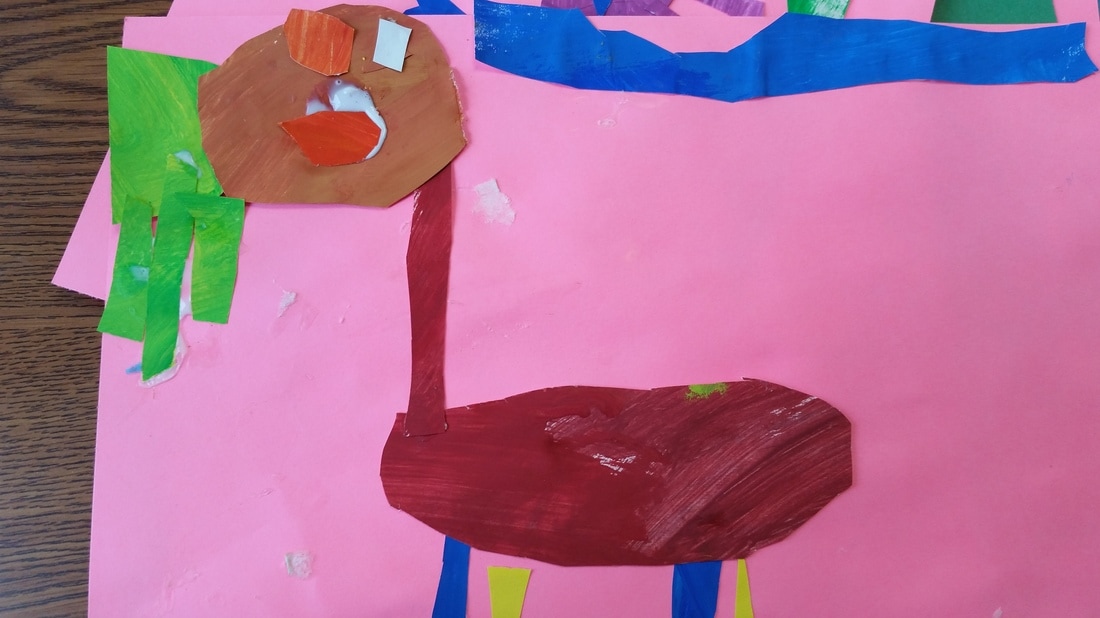
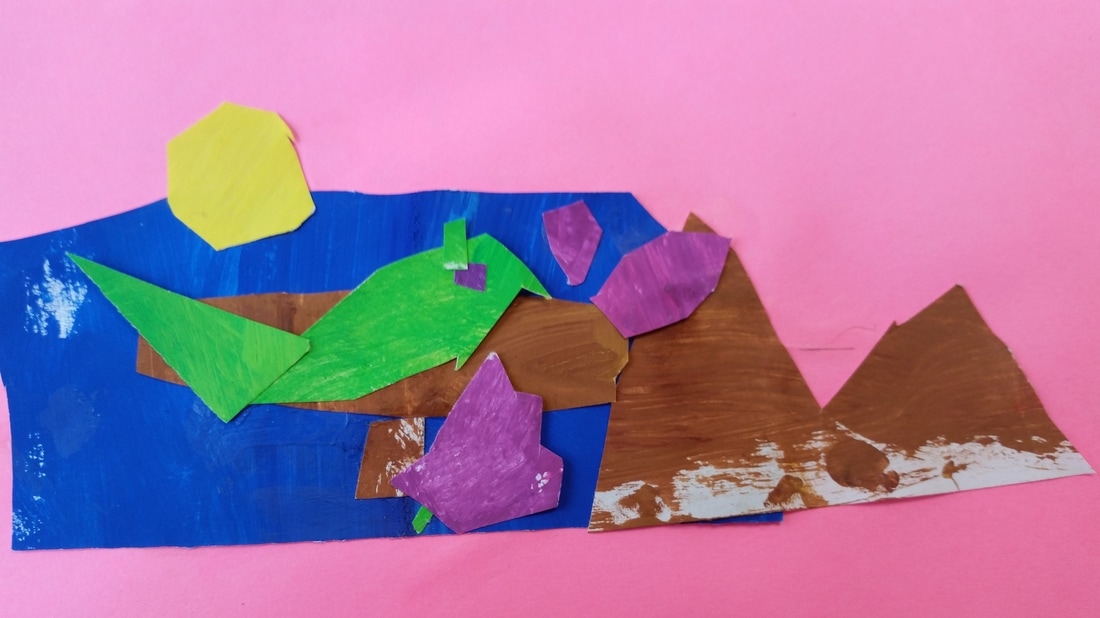
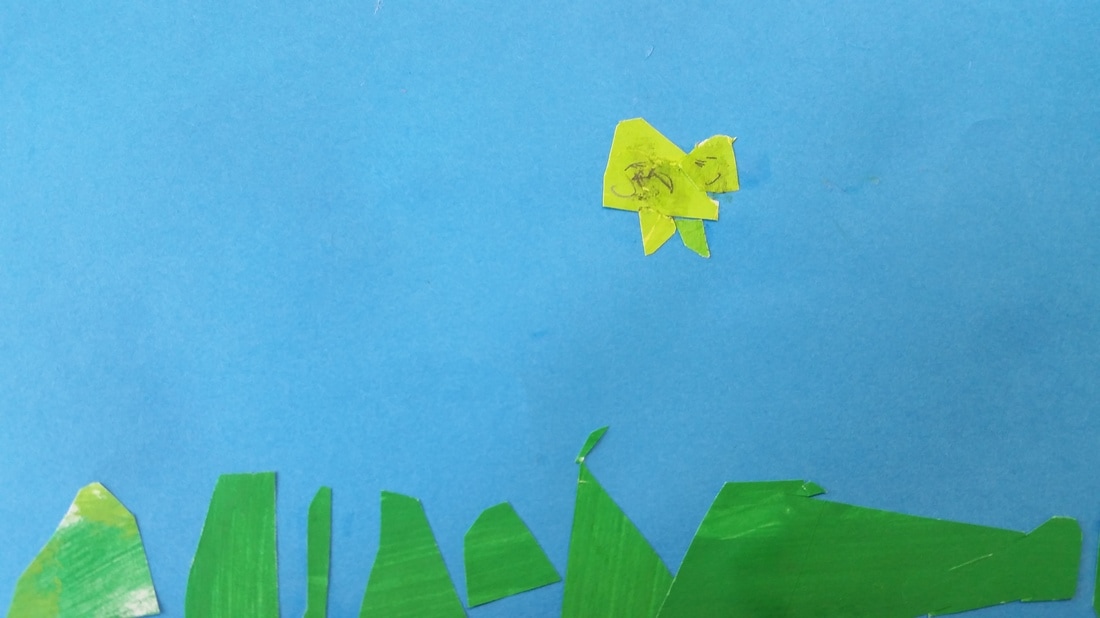
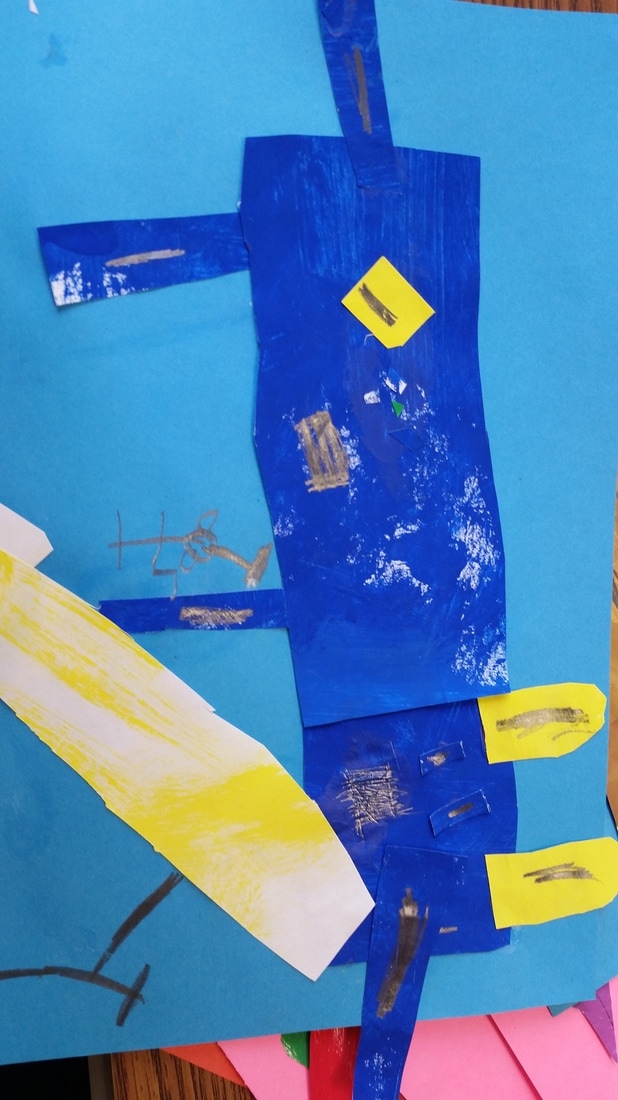
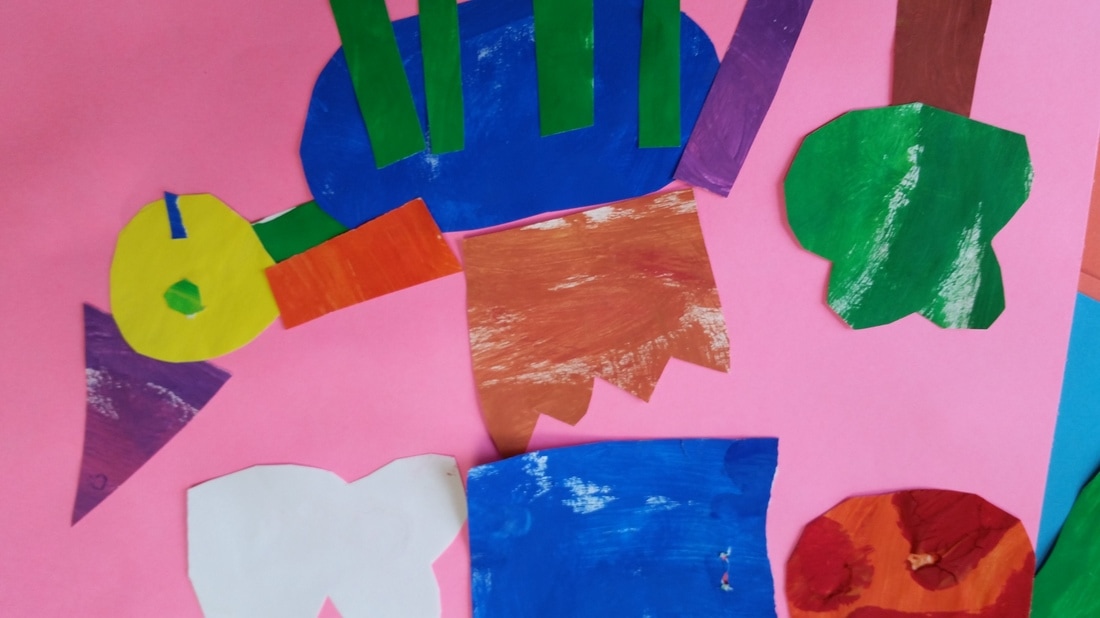
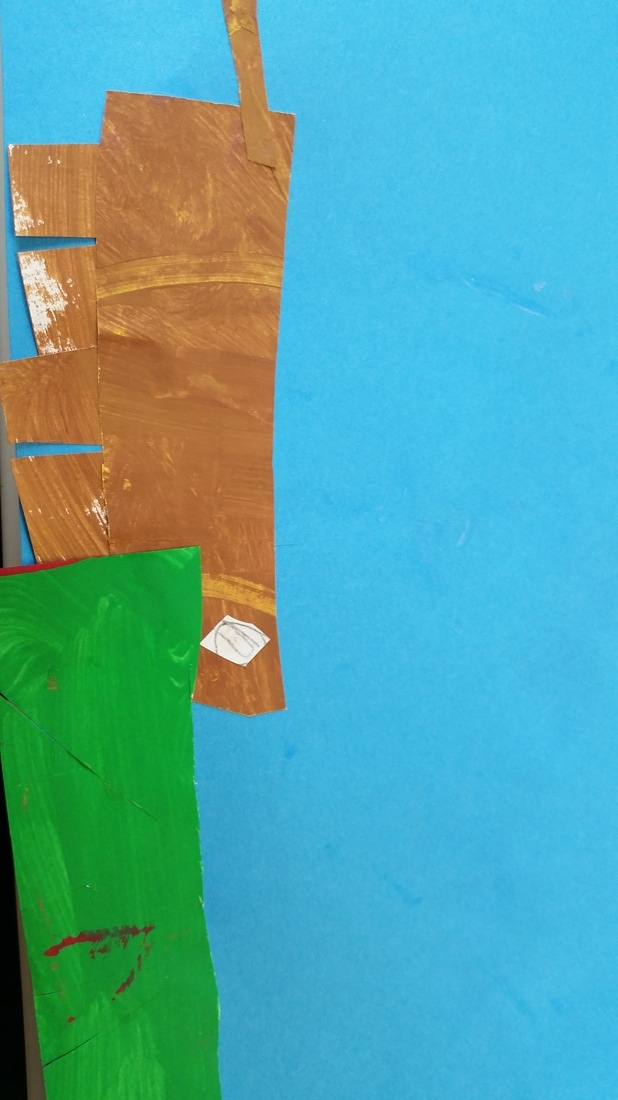
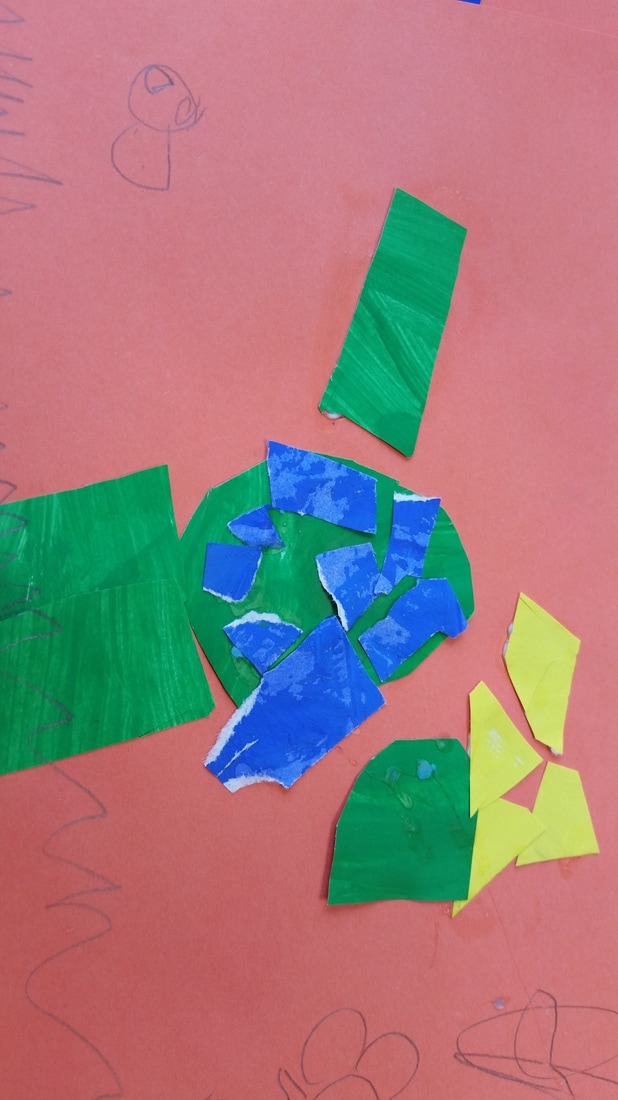
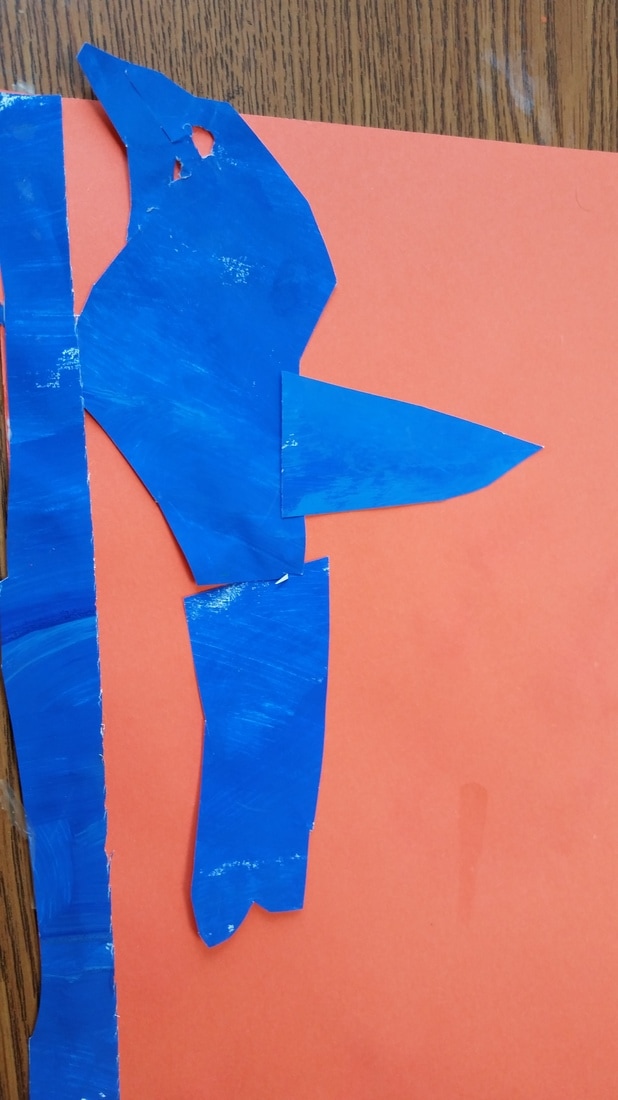
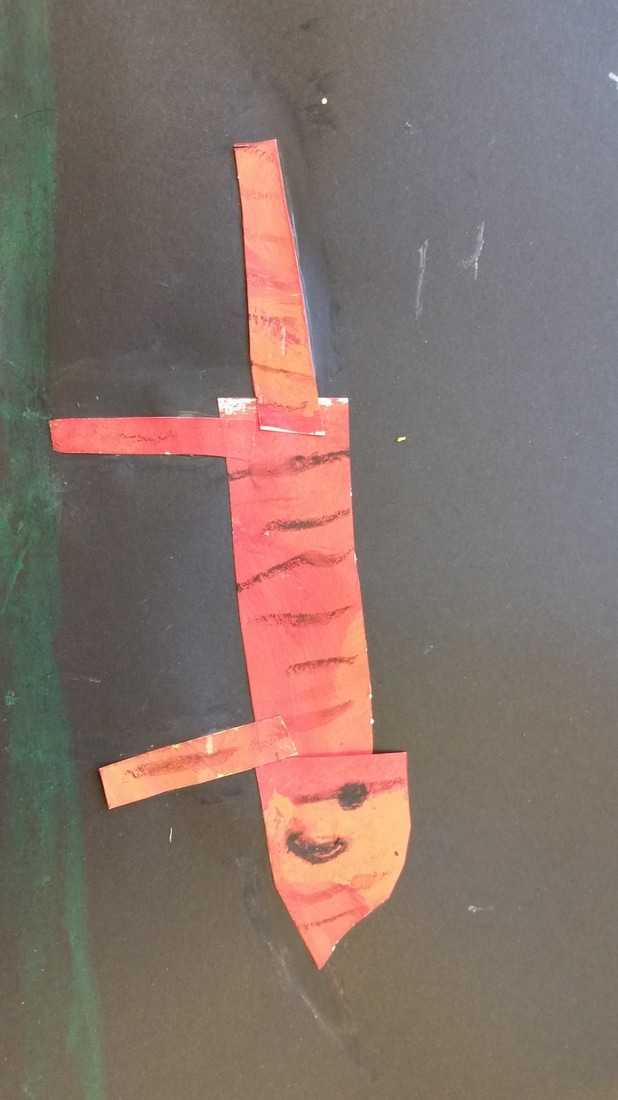
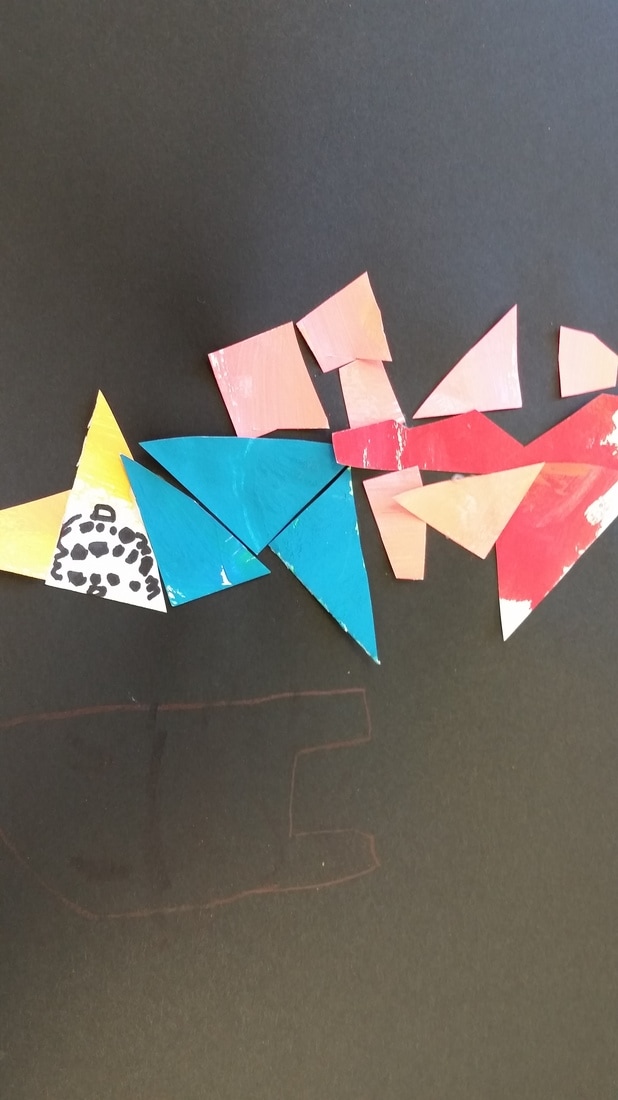
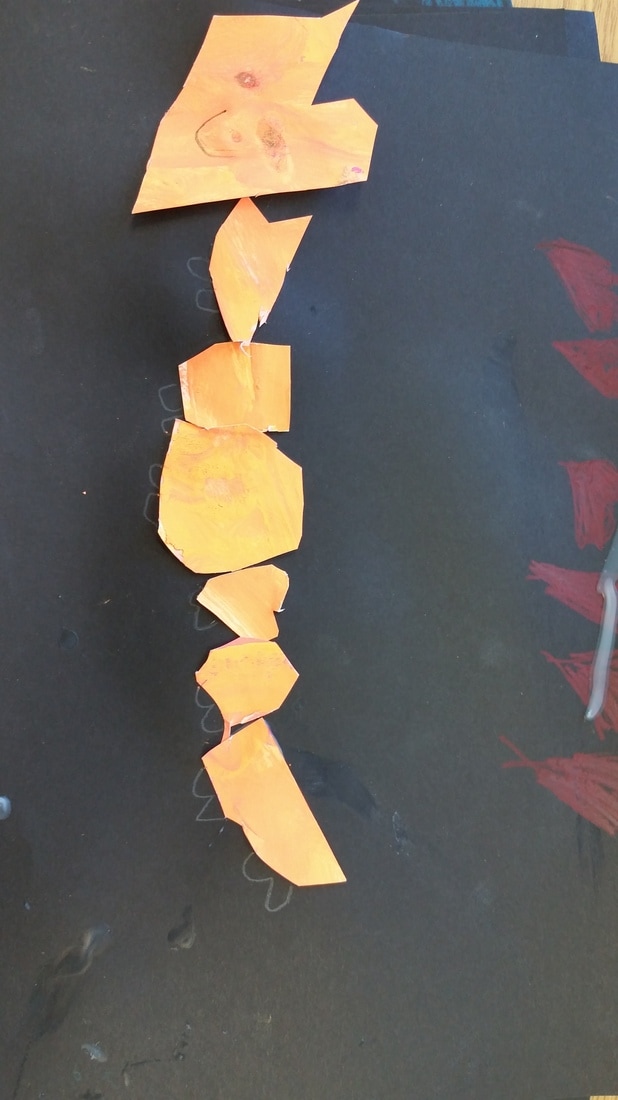
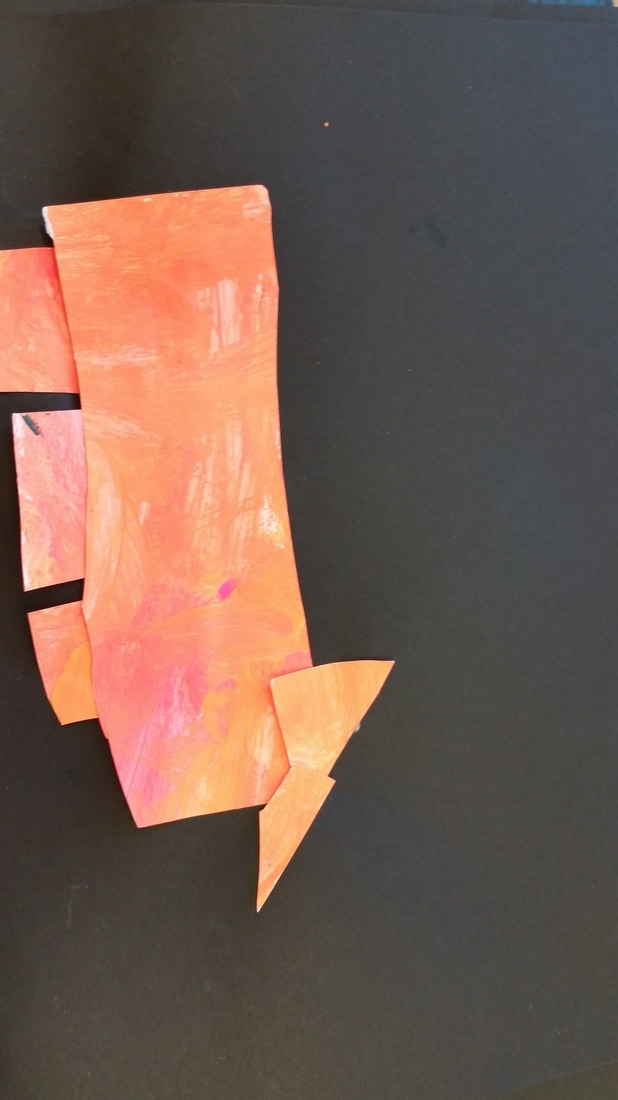
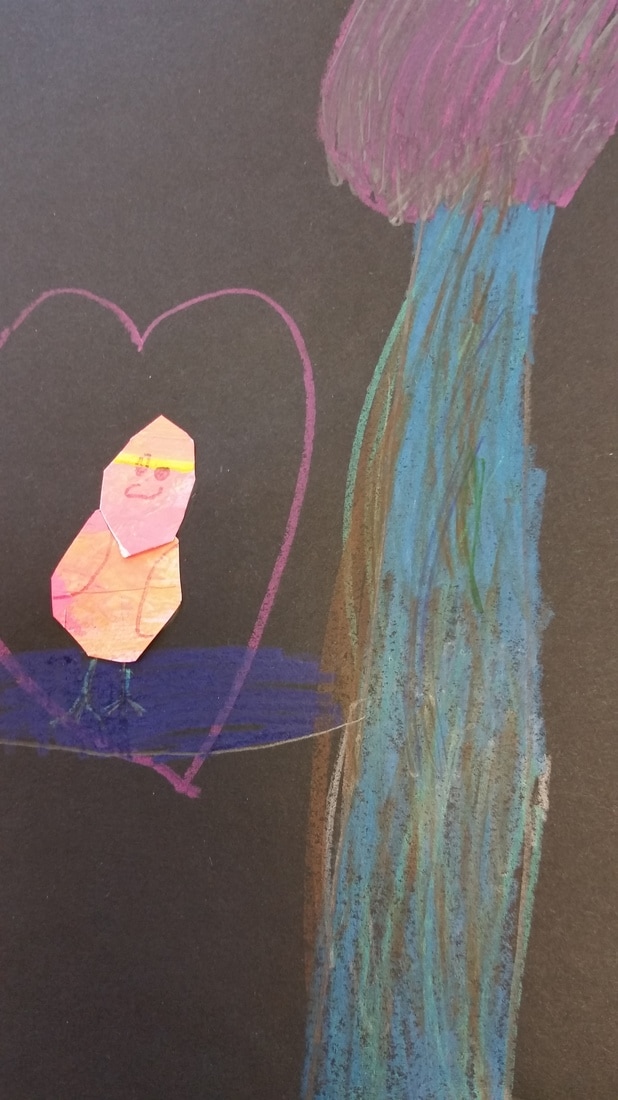
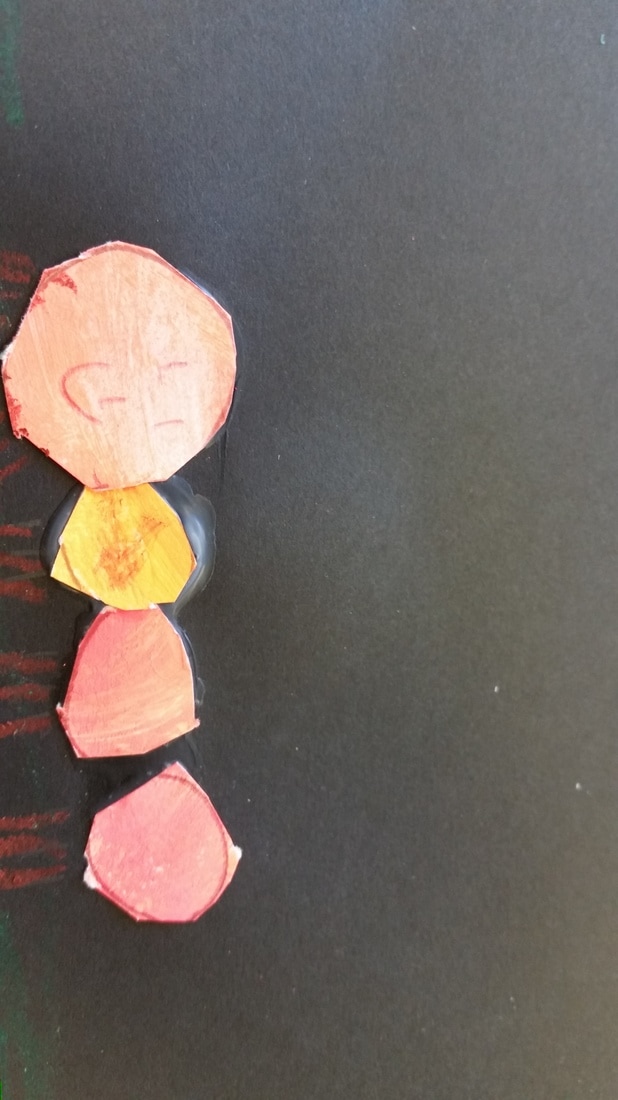
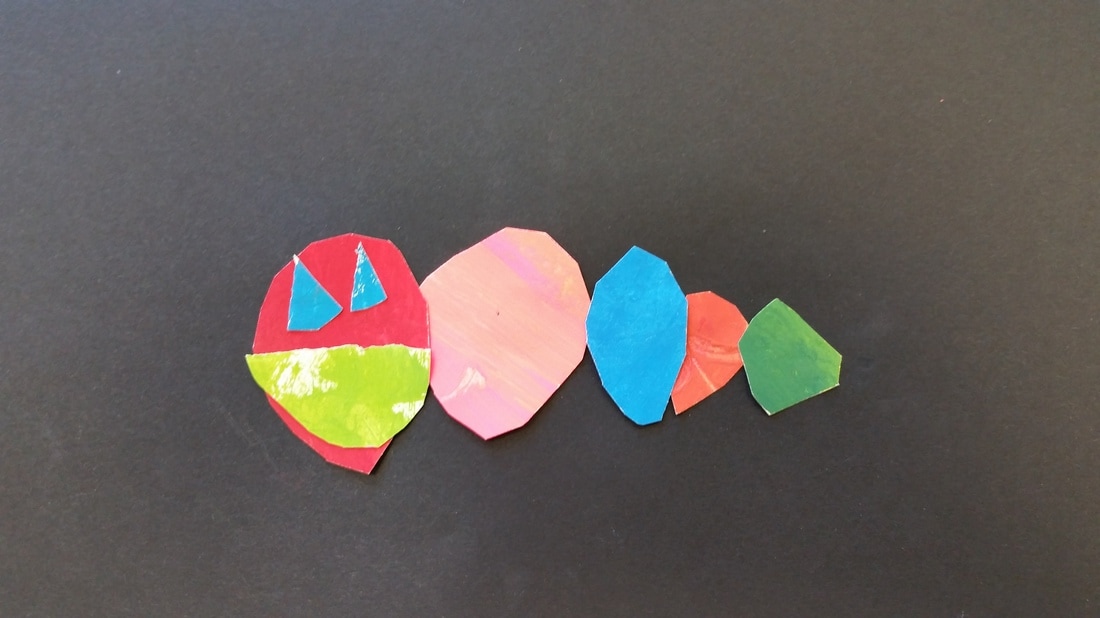
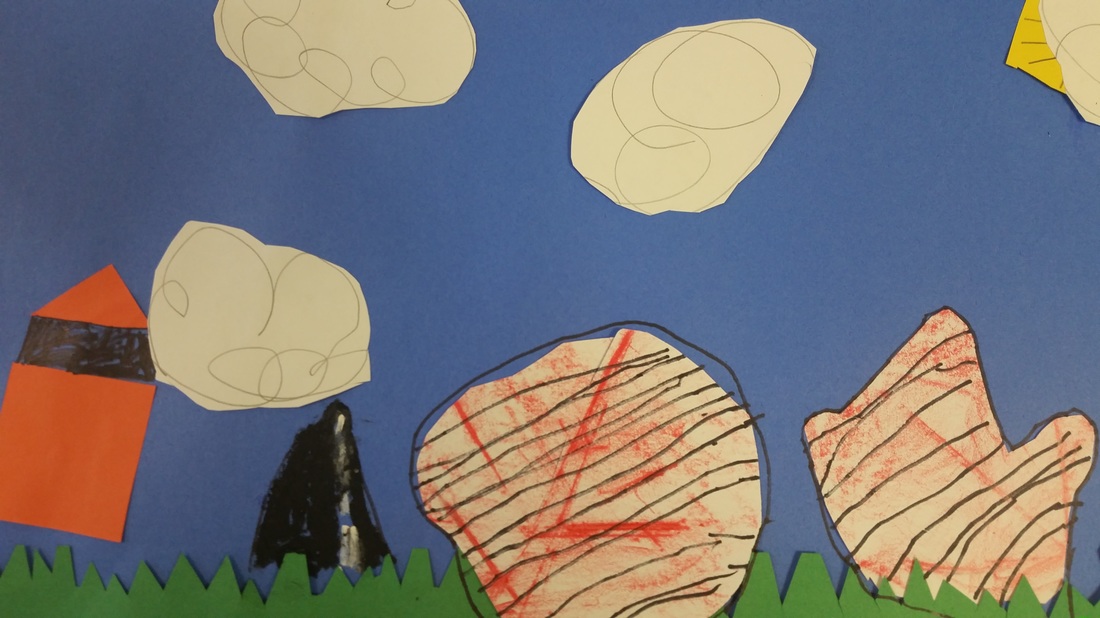
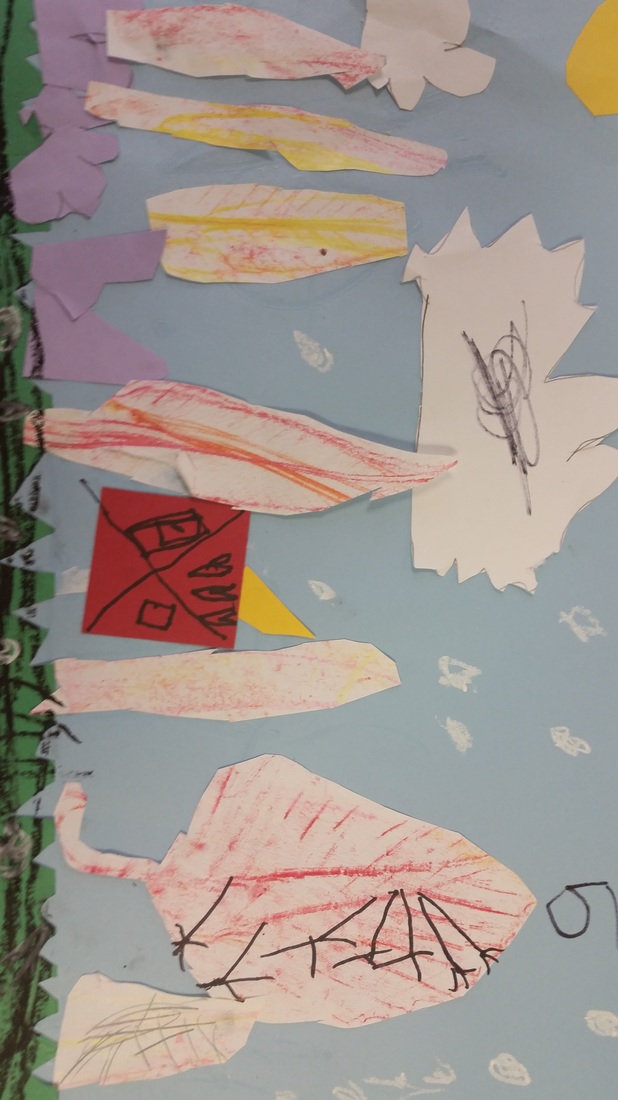
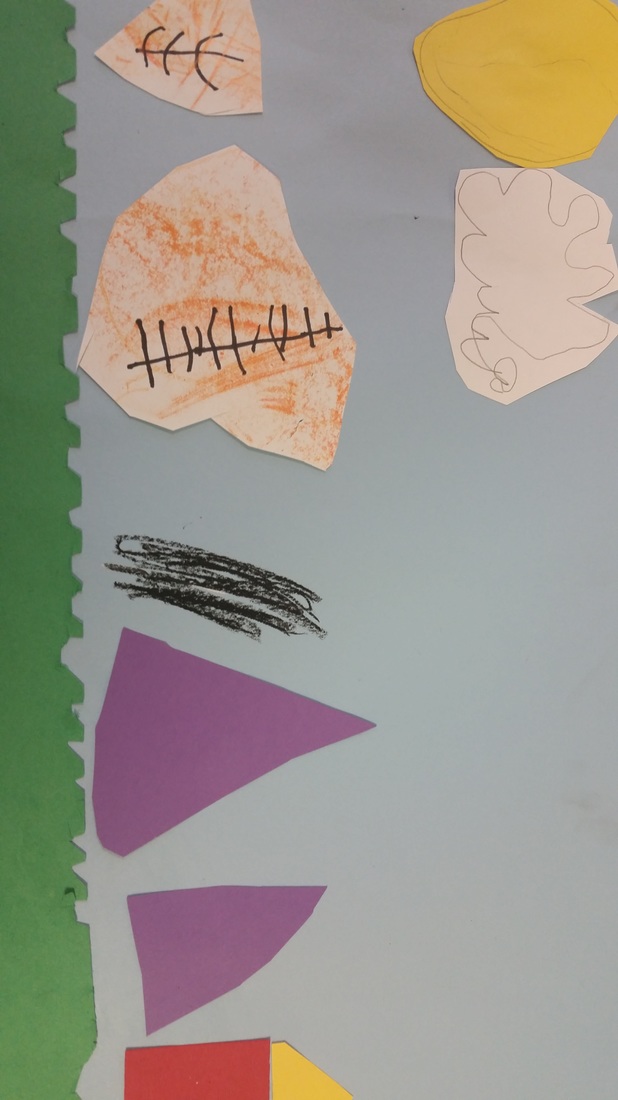
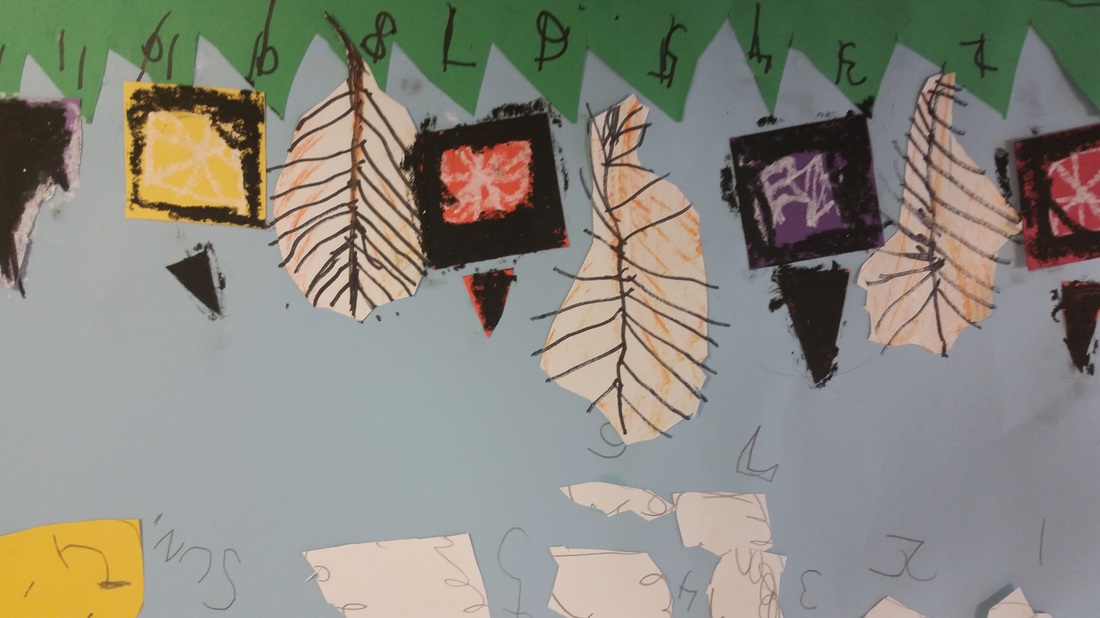
Unit Overview: Students learned about the artist Eric Carle and how he created the collages in his famous books. Students made their own painted papers in the style of Eric Carle. Students created an animal collage using shapes and colors.
0 Comments
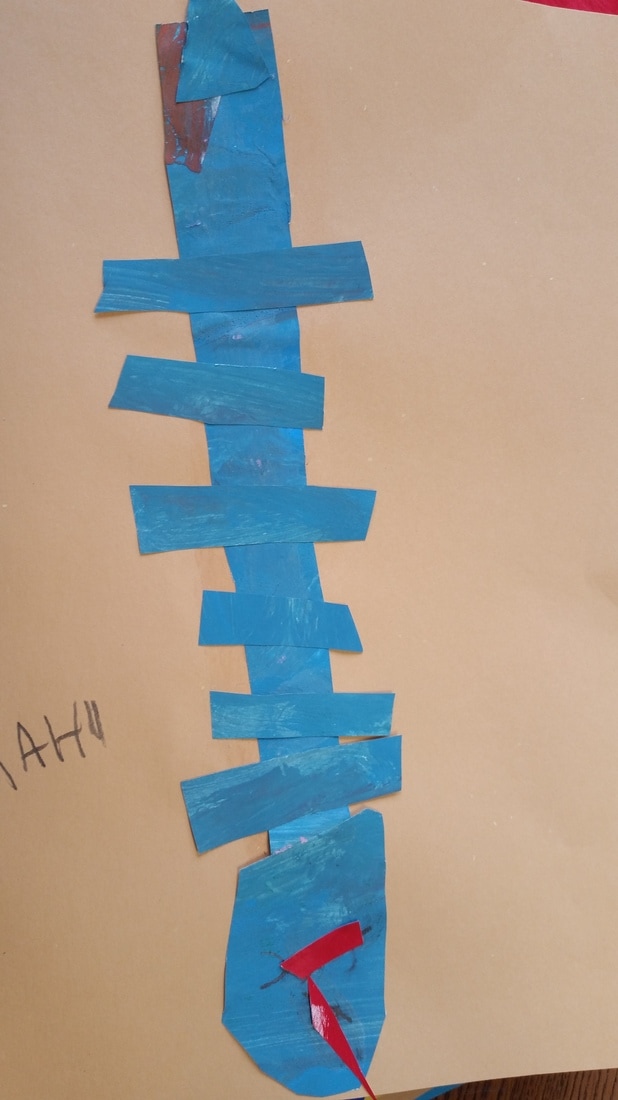
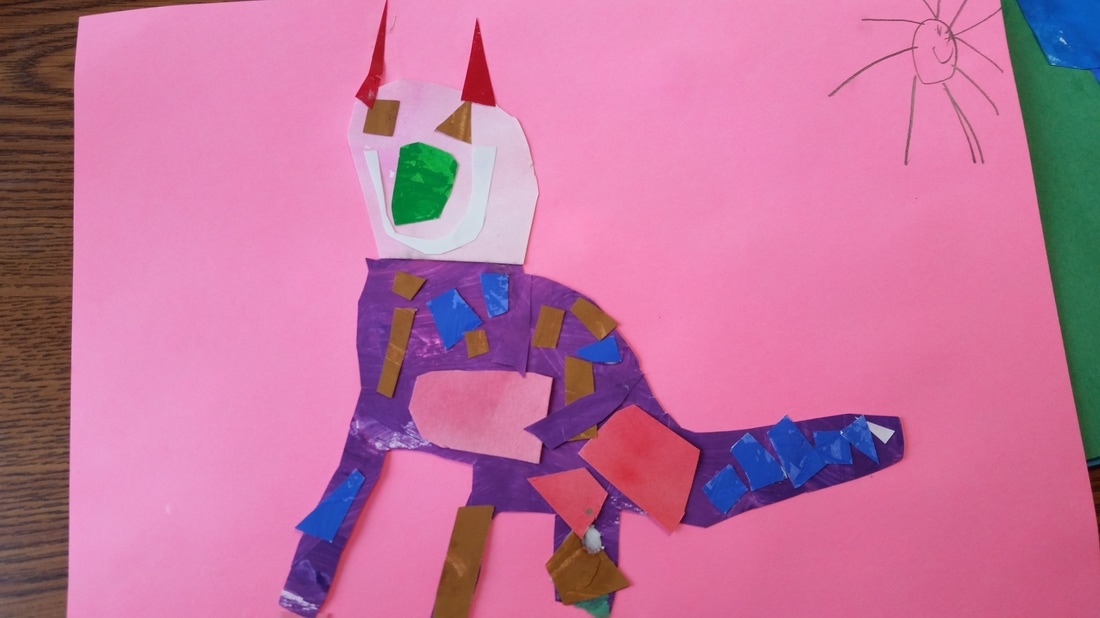
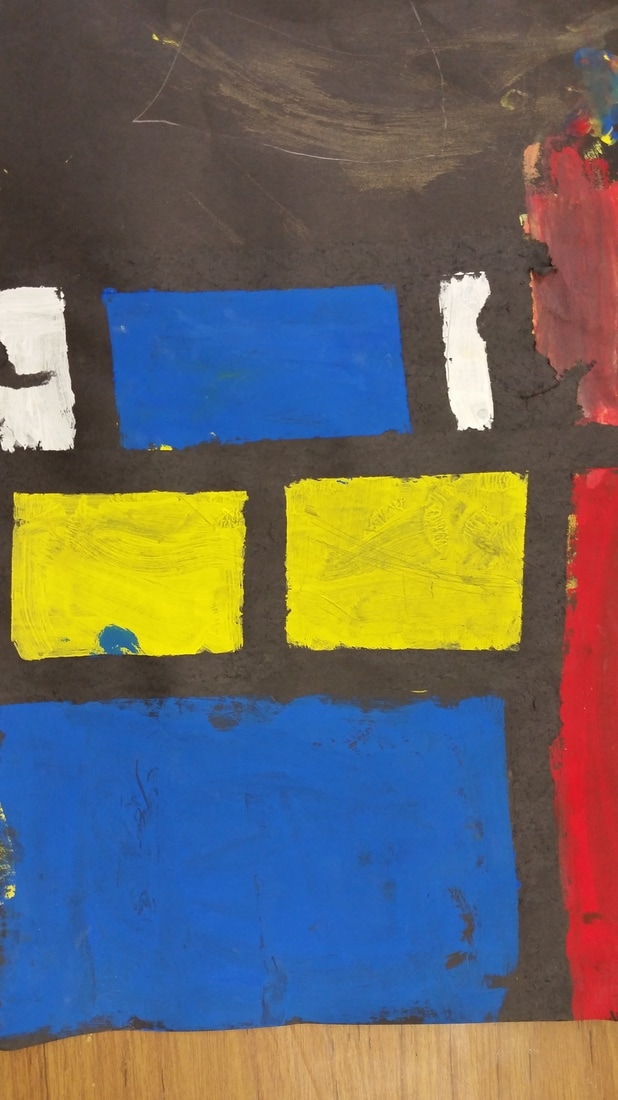
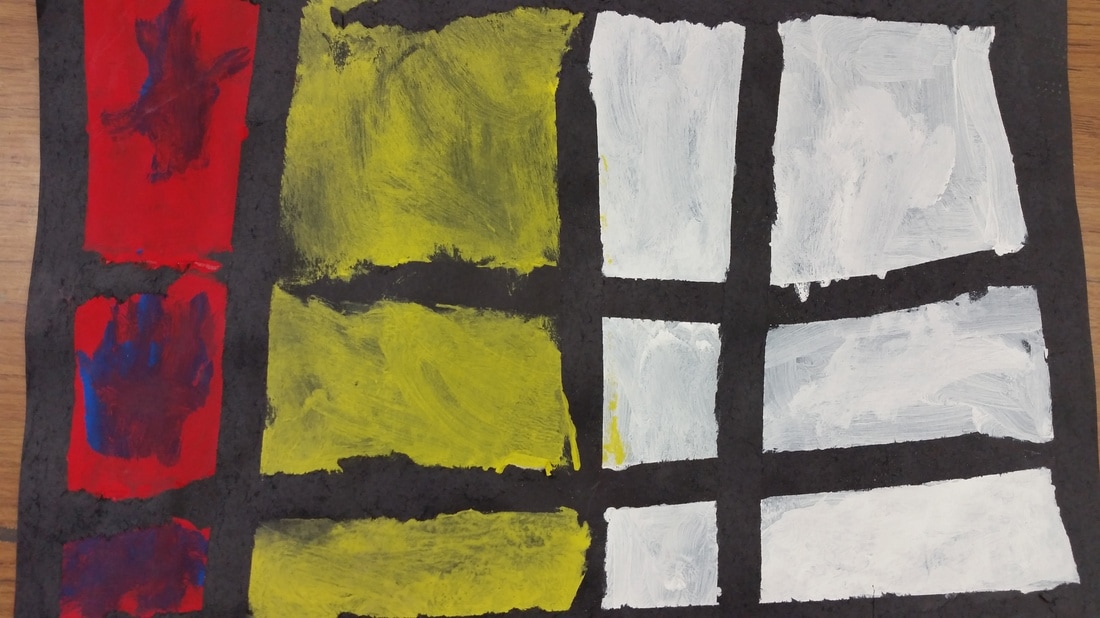
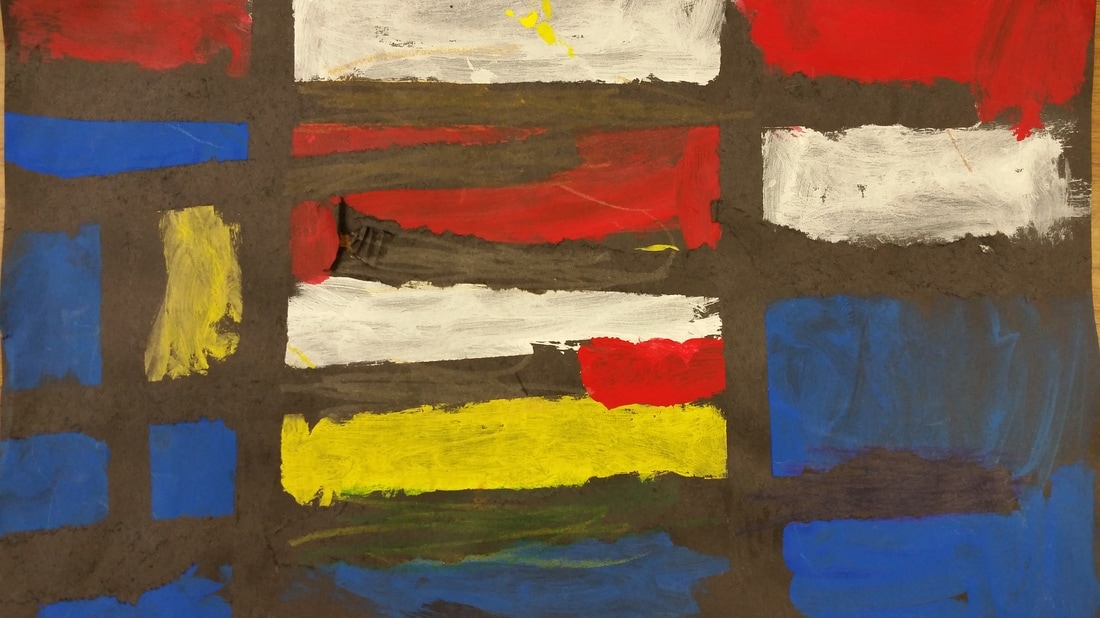
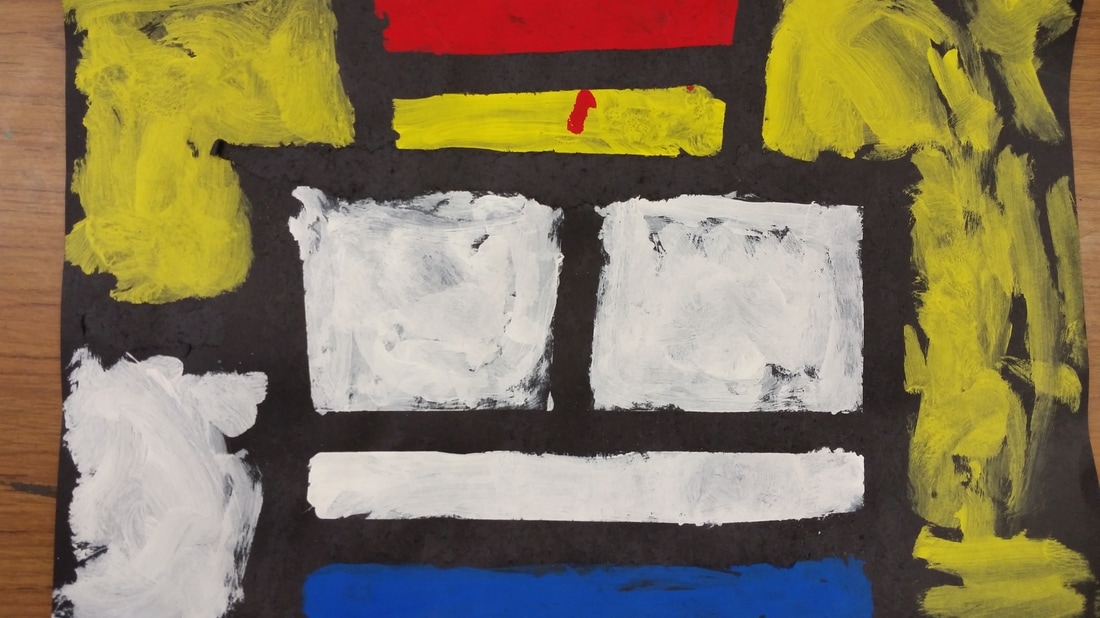
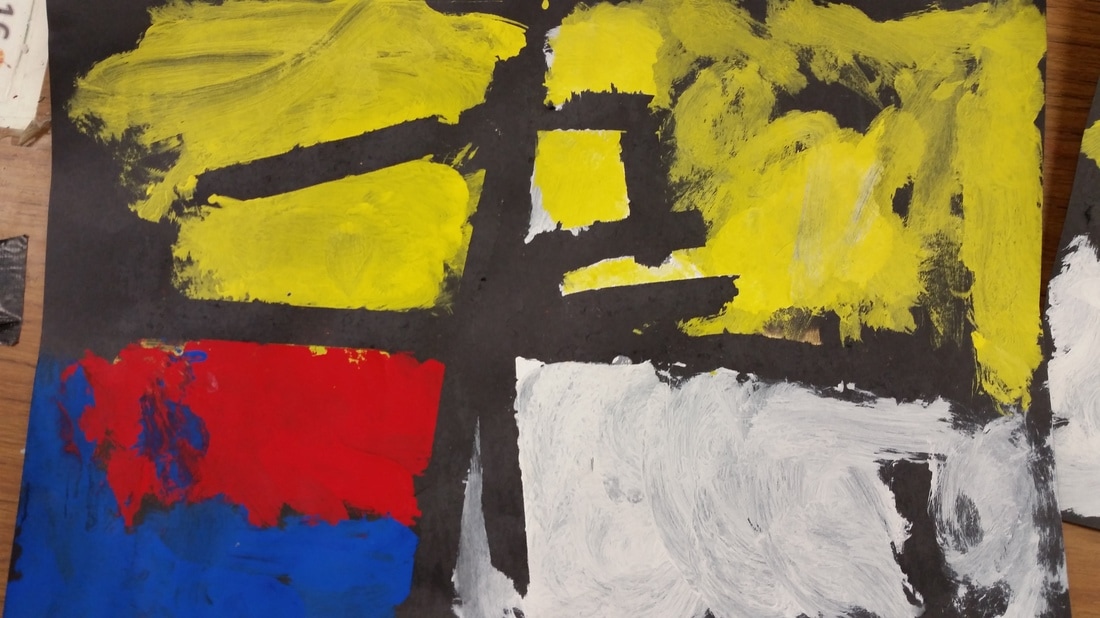
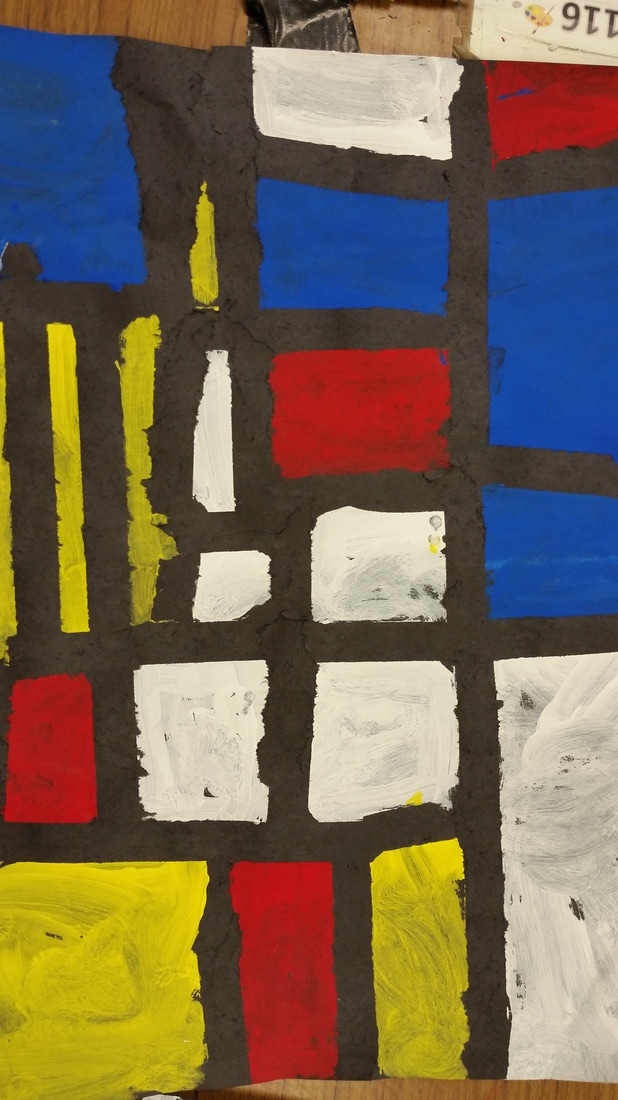
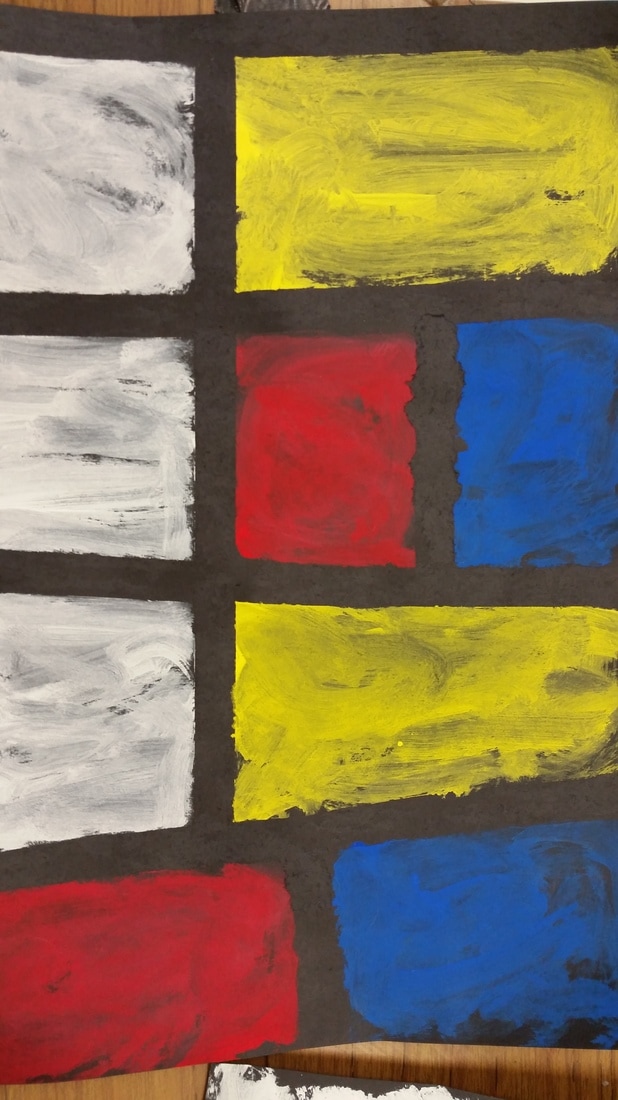
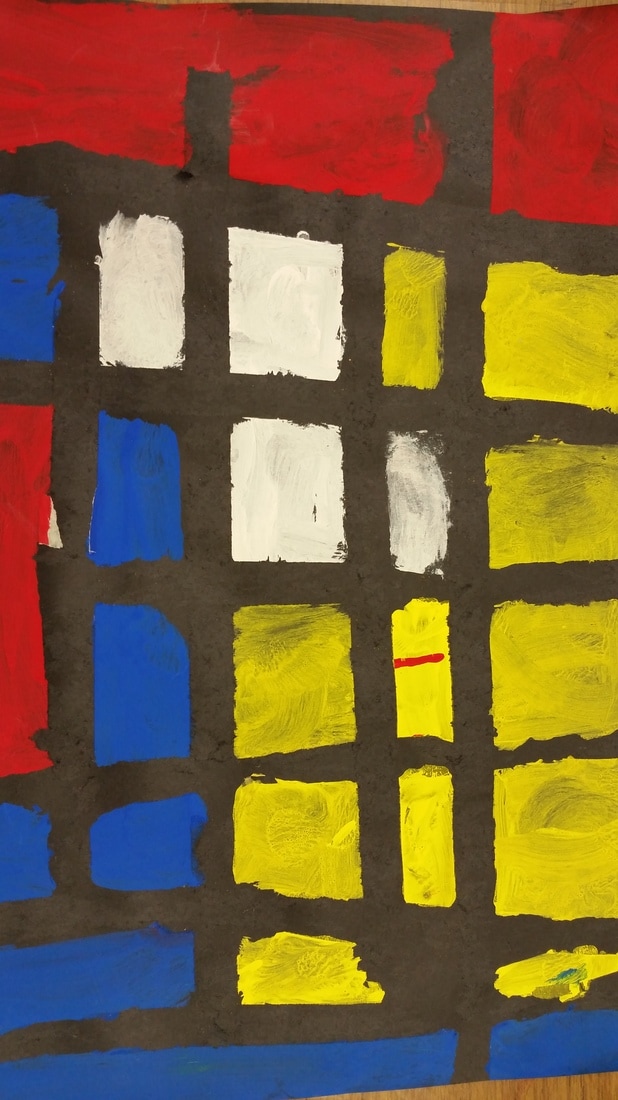
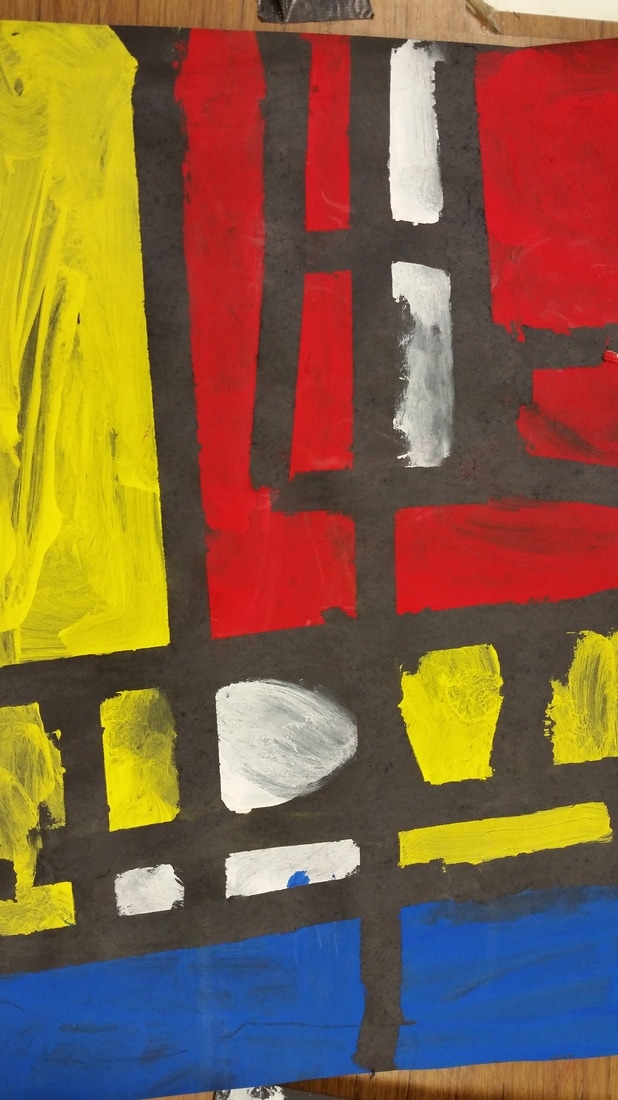
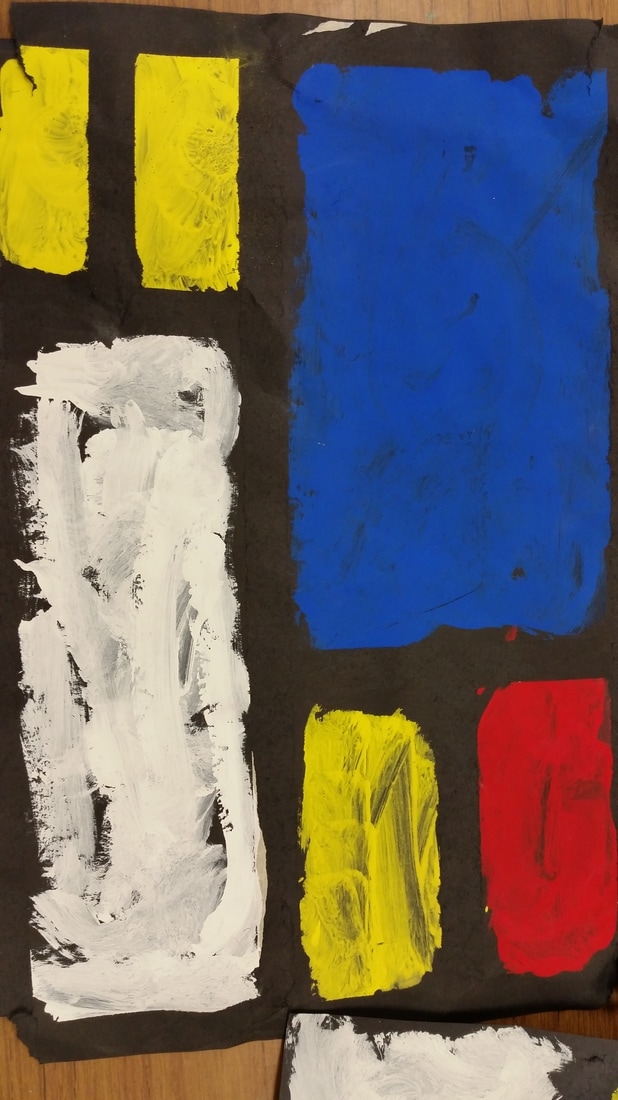
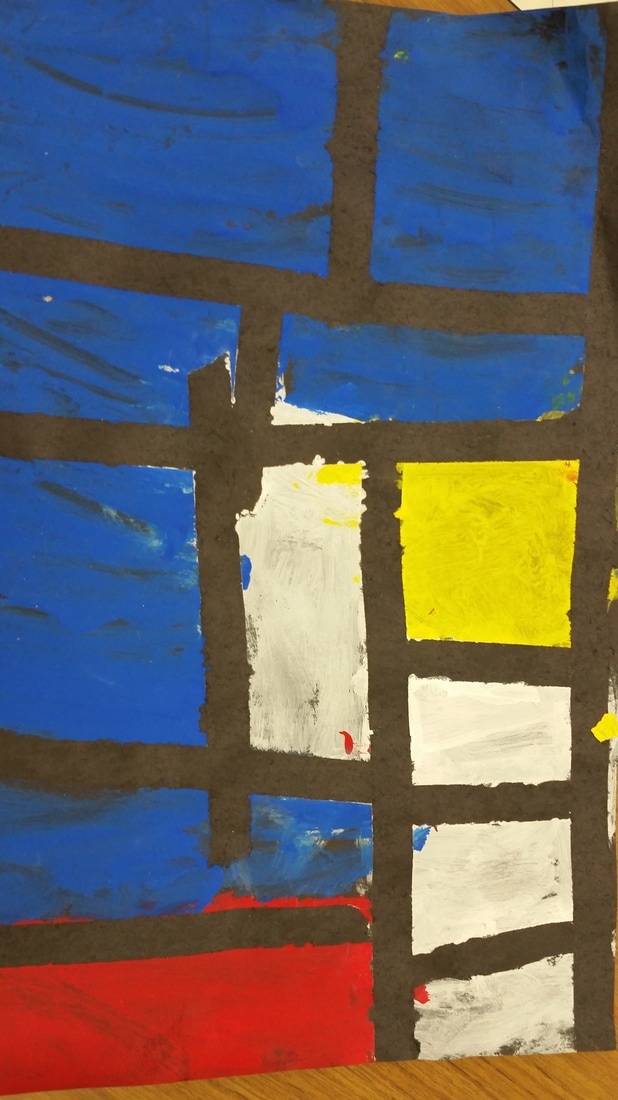
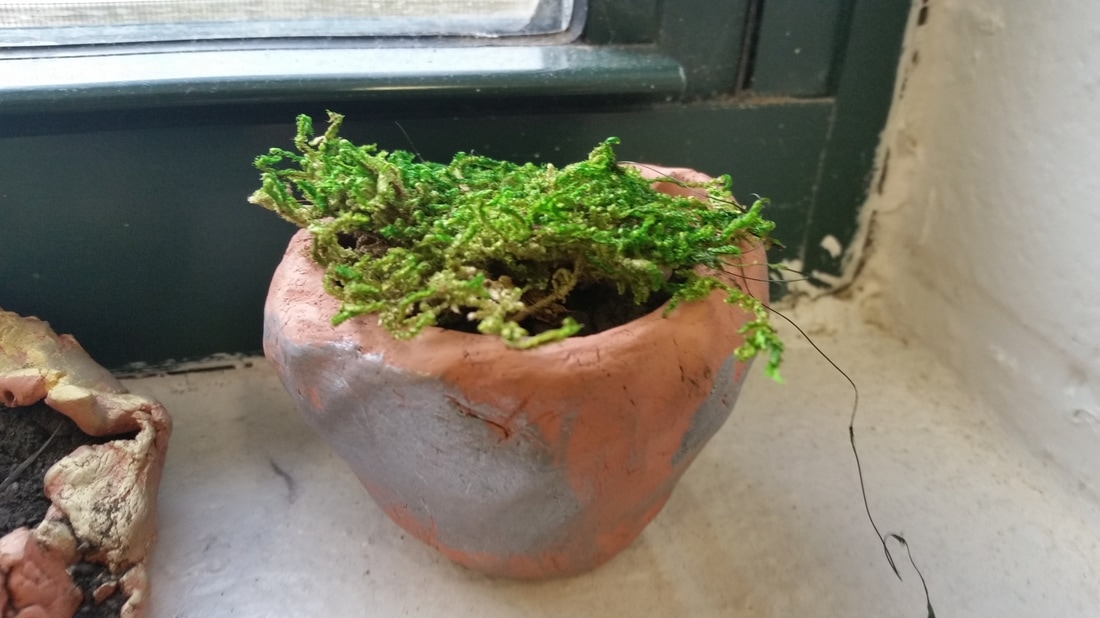
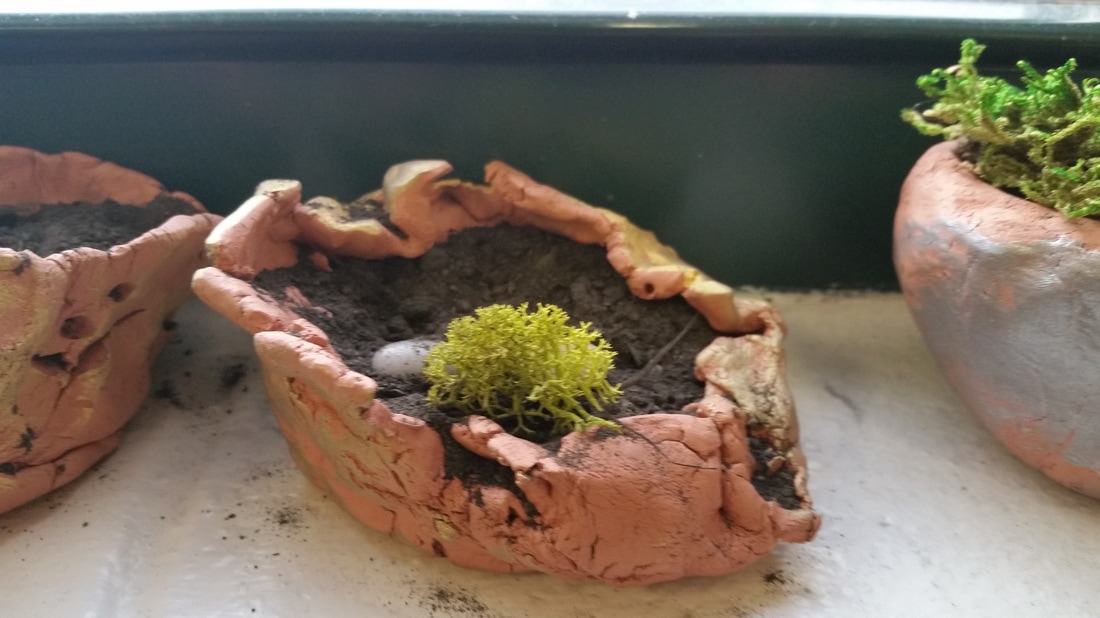
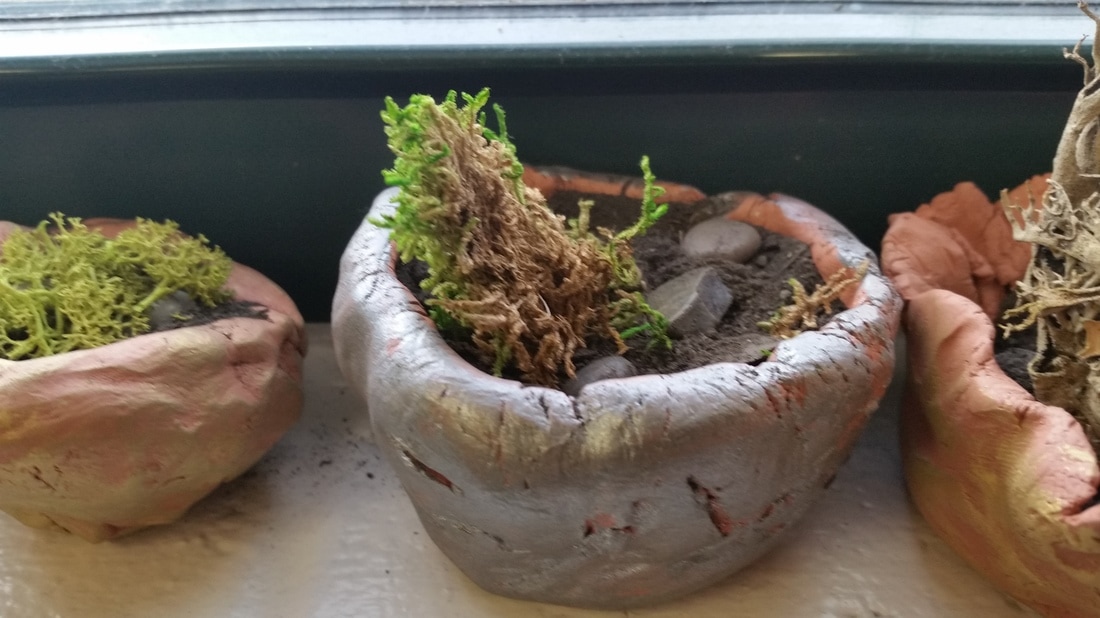
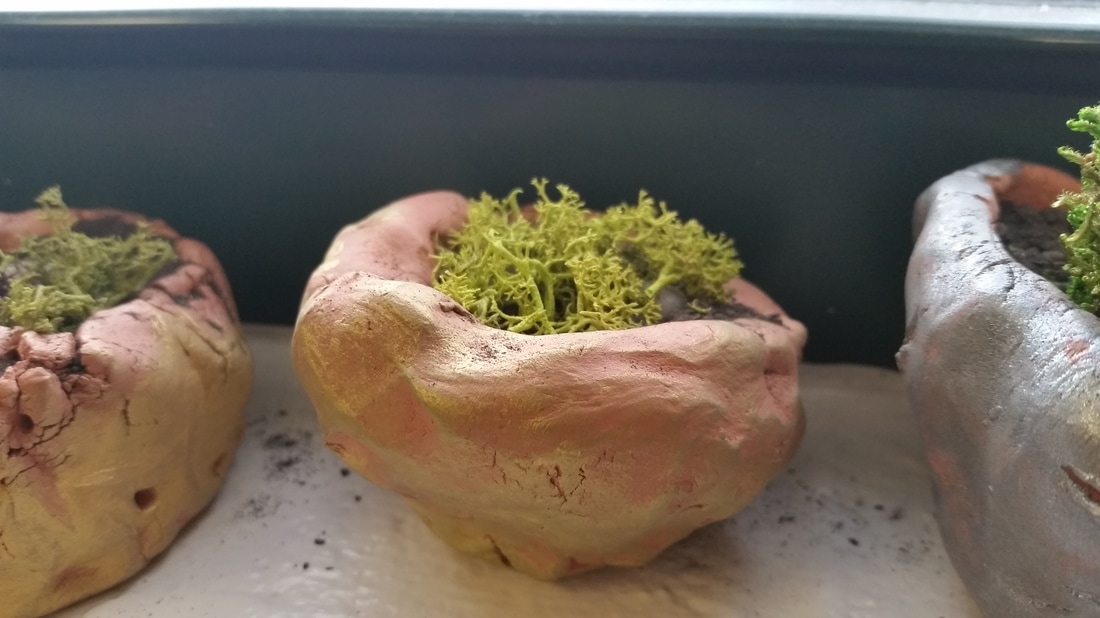
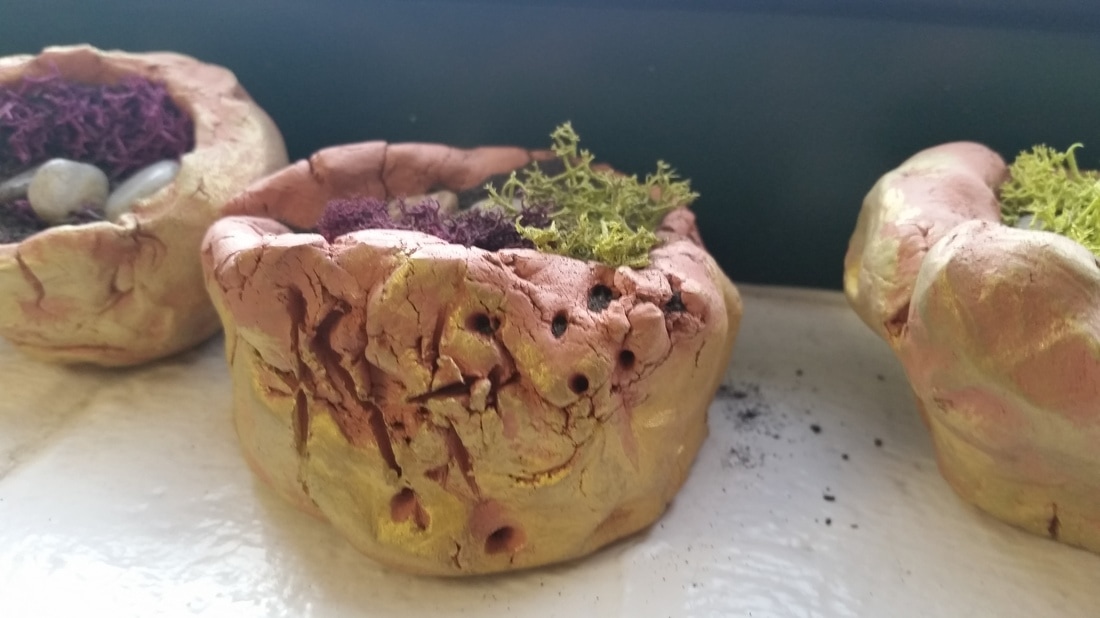
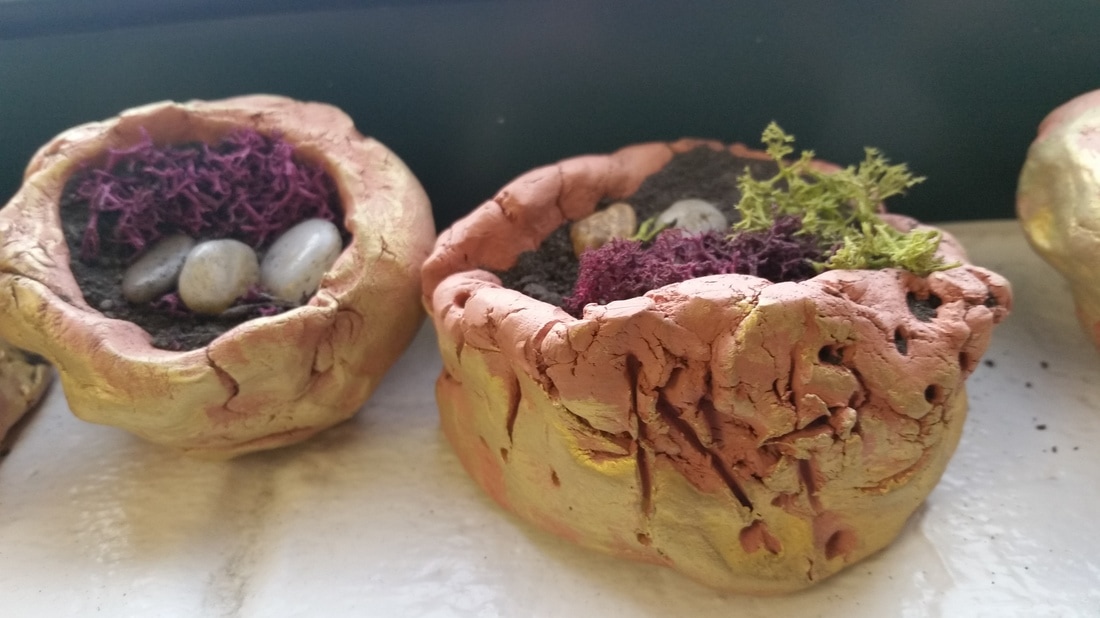
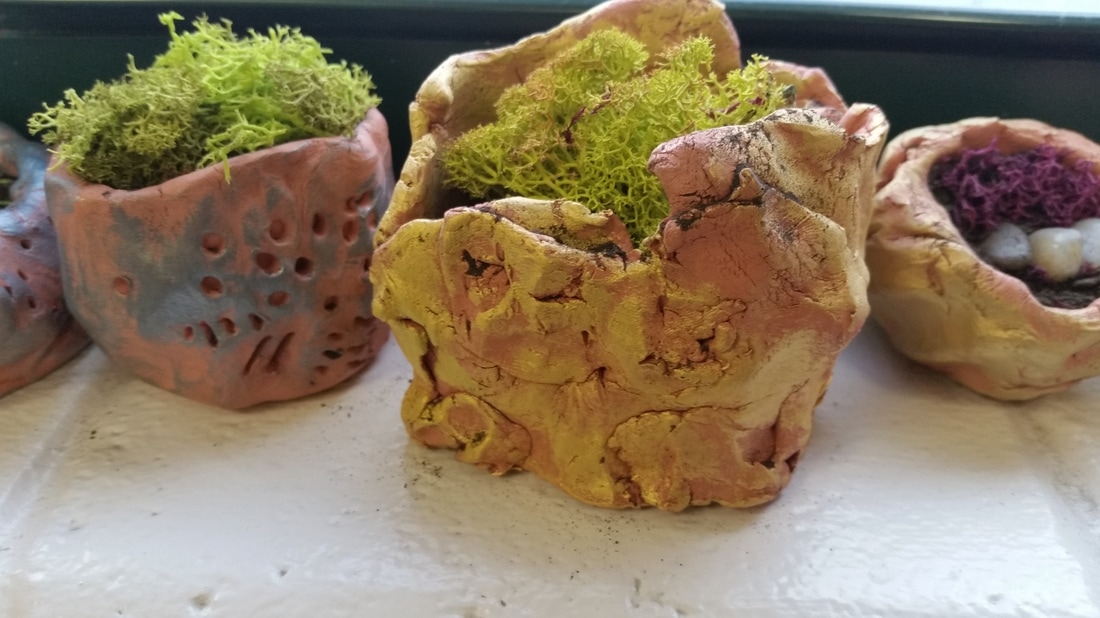
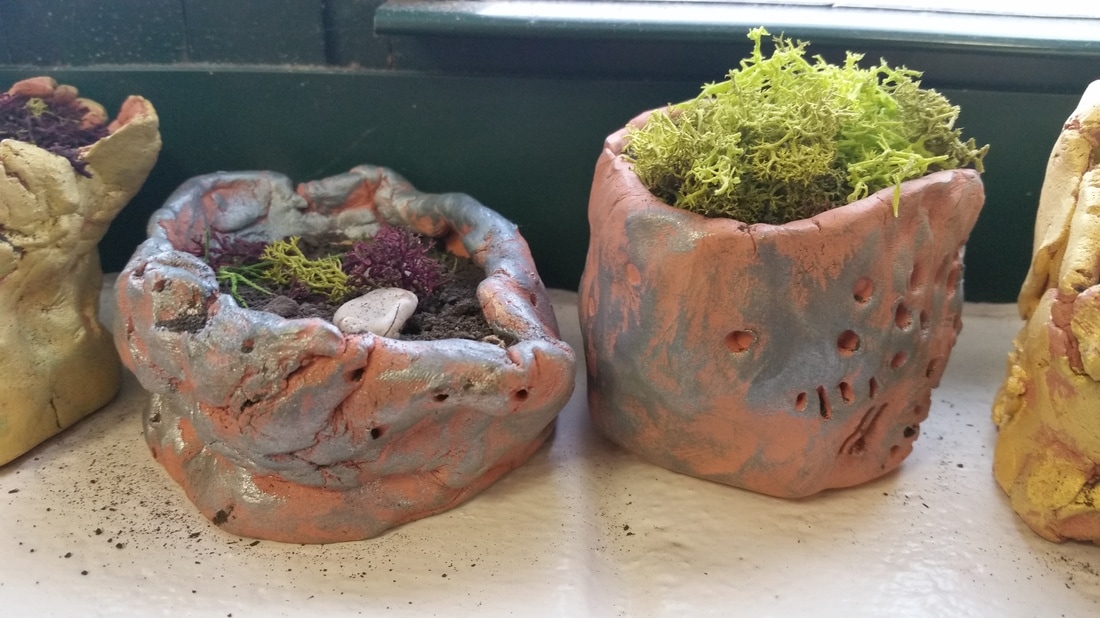
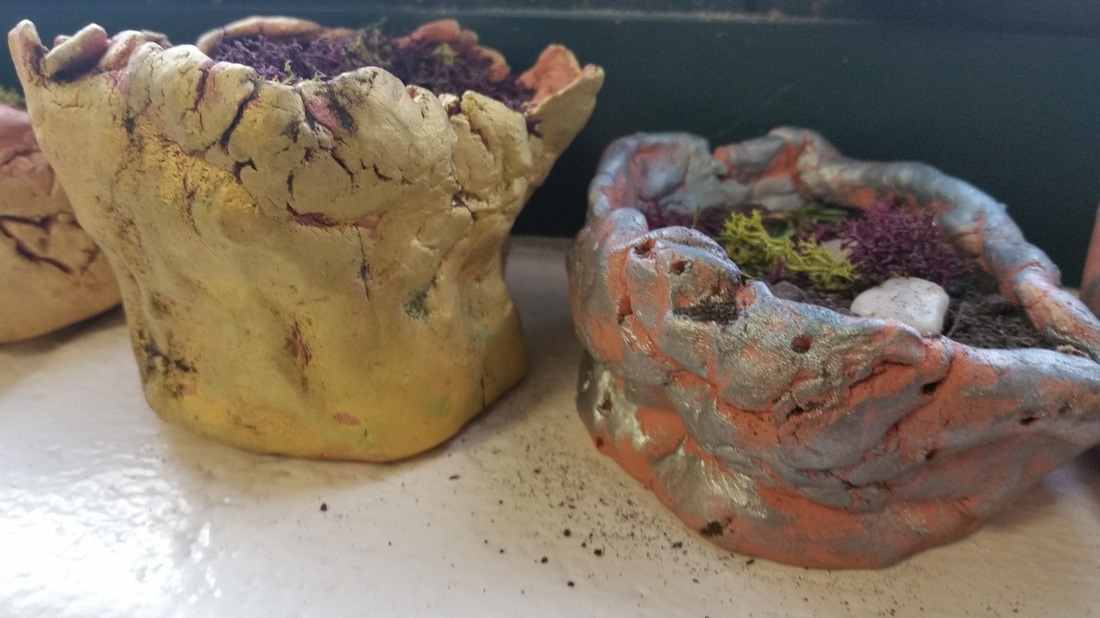
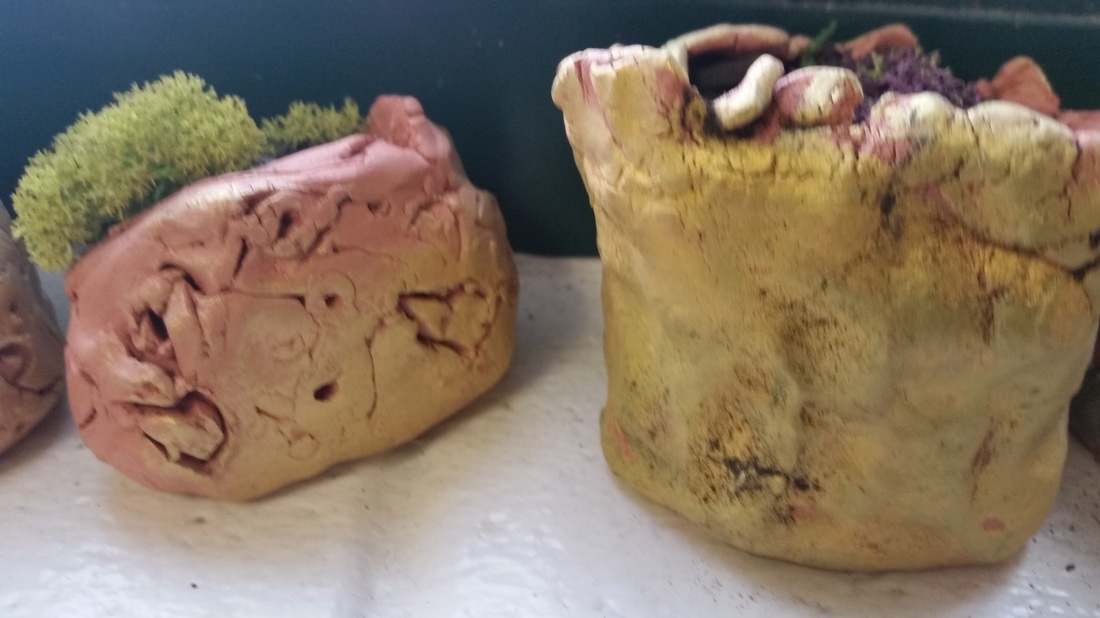
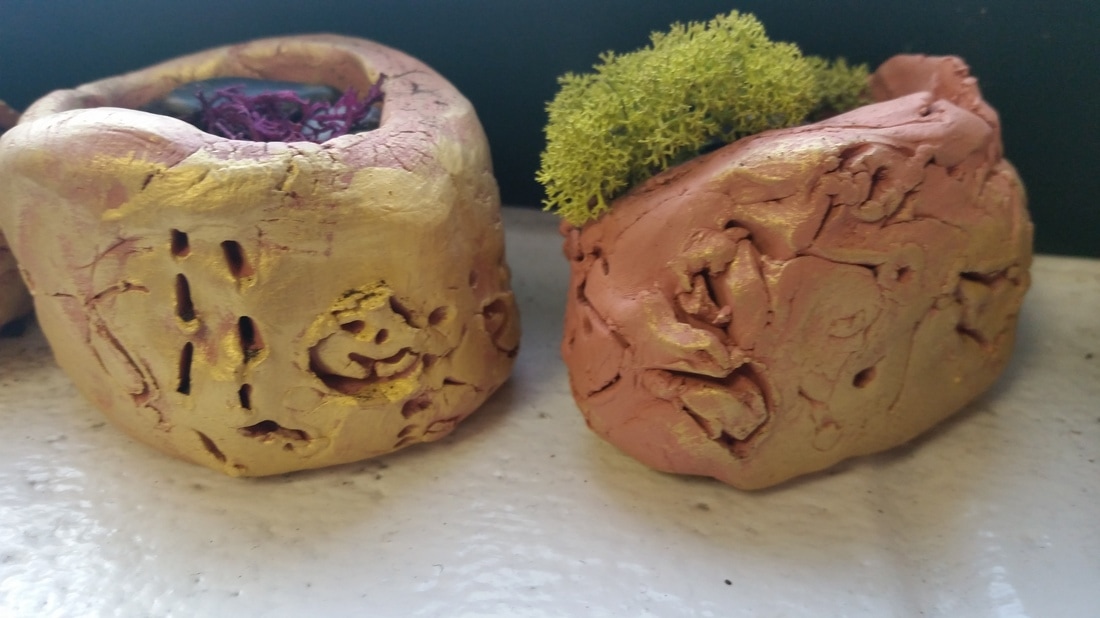
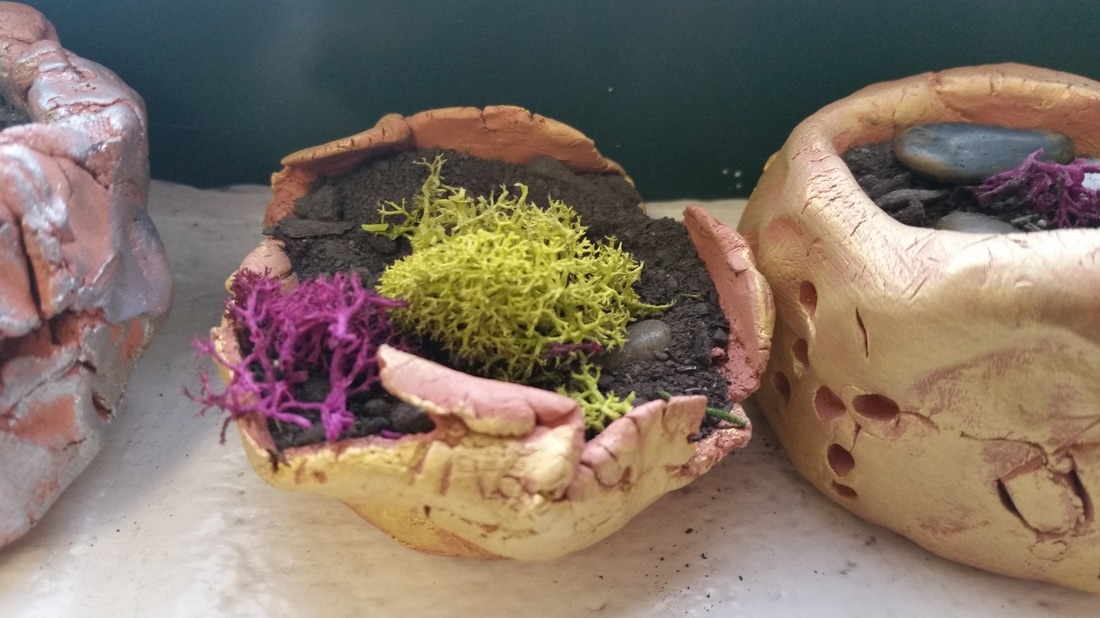
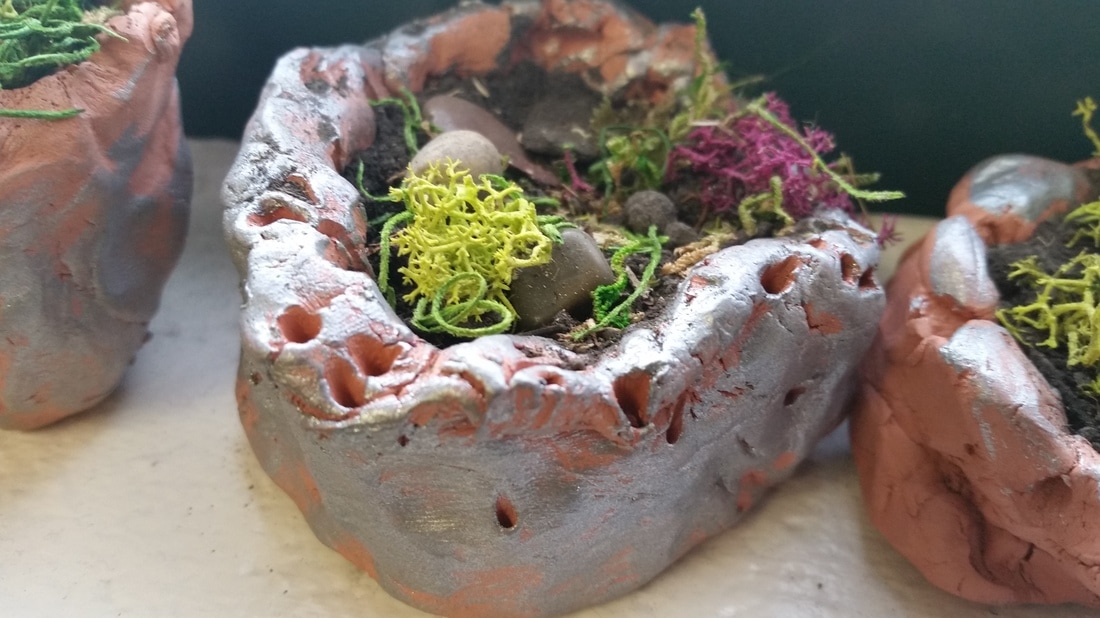
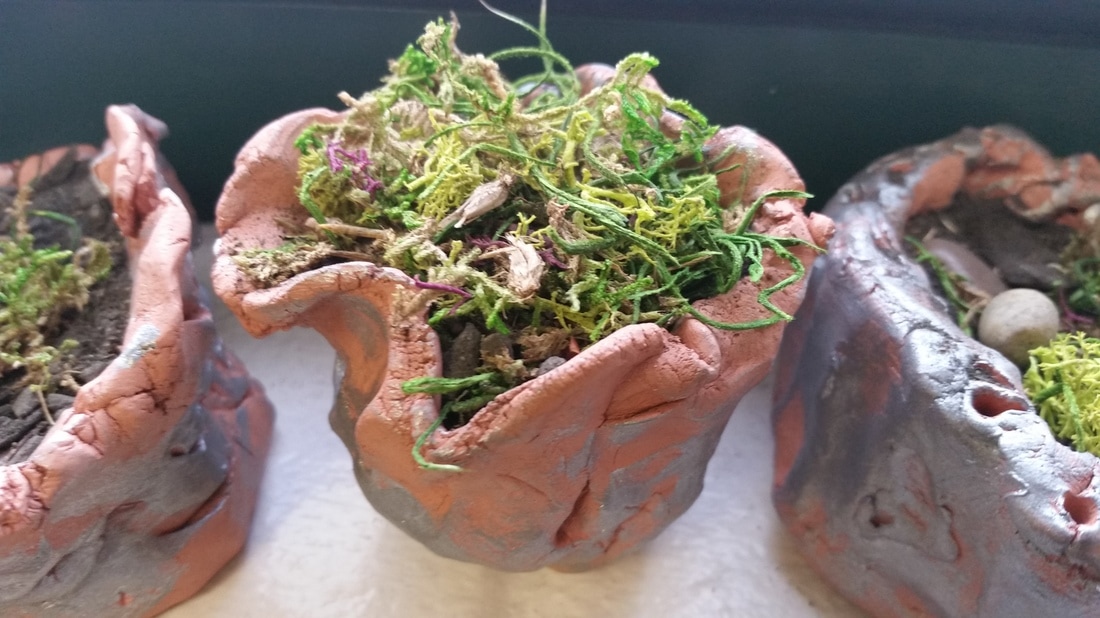
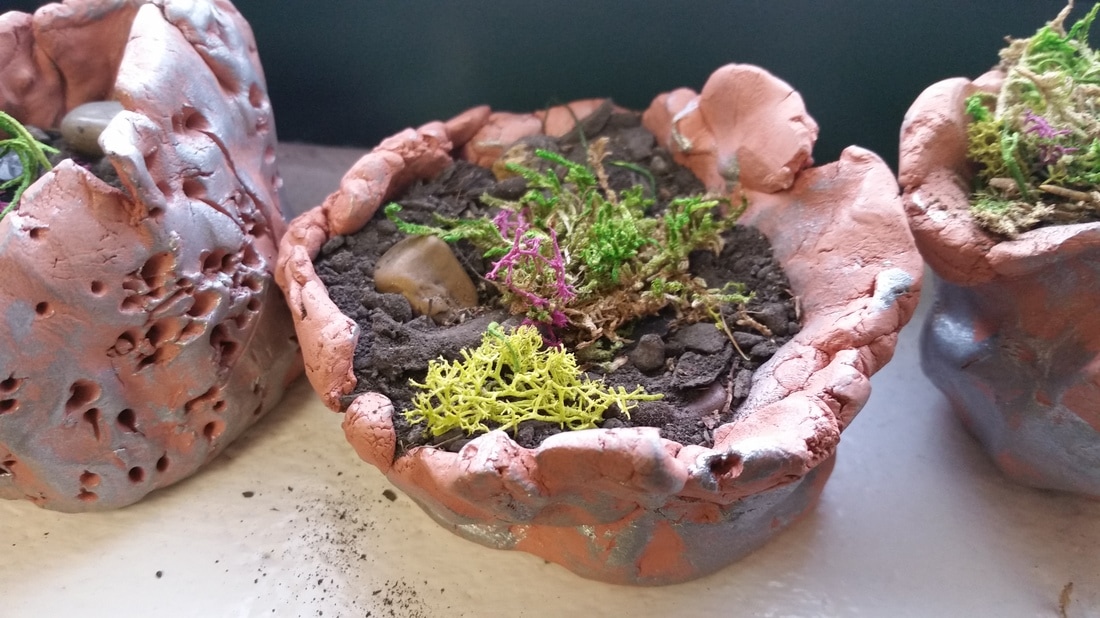
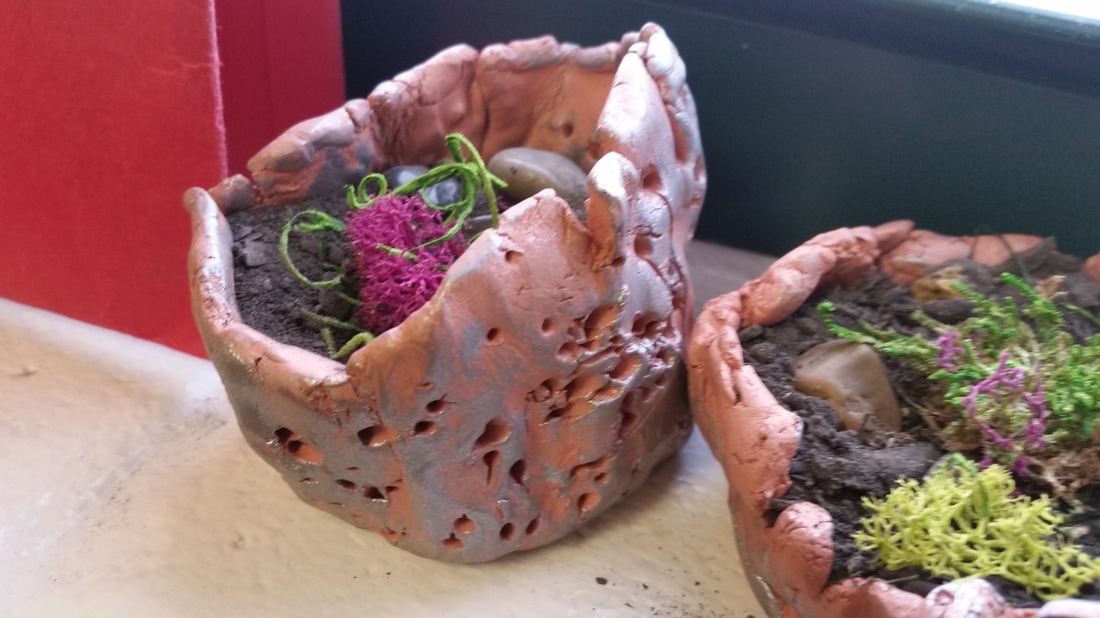
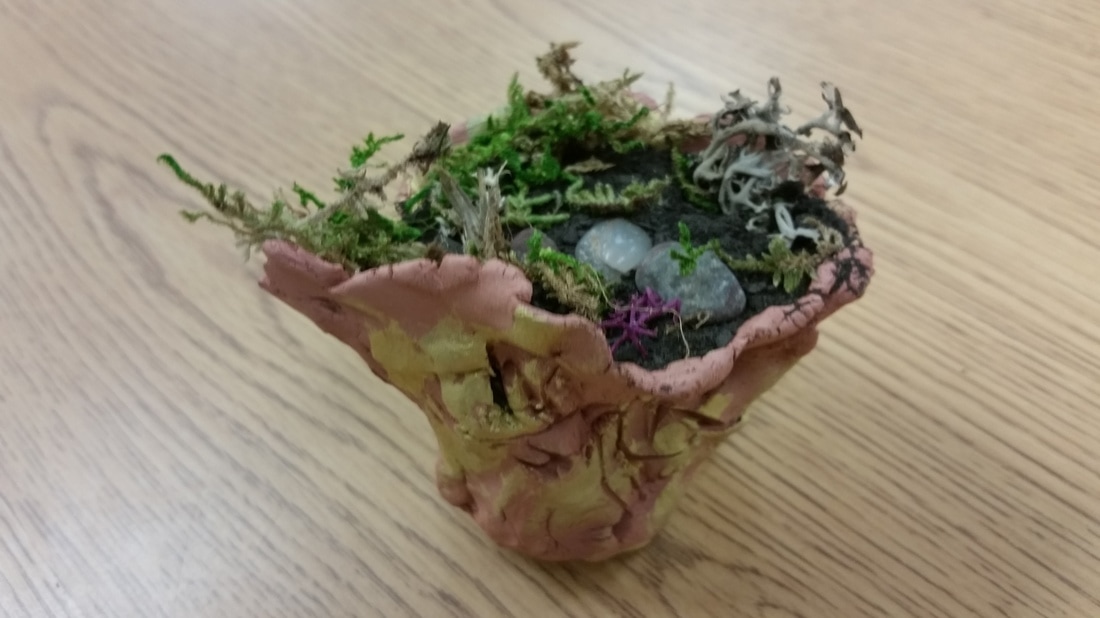
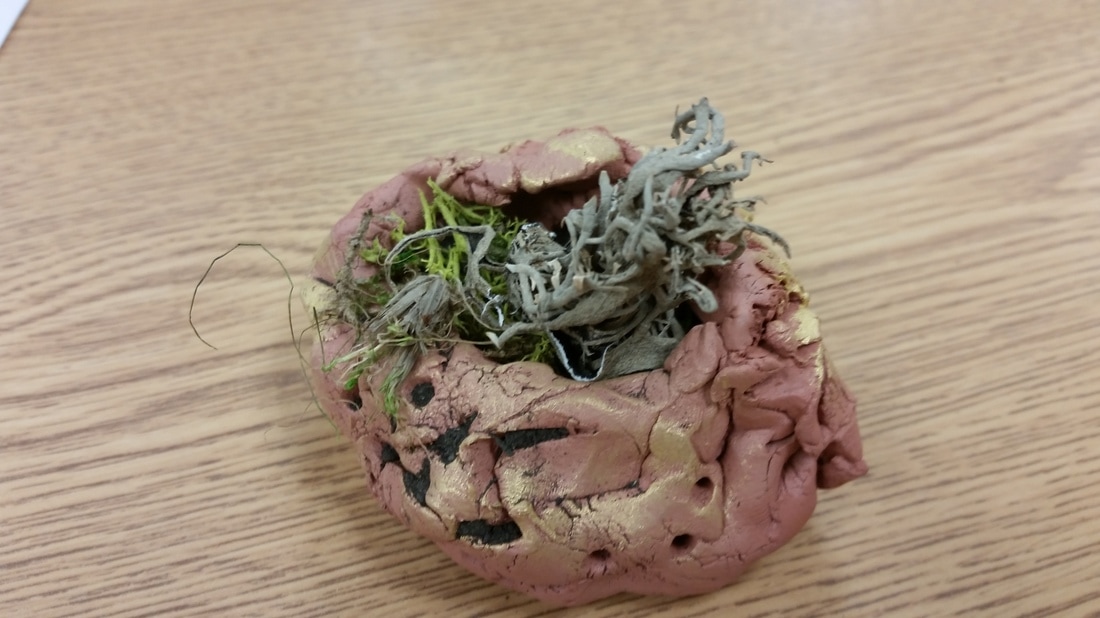
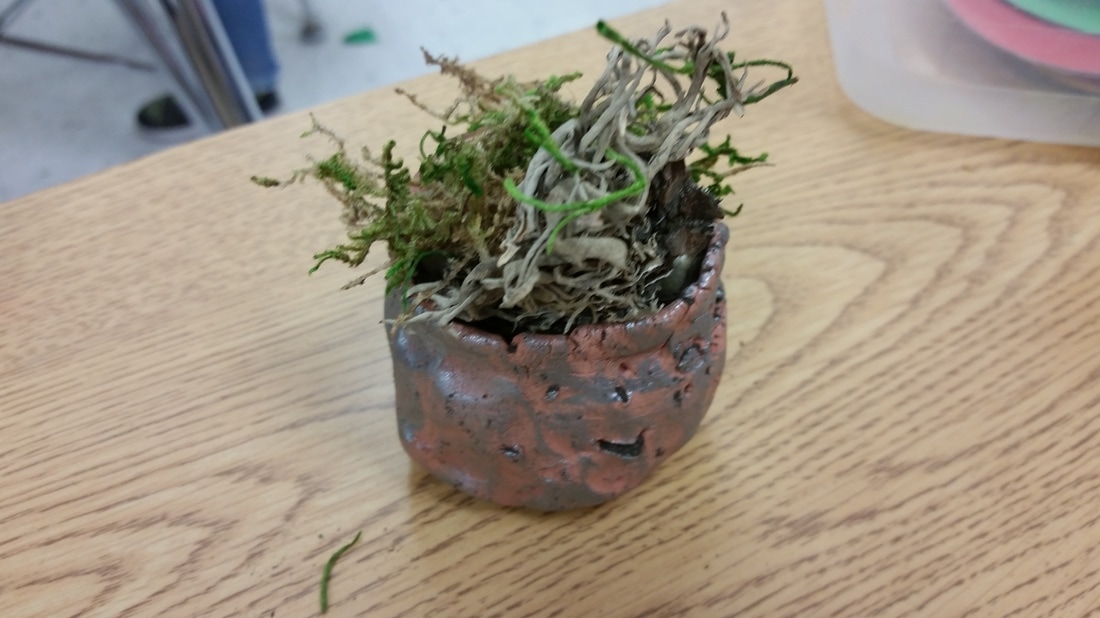
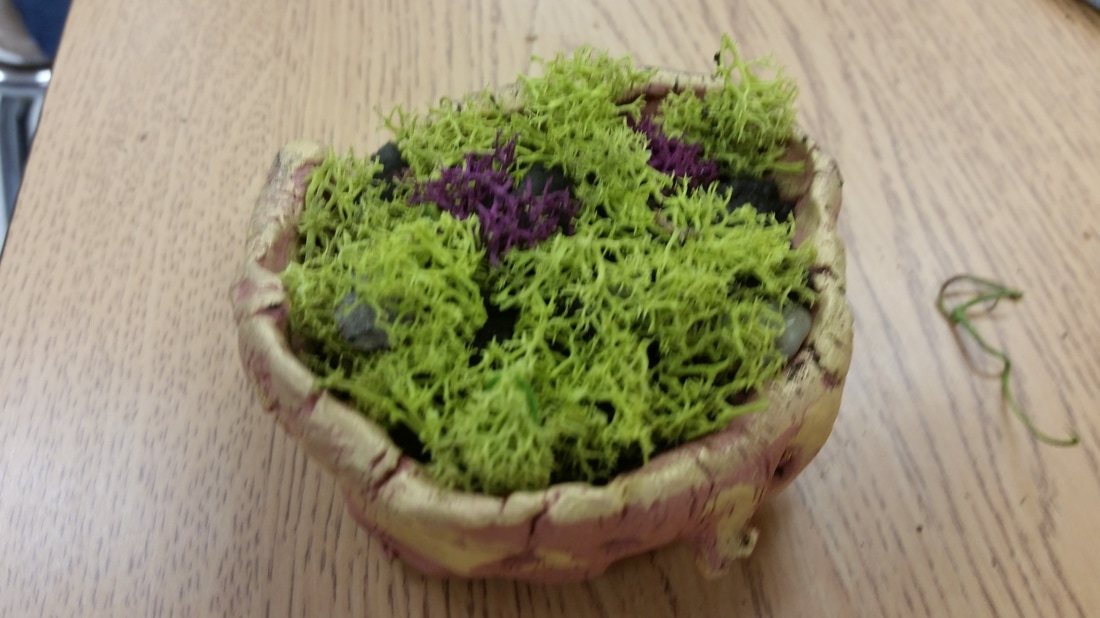
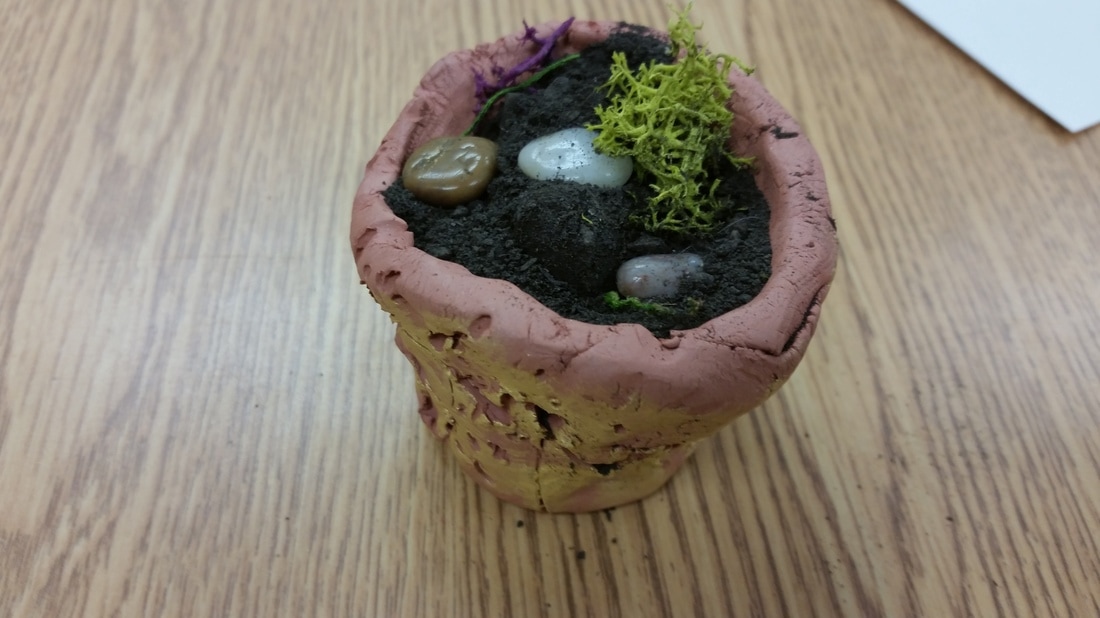
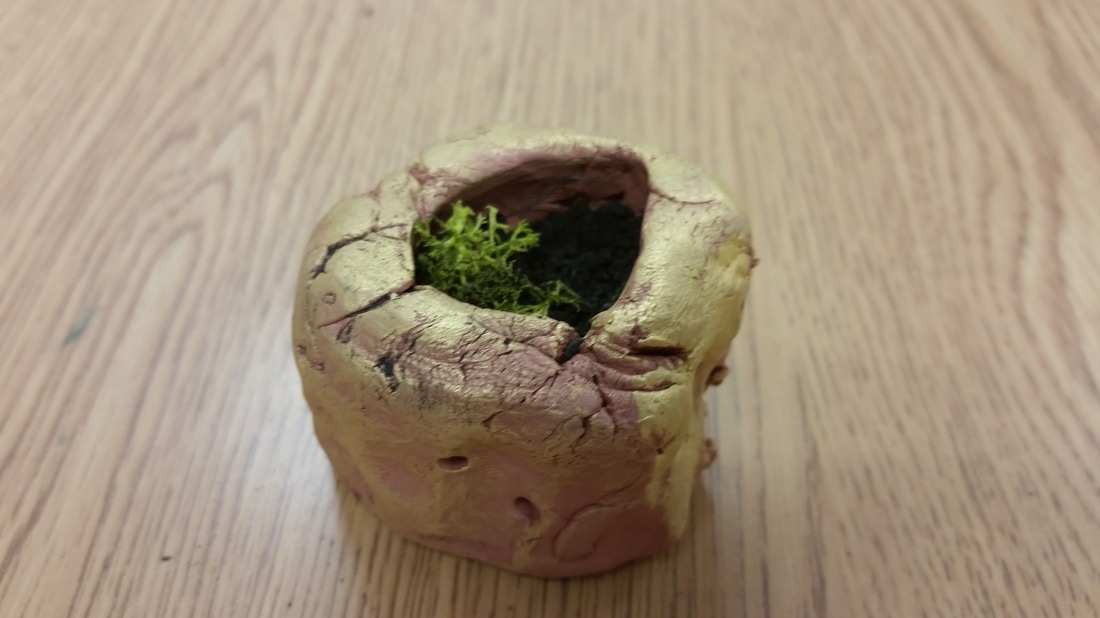
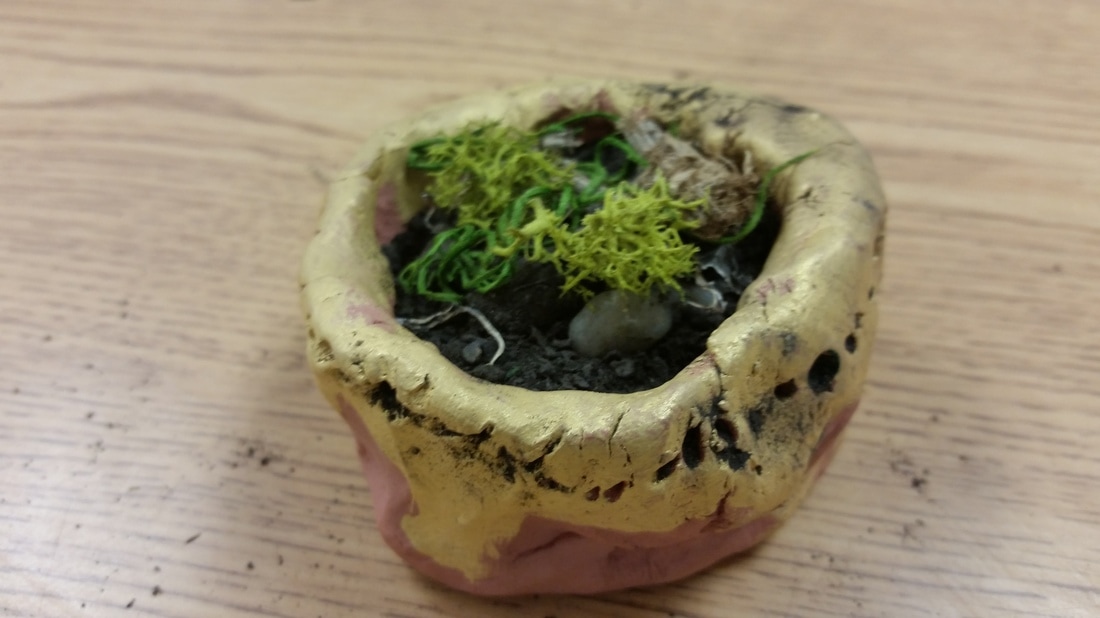
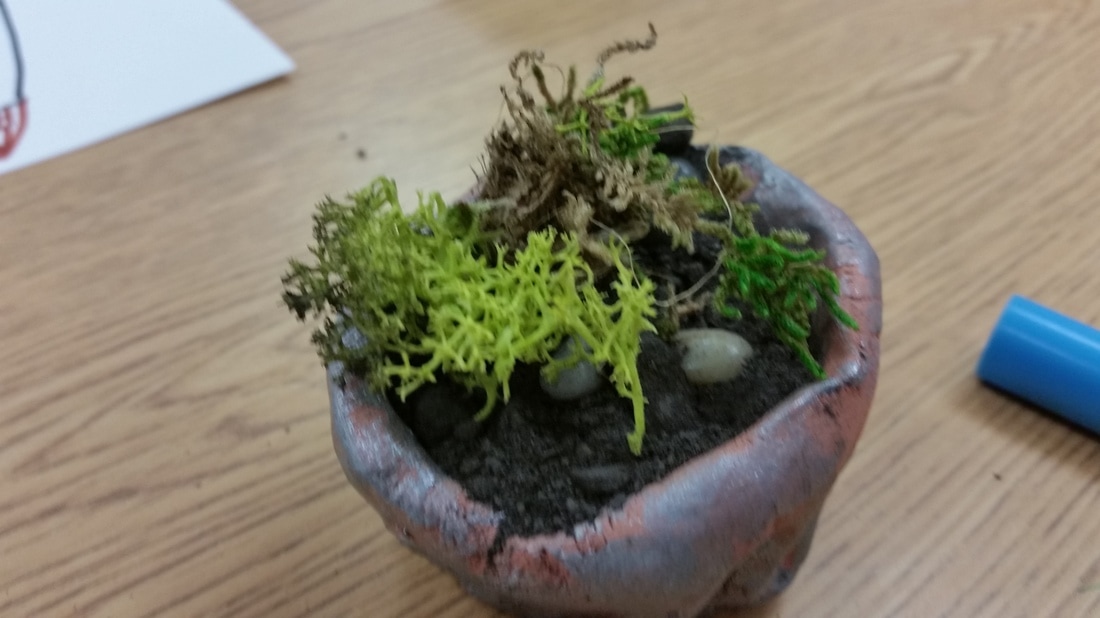
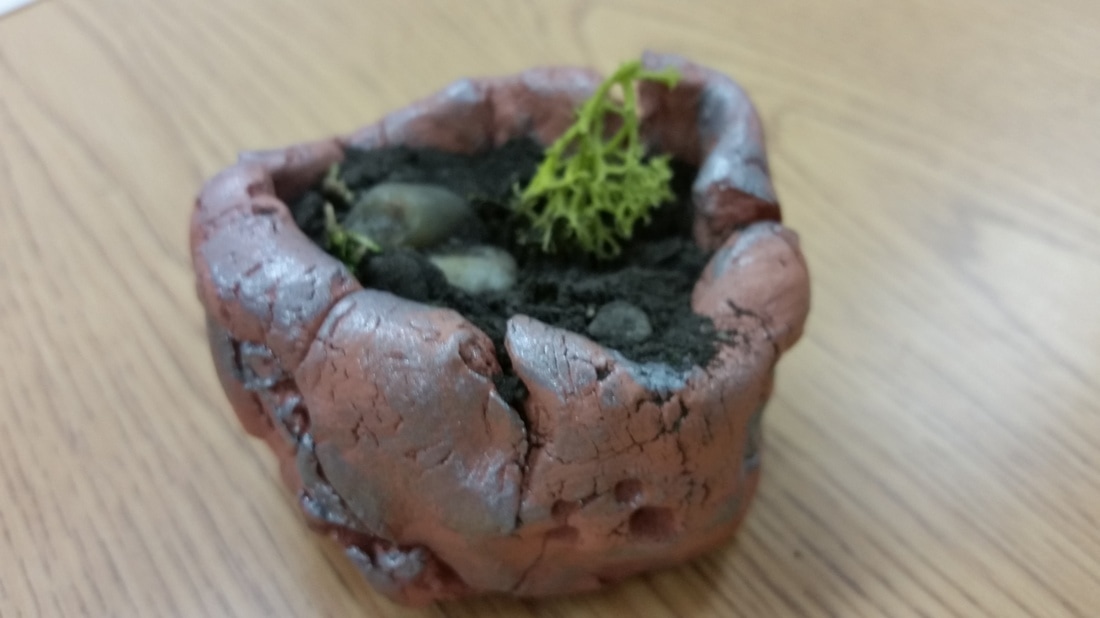
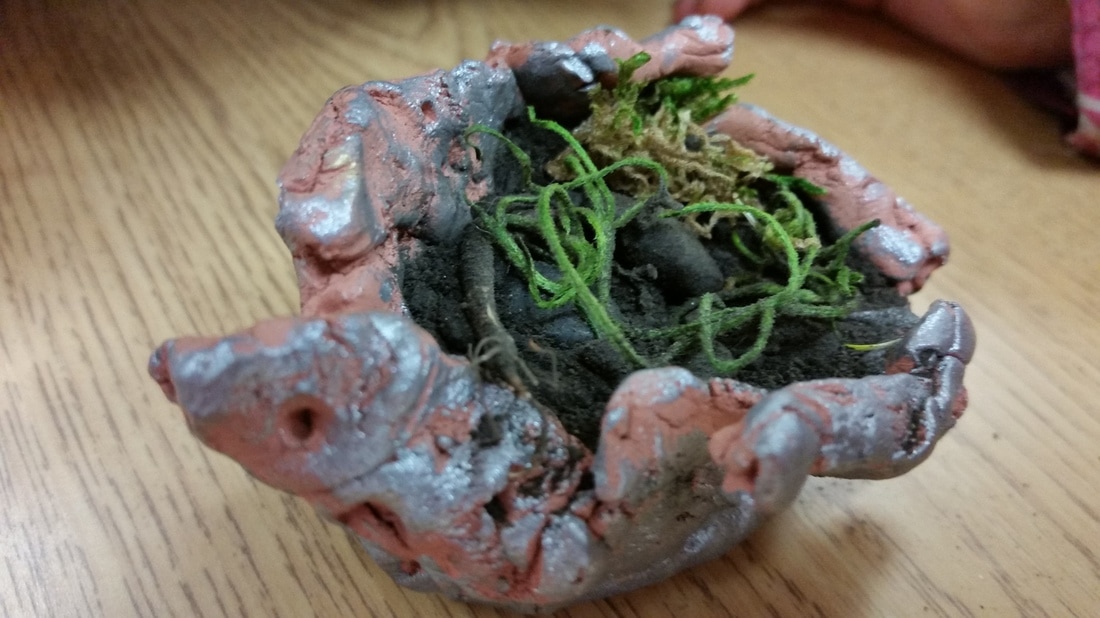
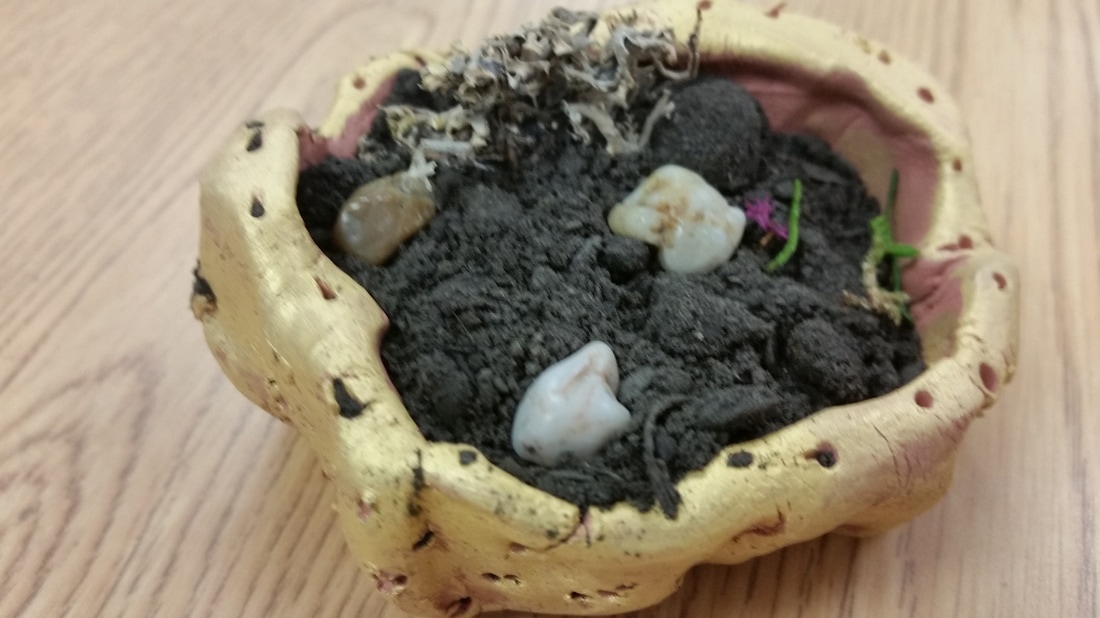
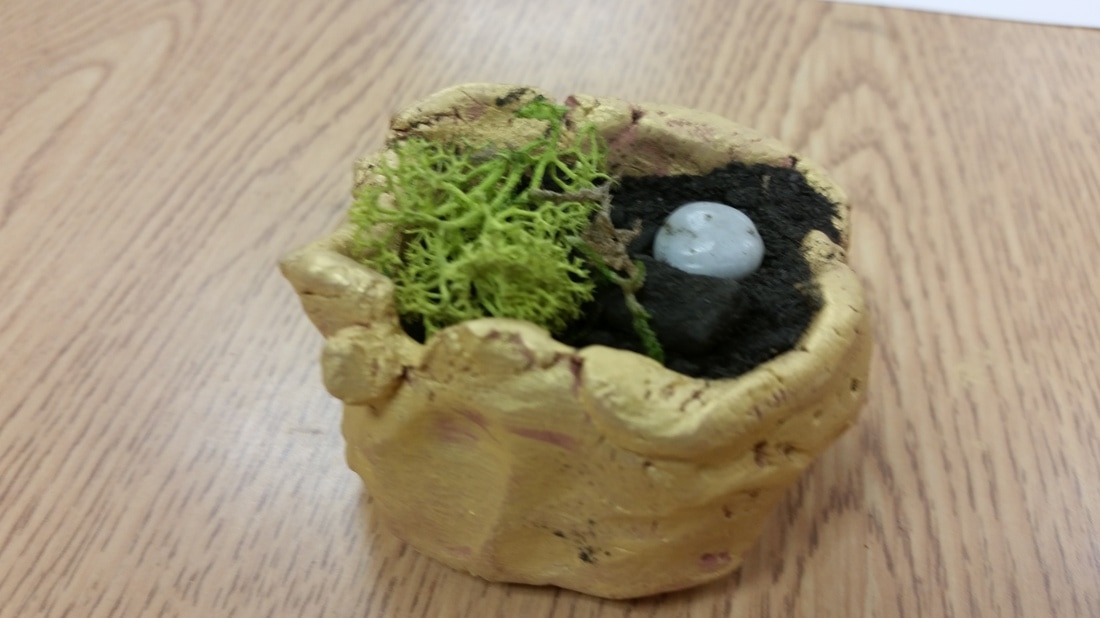
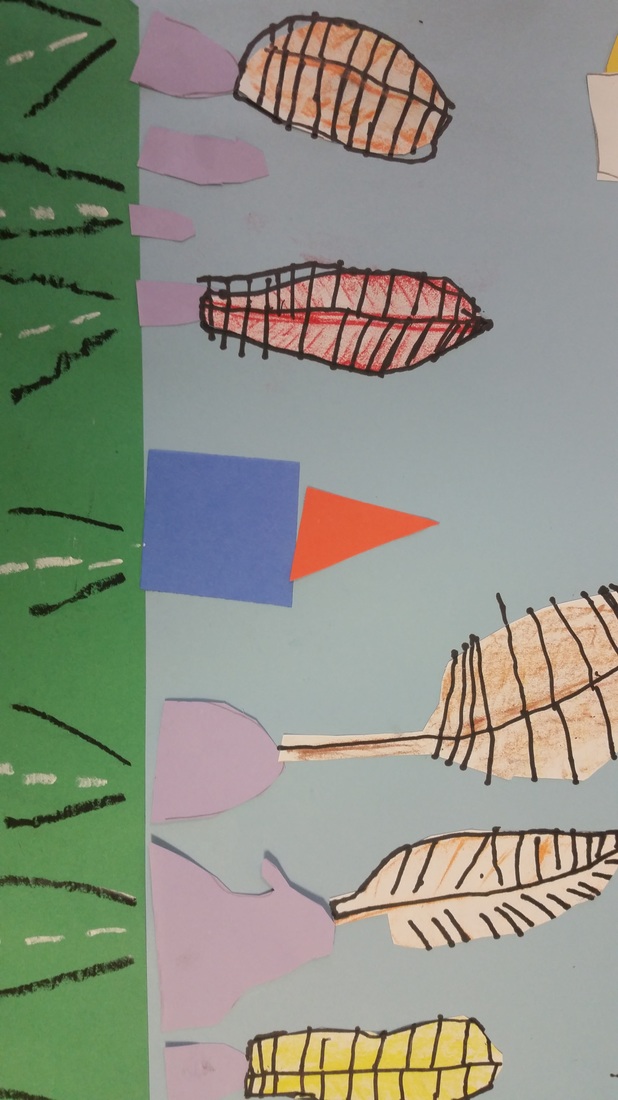
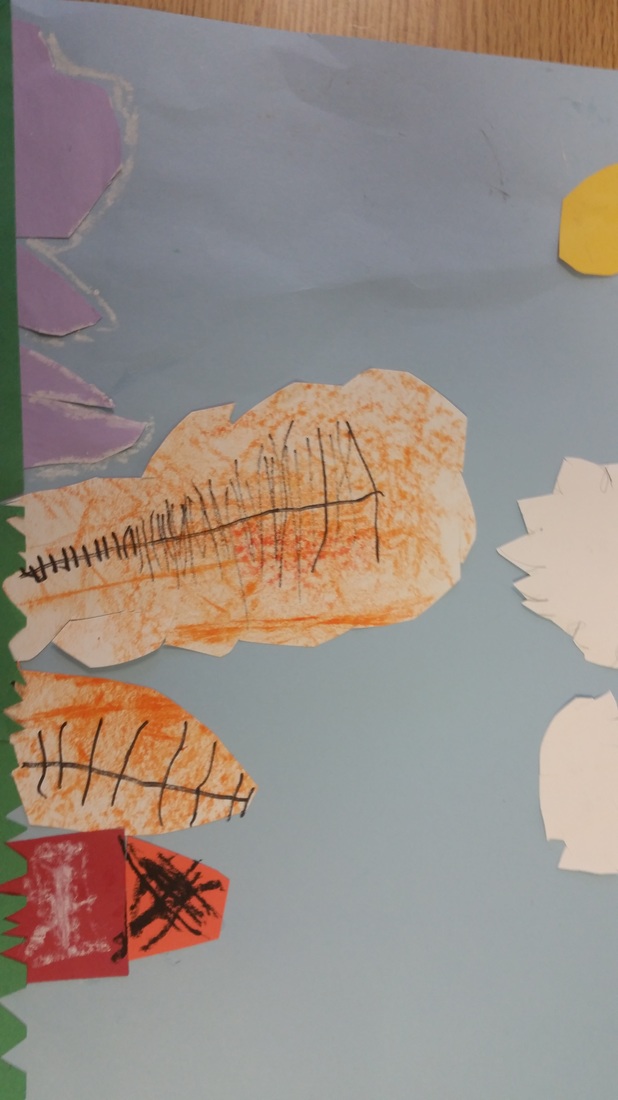
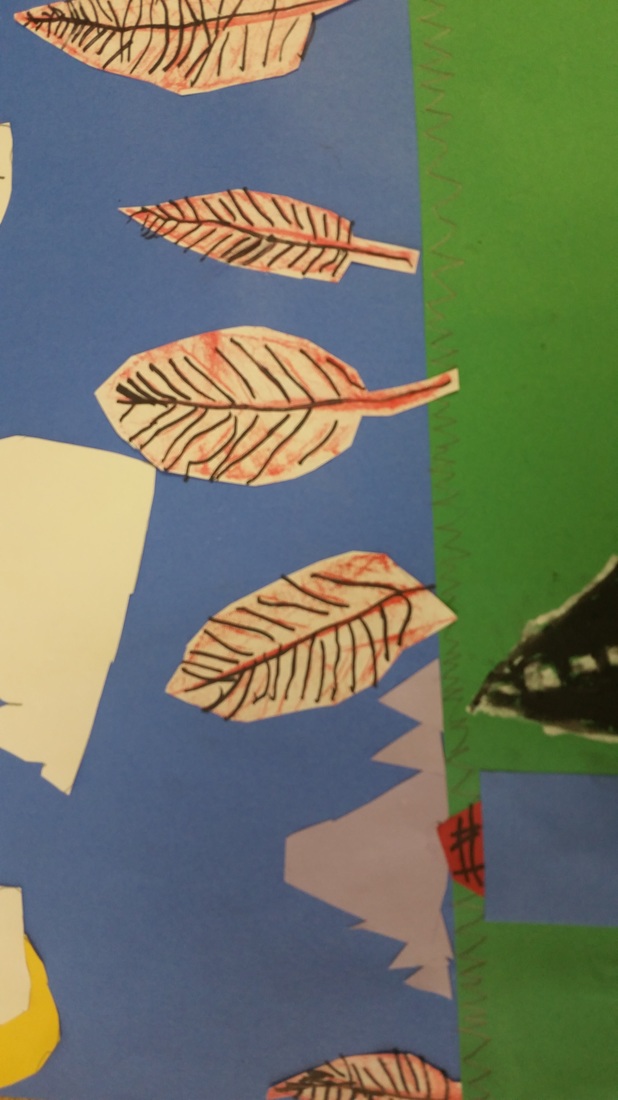
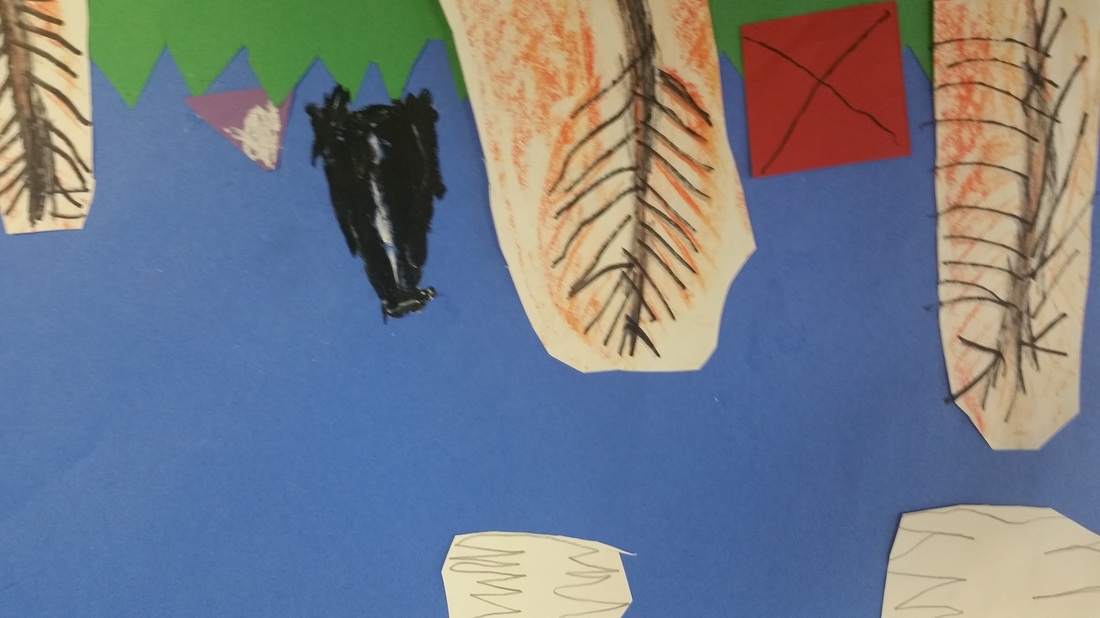
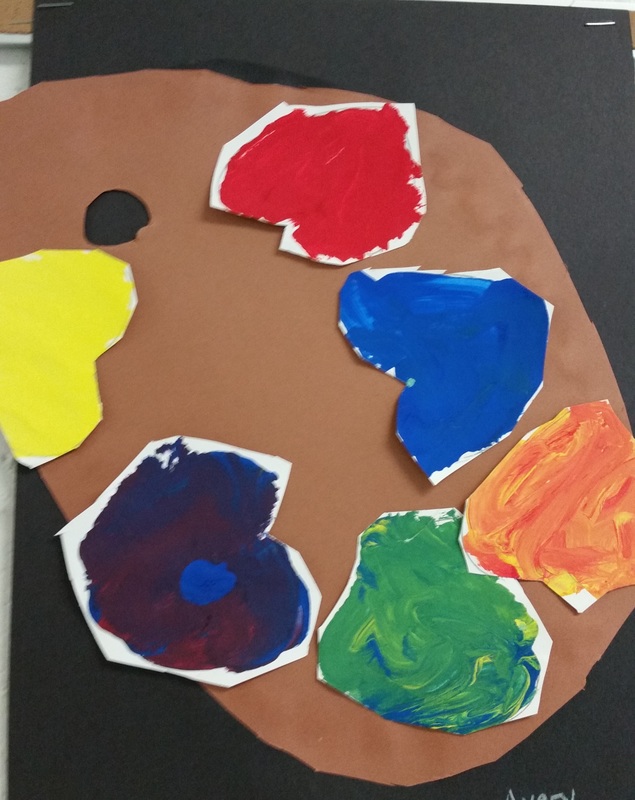
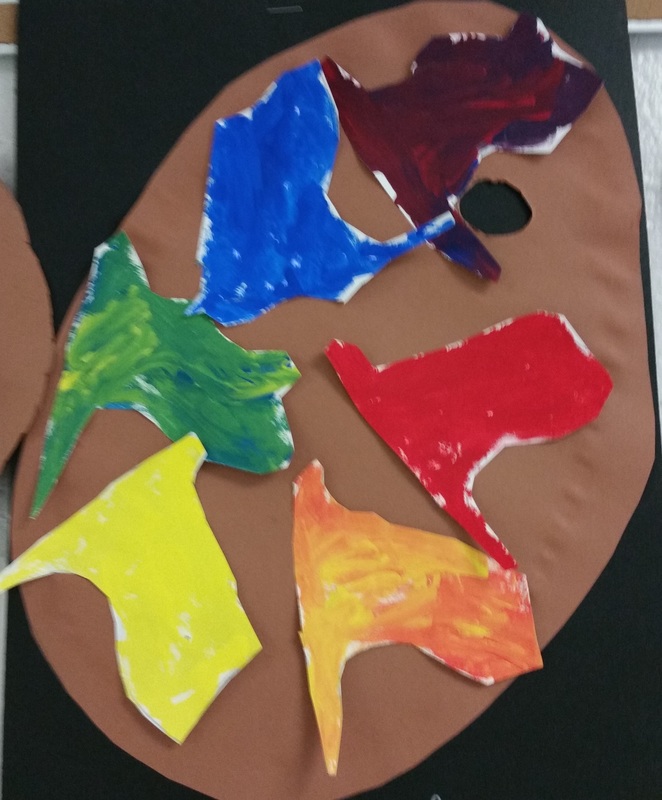
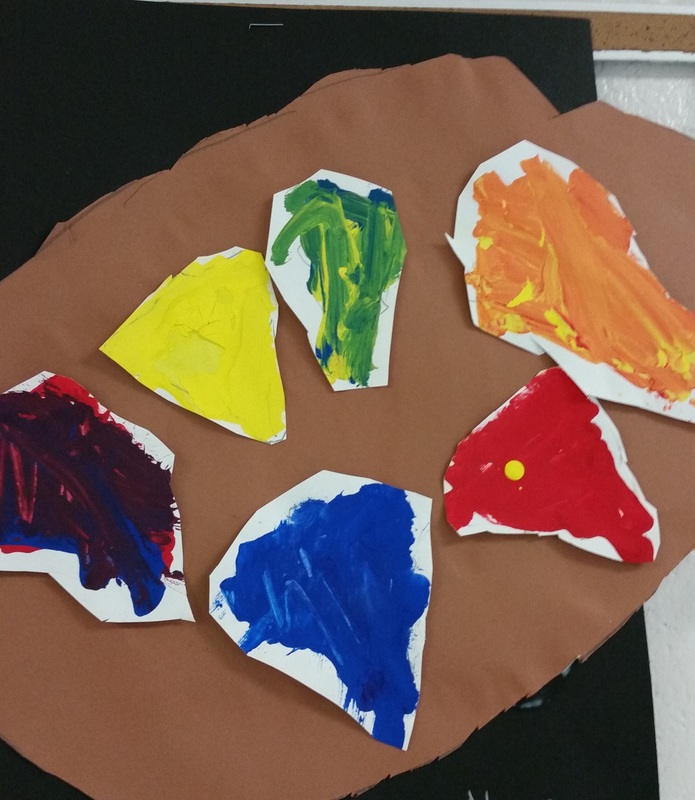
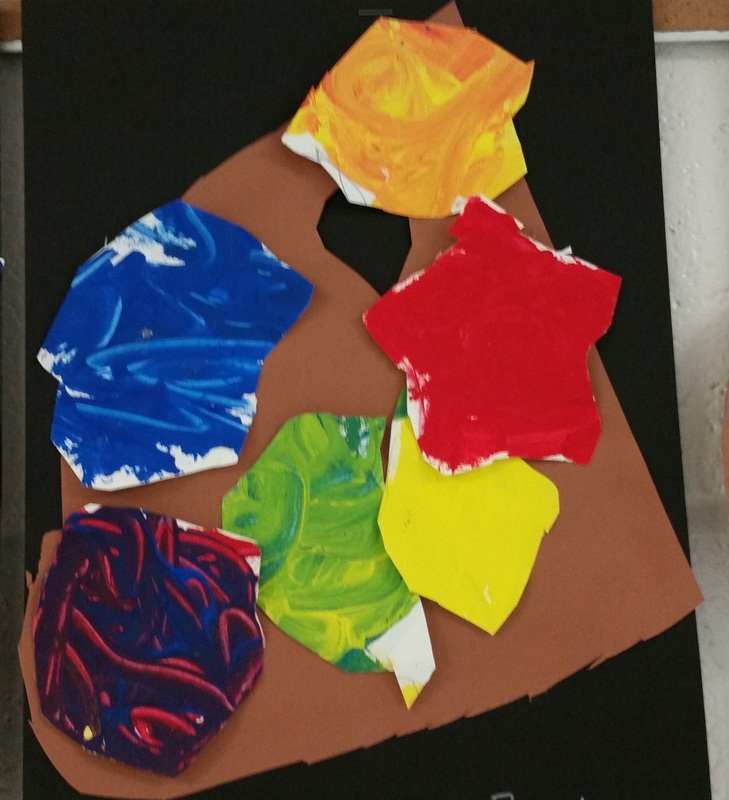
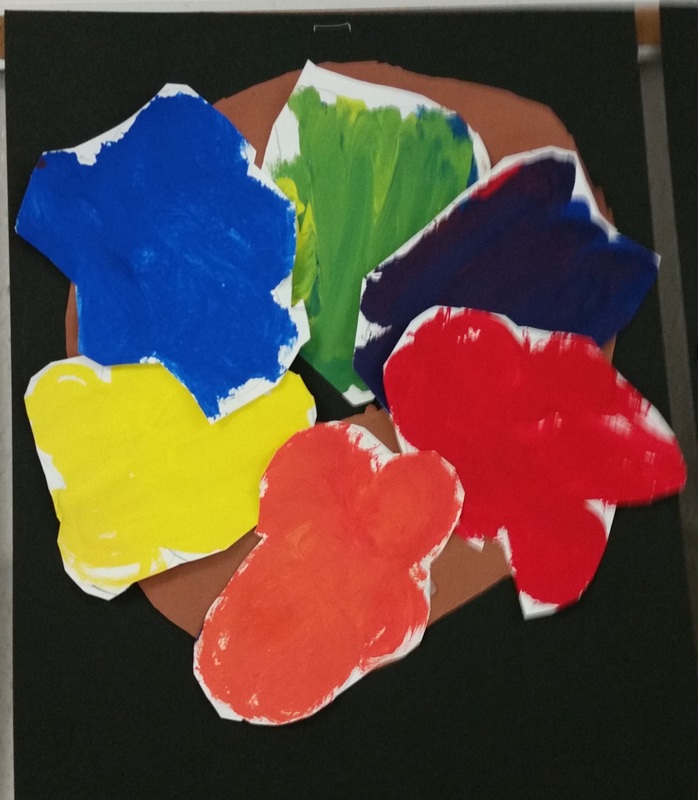
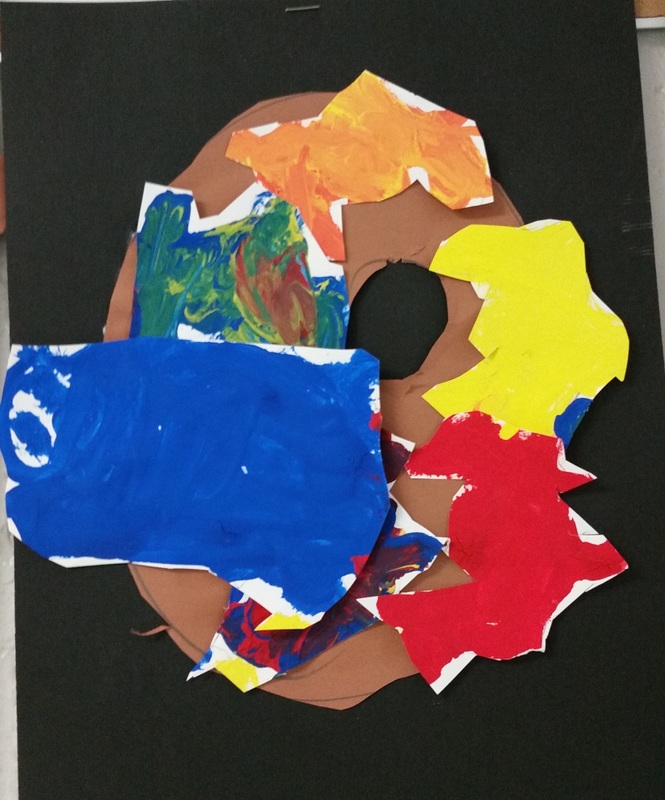
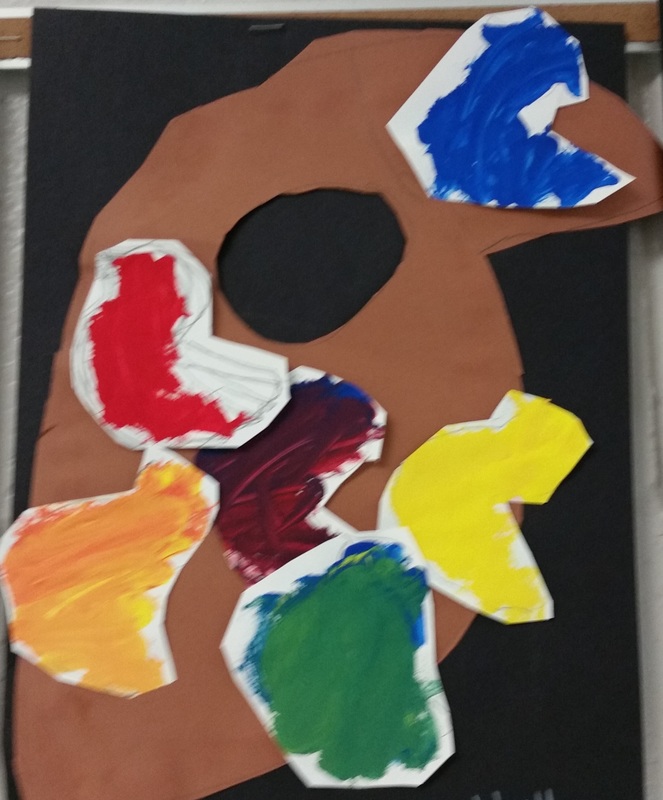
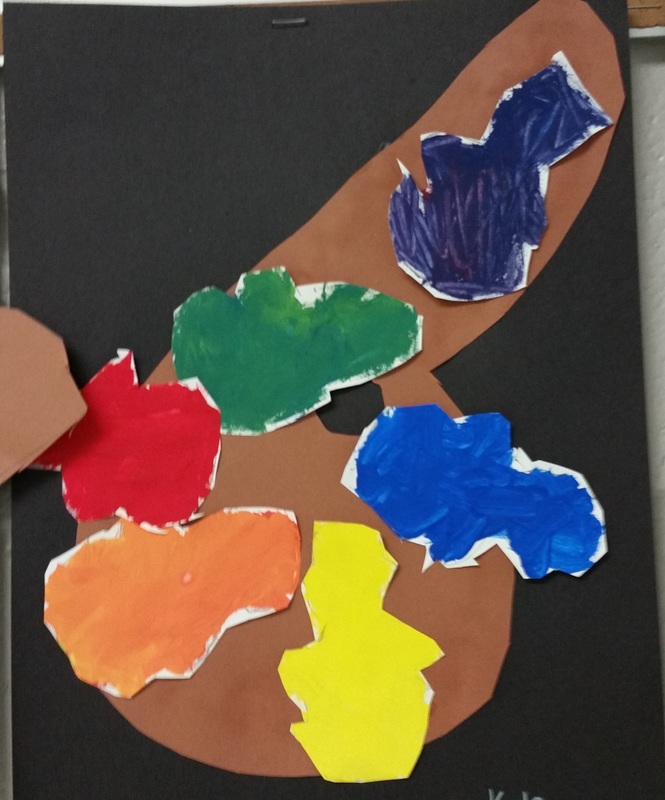
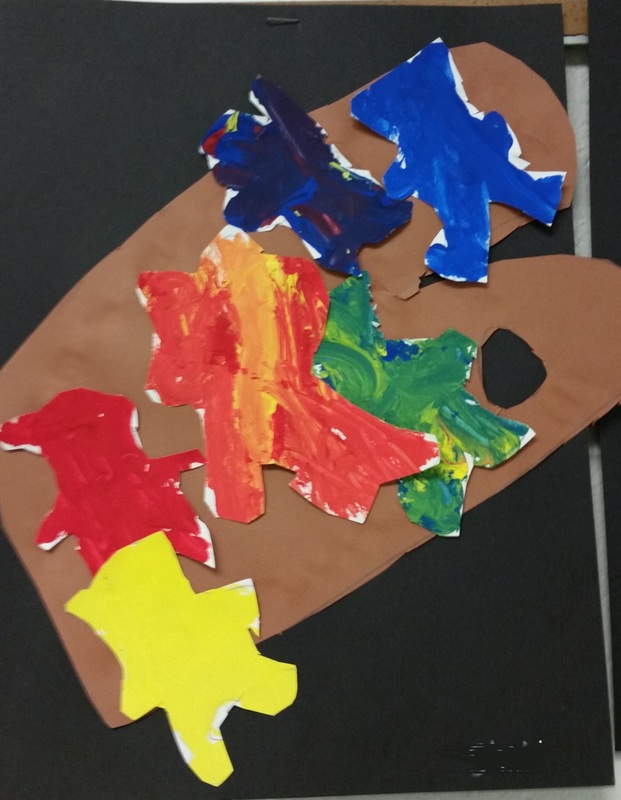
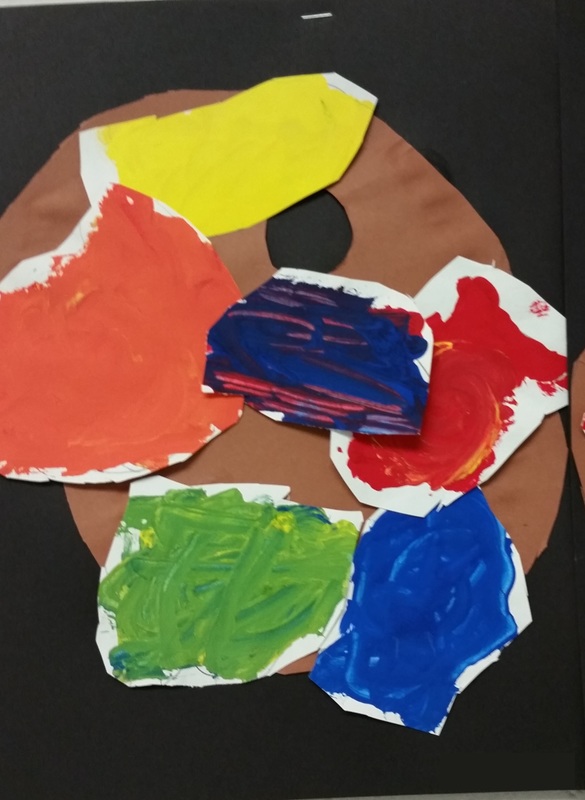
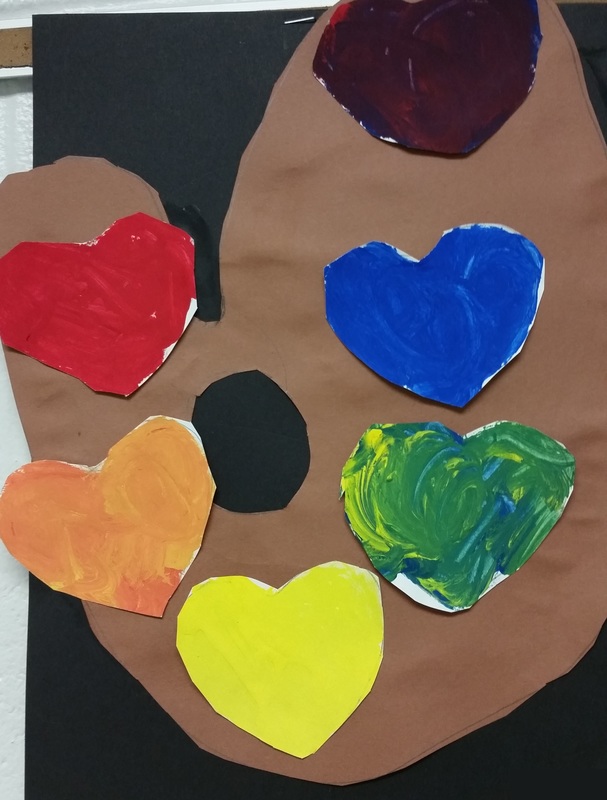
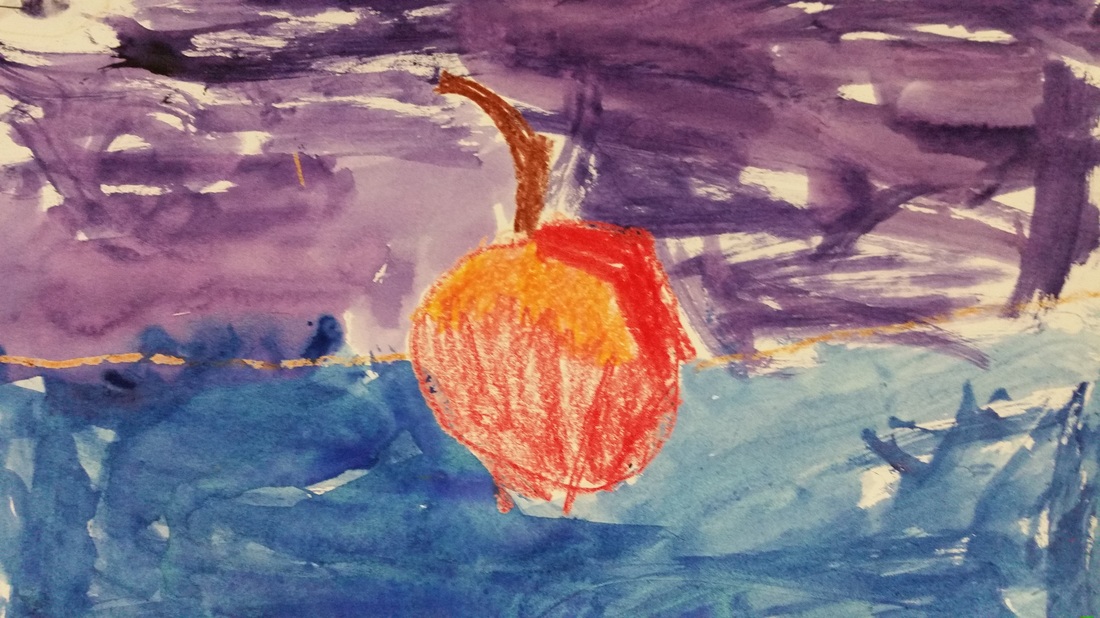
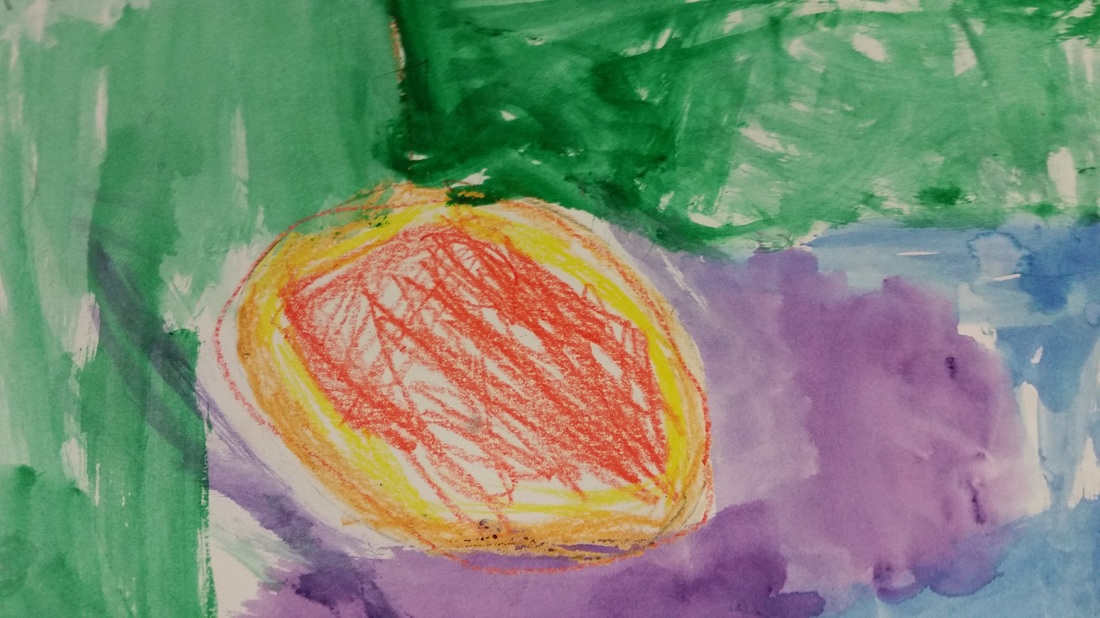
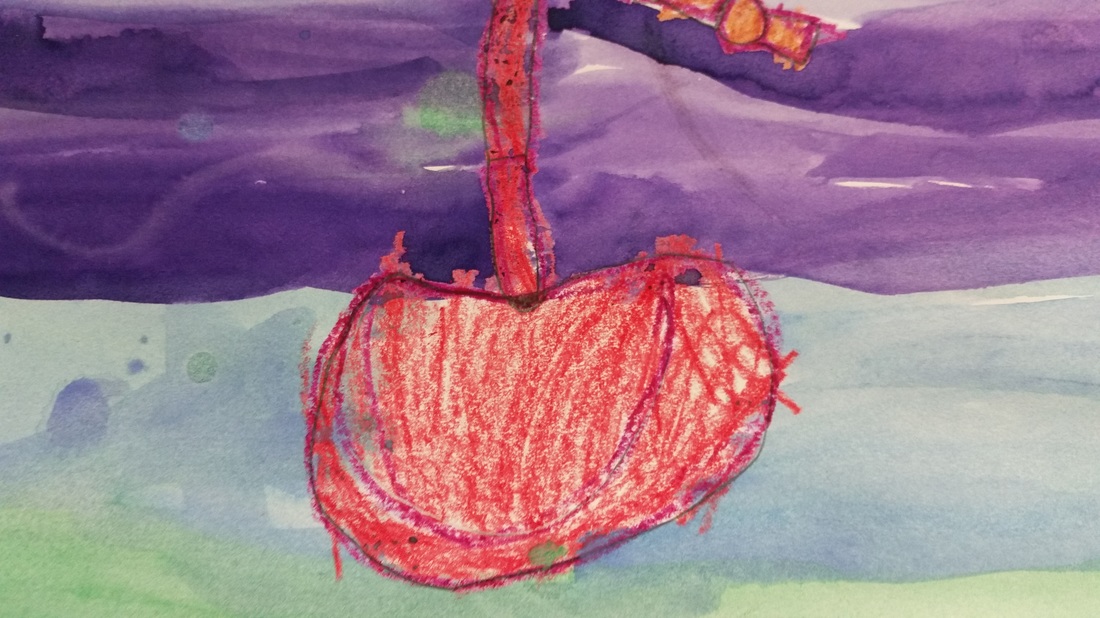
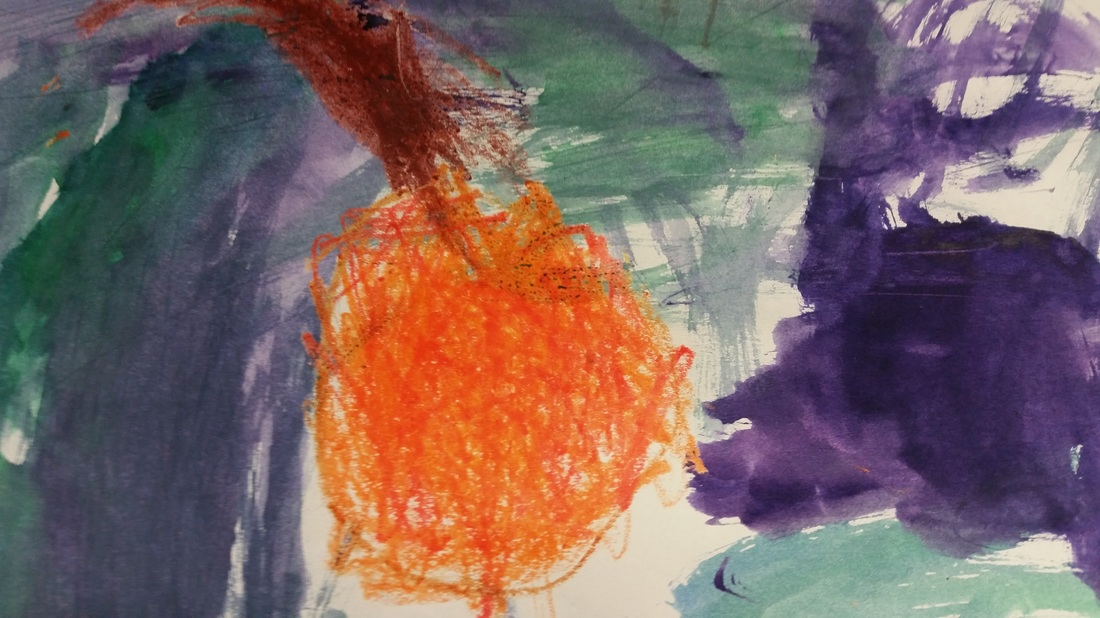
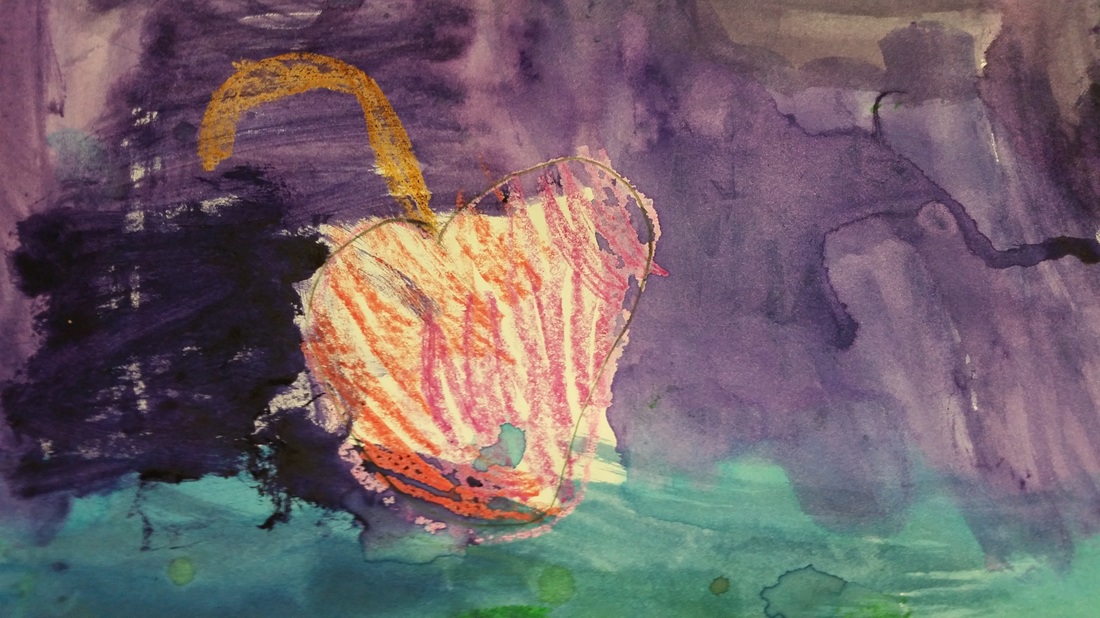
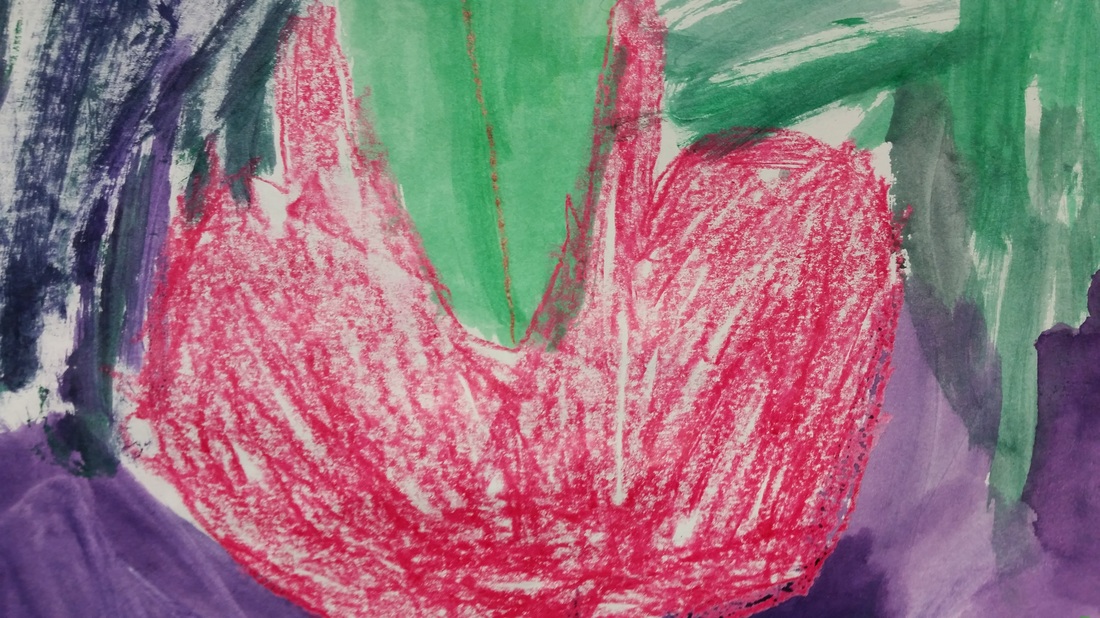
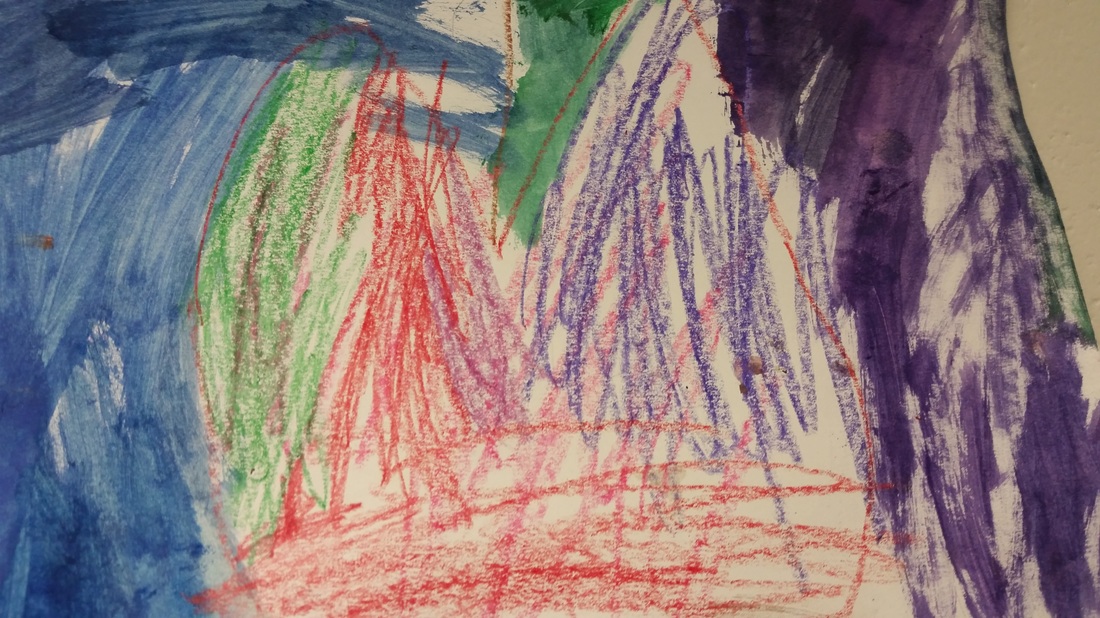
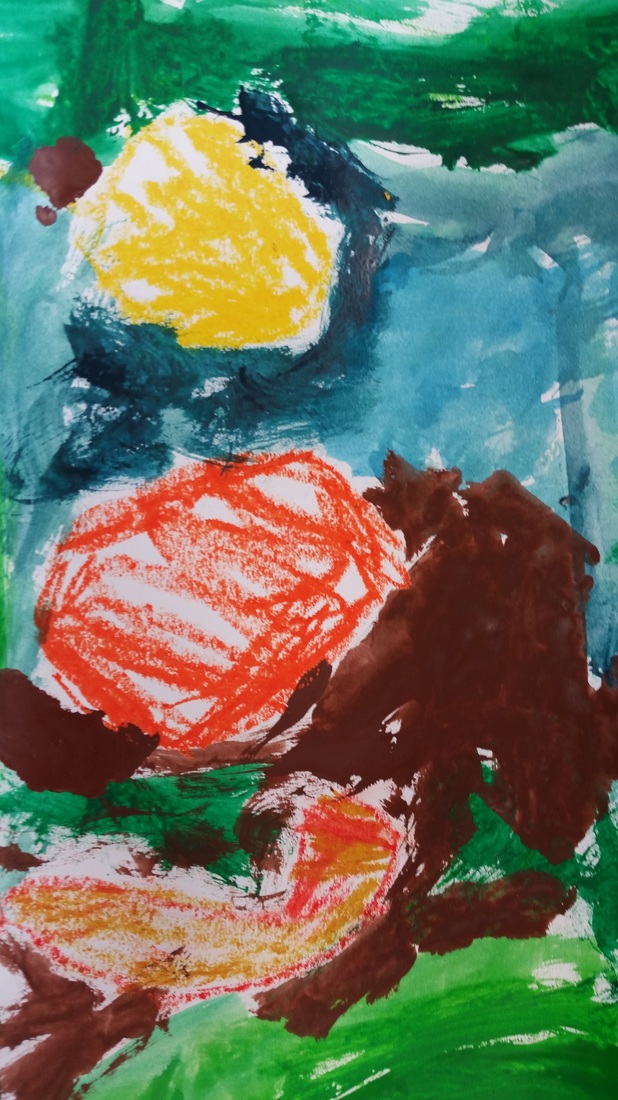
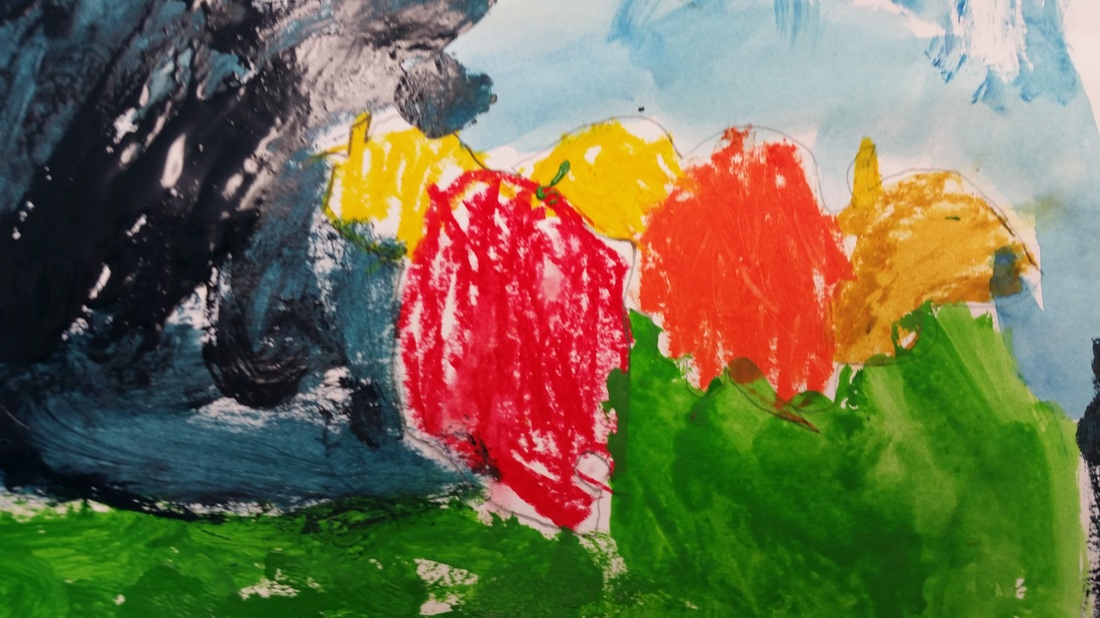
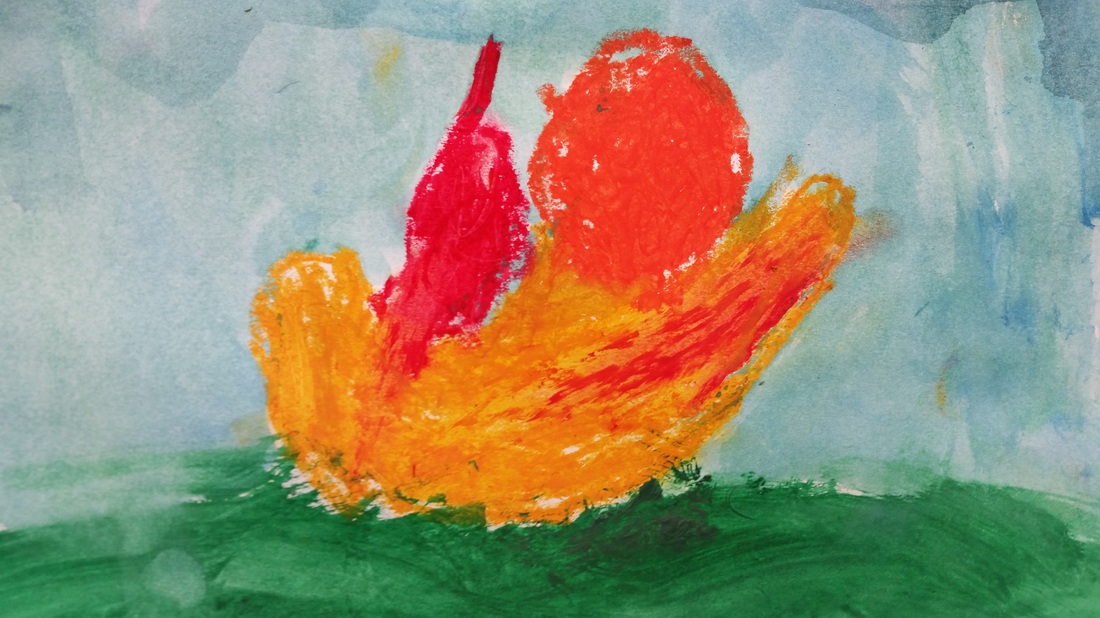
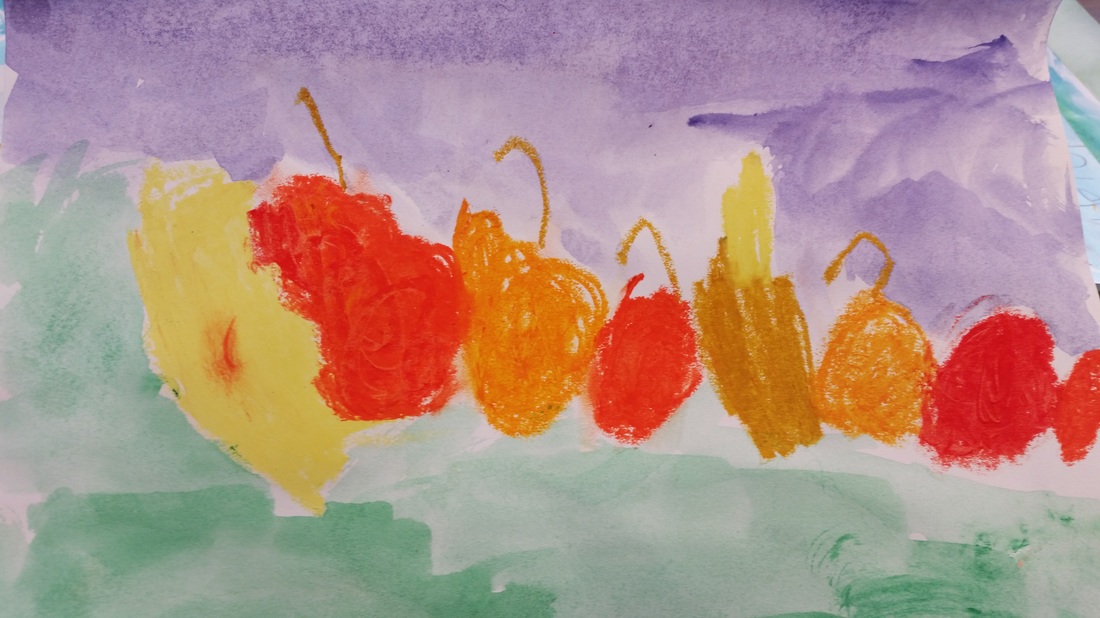
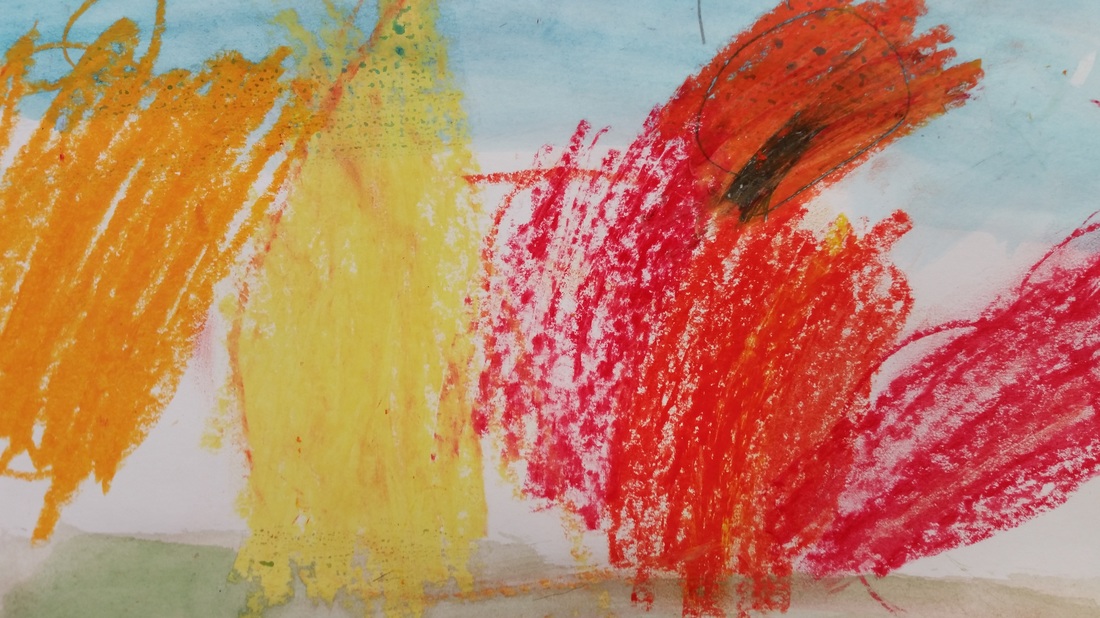
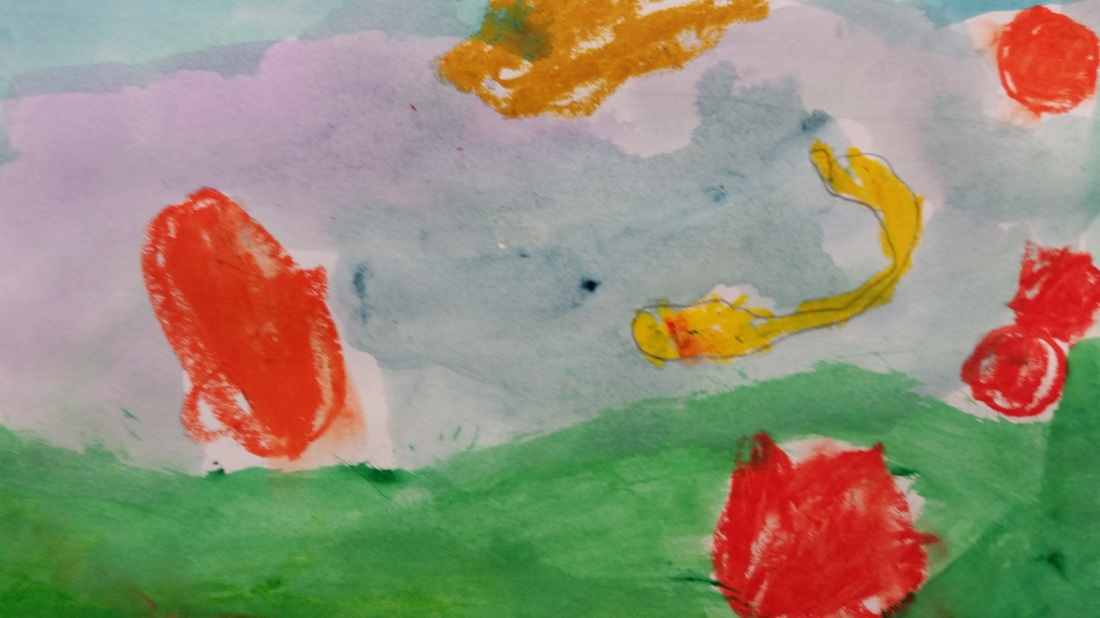
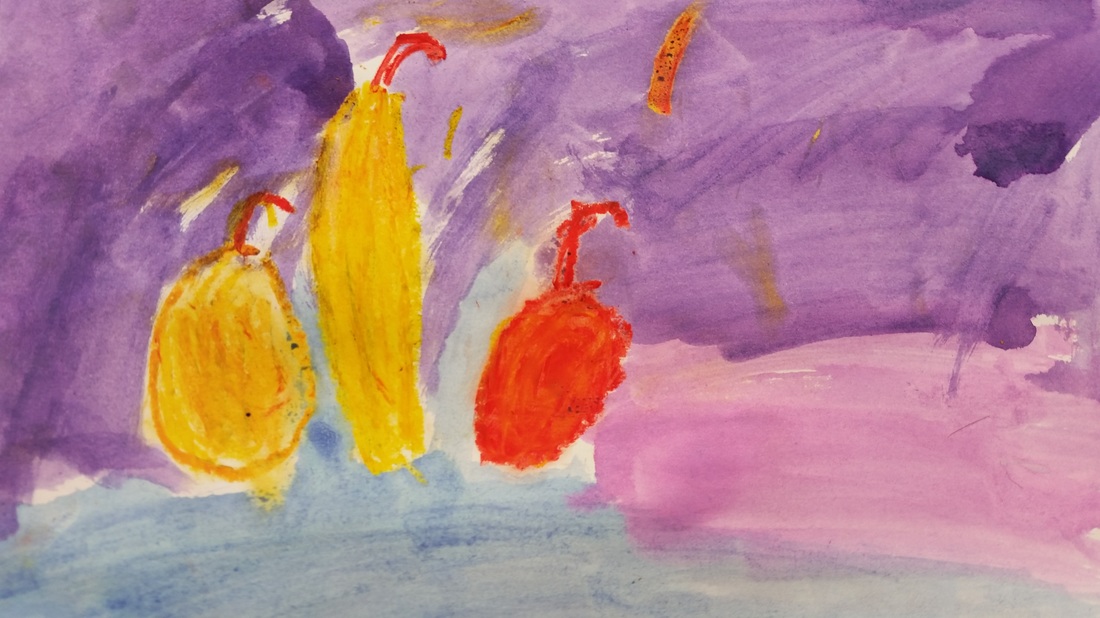
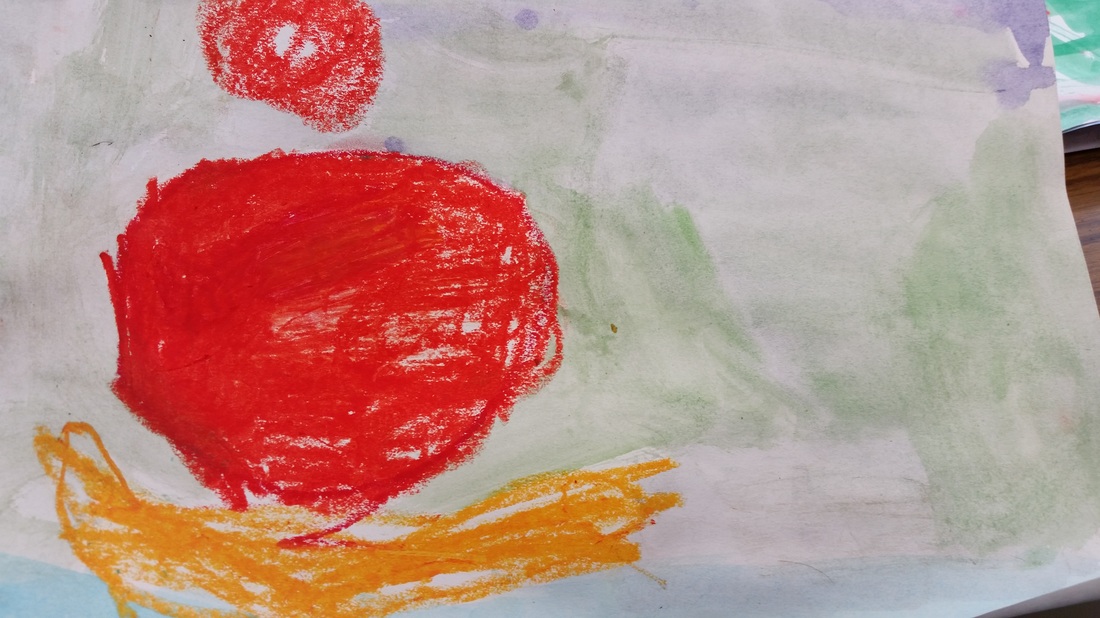
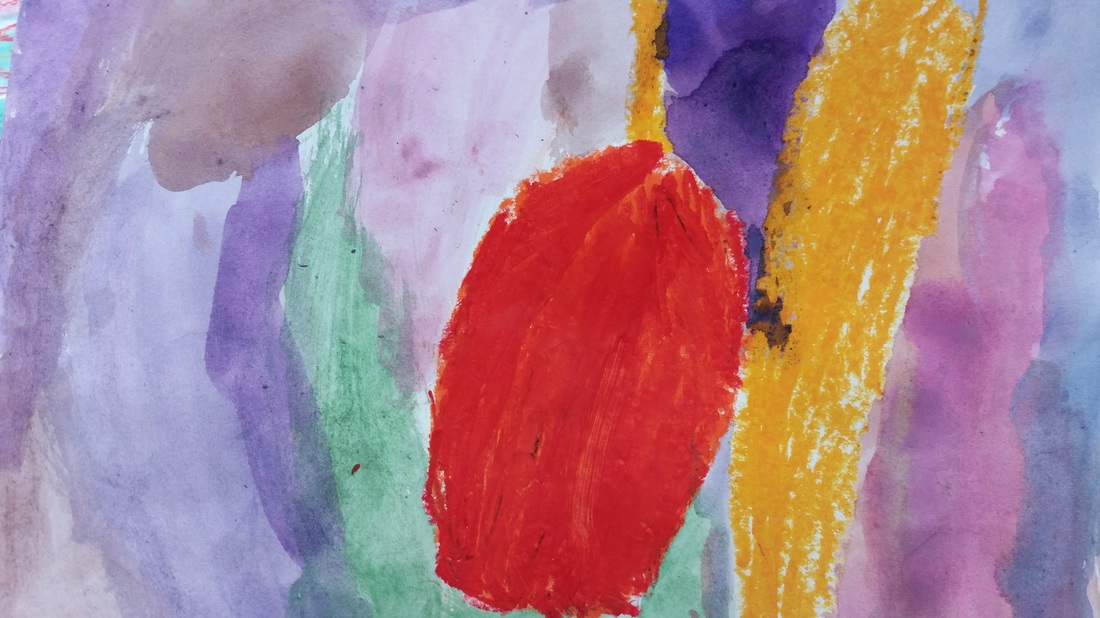
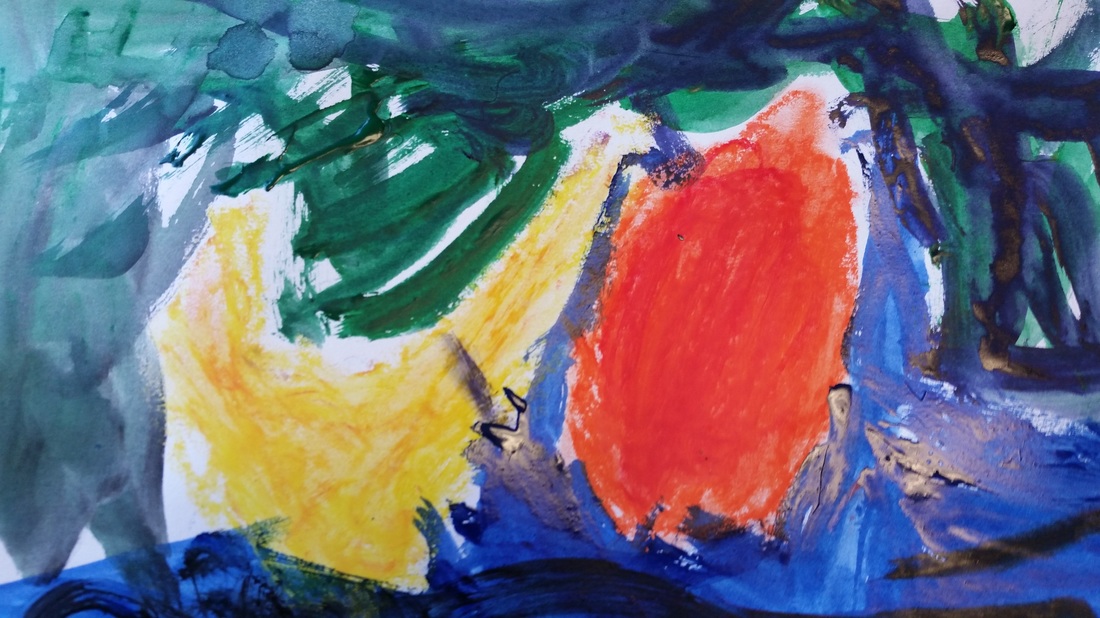
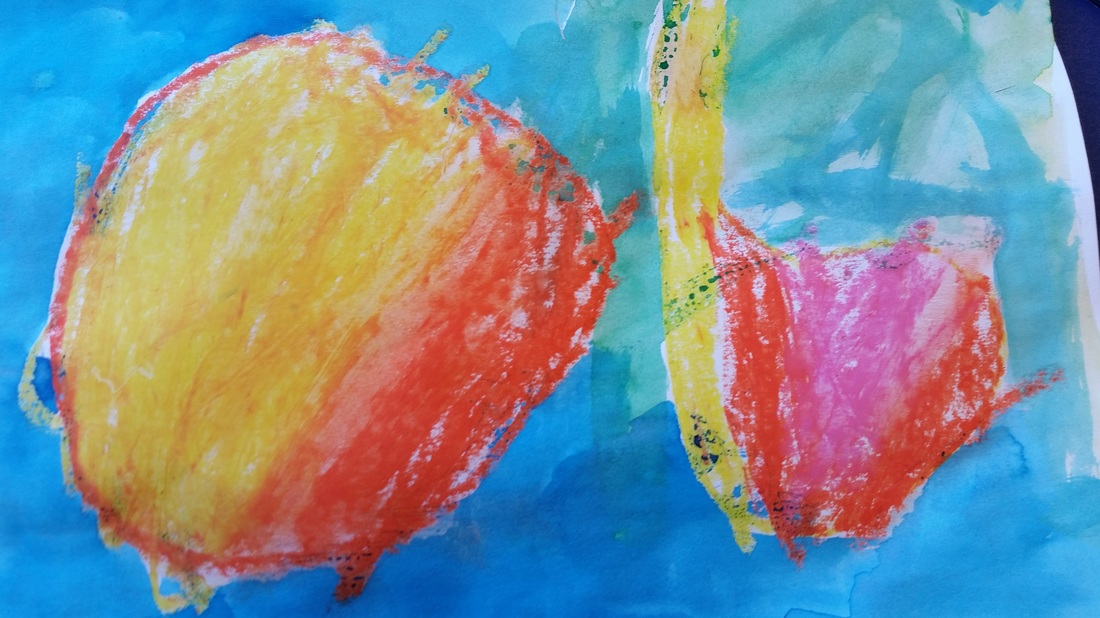
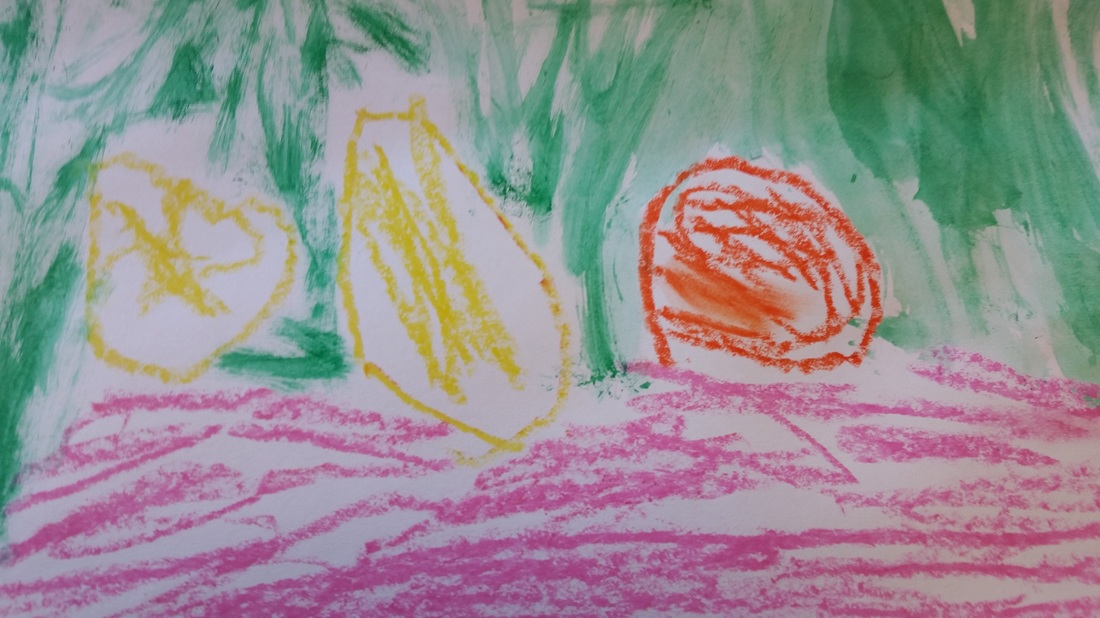
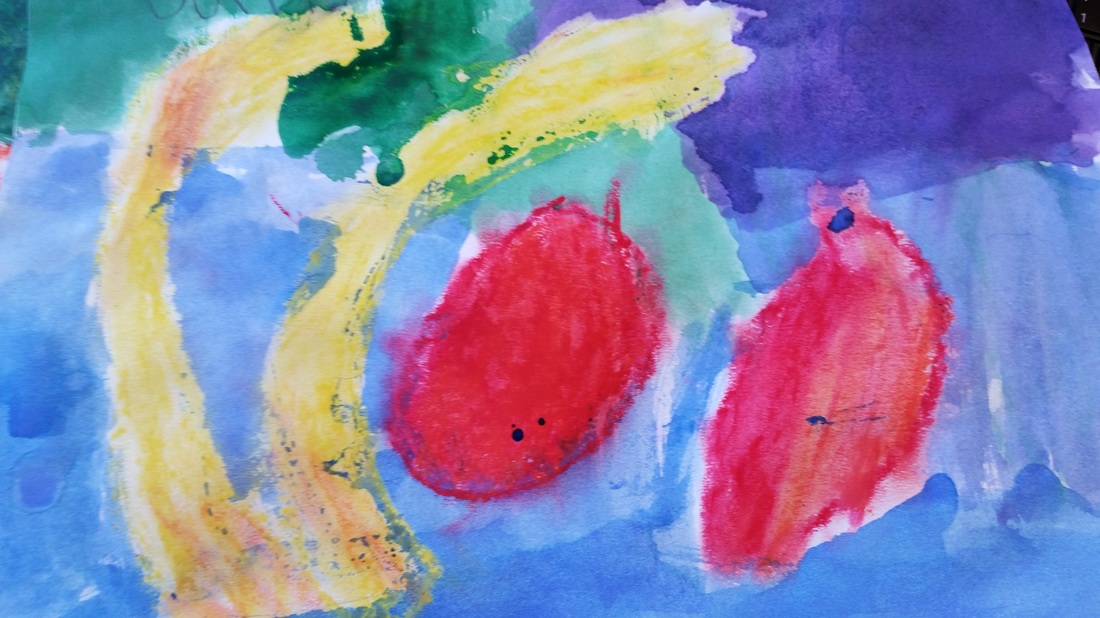
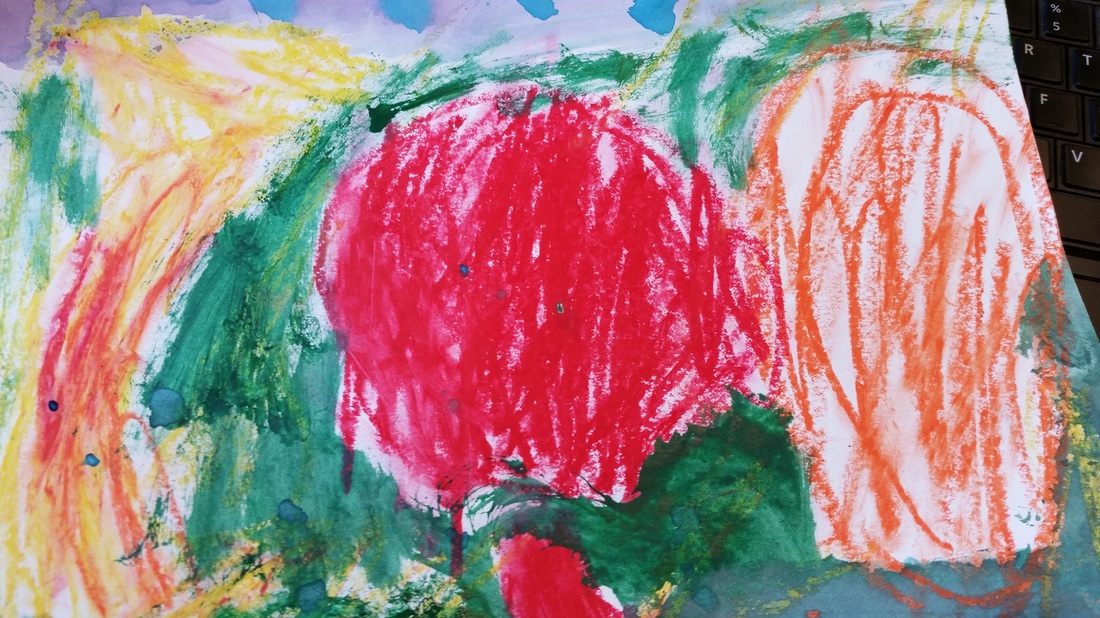
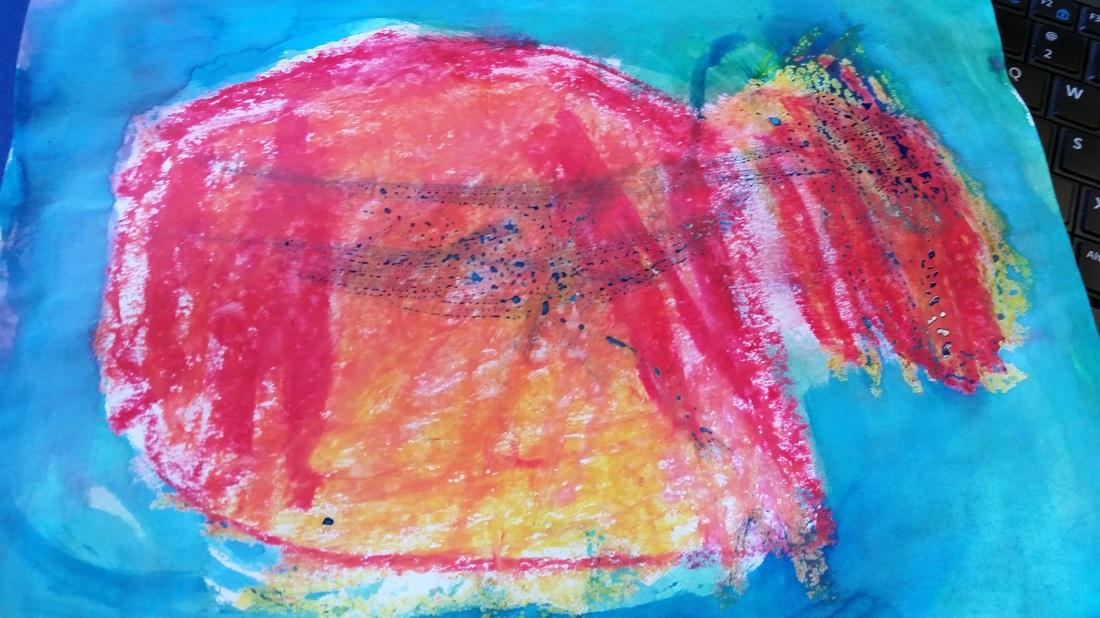
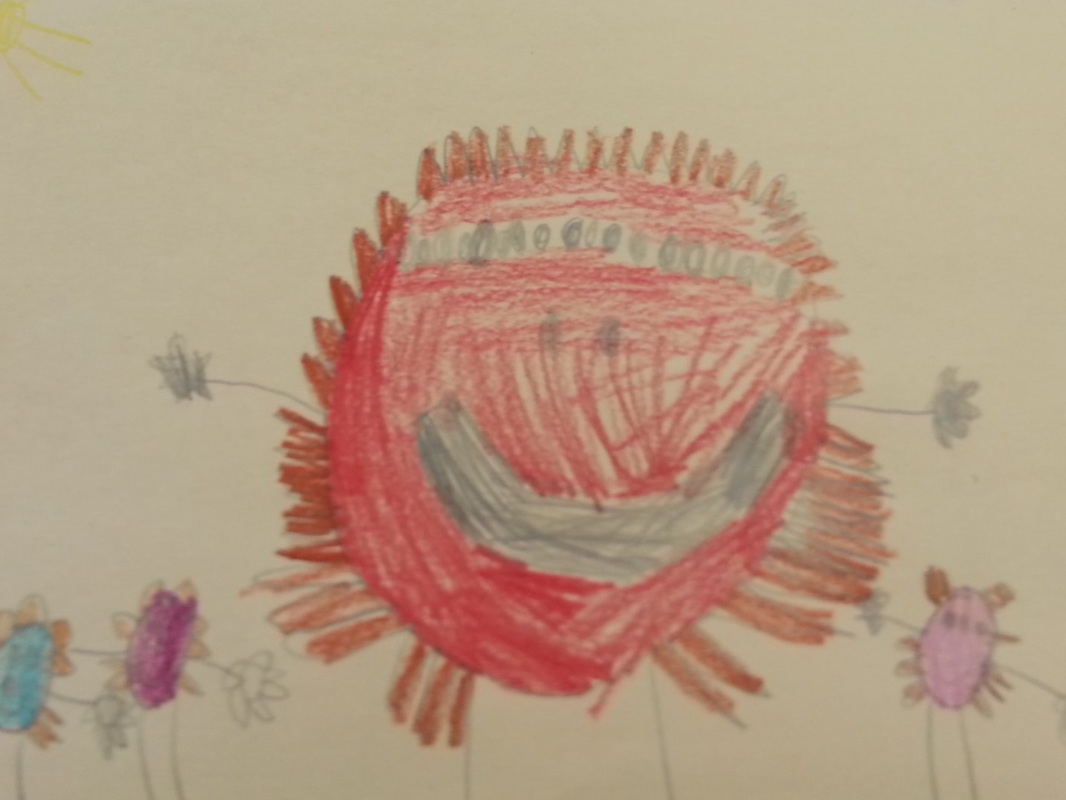
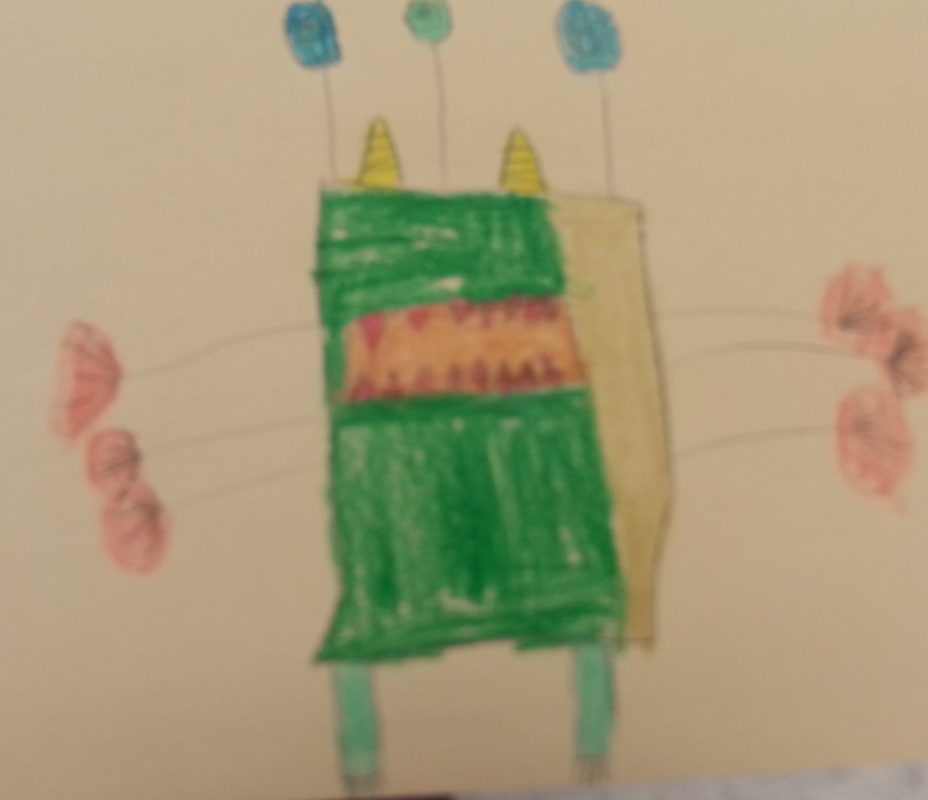
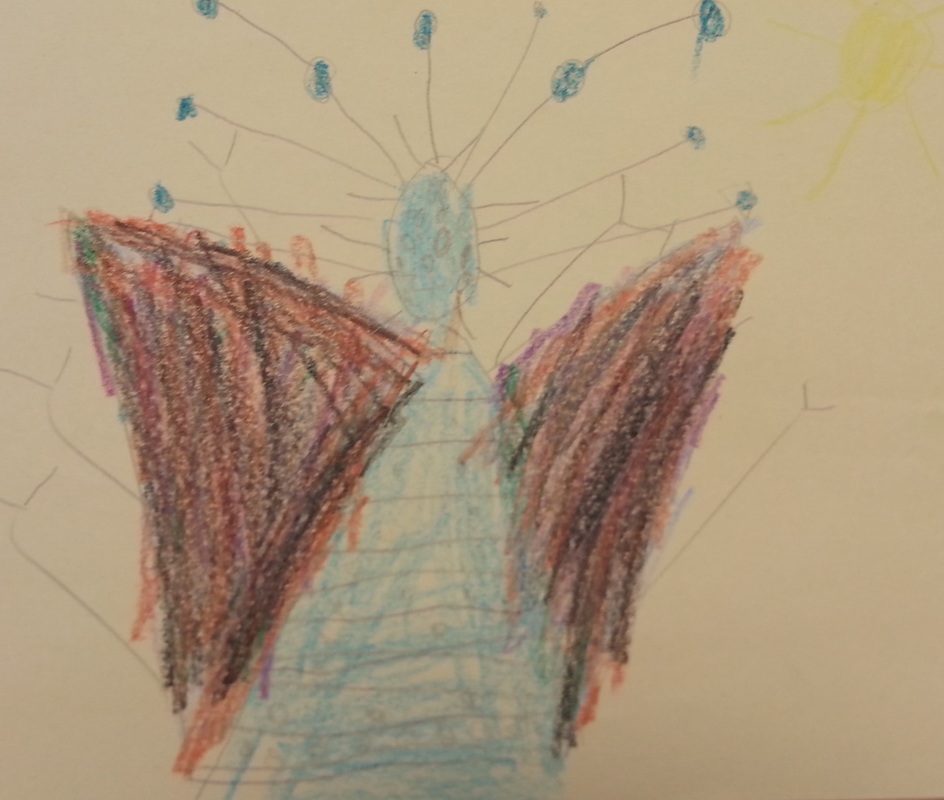
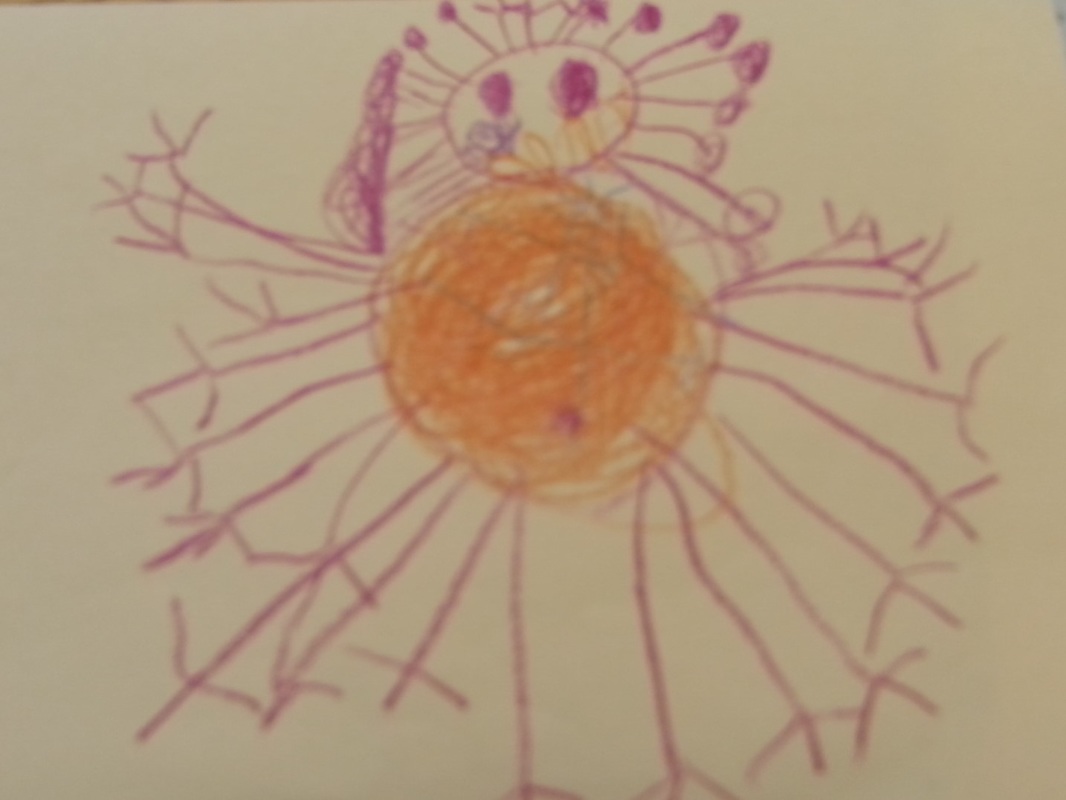
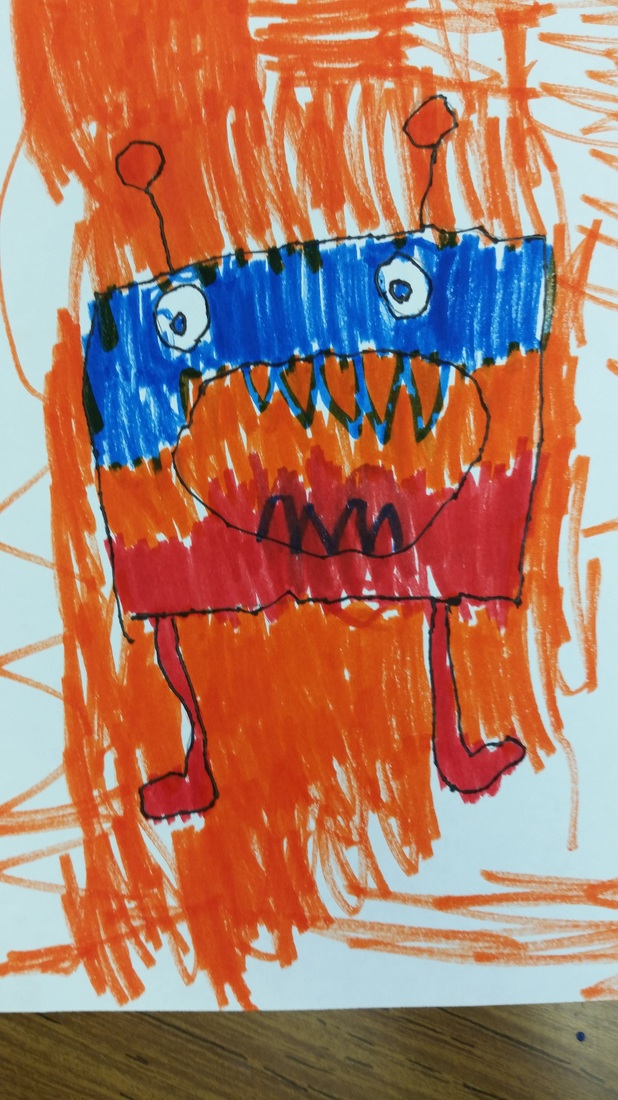
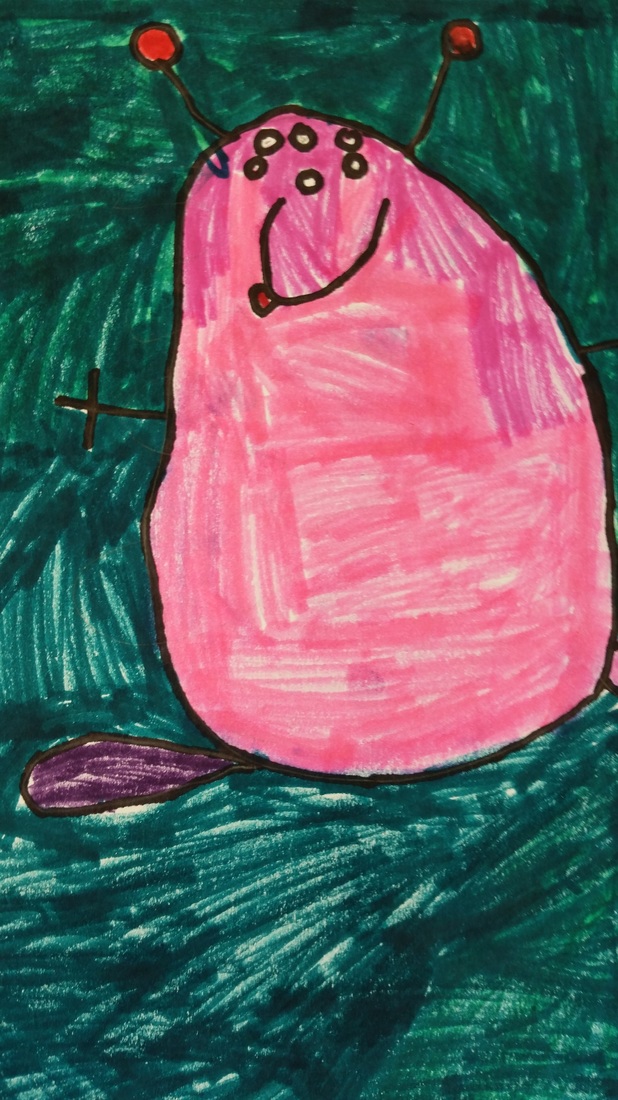
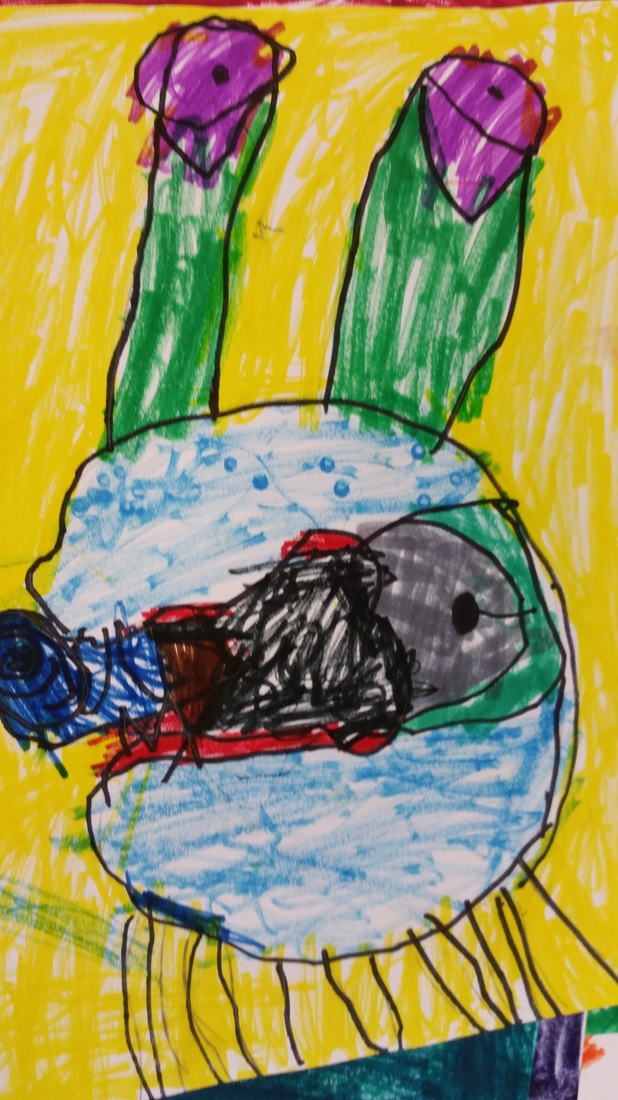
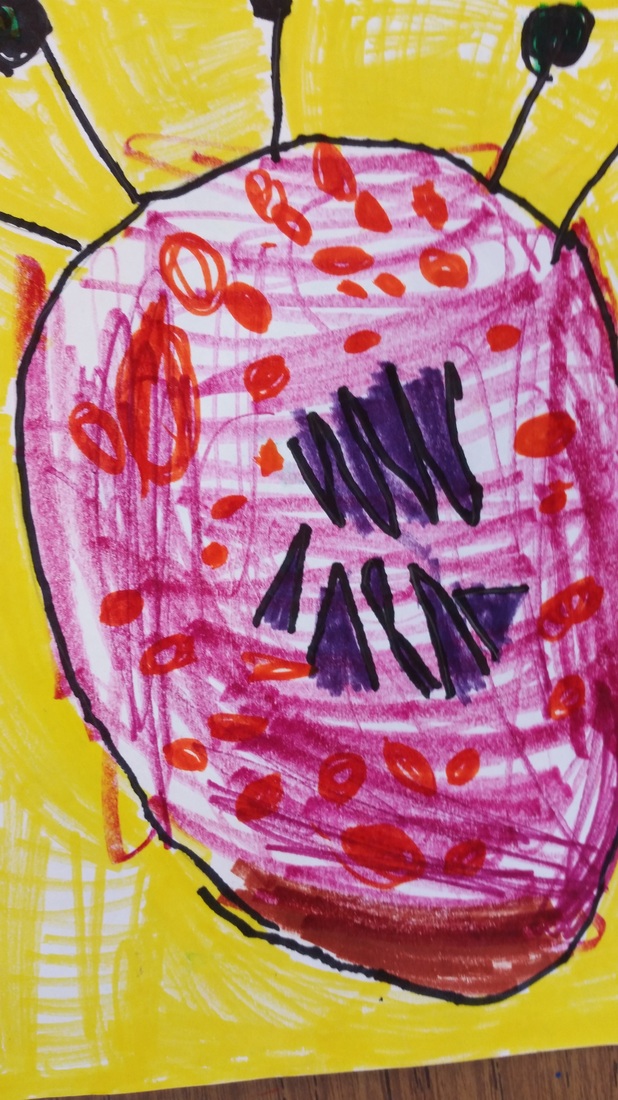
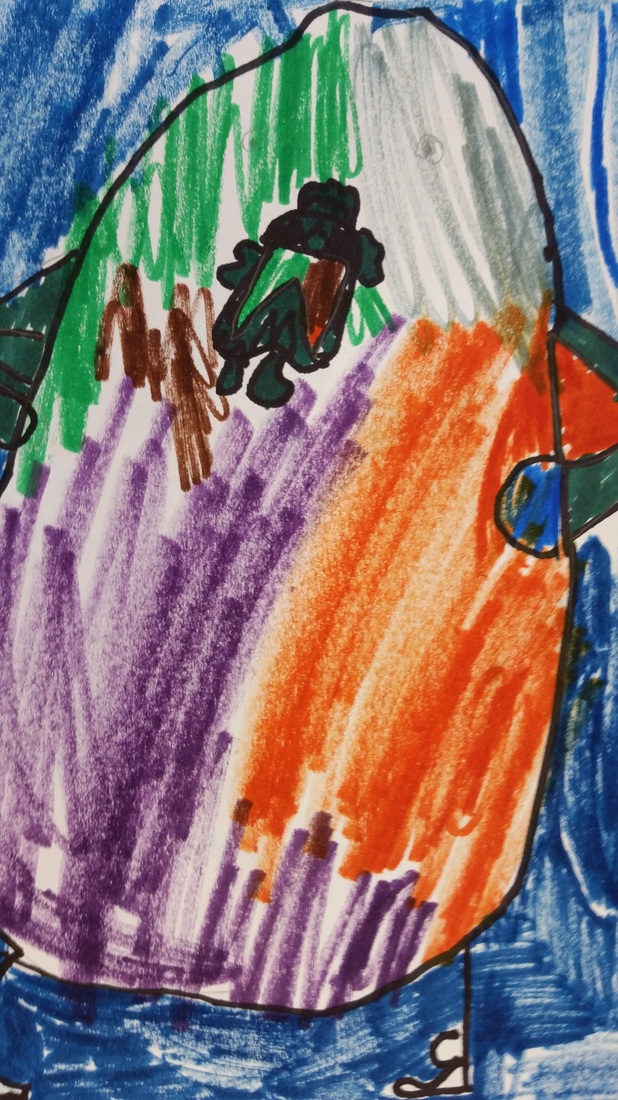
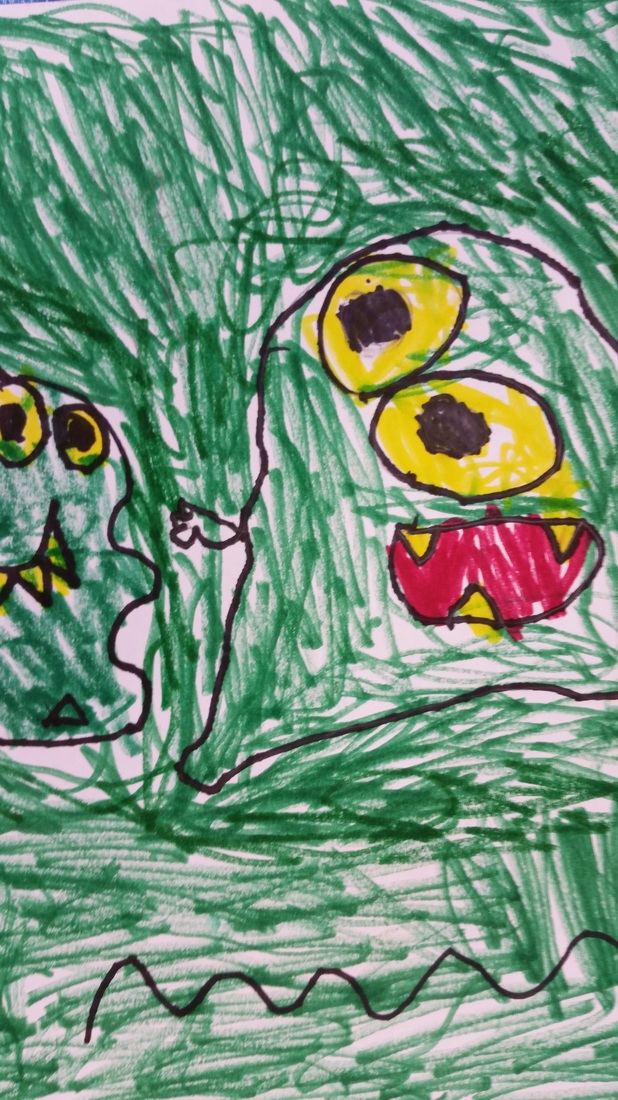
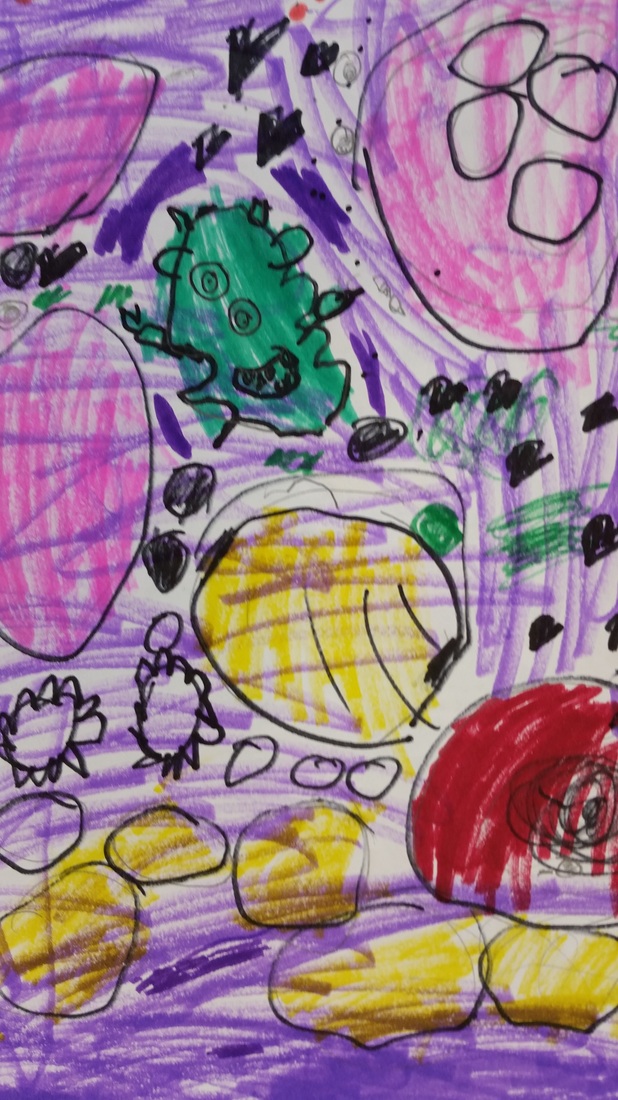
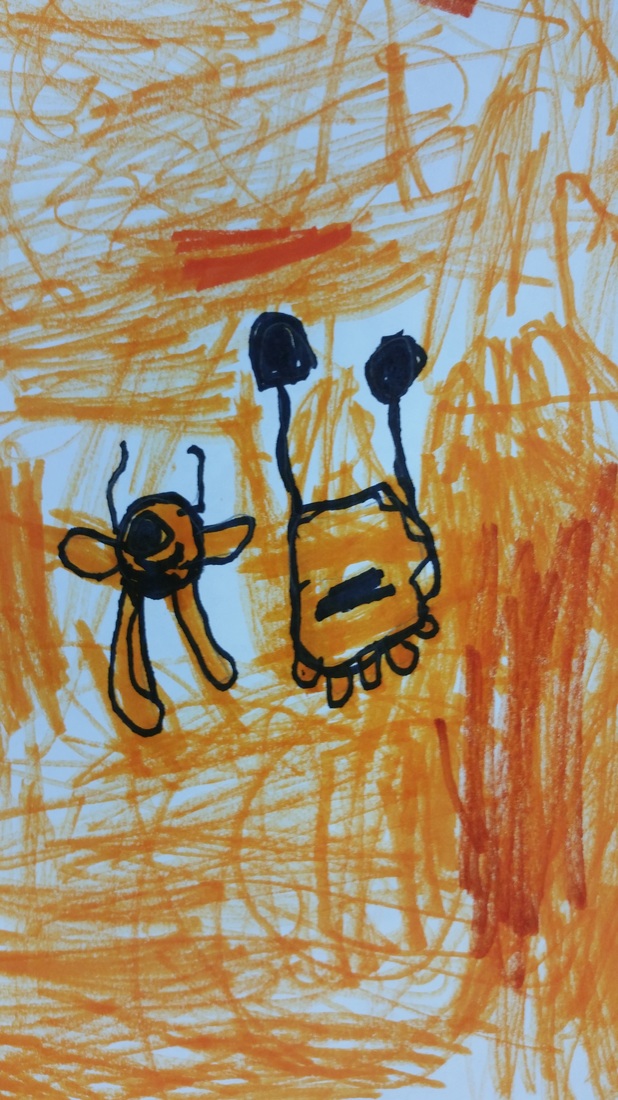
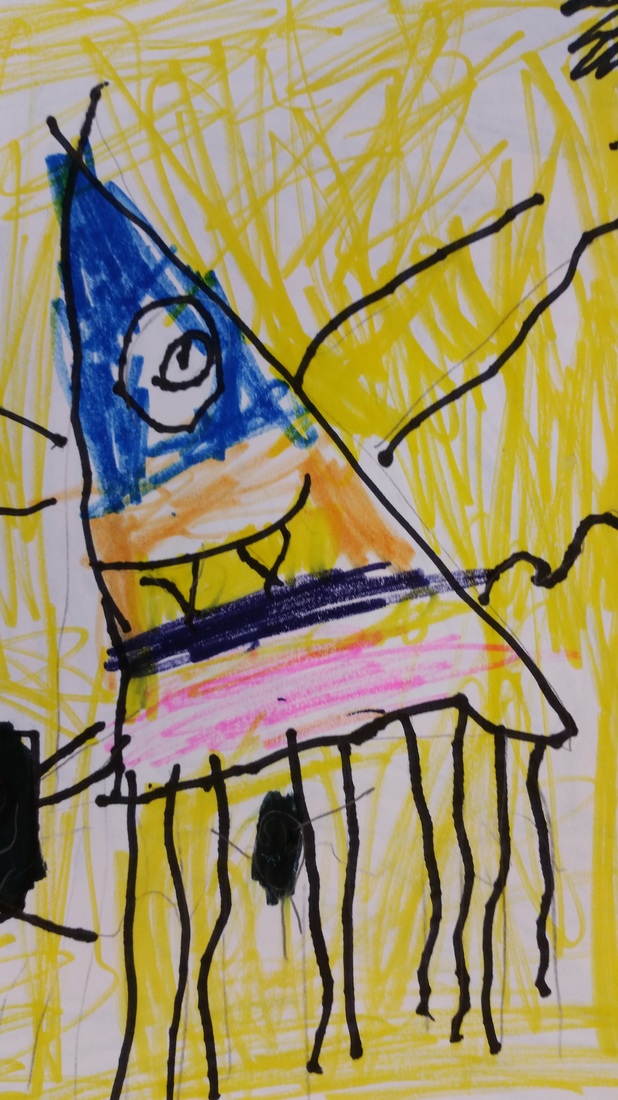
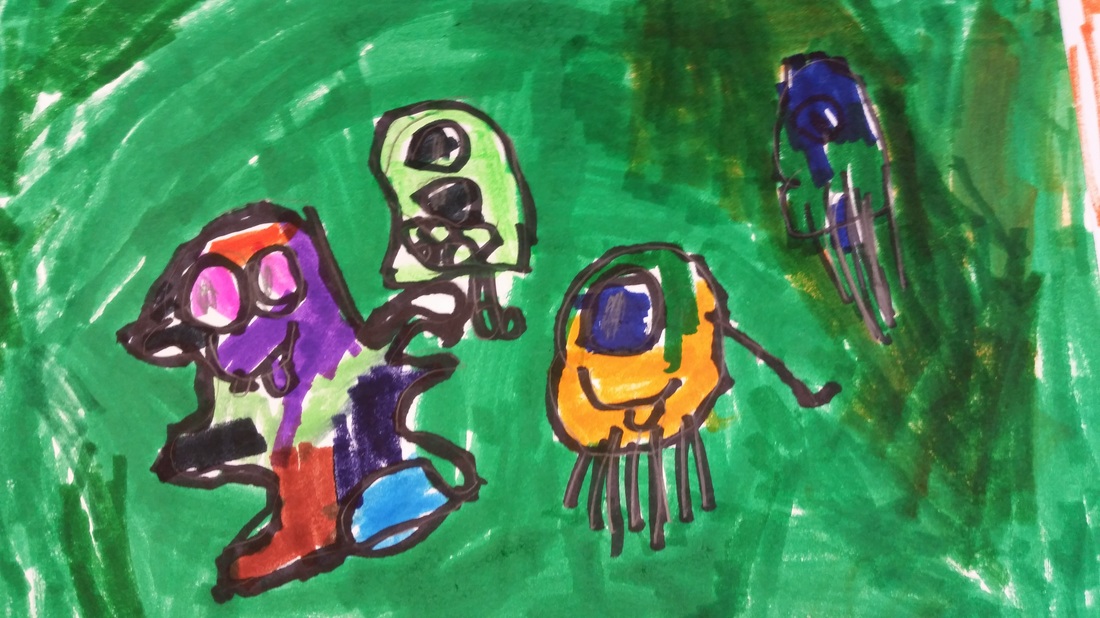
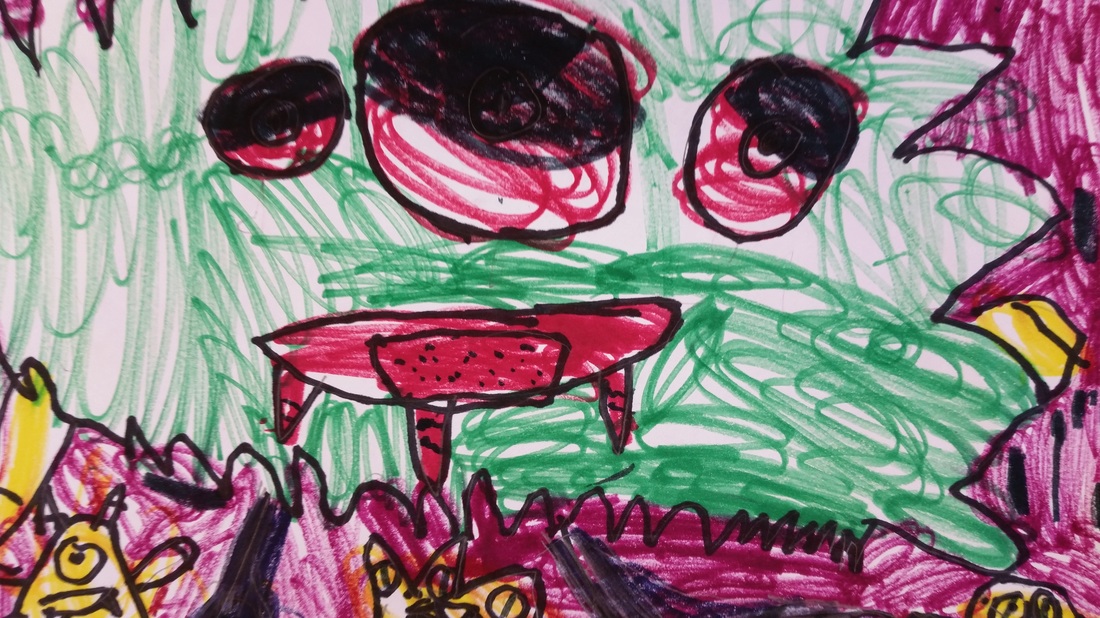
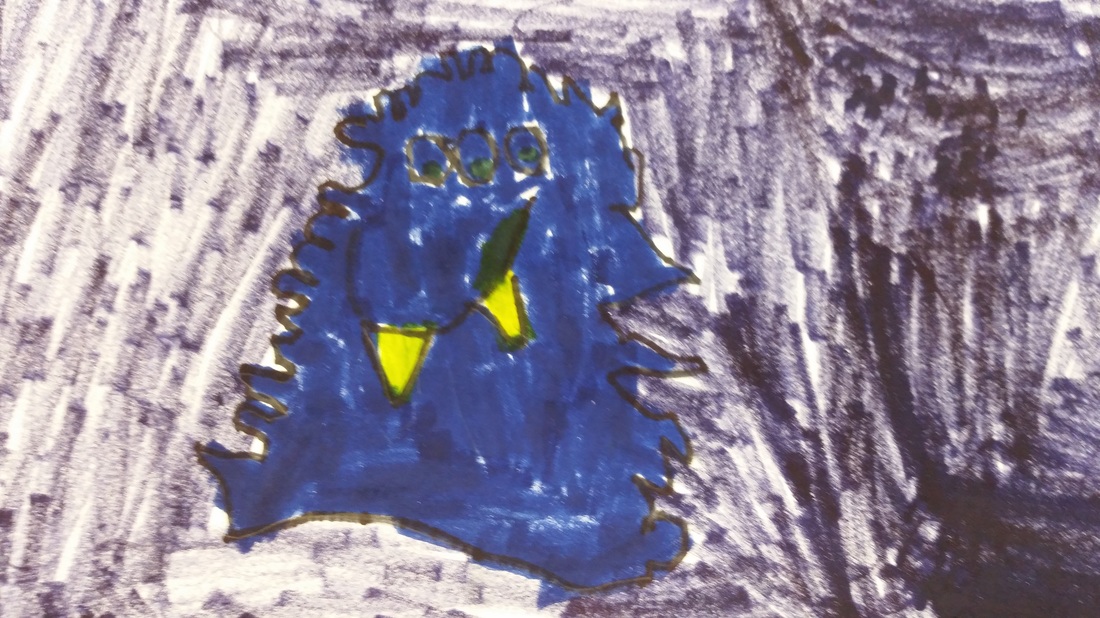
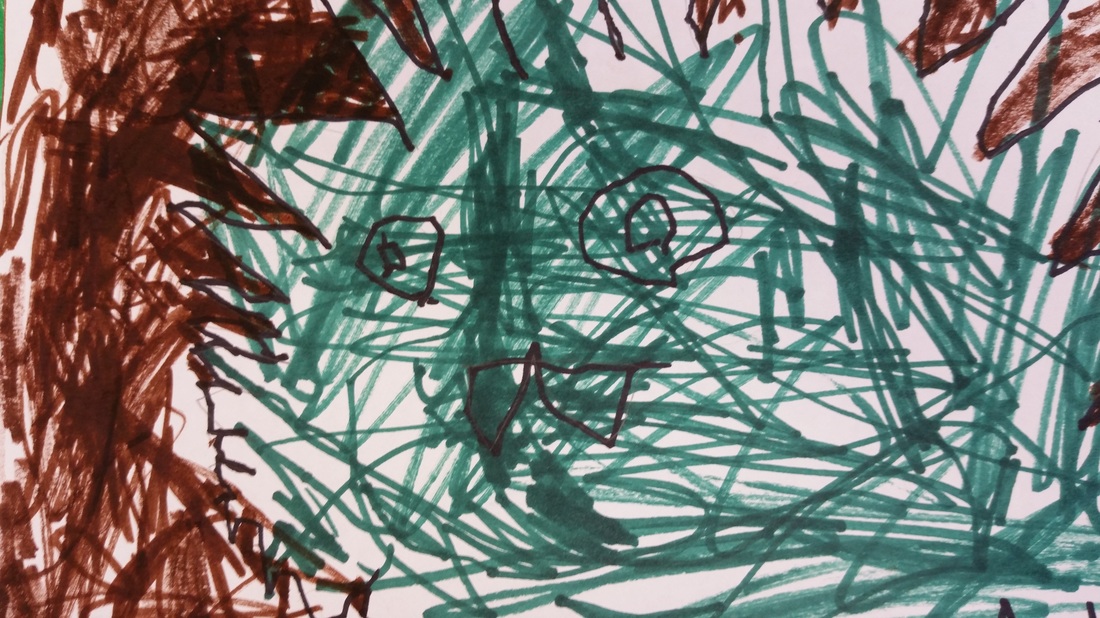
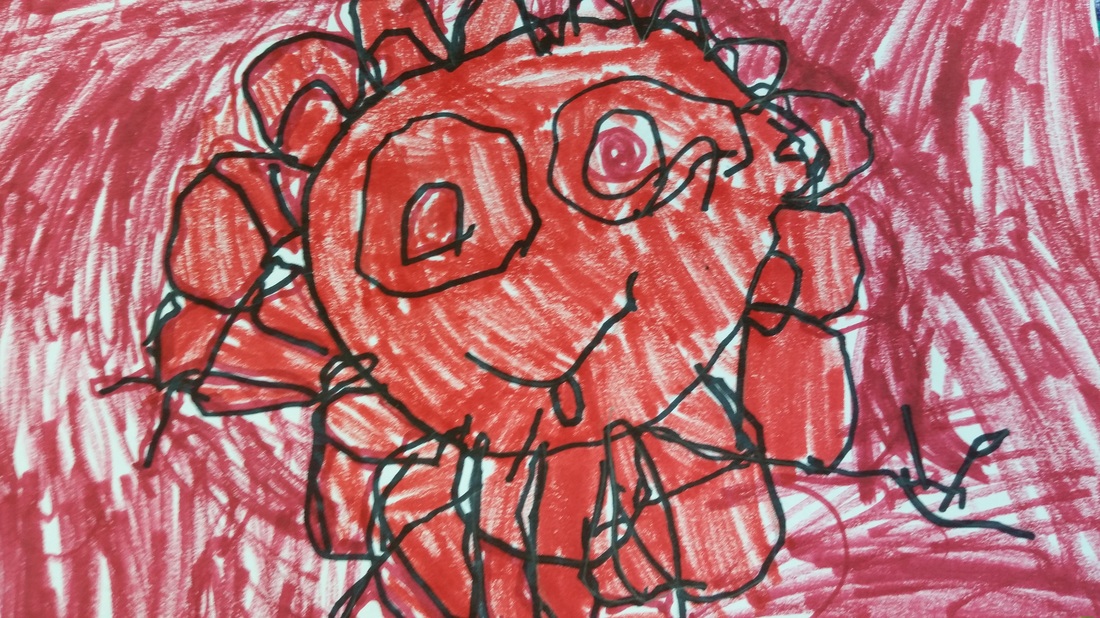
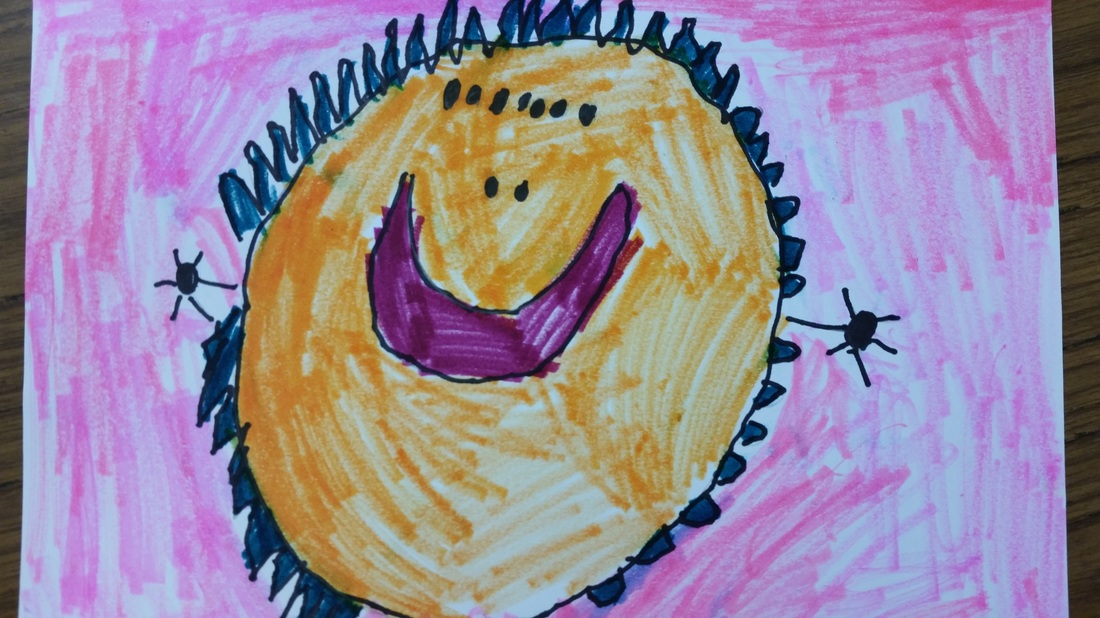
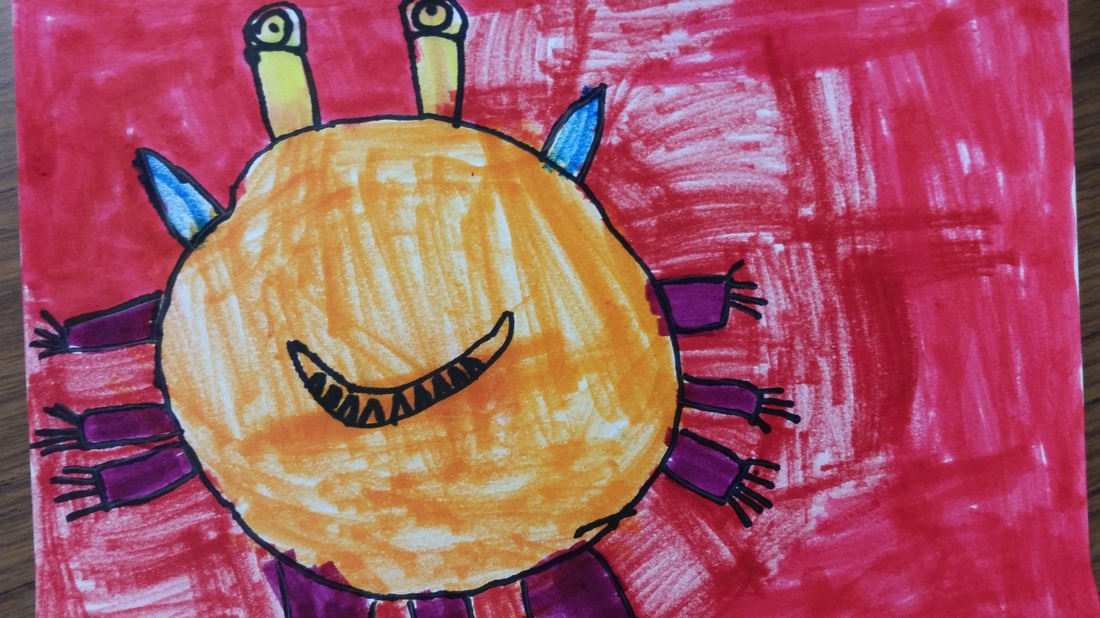
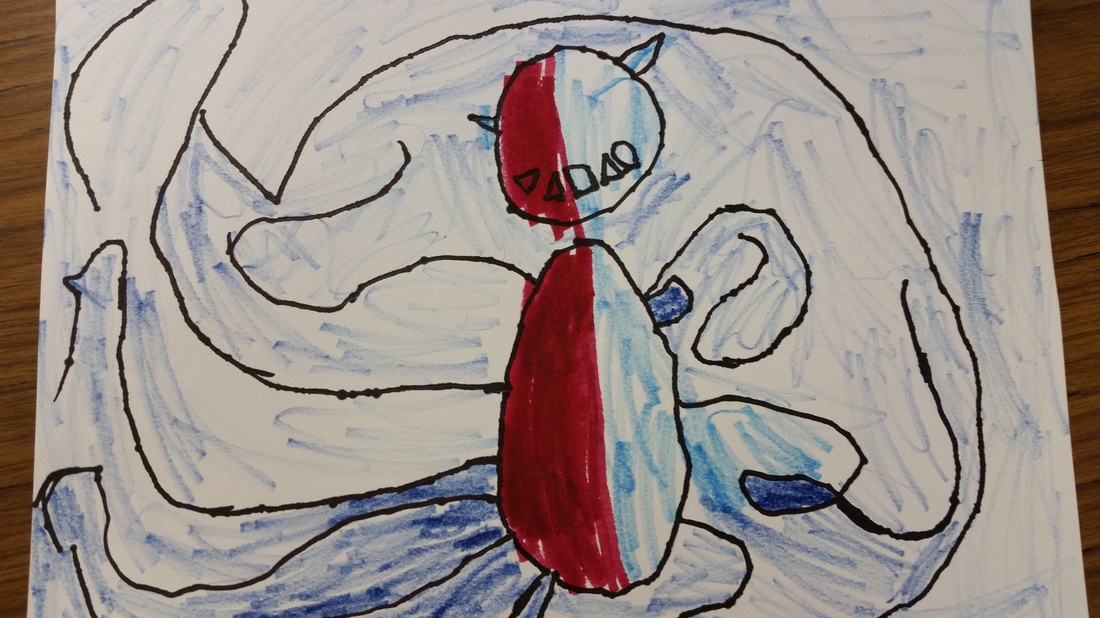
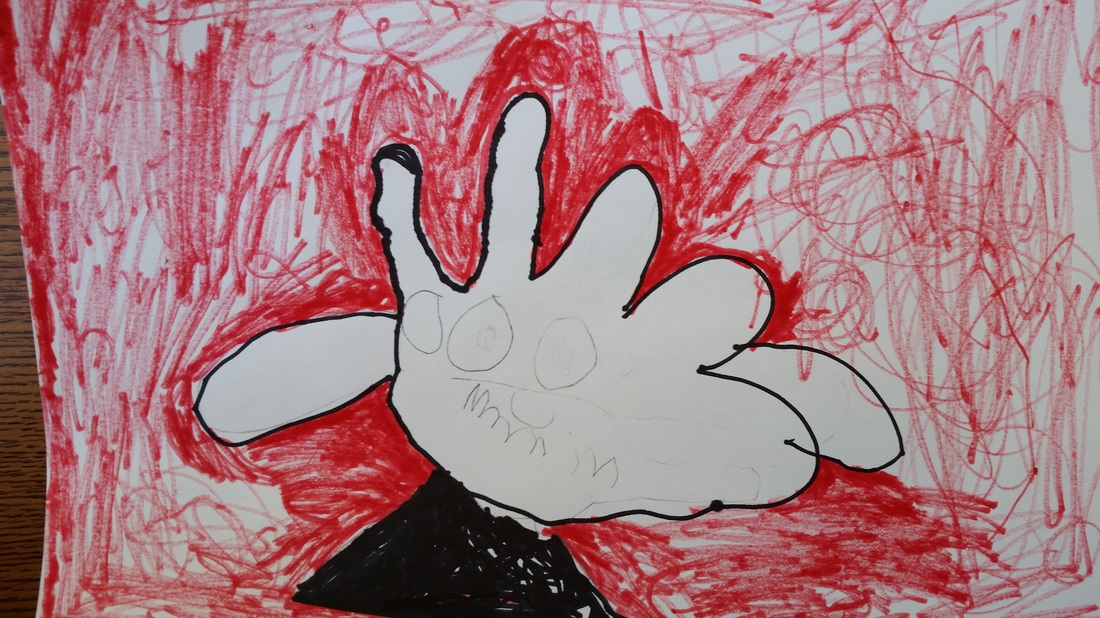
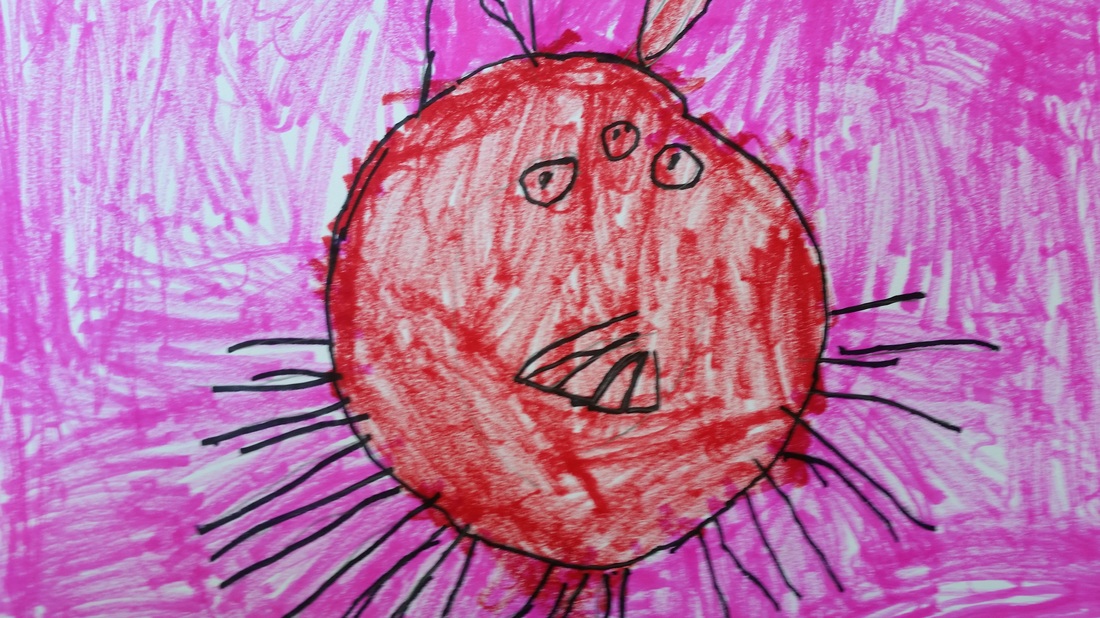
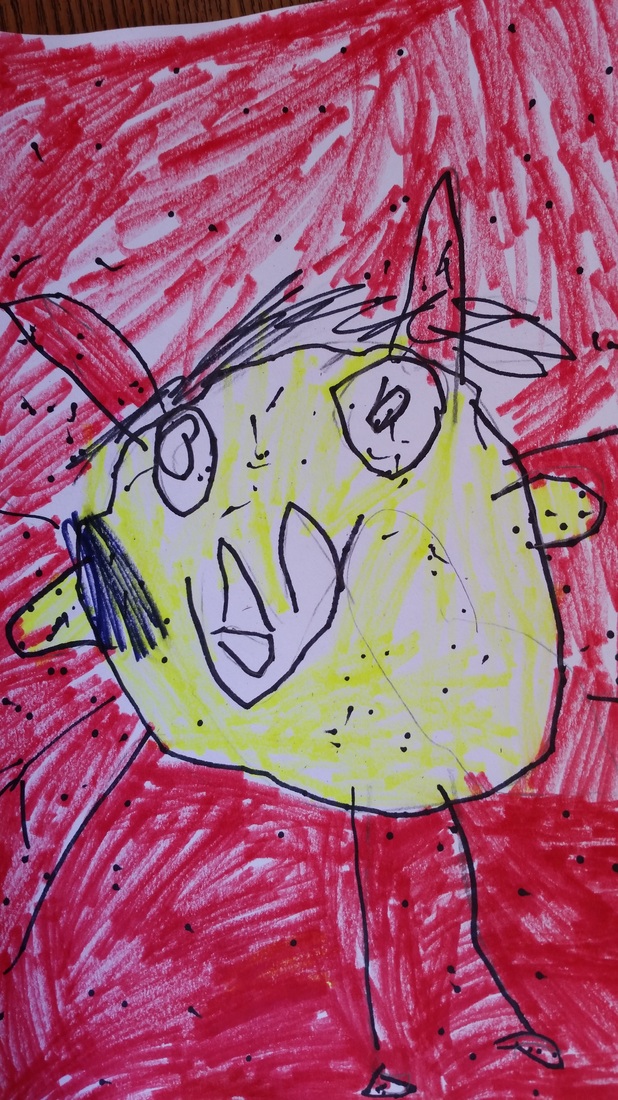
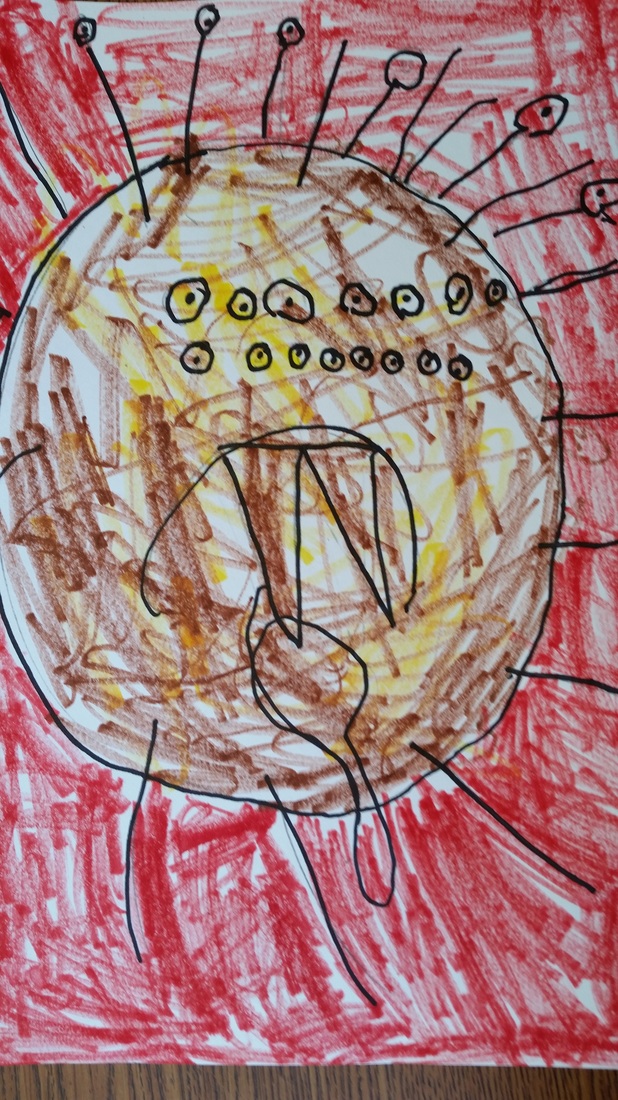
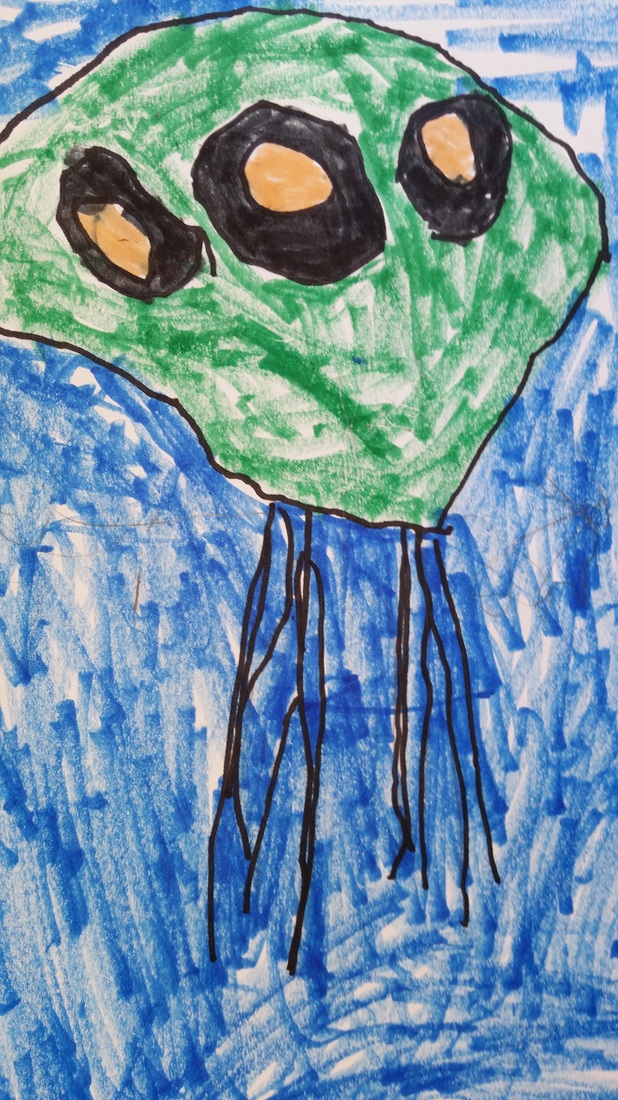
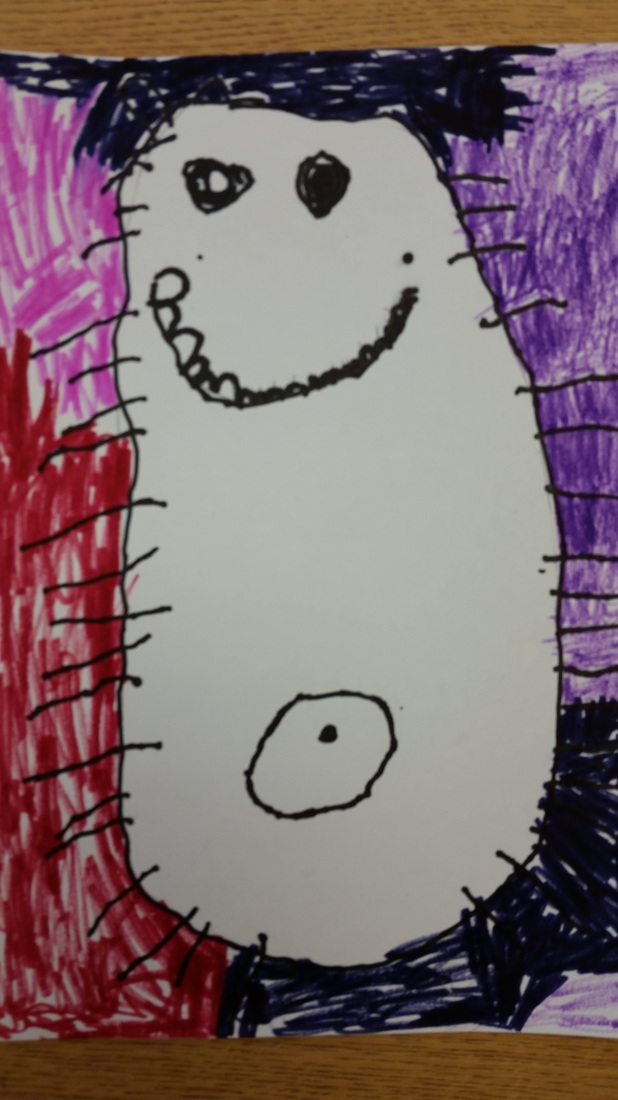
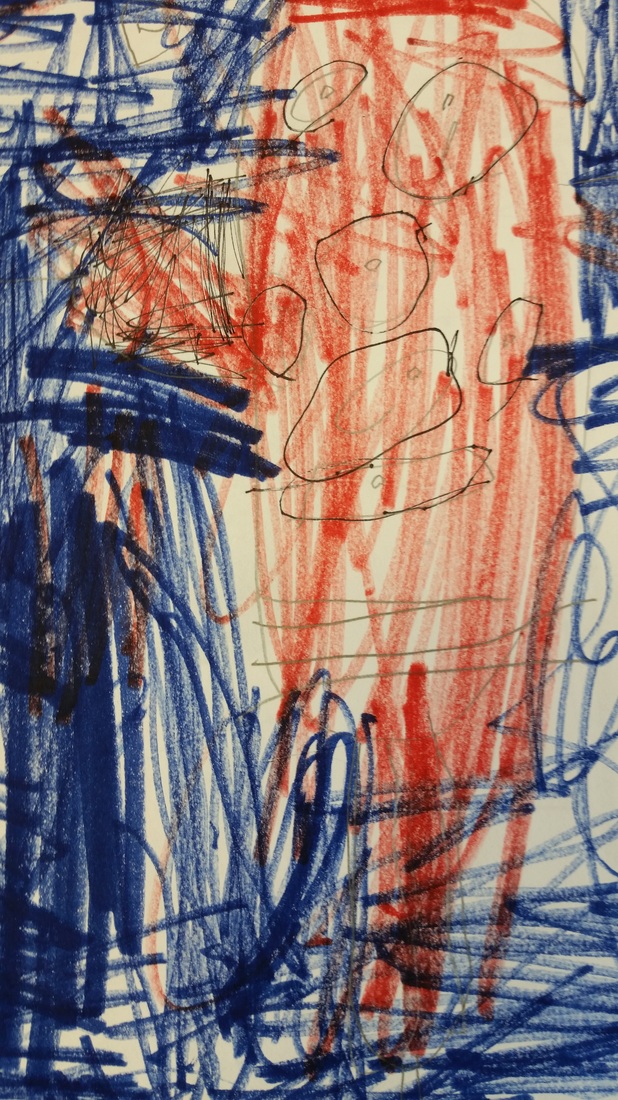
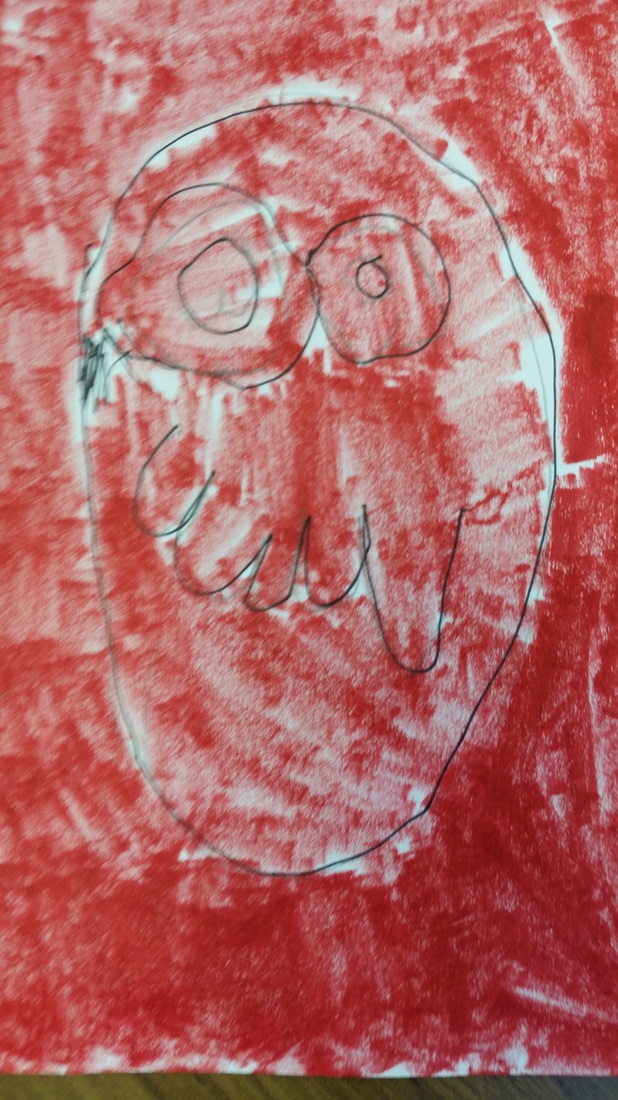
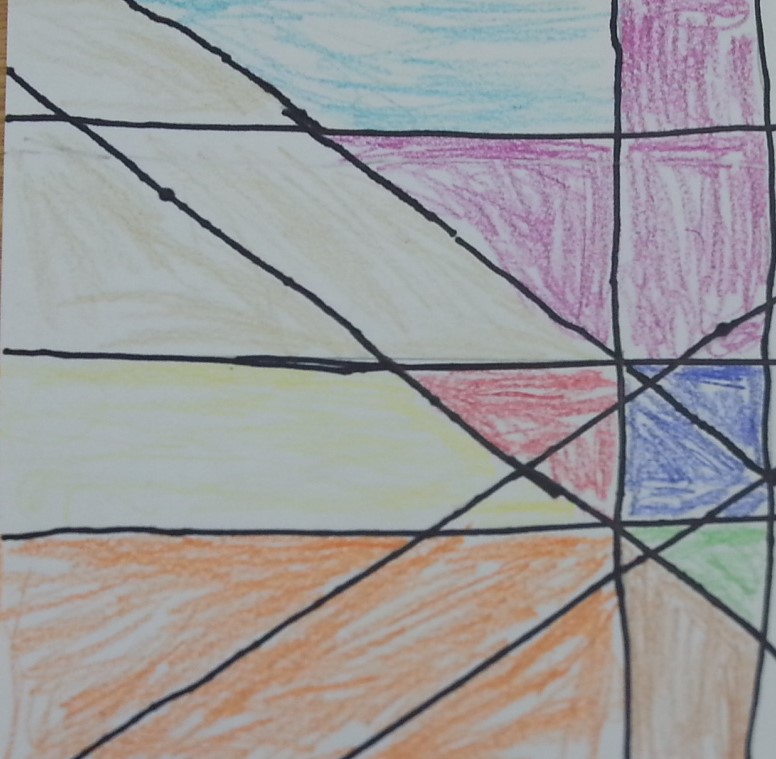
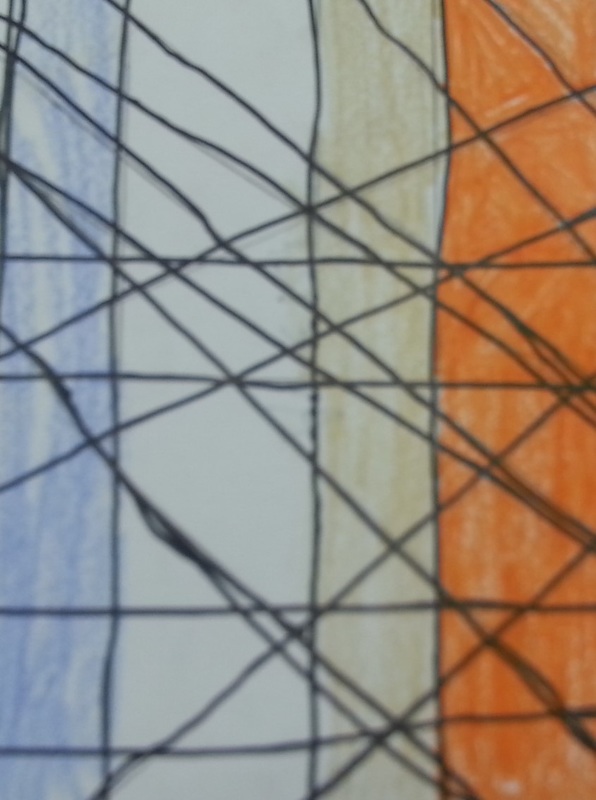
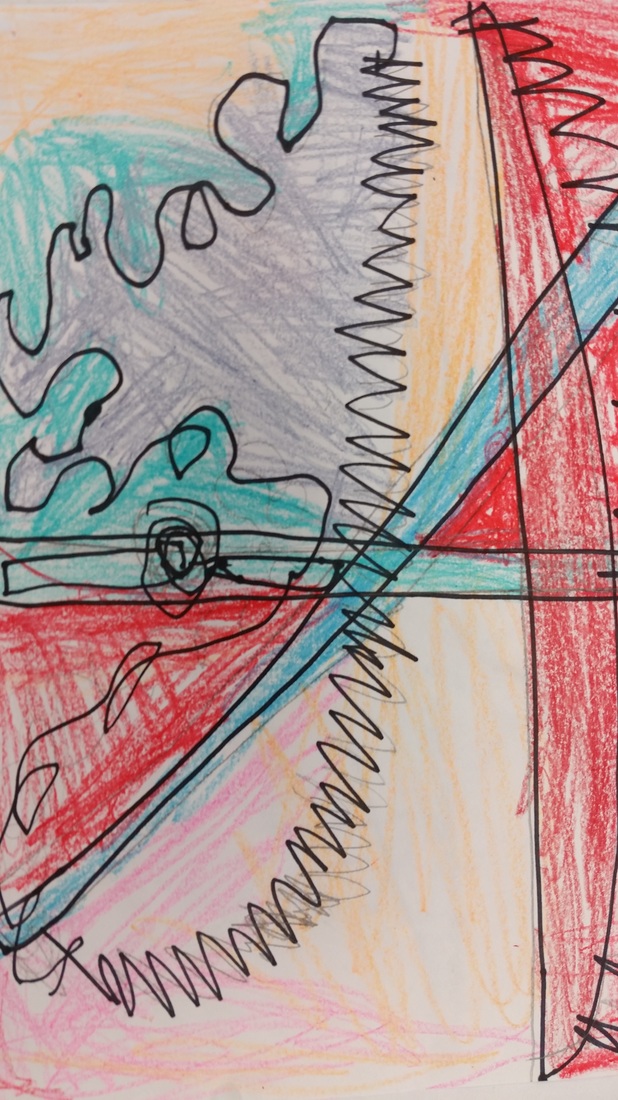
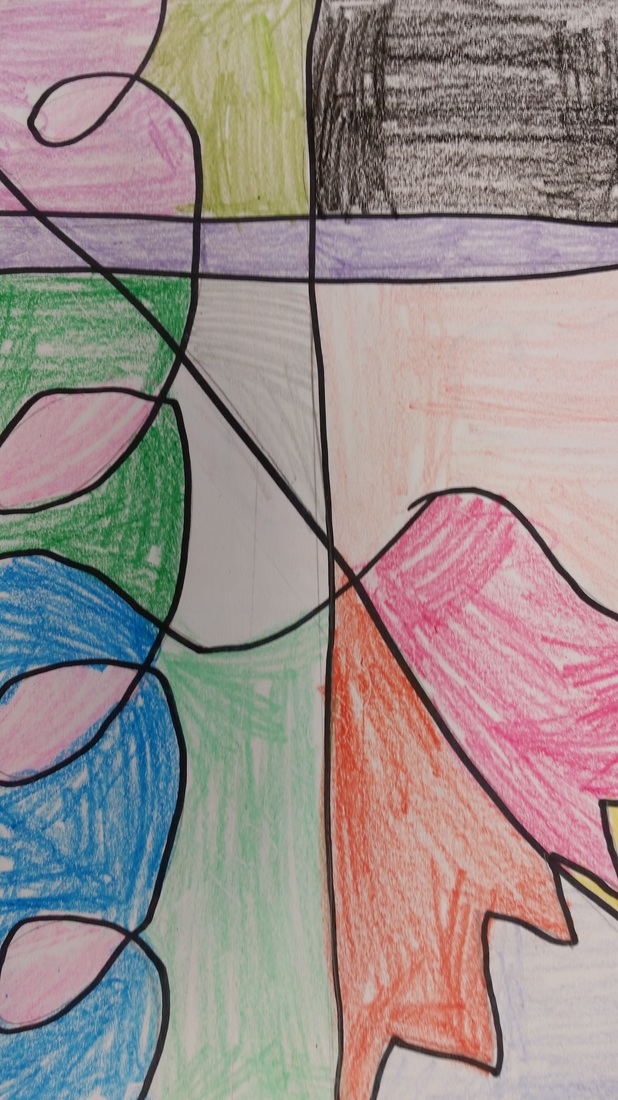
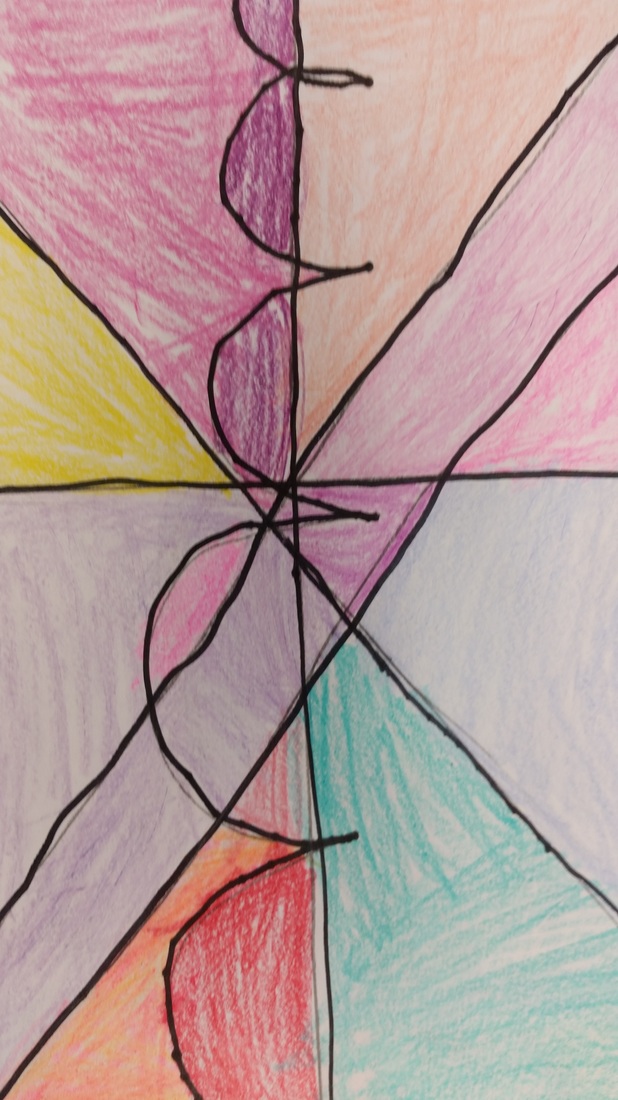
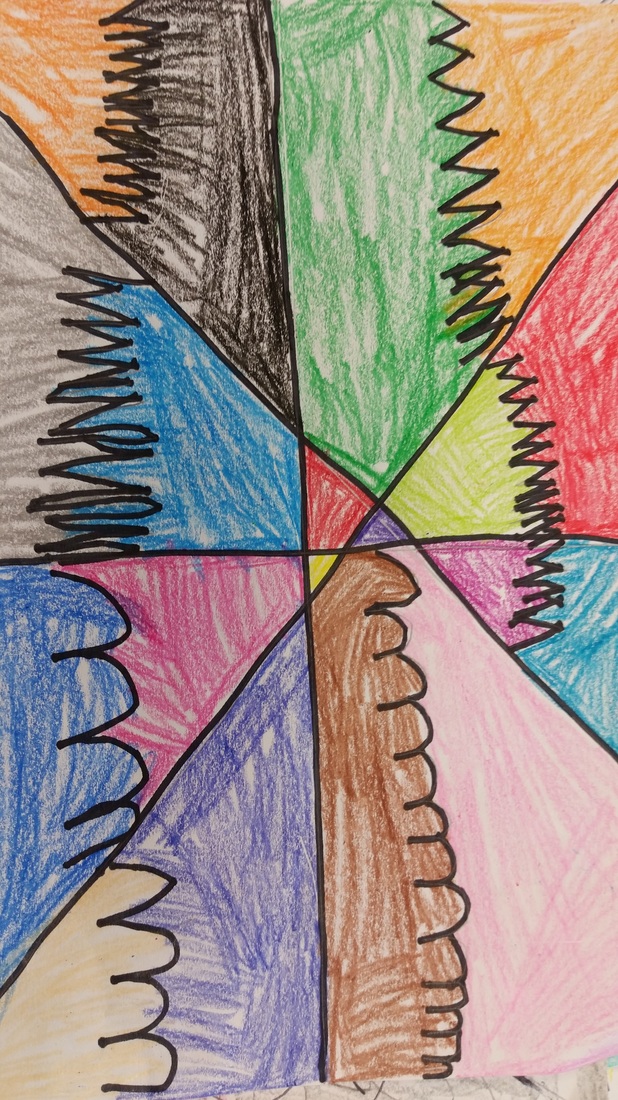
Unit Overview: Students learned about the artist Piet Mondrian and the art movement of Cubism. Students created artwork in the style of Mondrian by painting using tape and using the primary colors. Unit Overview: Students were introduced to clay by creating a pinch pot. Students learned about clay, where it comes from, how to handle it, and how to manipulate it to create art. Students designed their pinch pot designs based on fairy garden pots and were inspired by the artist Kendal Murray. Unit Overview: Students created a fall collage using leaf rubbings, collage technique, and additive drawings to create foreground, middleground, and background. Students created a creative color wheel in the form of a paint palette. Students traced shaped using cookie cutters and mixed their own primary colors to create all the colors needed for their color wheel. Students then discussed how a paint palette is used, created a paint palette out of construction paper, and glued their paint shaped to their paint palette. Unit Overview: Students will examine artist Paul Cezanne in order to learn about warm and cool colors and still life art. Students will draw warm color fruit using crayons and paint a cool color background using watercolor paint. 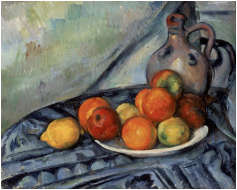 Paul Cezanne's Still Life with Fruit Unit Overview: Students studied shape and line in order to create monsters with imagination. Students learned about background and colored the background using one color to create emphasis of the monster. After discussing and learning about line, students learned how lines come together to create geometric and organic shapes. Students combined lines to create shapes and talked about the number of sides that the shapes had. Students colored the backgrounds of their monsters using one color to create emphasis for their monsters. Students did a practice drawing of their monsters before creating their final to work out shapes, lines, and colors. Students were given more creative freedom on their practice paper in order to acknowledge any creative problems that may need to be solved. The monster finals were vibrant colors and beautifully drawn. These monsters will be used in Art to Remember. I also had two kindergarten students who needed a lot of help. These students had a hard time grasping the concepts of shapes, lines, and background. After working with them one on one, here is their improvement in their class. I must say that I am beyond proud of these two students and their improvement and dedication to problem solve these artful concepts.
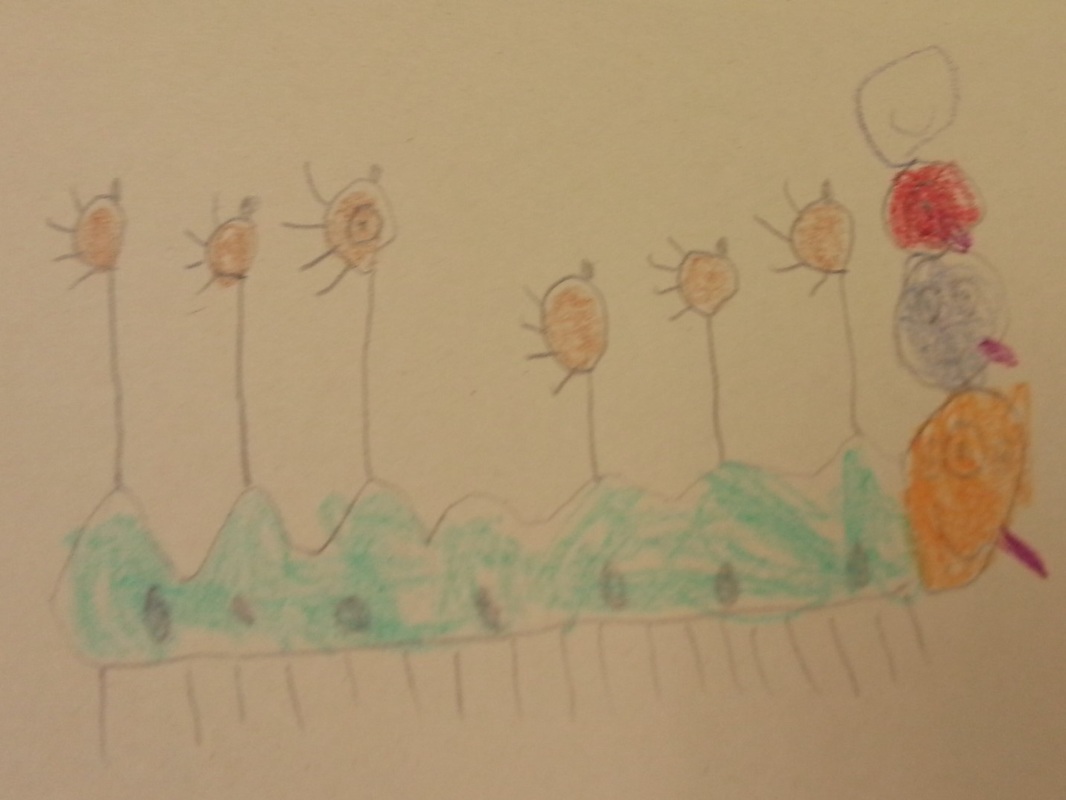
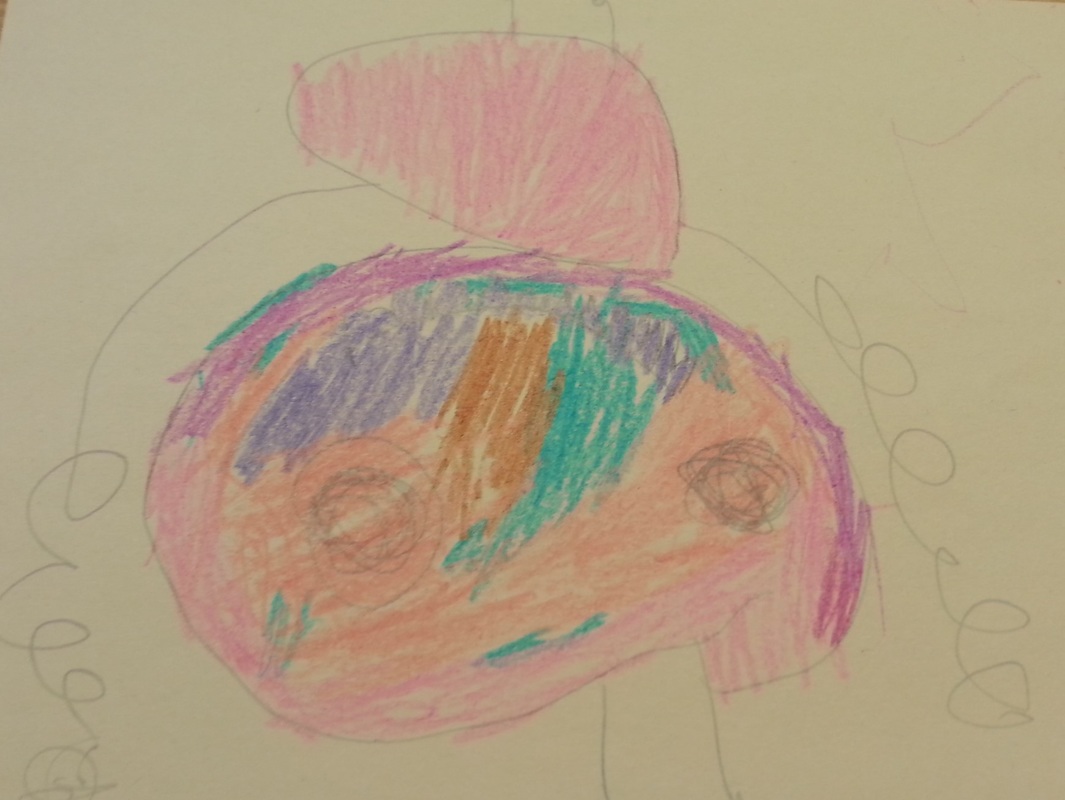
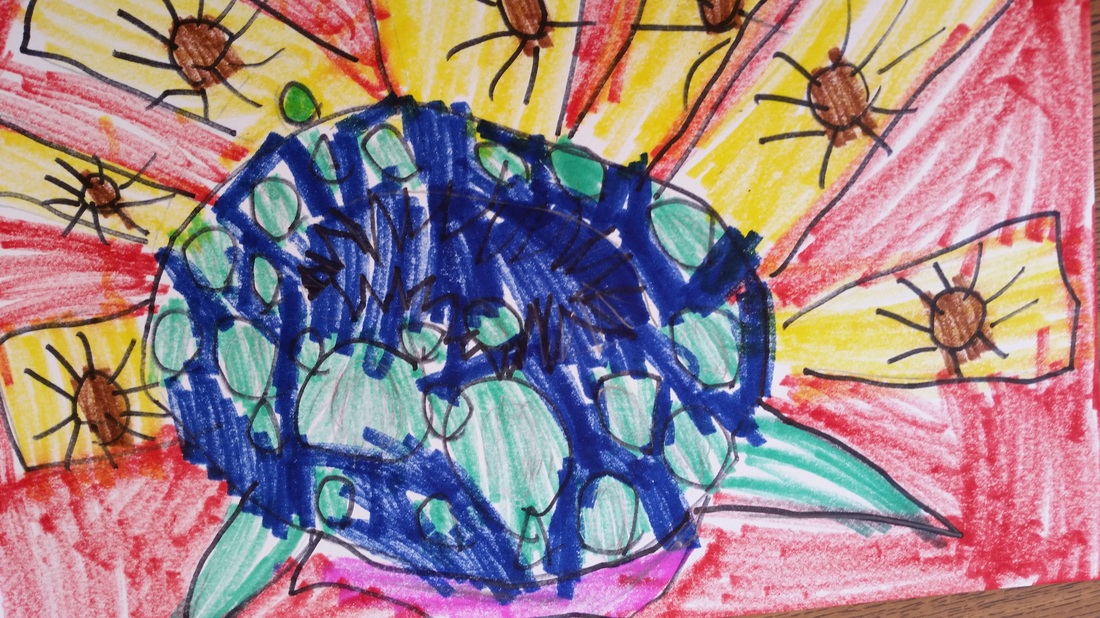
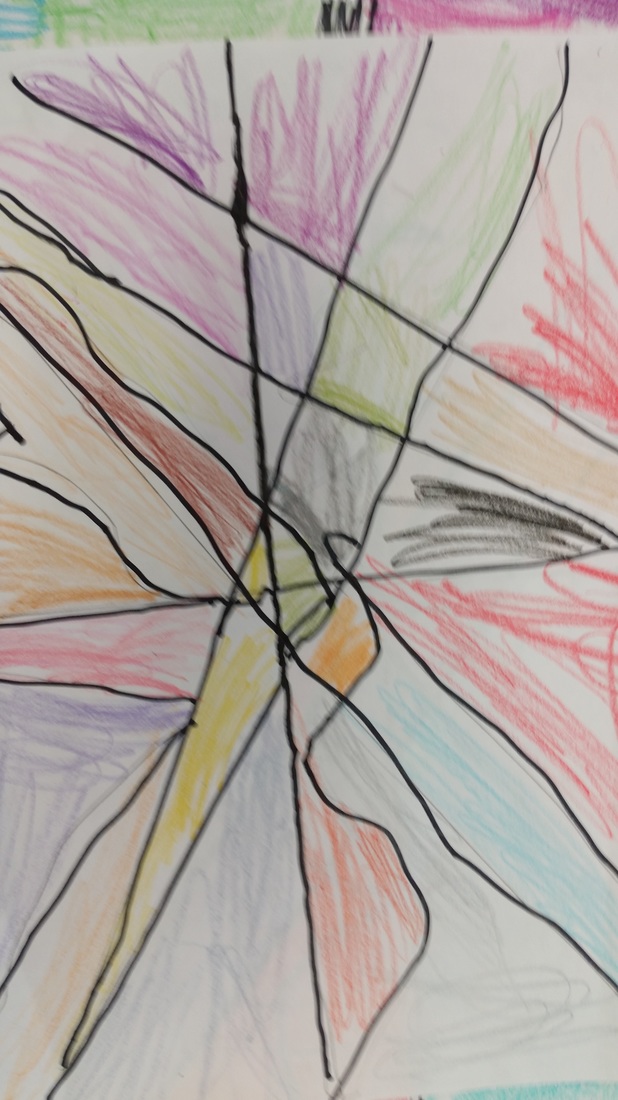
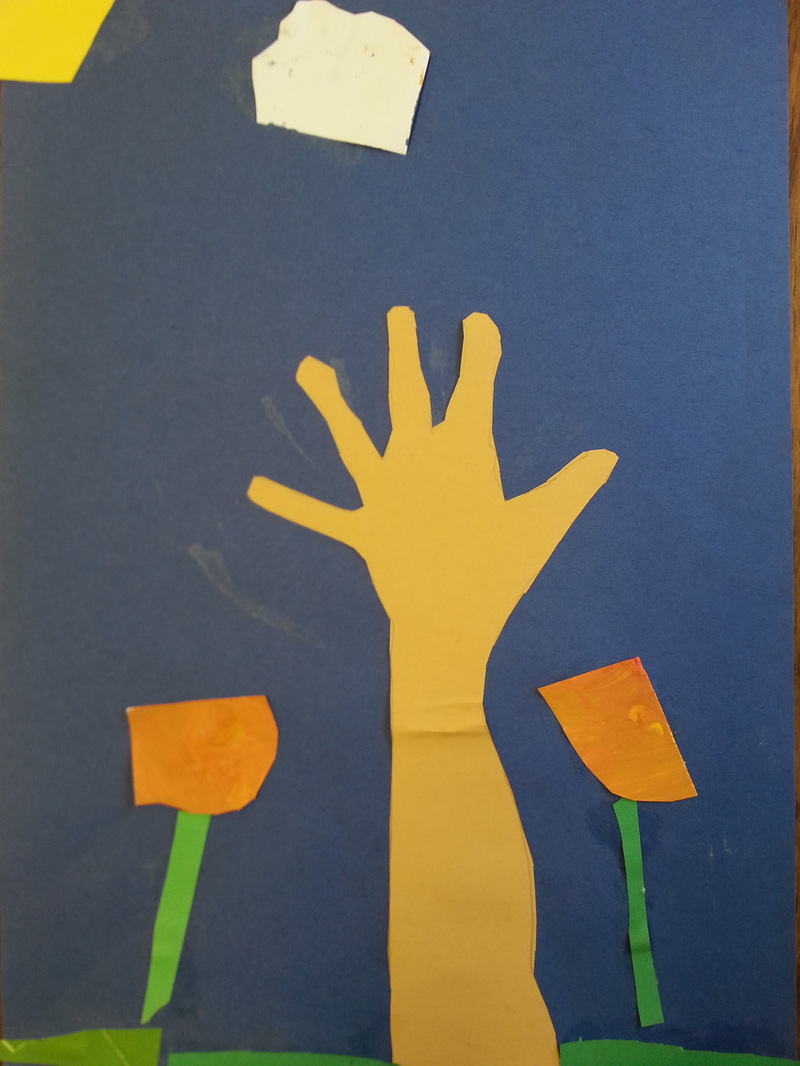
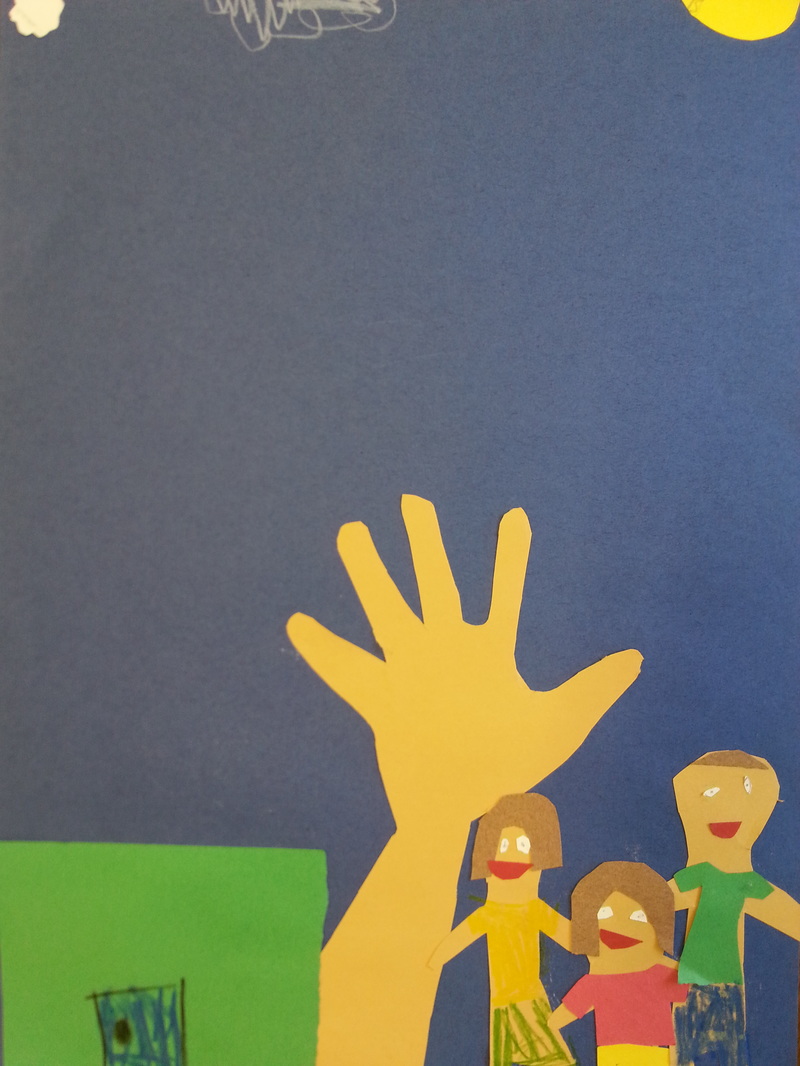
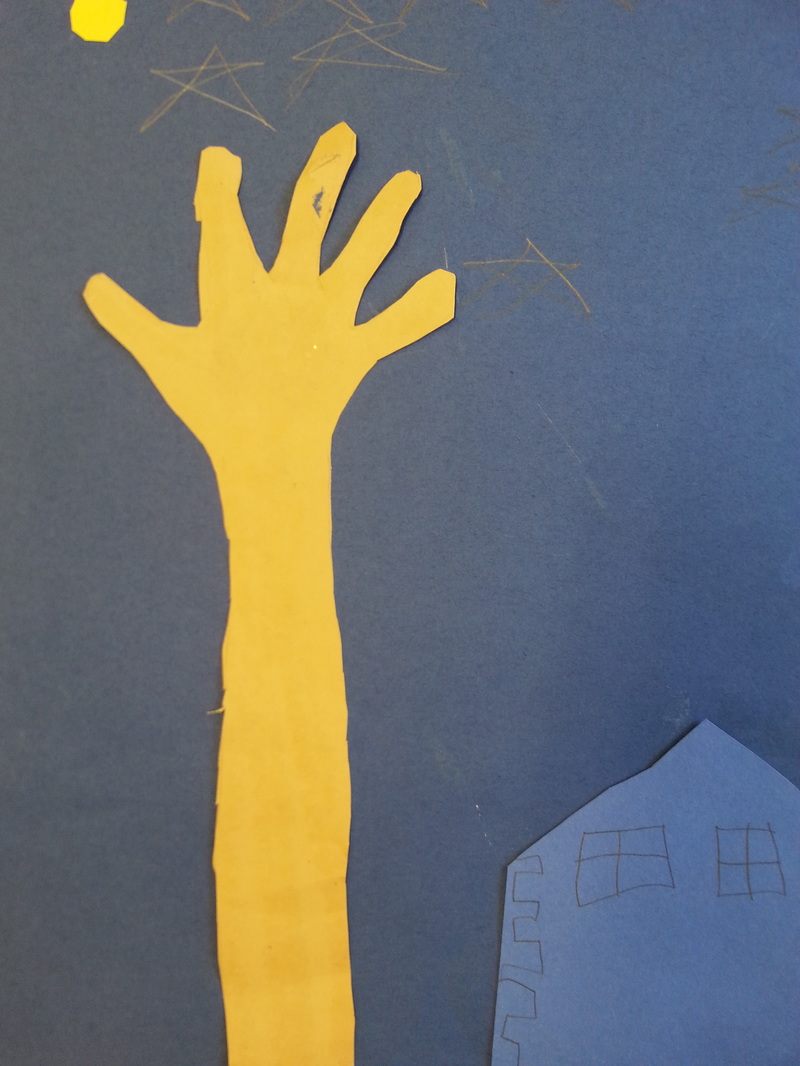
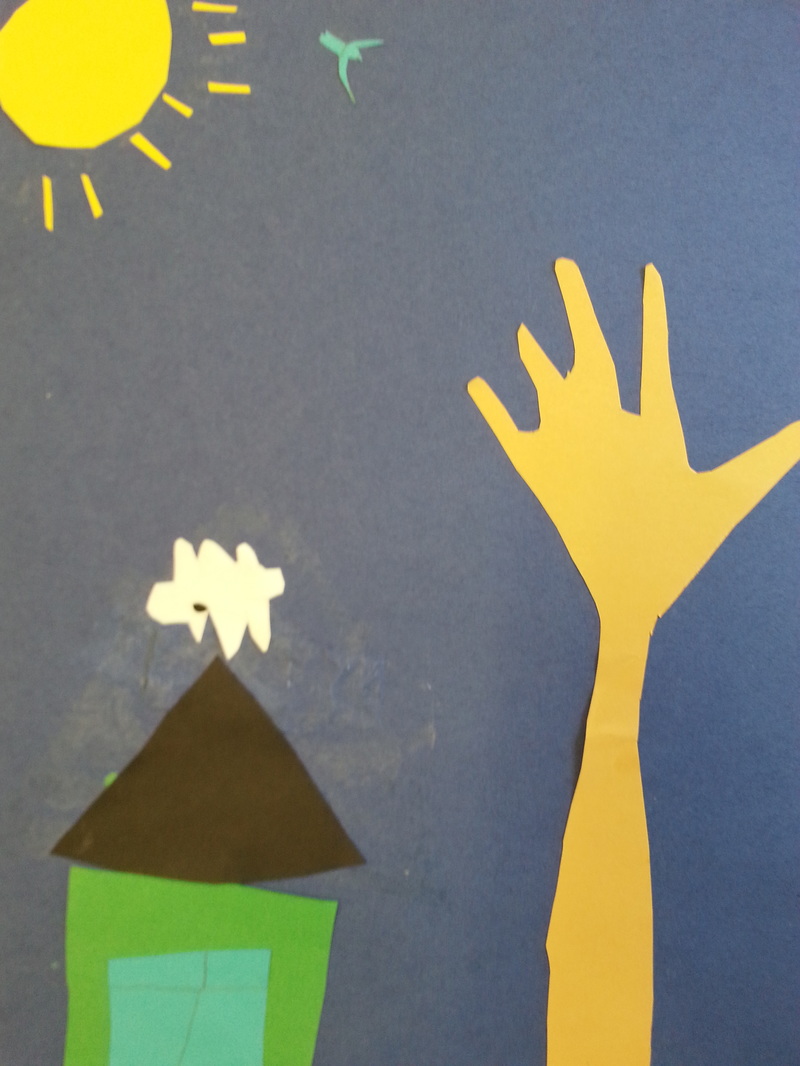
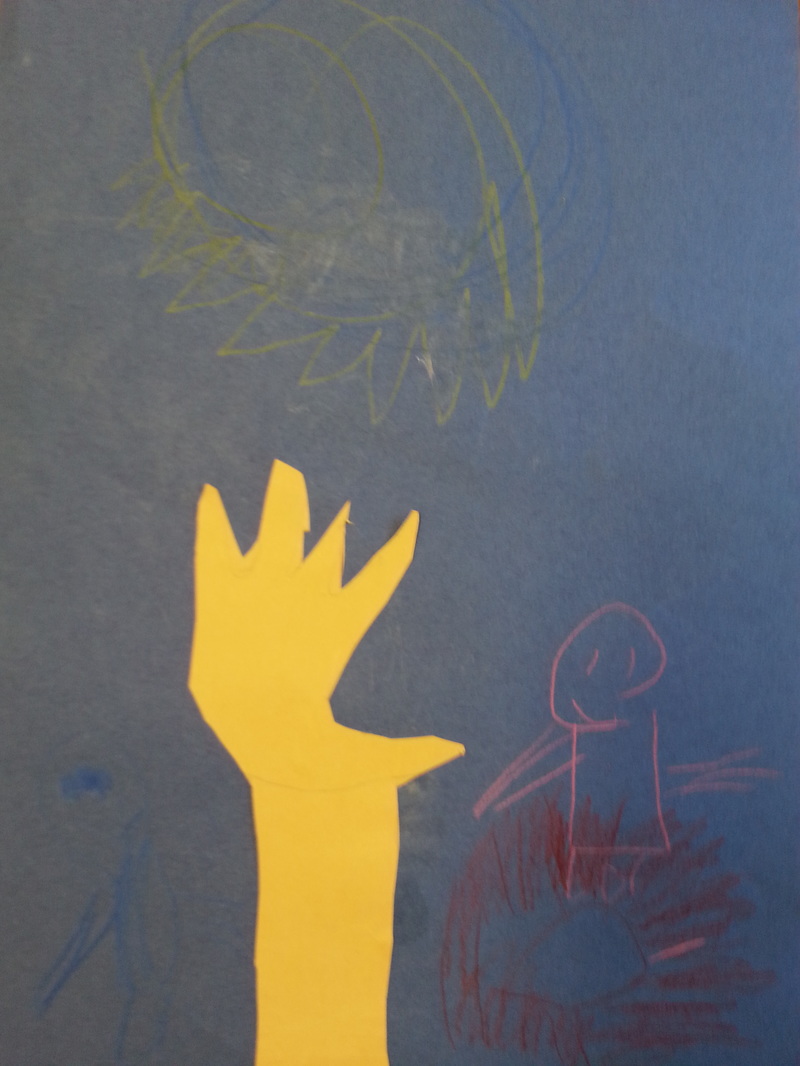
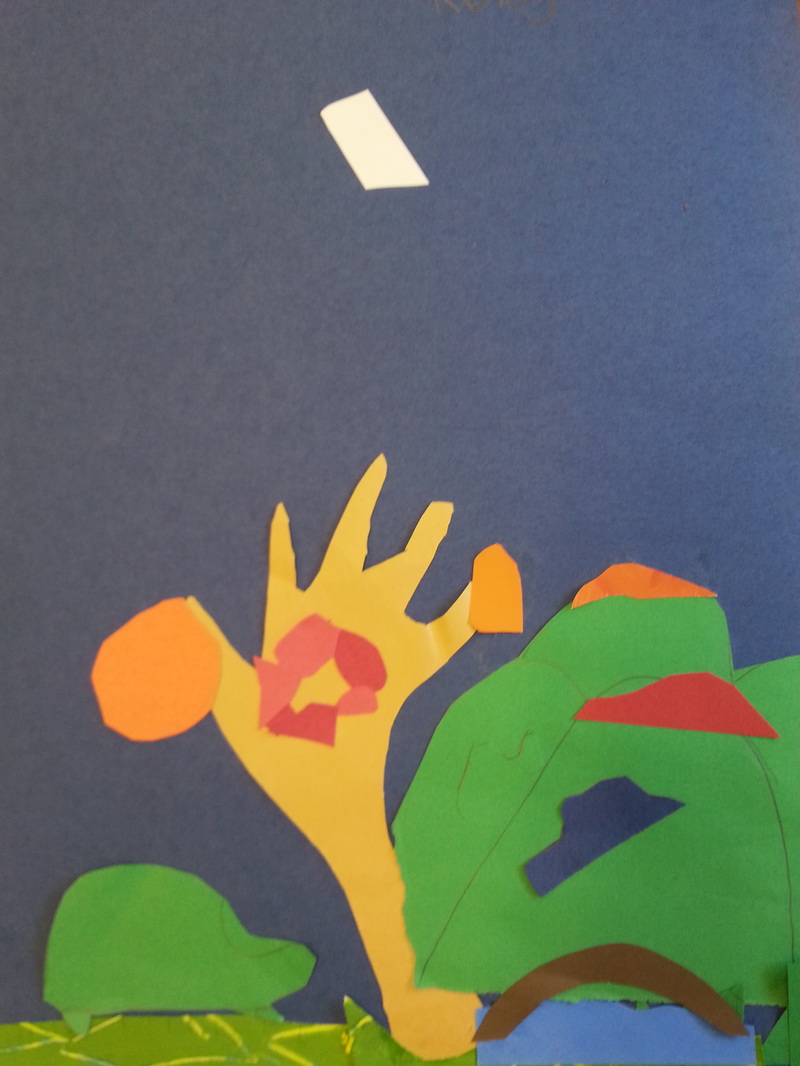
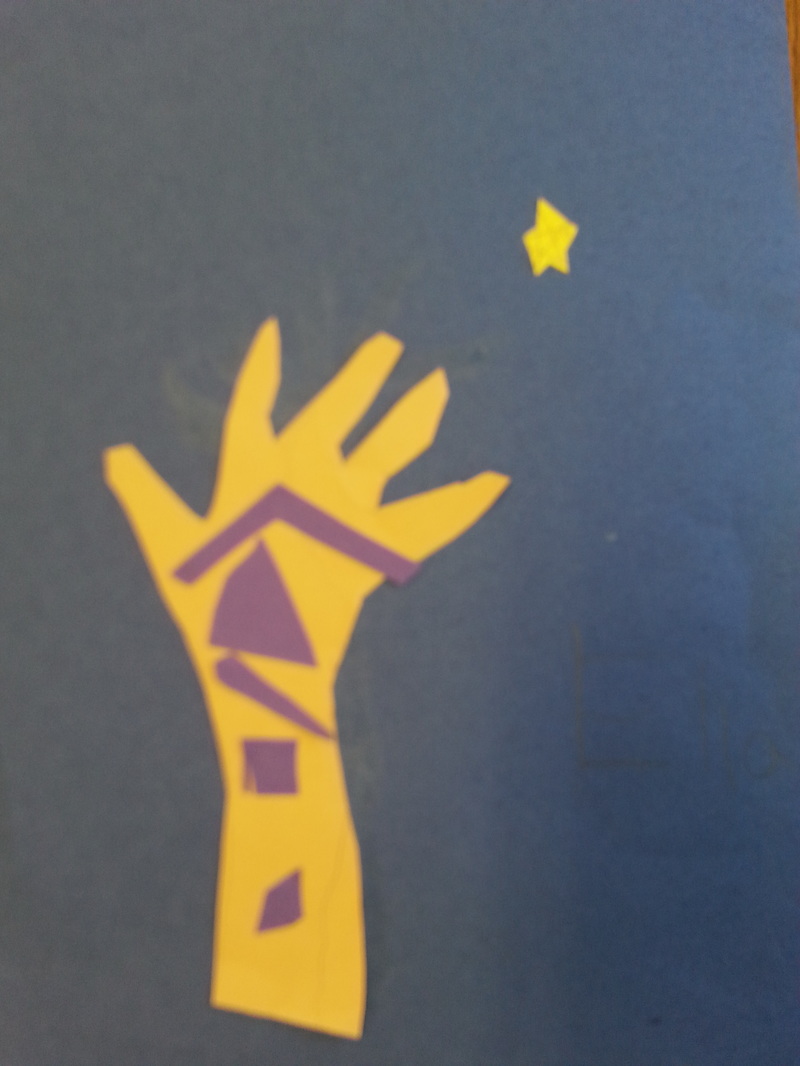
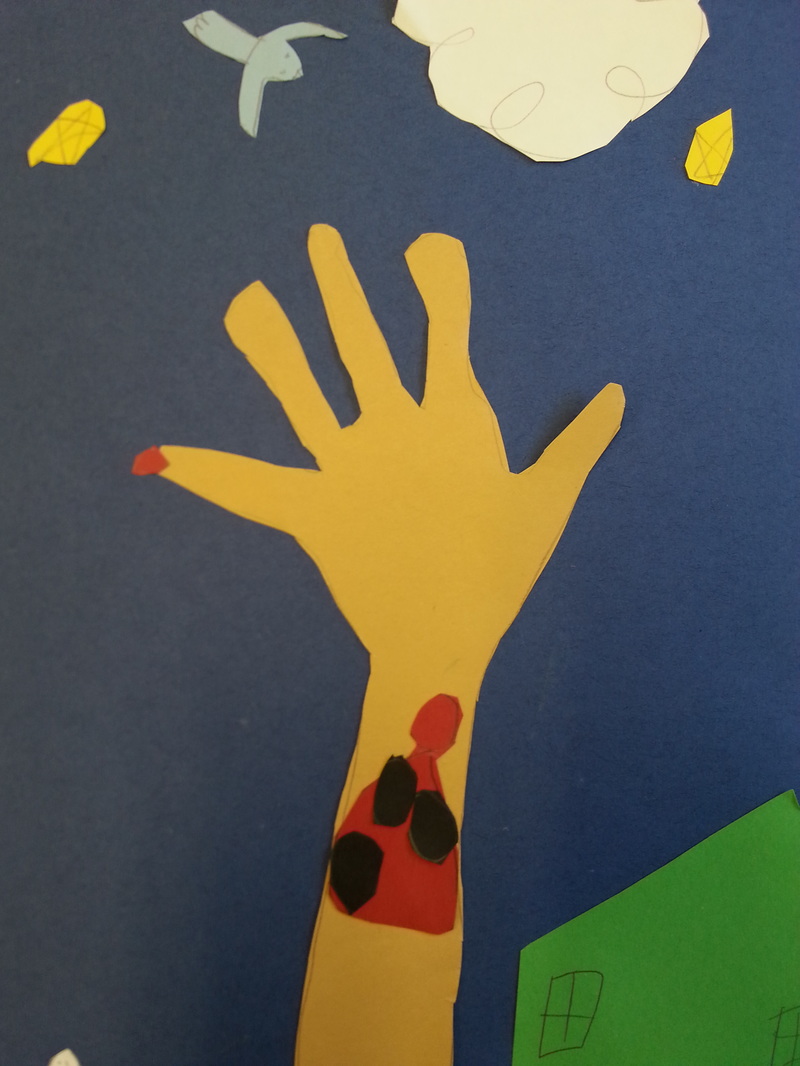
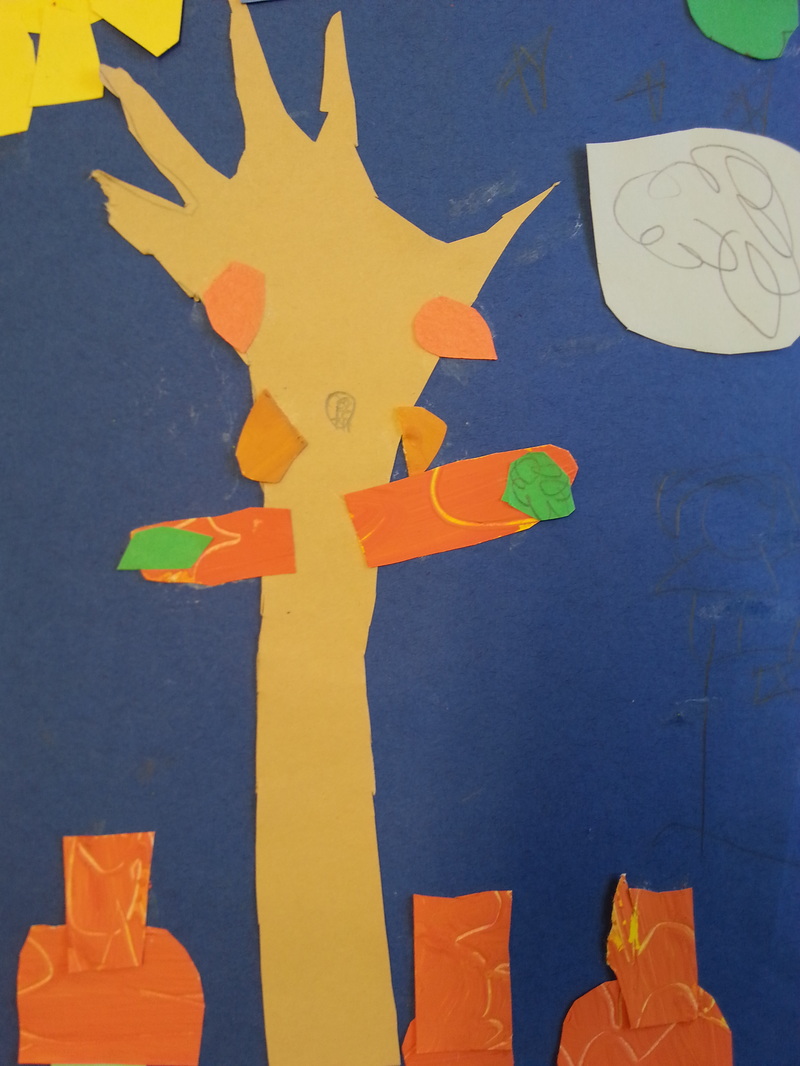
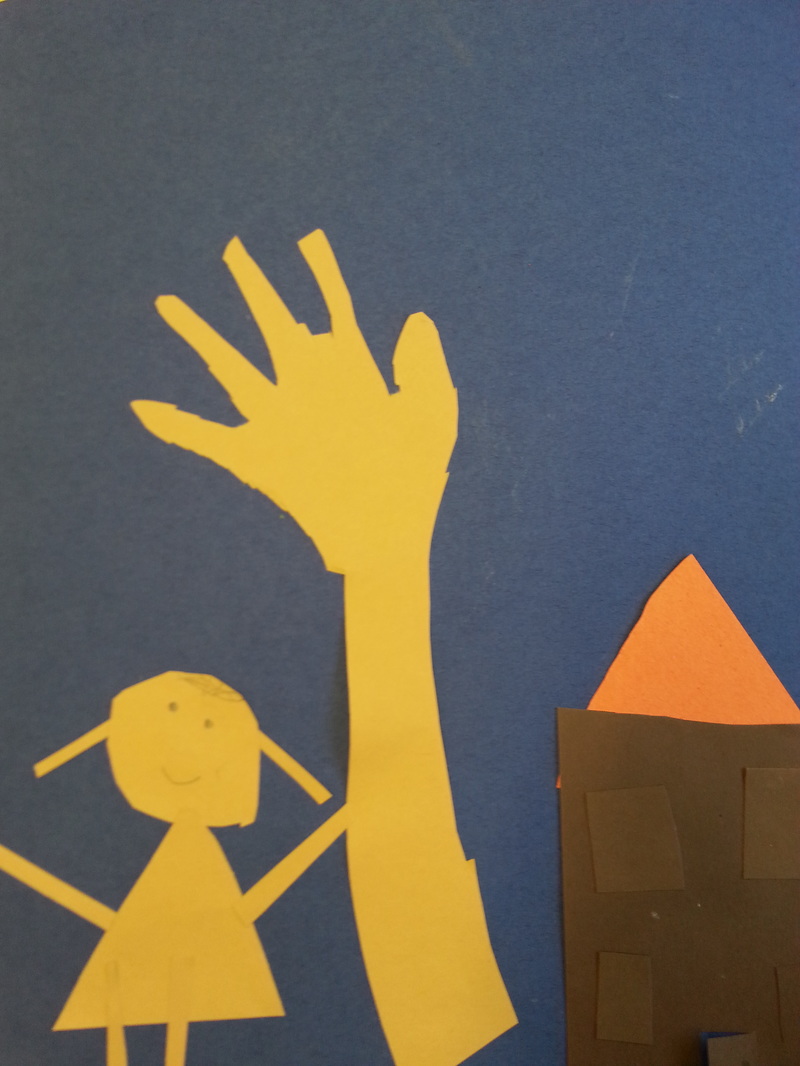
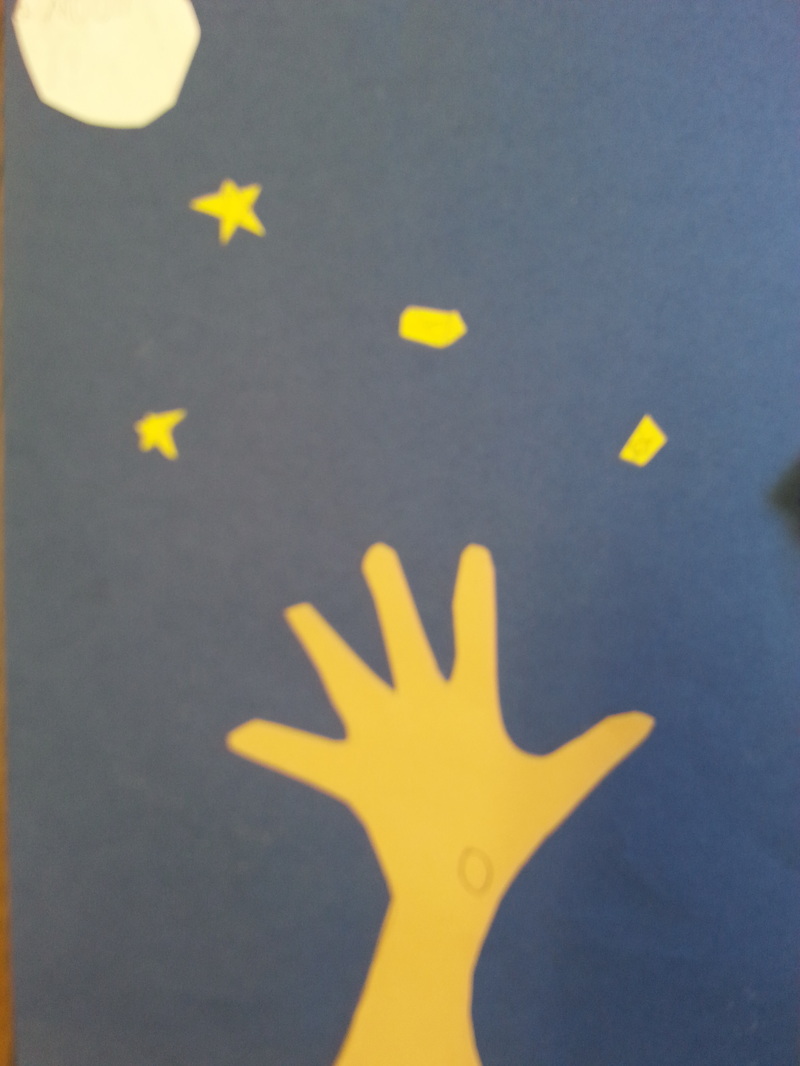
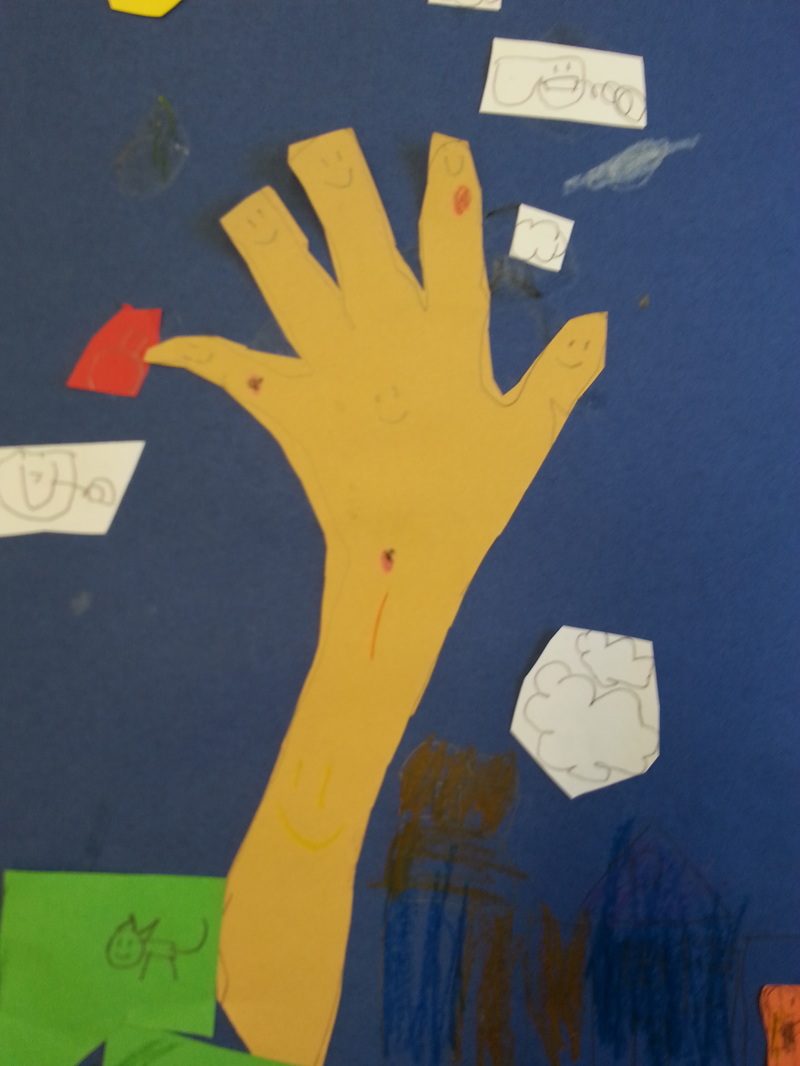
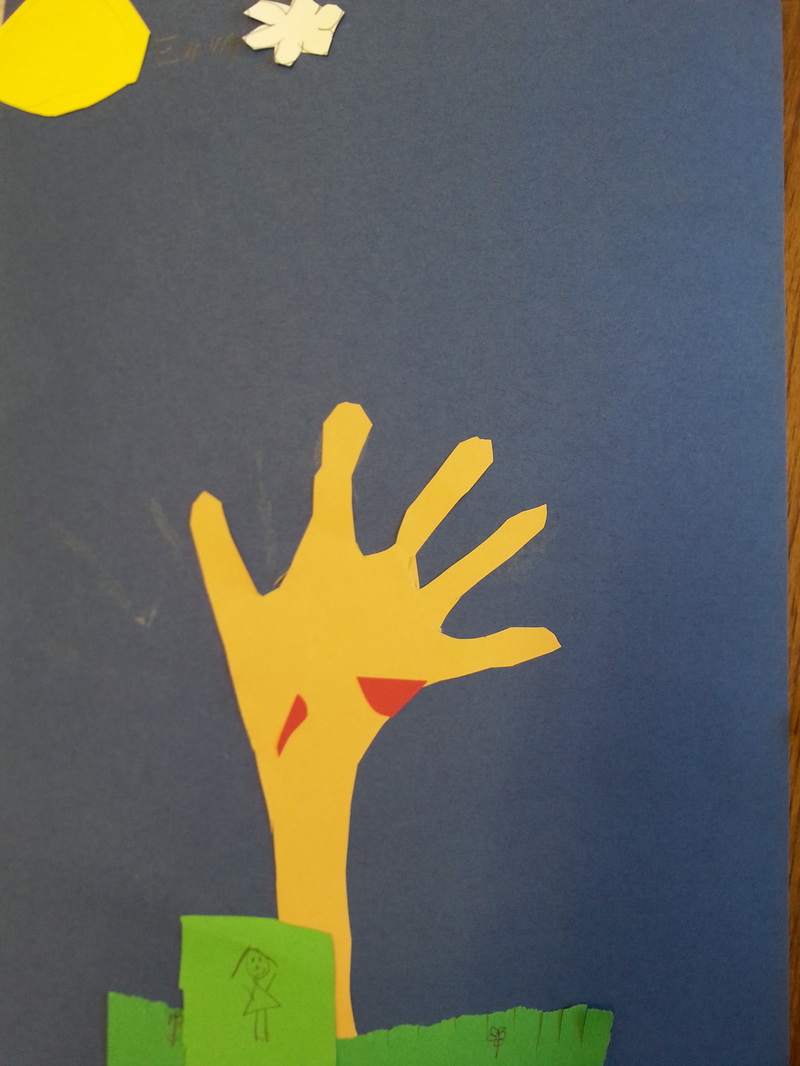
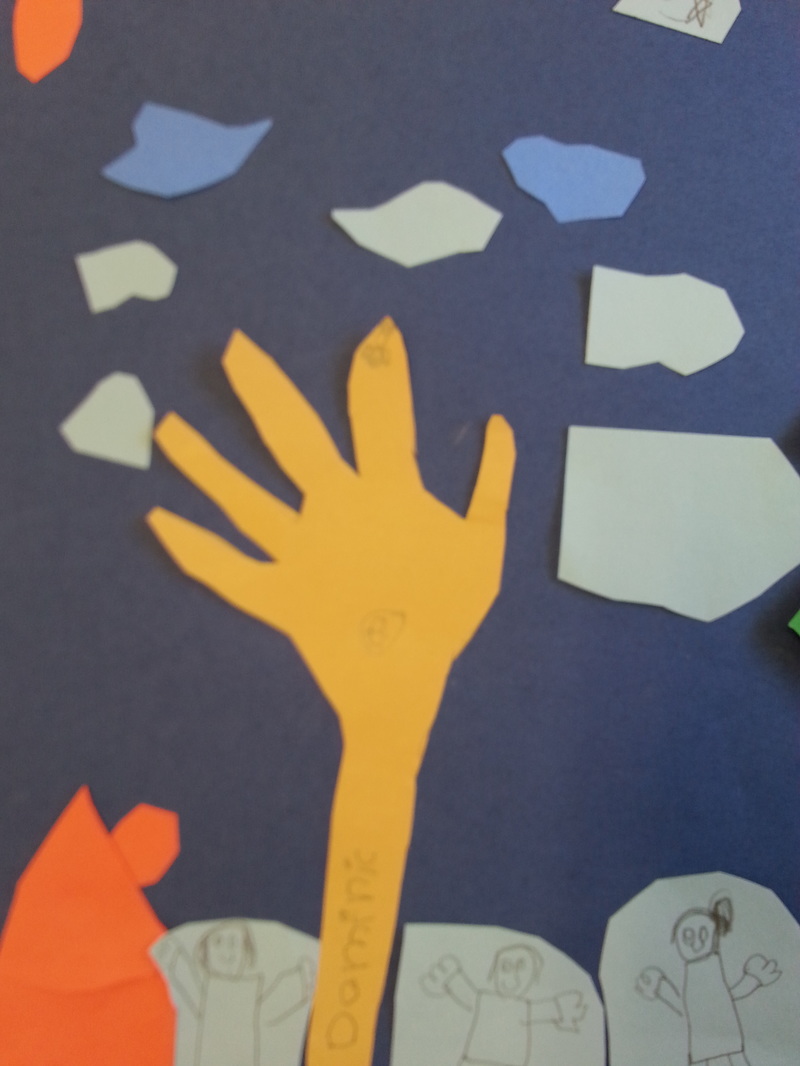
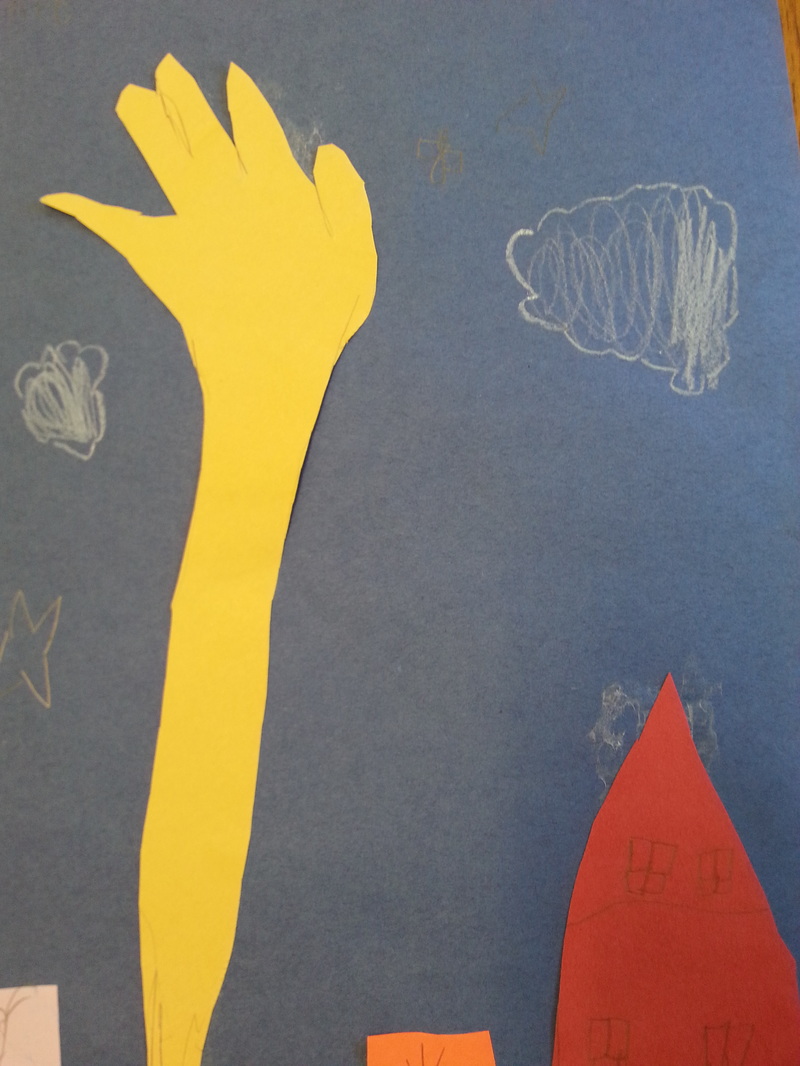
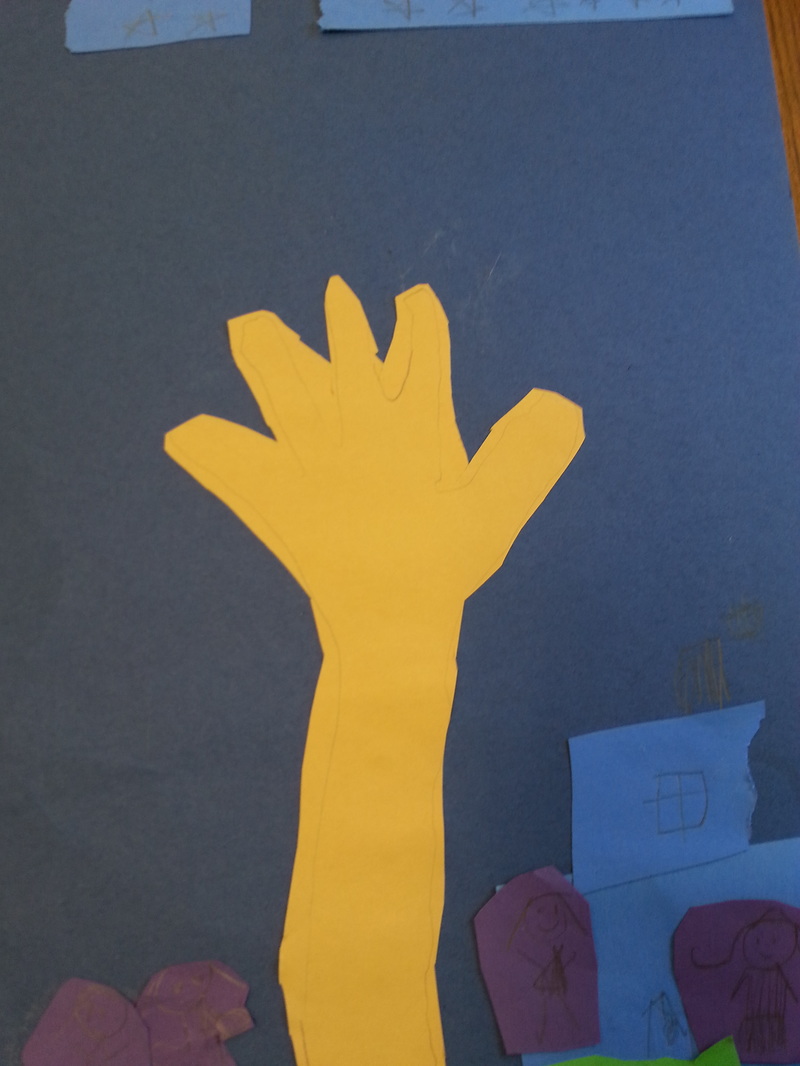
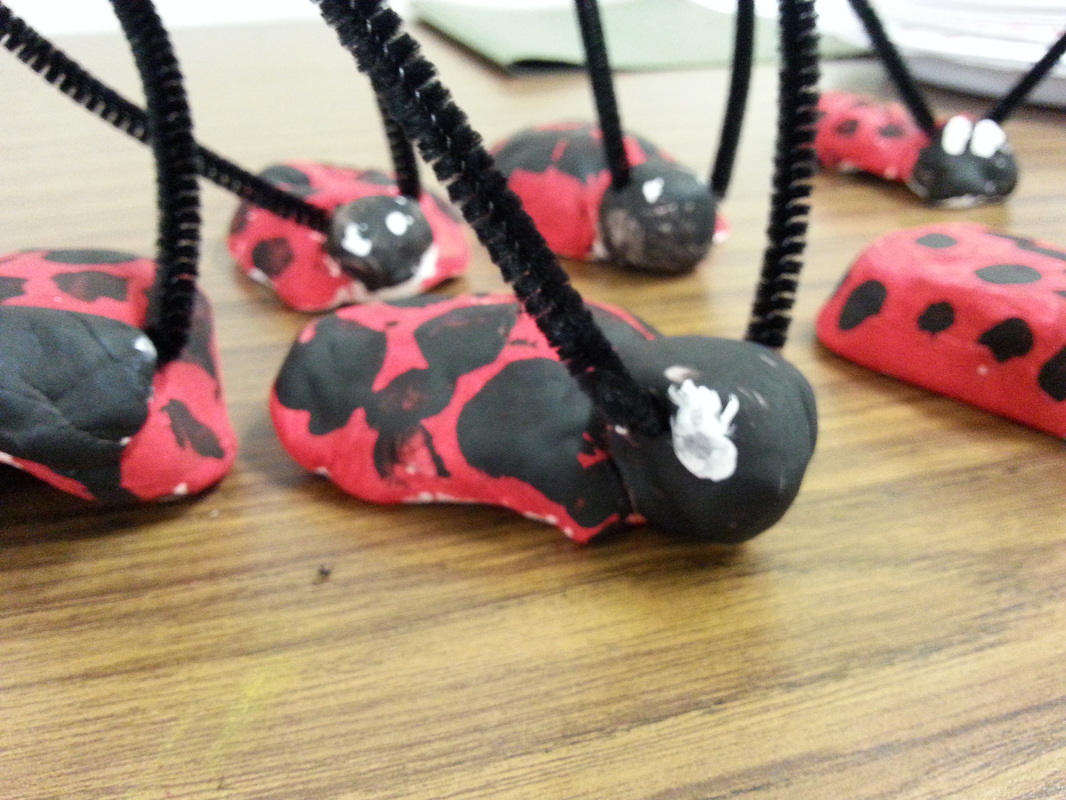
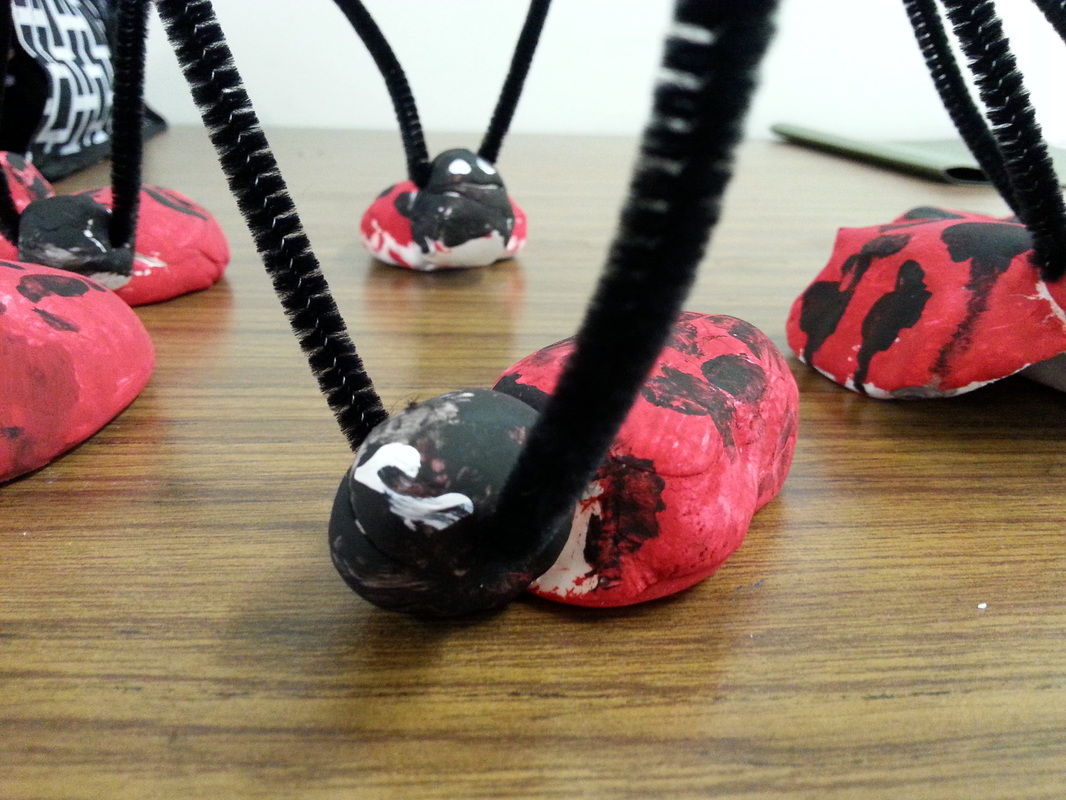
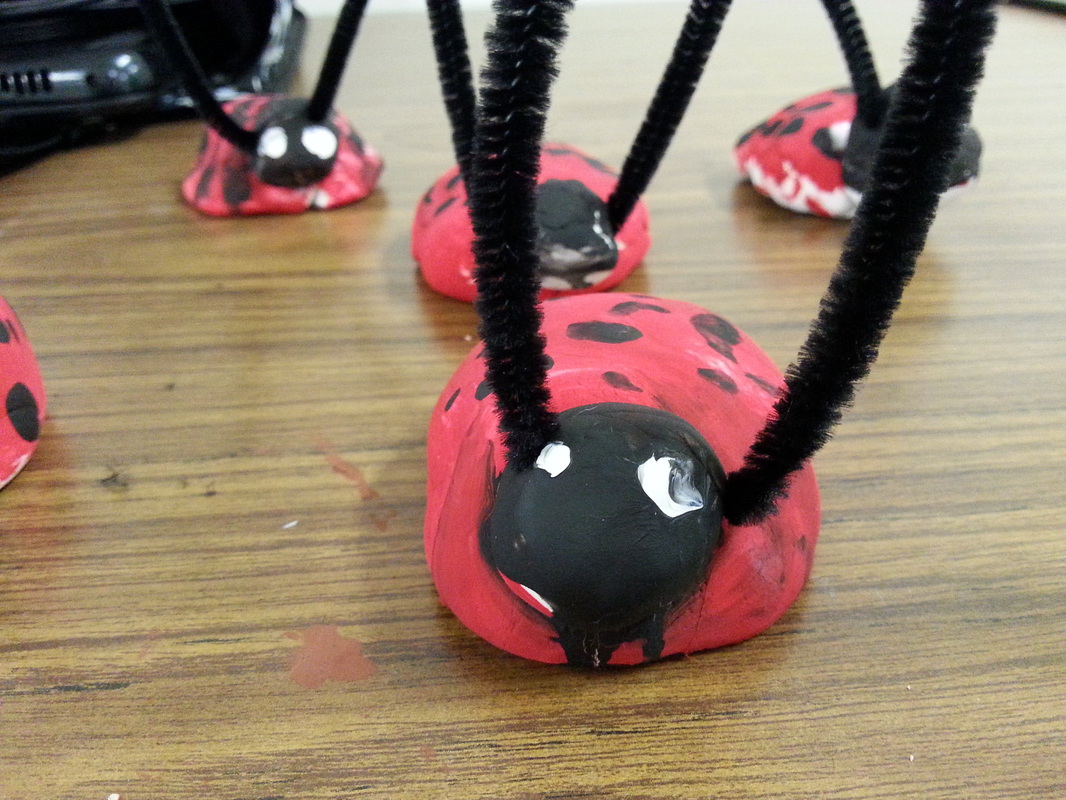
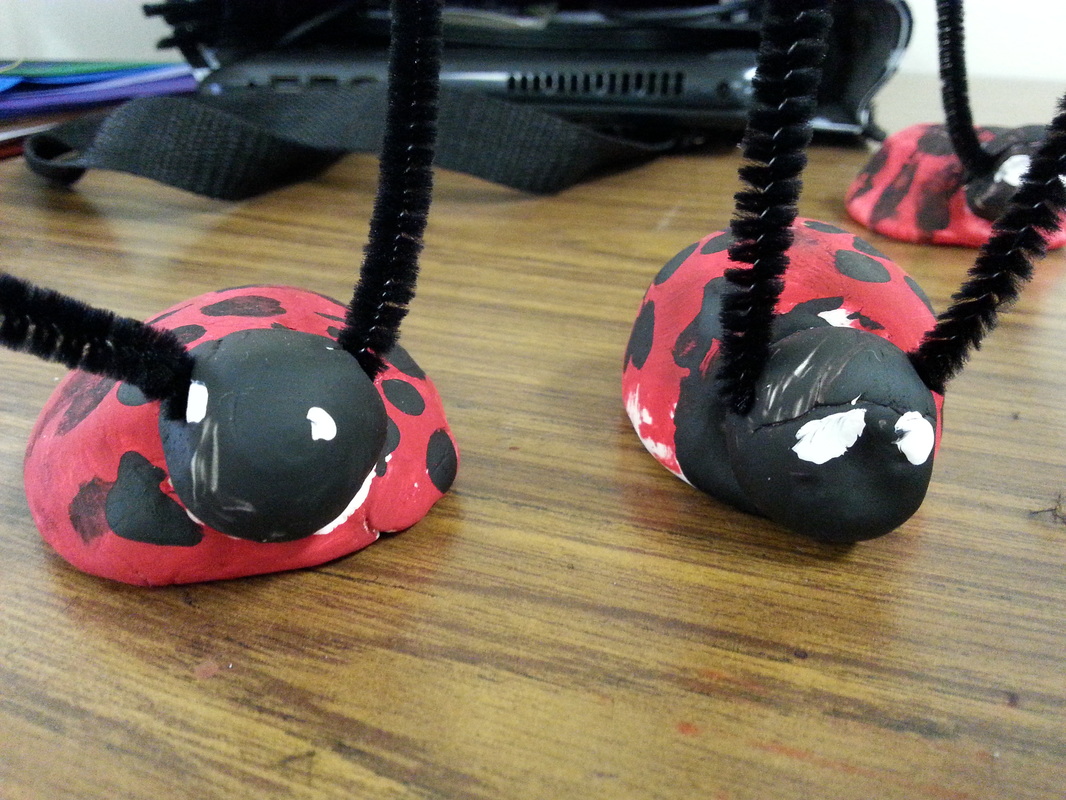
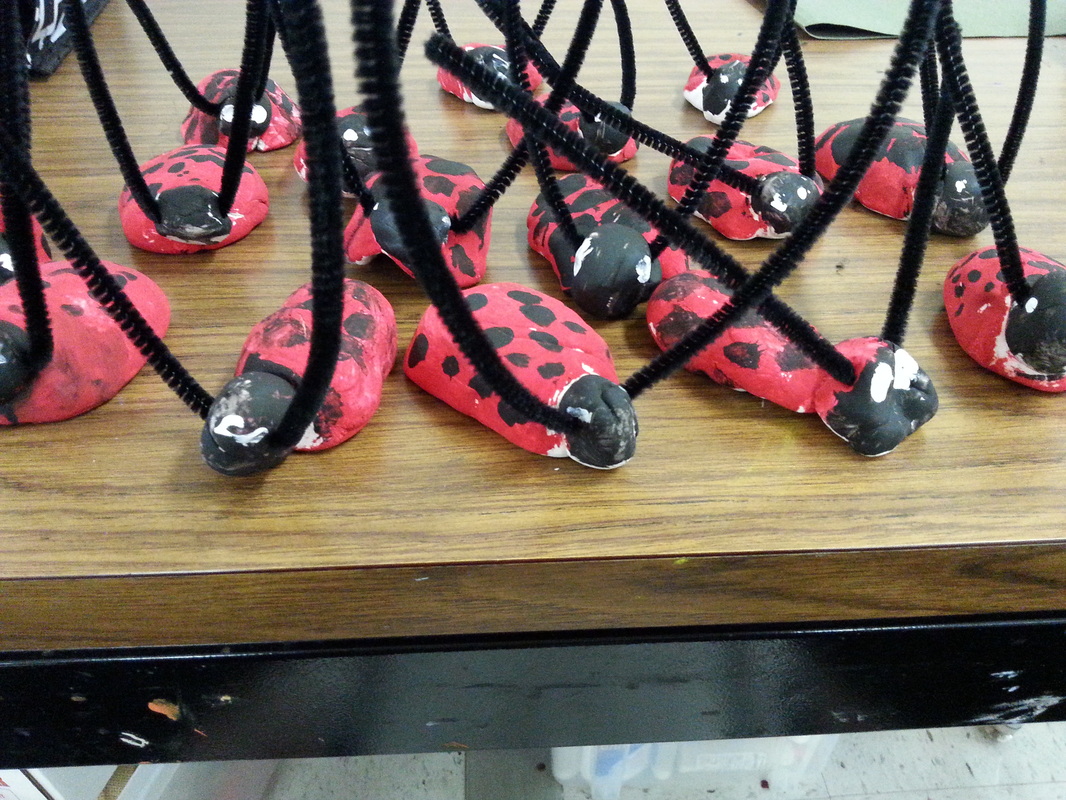
Unit Overview: Students will create a line drawing in order to demonstrate use of horizontal, vertical, and diagonal lines. I like to use this lesson as a fun way to introduce/review horizontal, diagonal, and vertical lines in the primary age groups of elementary. Teaching these lines is important because they are the foundation to shape, landscapes, portraits, pattern, and more. You can never review line too often. Unit Overview: Students will learn about leaf printing in order to create a leaf print tree collage. Students will learn about collage and add additional elements to their collage to create a complete leaf print tree collage. students will discuss what makes a leaf print successful and how it works. This was a fun project to do with kindergartners. Many of them have already done leaf prints before. However, what made this special was talking about how and why leaf prints are made, which side of the leaf to use and why, and how each leaf is different and unique. We used the printed the leafs in order to cut them out to add to our tree collage. Students used their hand/arm as a base for a tree. We talked about the word in sign-language (I am semi-fluent in ASL, and love to incorporate ASL into my lessons) for tree and showed how the hand/arm can represent a tree. 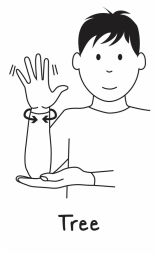 Unfortunately, my time at this school ended before I could finish this project with them. The students made beautiful leaf prints in colors of orange, pink, green, and blue (I wanted to highlight summer colors, although this project would be more suited to autumn). The students added pretty neat collage elements to their picture. I was impressed with the ability of one student, who created her family in incredible detail. For a kindergarten class, they showed advanced ability in cutting, gluing, and creativity. 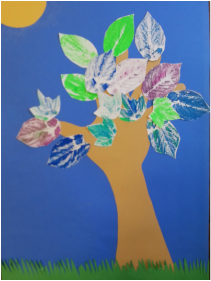 My teacher example (See how nice the leaves look!) Unit Overview: Students will learn about ceramic techniques by creating a pinch pot ladybug. Students will learn about the parts of a ladybug, what a ladybug does, and read "The Grouchy Lady", by Eric Carle. Students made little ladybug pinch pots as an introductory lesson to clay. These kindergartners were so excited to first use clay. Now, because kindergartners aren't great at scoring and slipping, I have two solutions to helping them make great ladybugs. 1. Use model magic or airdry clay. This stuff sticks well without needing all that fancy clay technique and works just as well. (I usually don't recommend model magic, but for the little ones who have trouble with dexterity and strength in their hands, model magic really works the best.) 2. If you have clay and want to use it, expect disembodied ladybugs. It's just going to happen with the wee ones. That's why they made ceramic glue! Loctite has this product called 60 second universal glue. And as long as the edges of the bisque-fired clay still fit against each other, you can use this product to reattach any broken clay pieces. (Some people use hot glue, which is messy and it never holds. This stuff works like magic as long as the pieces fit perfectly against each other.) But, having nightmares of little ones with fingers glued to each other eternally, I decided to go with the model magic. So enjoy "the loveliness of ladybugs". Fun fact: a swarm or group of ladybugs is called: a loveliness of ladybugs 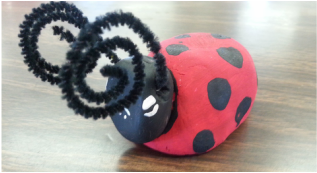 My teacher example |