|
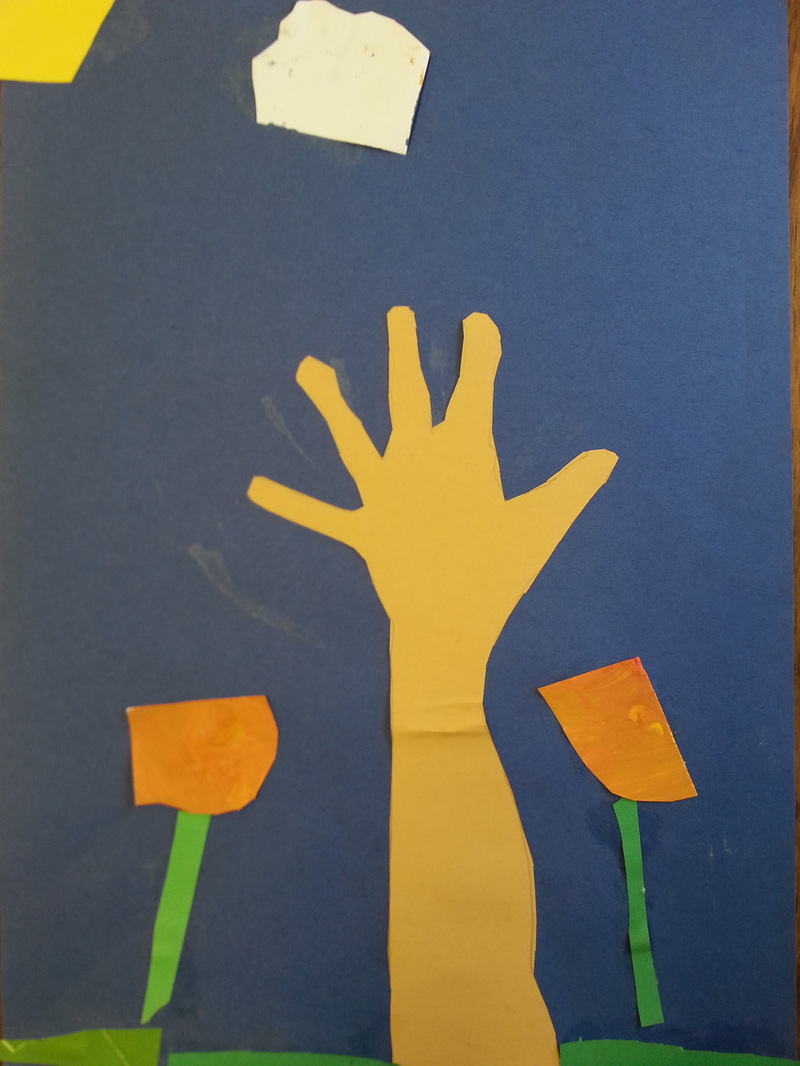
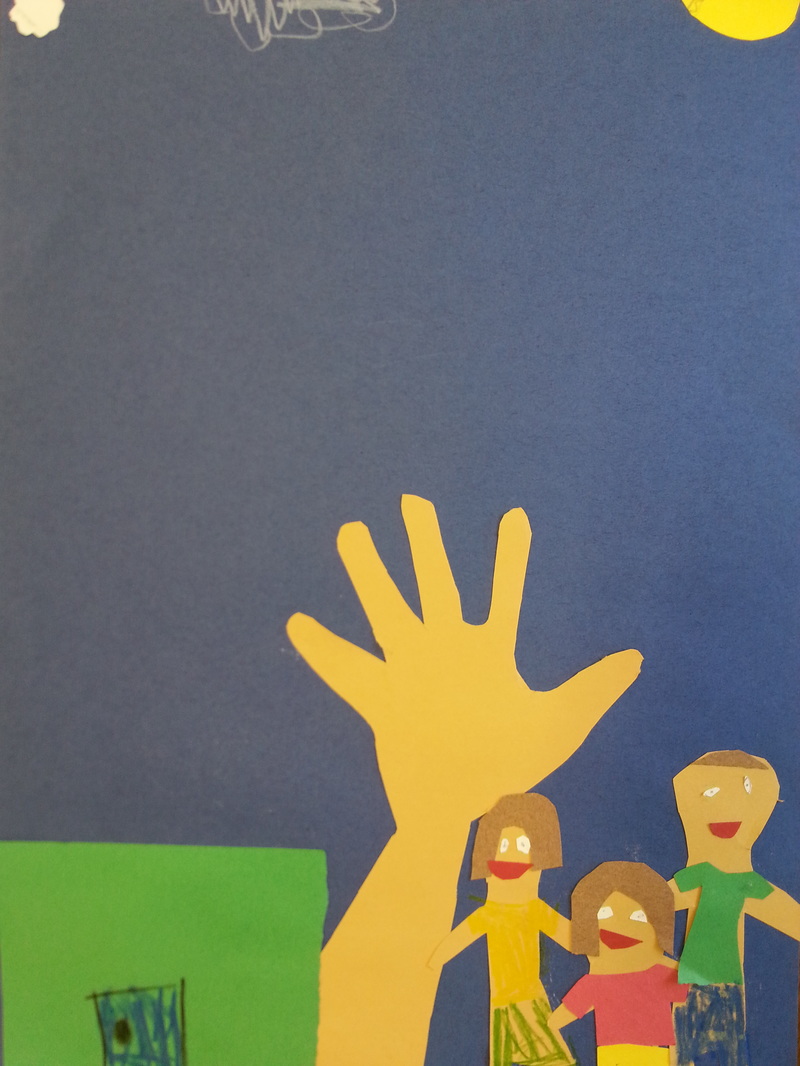
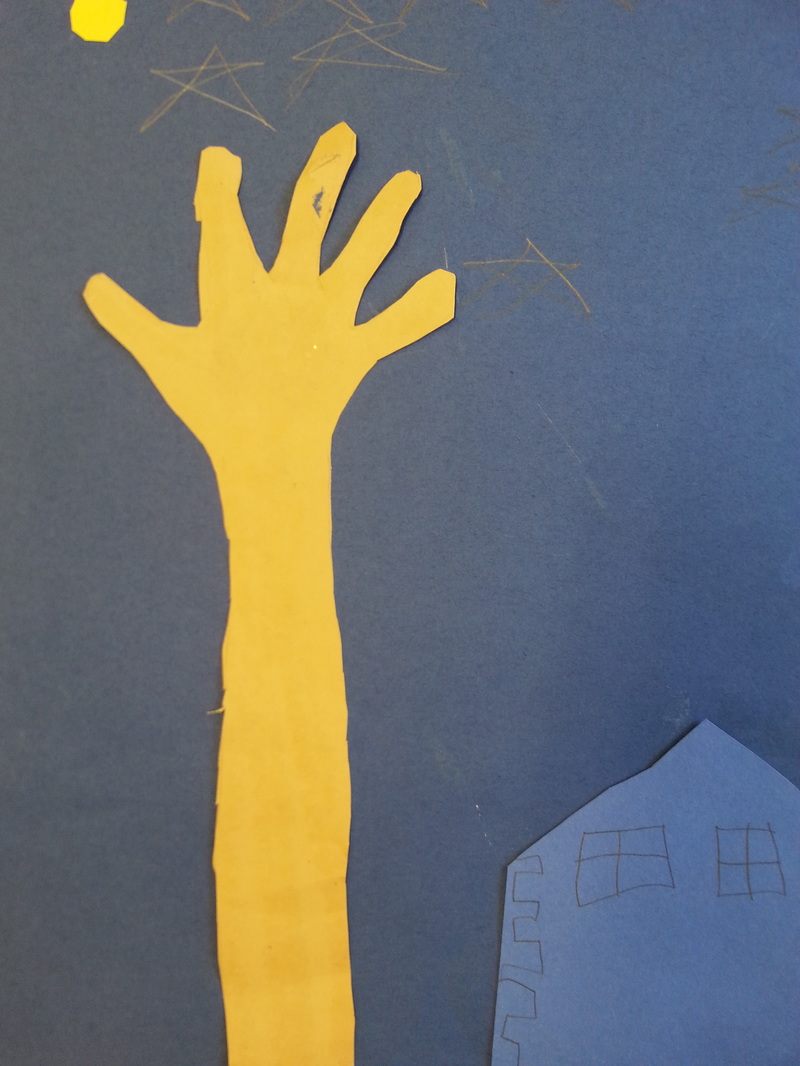
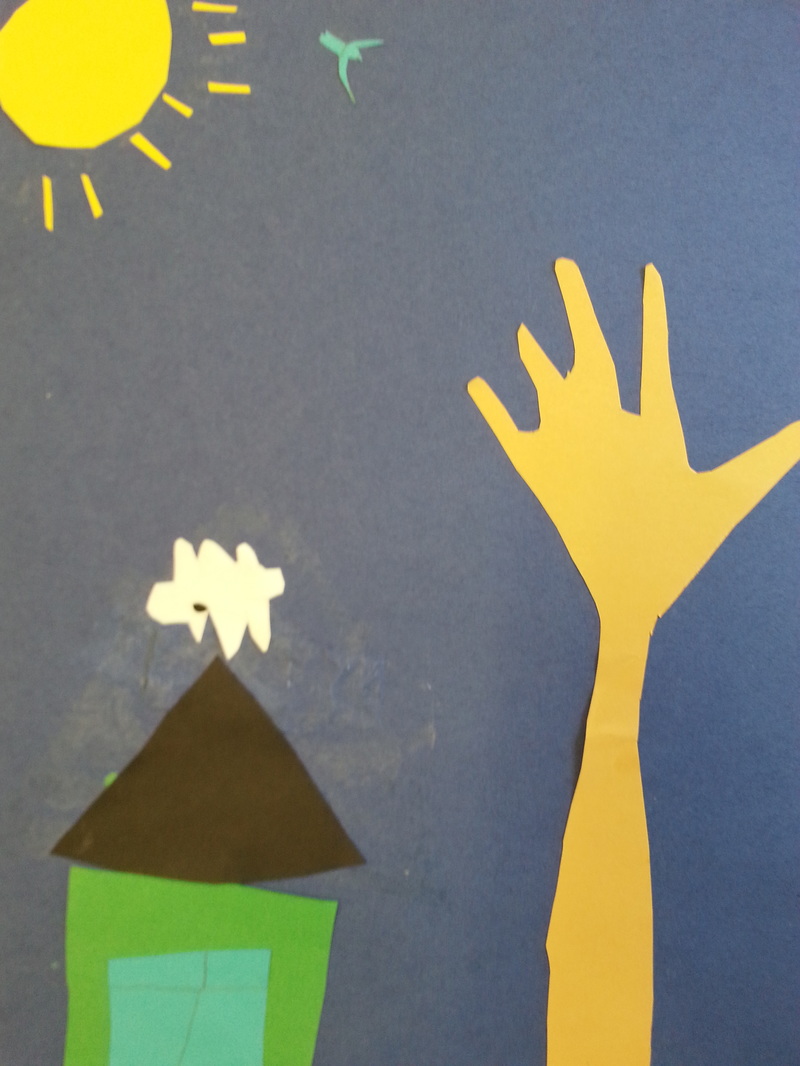
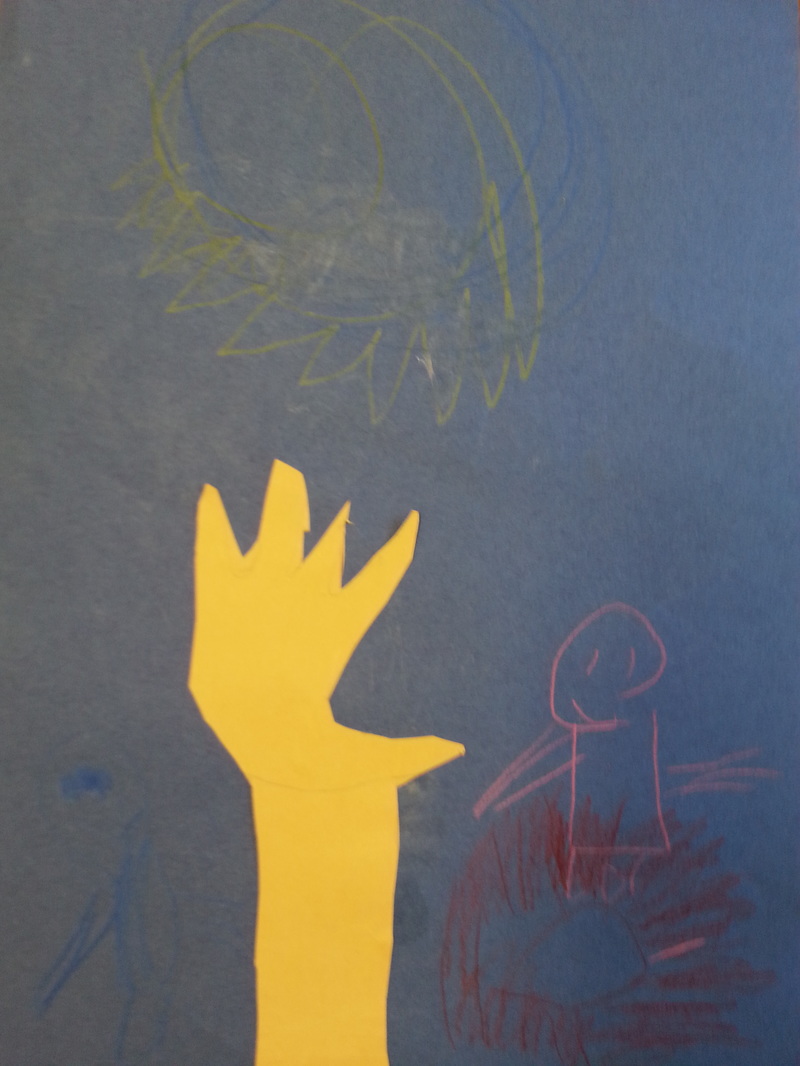
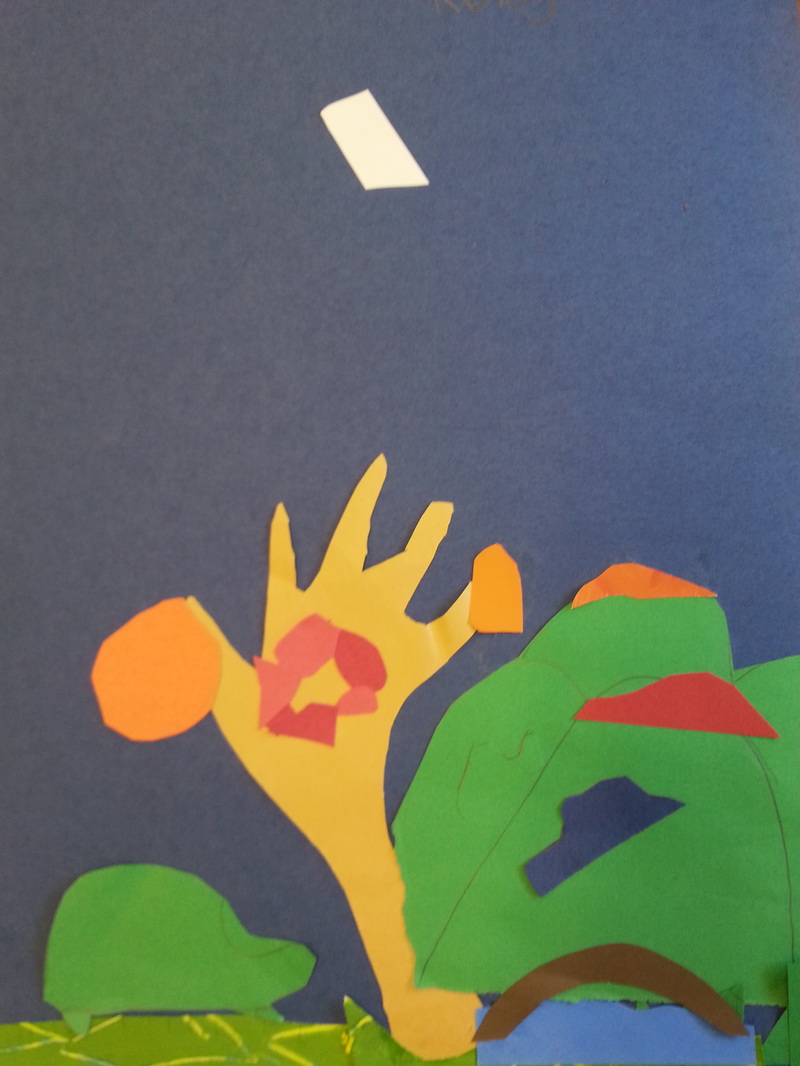
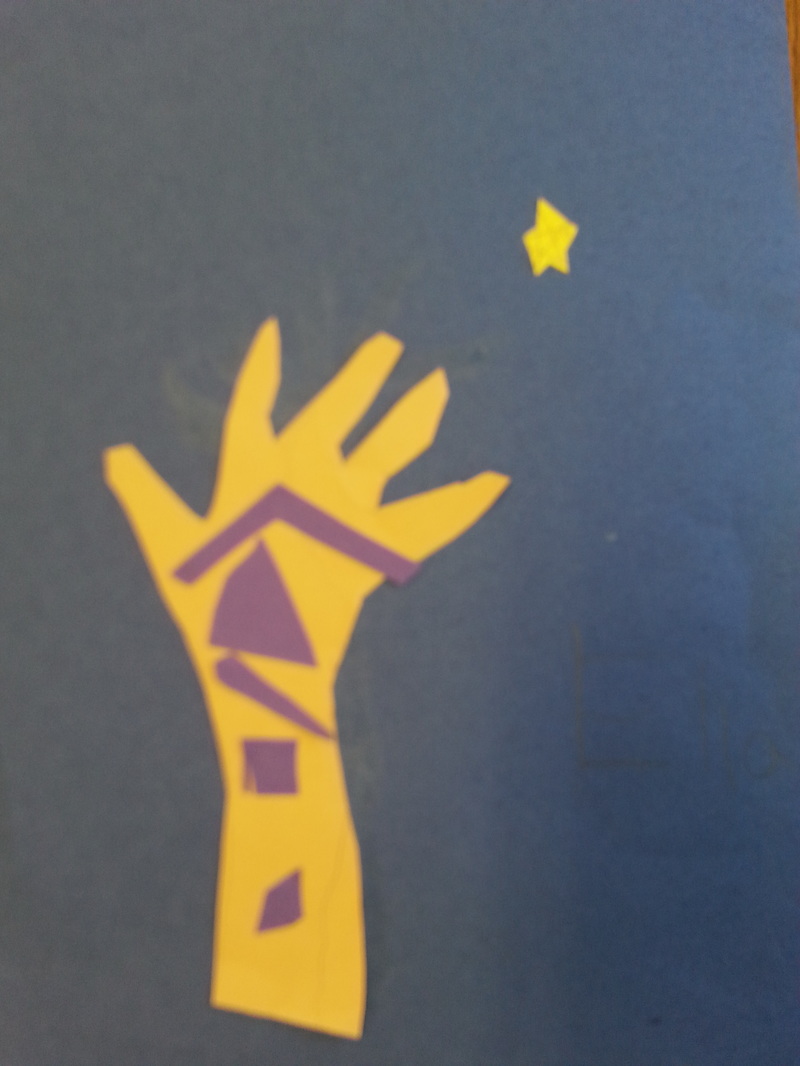
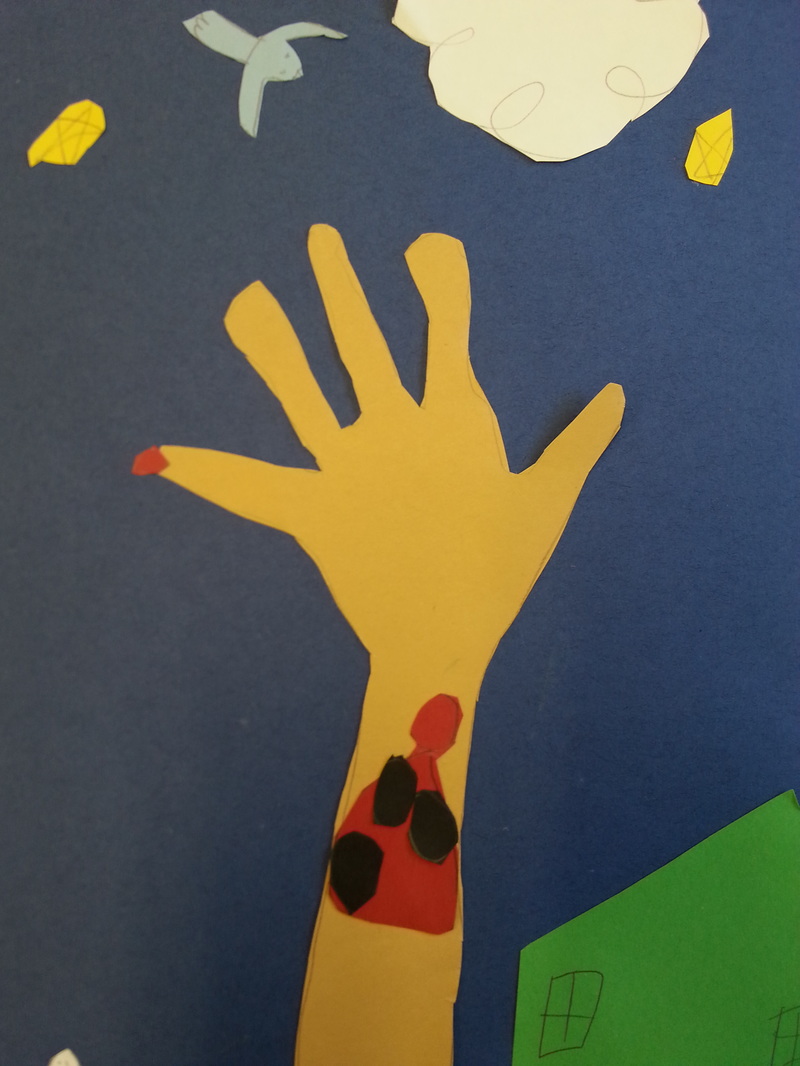
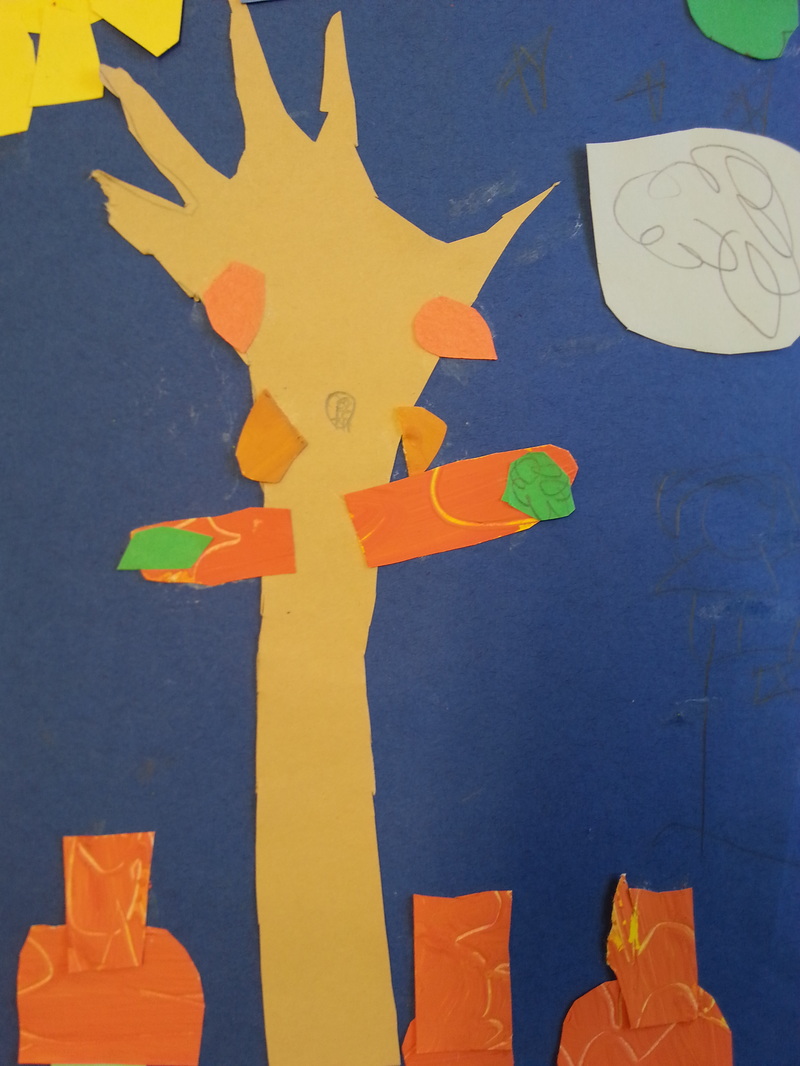
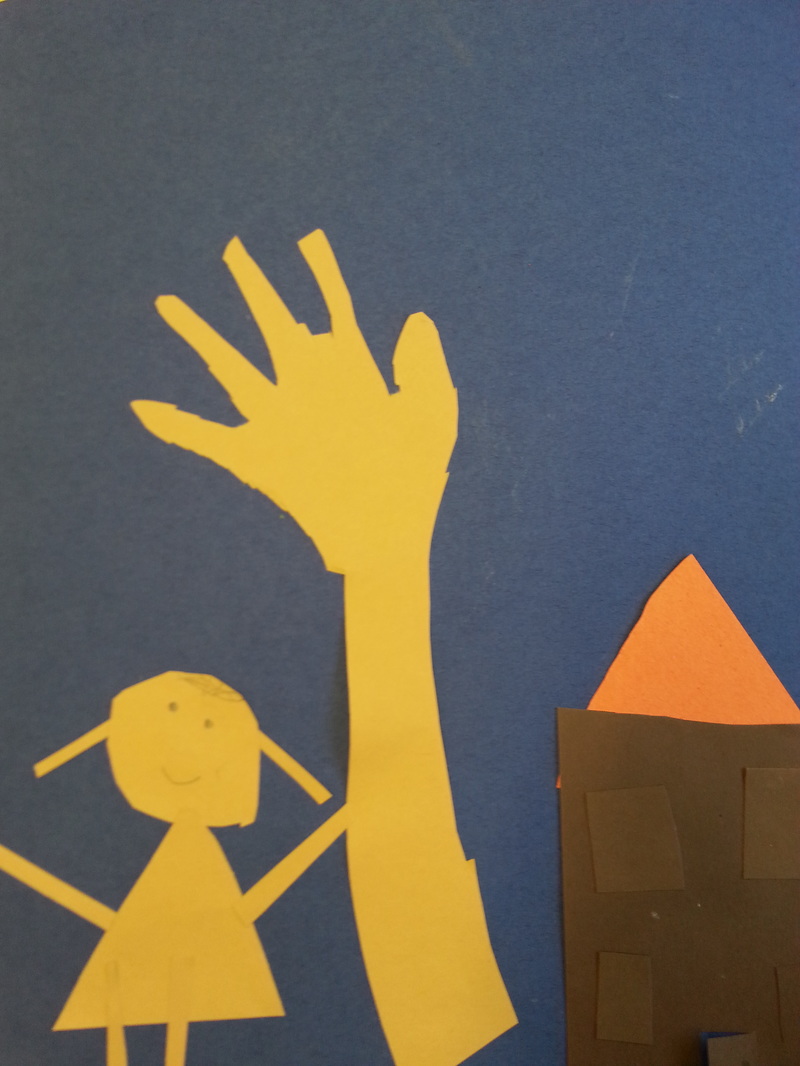
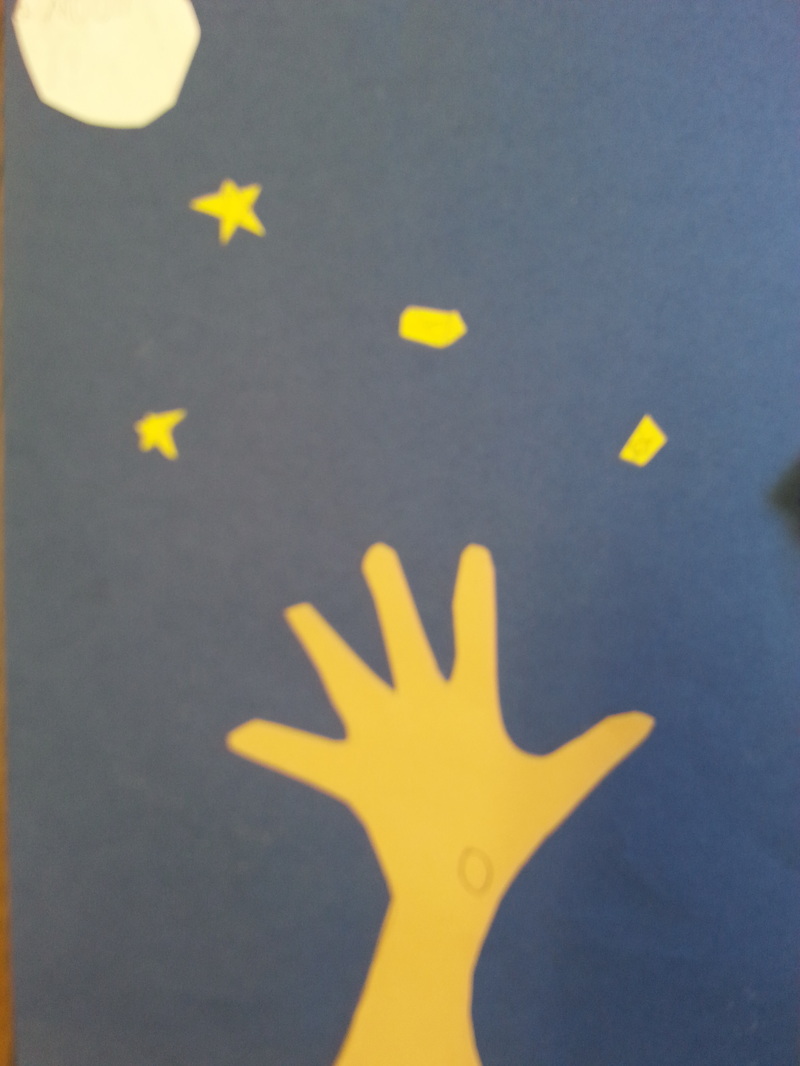
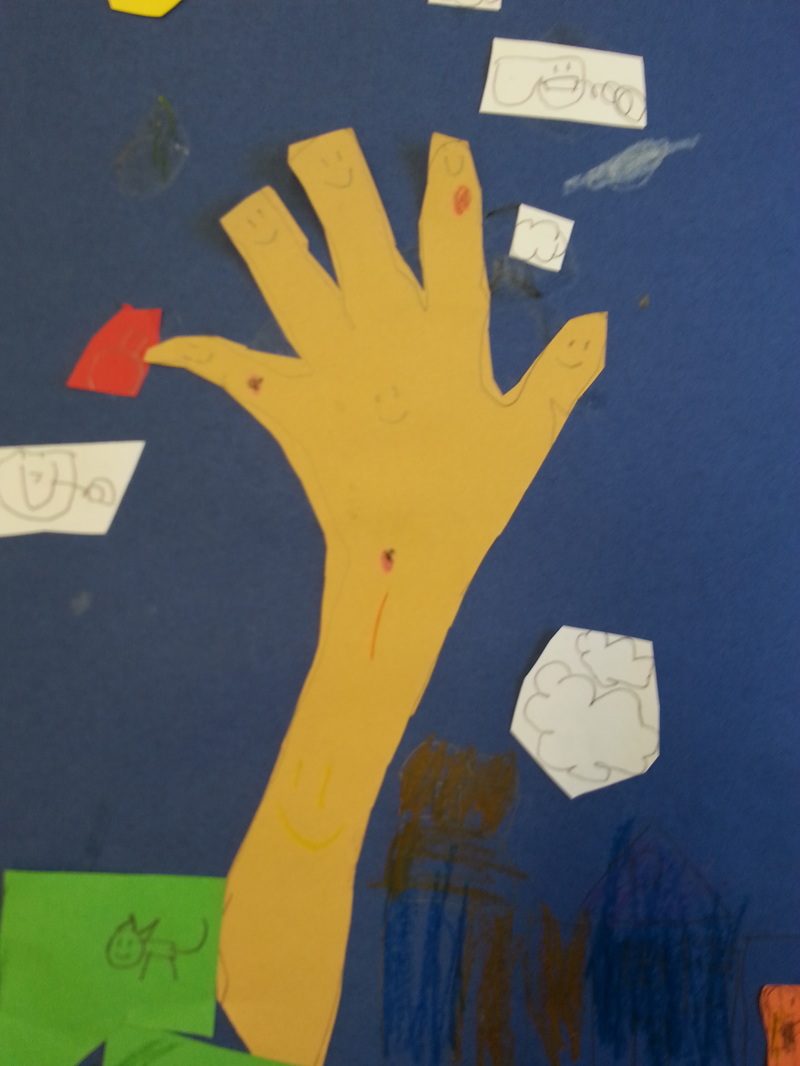
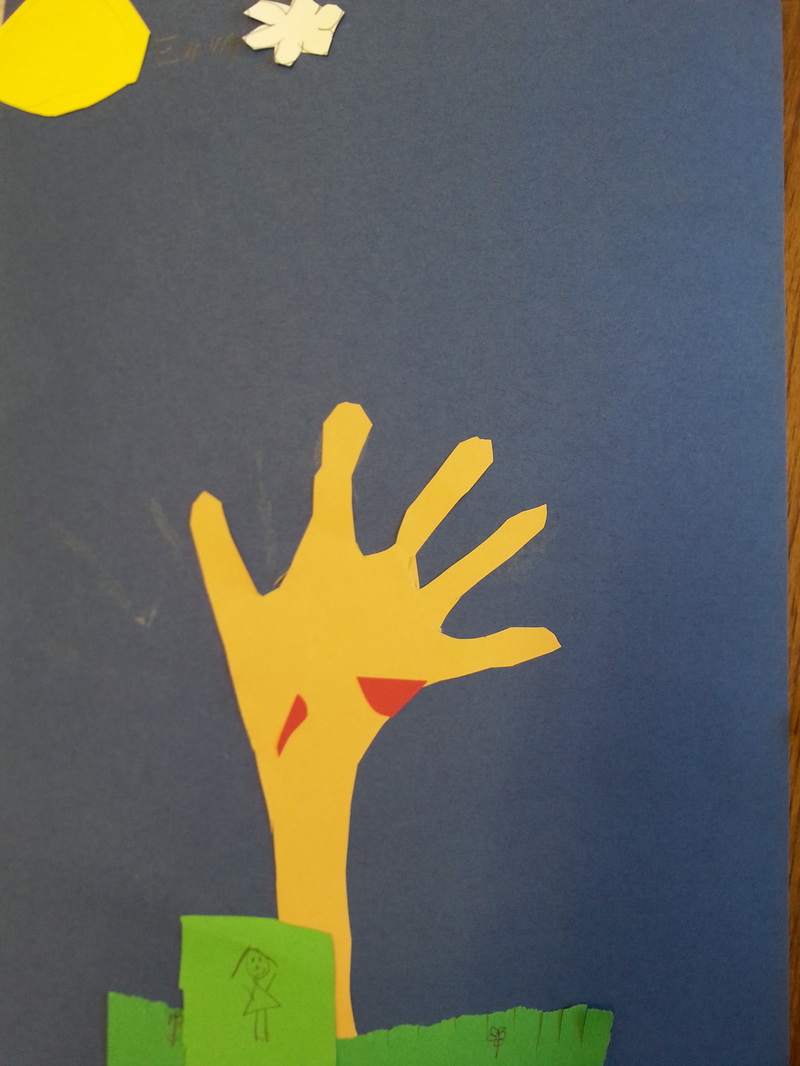
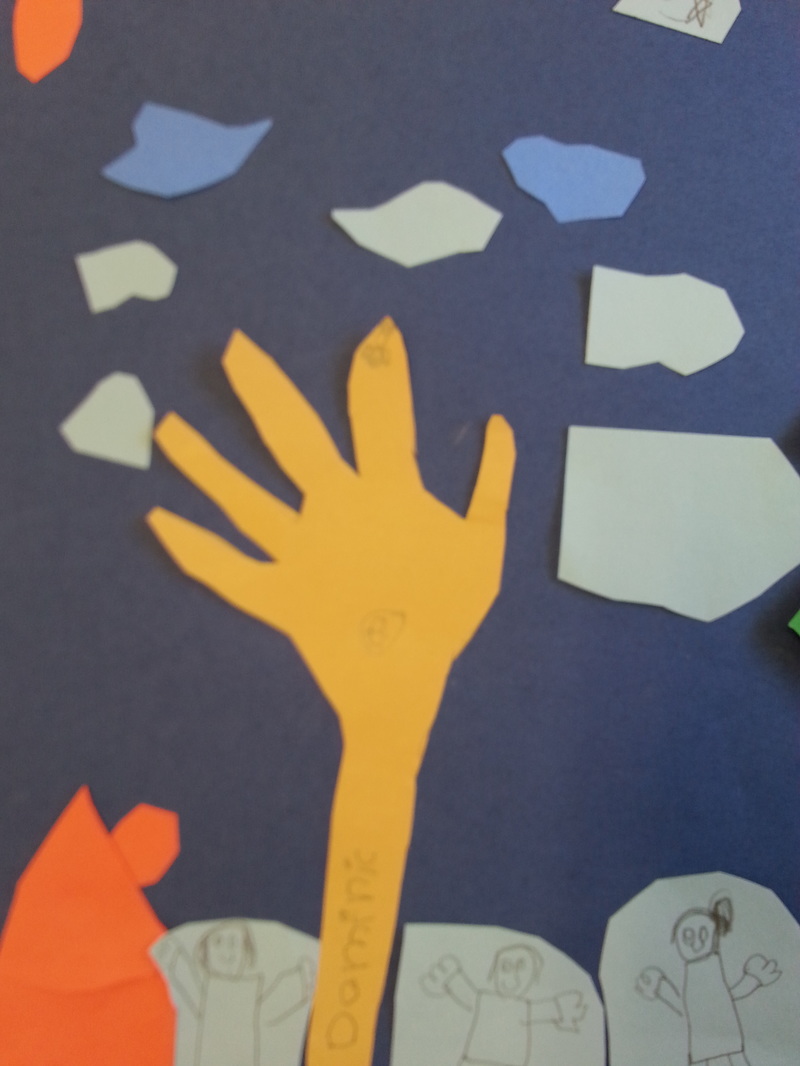
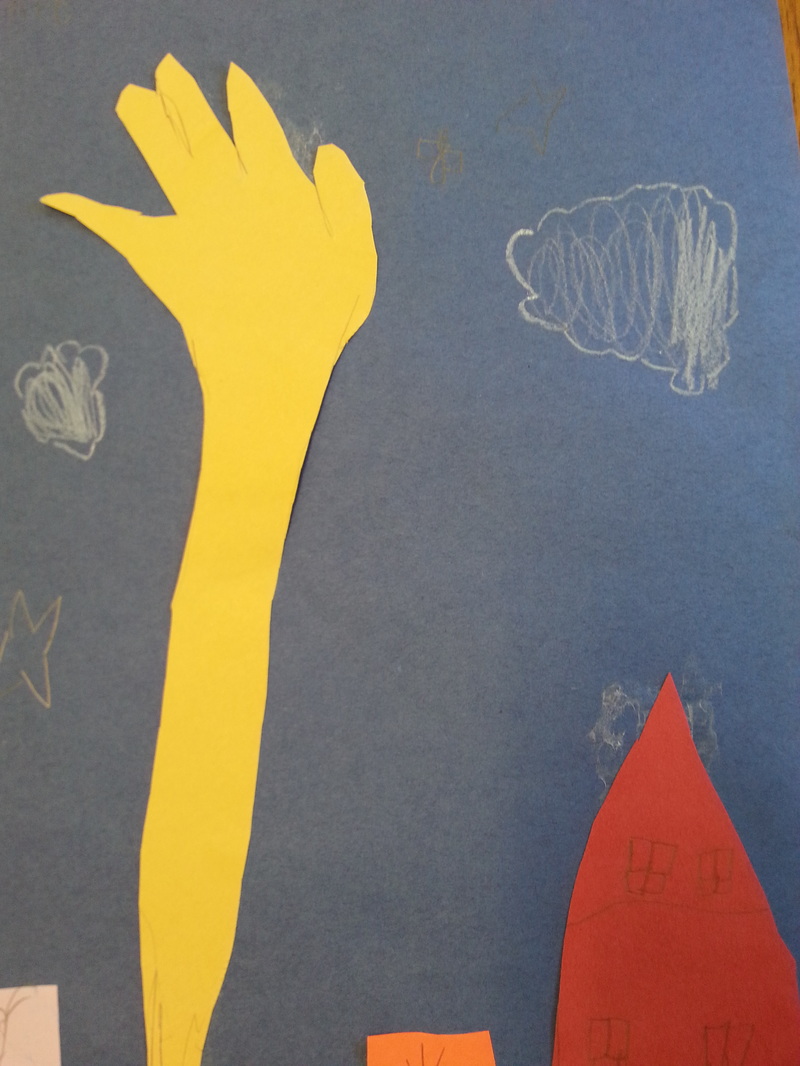
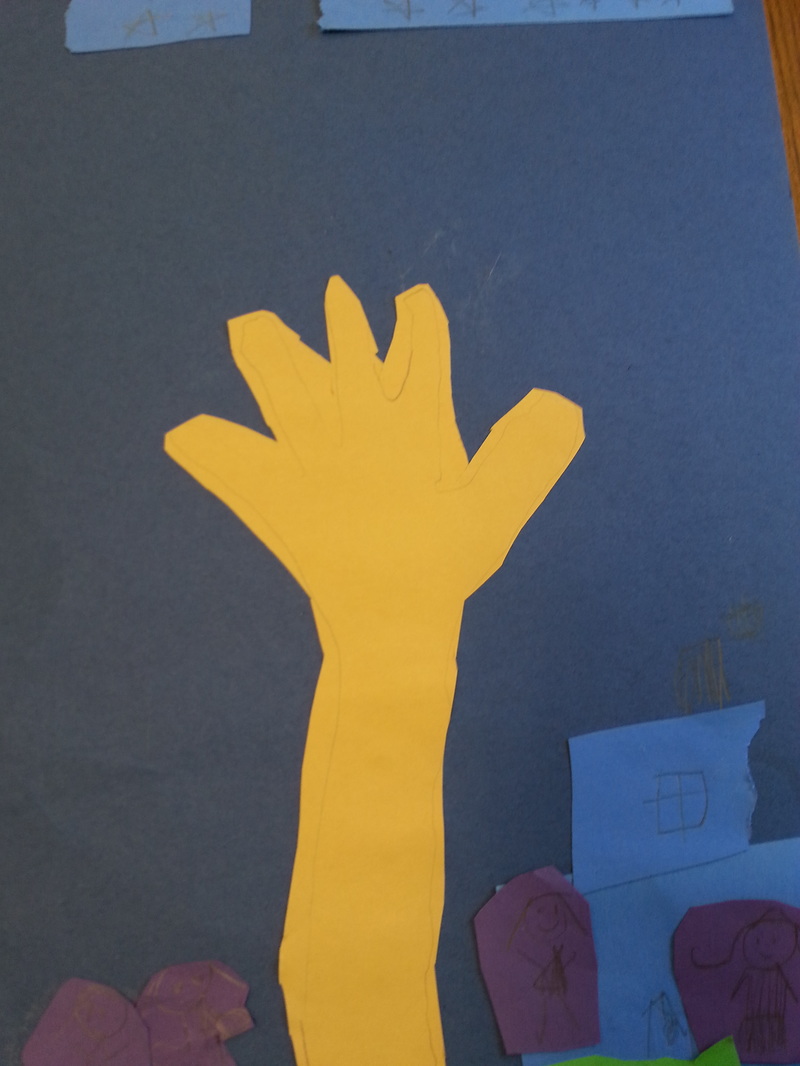
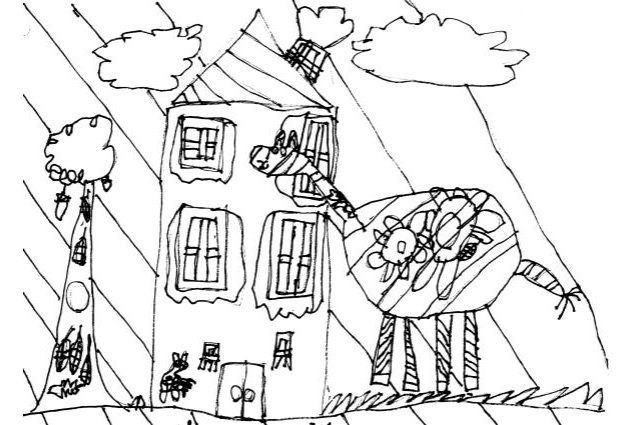
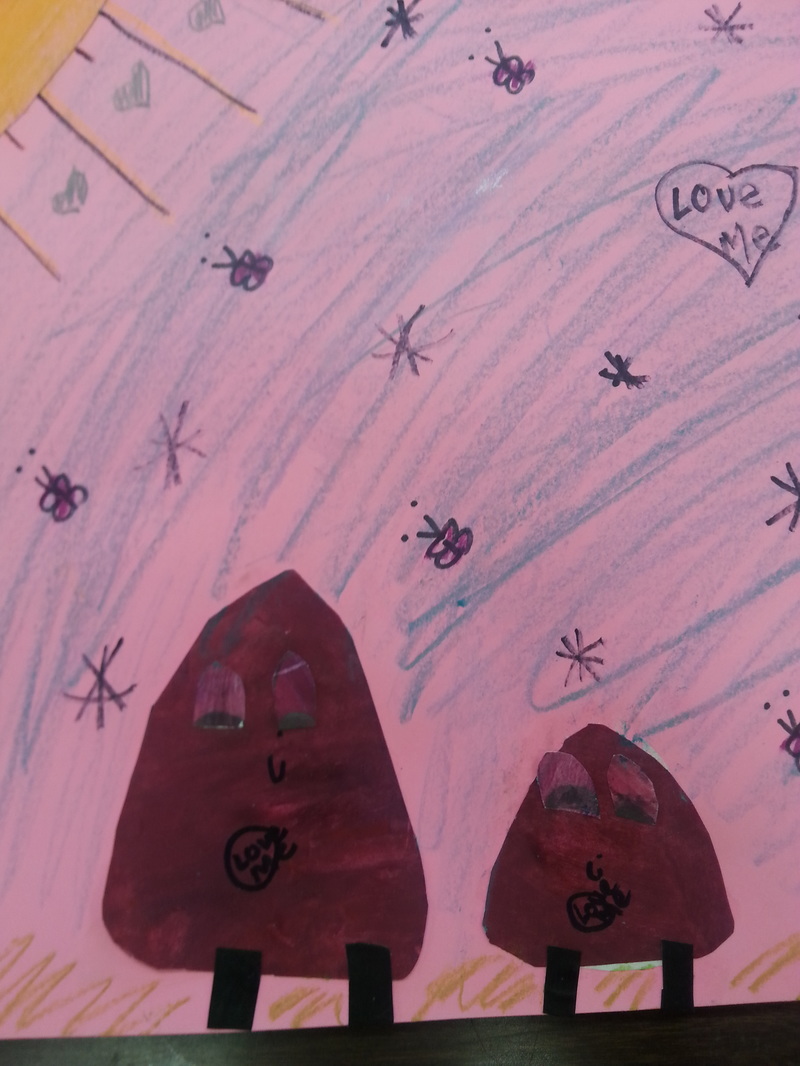
Unit Overview: Students will learn about leaf printing in order to create a leaf print tree collage. Students will learn about collage and add additional elements to their collage to create a complete leaf print tree collage. students will discuss what makes a leaf print successful and how it works. This was a fun project to do with kindergartners. Many of them have already done leaf prints before. However, what made this special was talking about how and why leaf prints are made, which side of the leaf to use and why, and how each leaf is different and unique. We used the printed the leafs in order to cut them out to add to our tree collage. Students used their hand/arm as a base for a tree. We talked about the word in sign-language (I am semi-fluent in ASL, and love to incorporate ASL into my lessons) for tree and showed how the hand/arm can represent a tree. 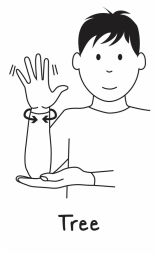 Unfortunately, my time at this school ended before I could finish this project with them. The students made beautiful leaf prints in colors of orange, pink, green, and blue (I wanted to highlight summer colors, although this project would be more suited to autumn). The students added pretty neat collage elements to their picture. I was impressed with the ability of one student, who created her family in incredible detail. For a kindergarten class, they showed advanced ability in cutting, gluing, and creativity. 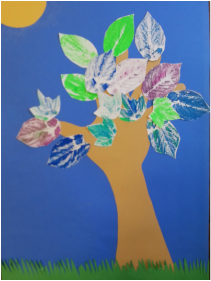 My teacher example (See how nice the leaves look!)
0 Comments
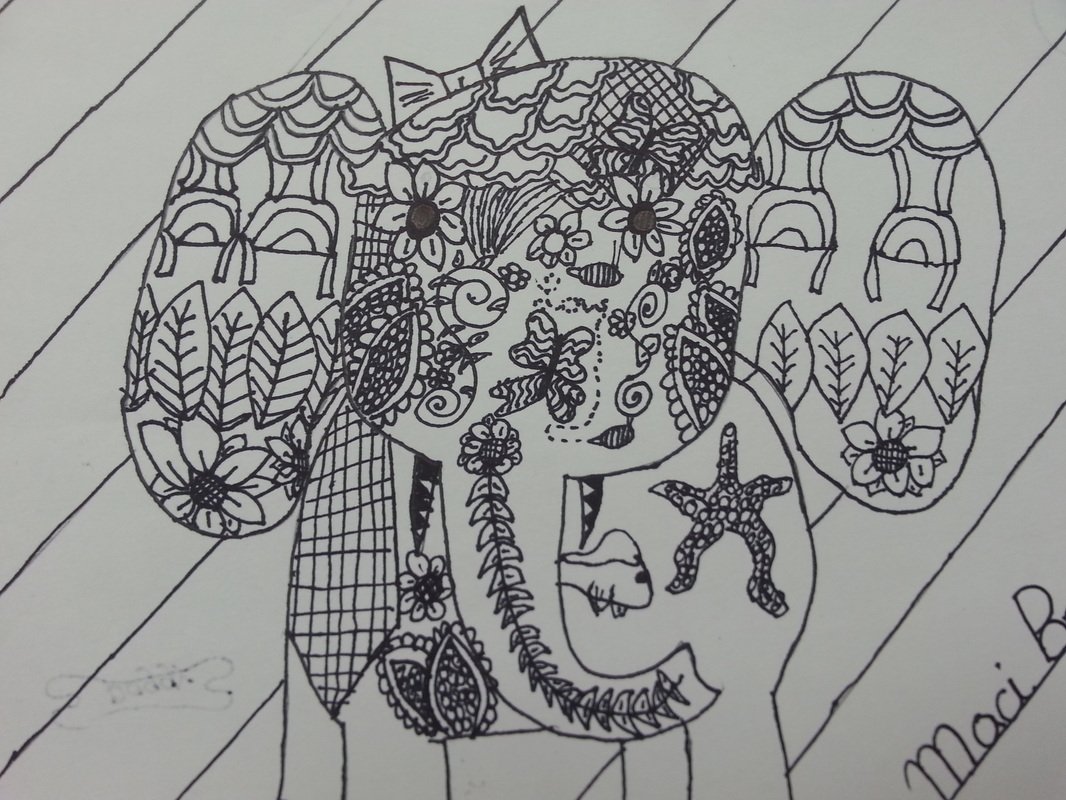
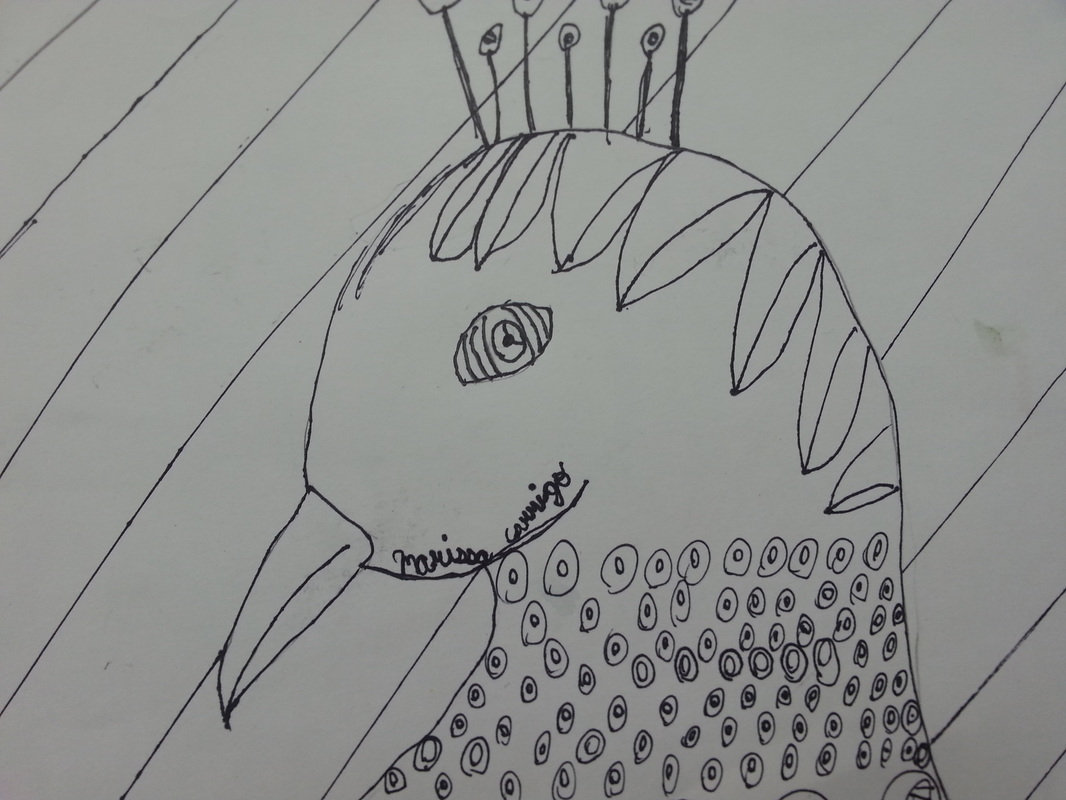
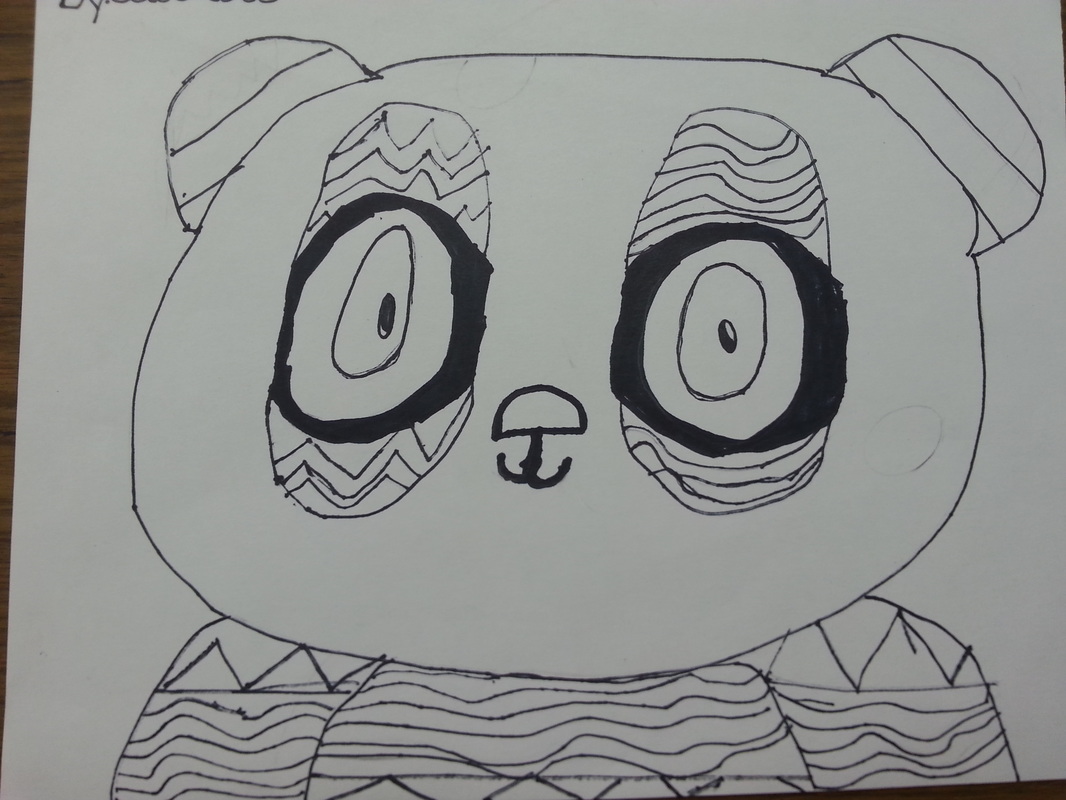
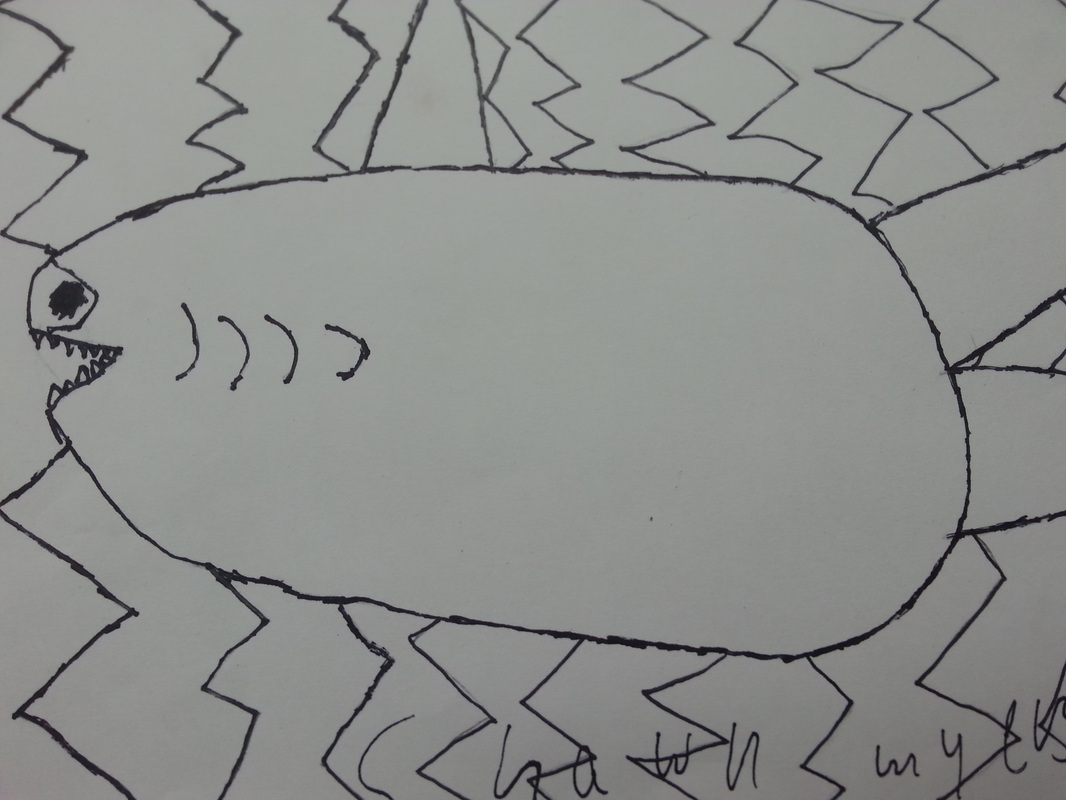
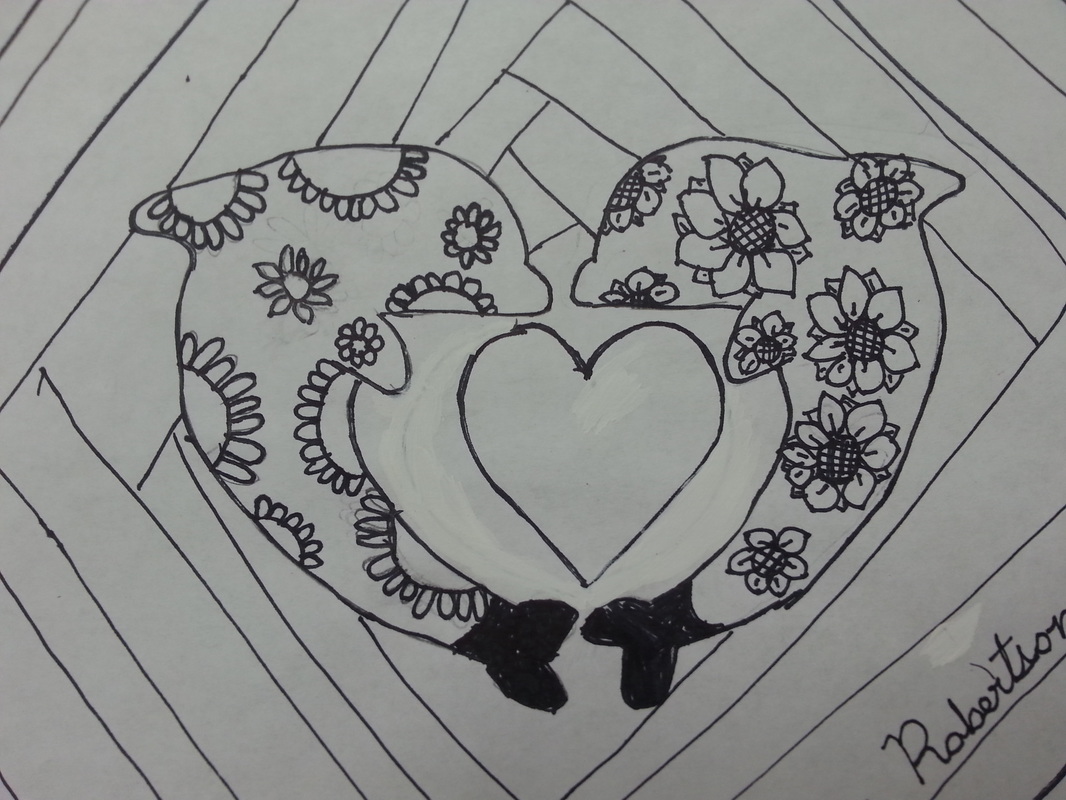
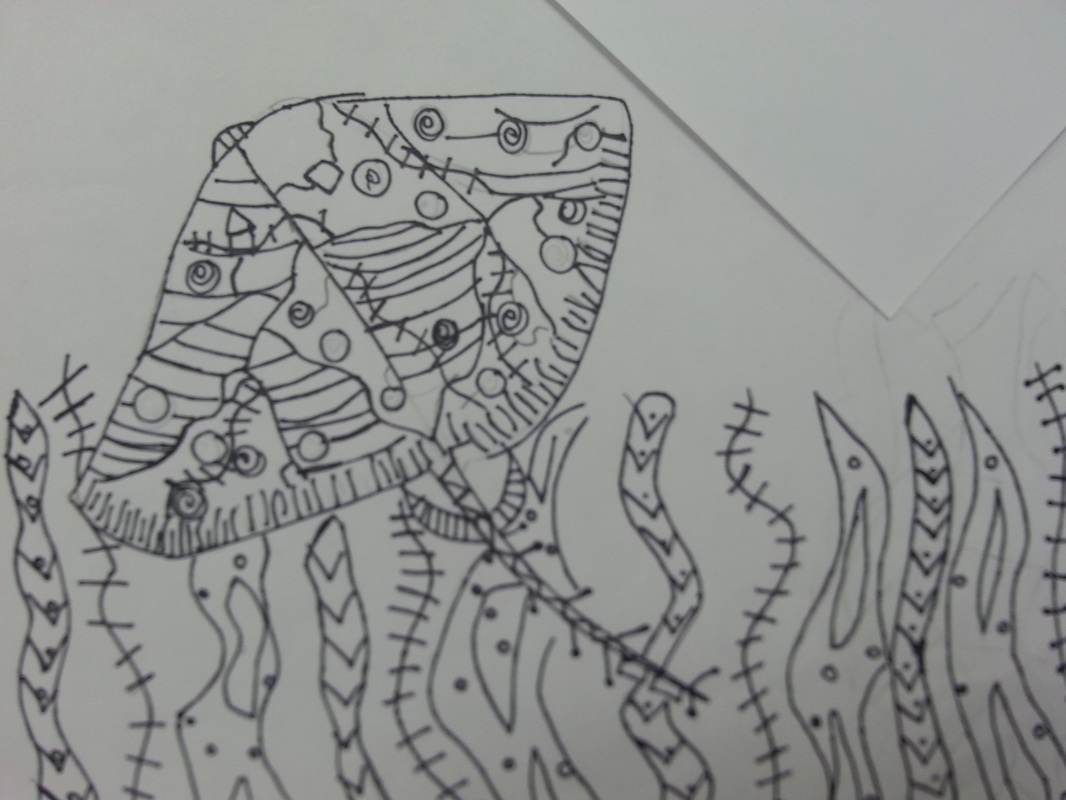
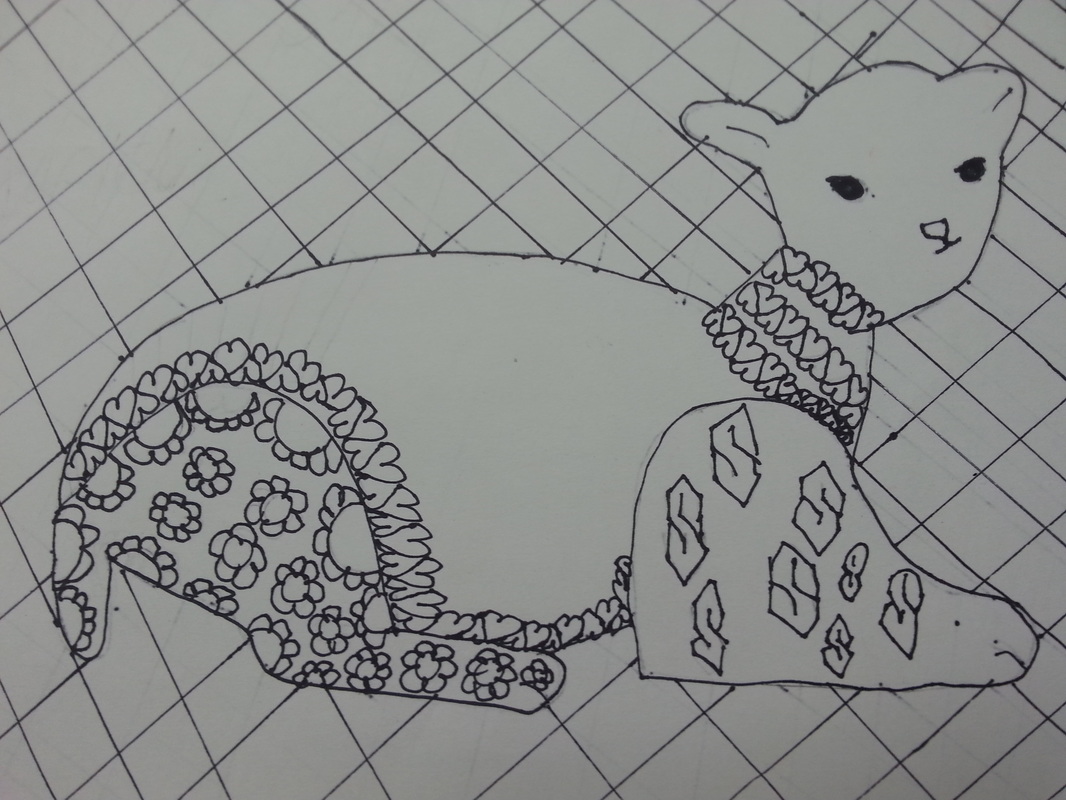
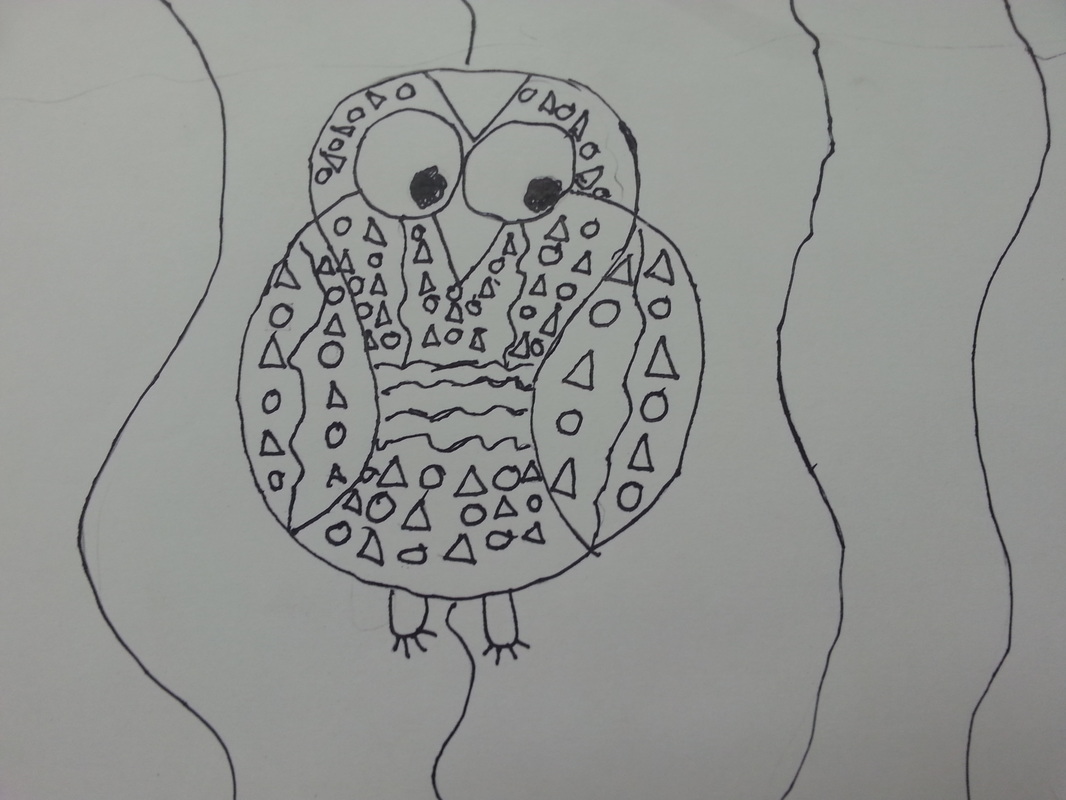
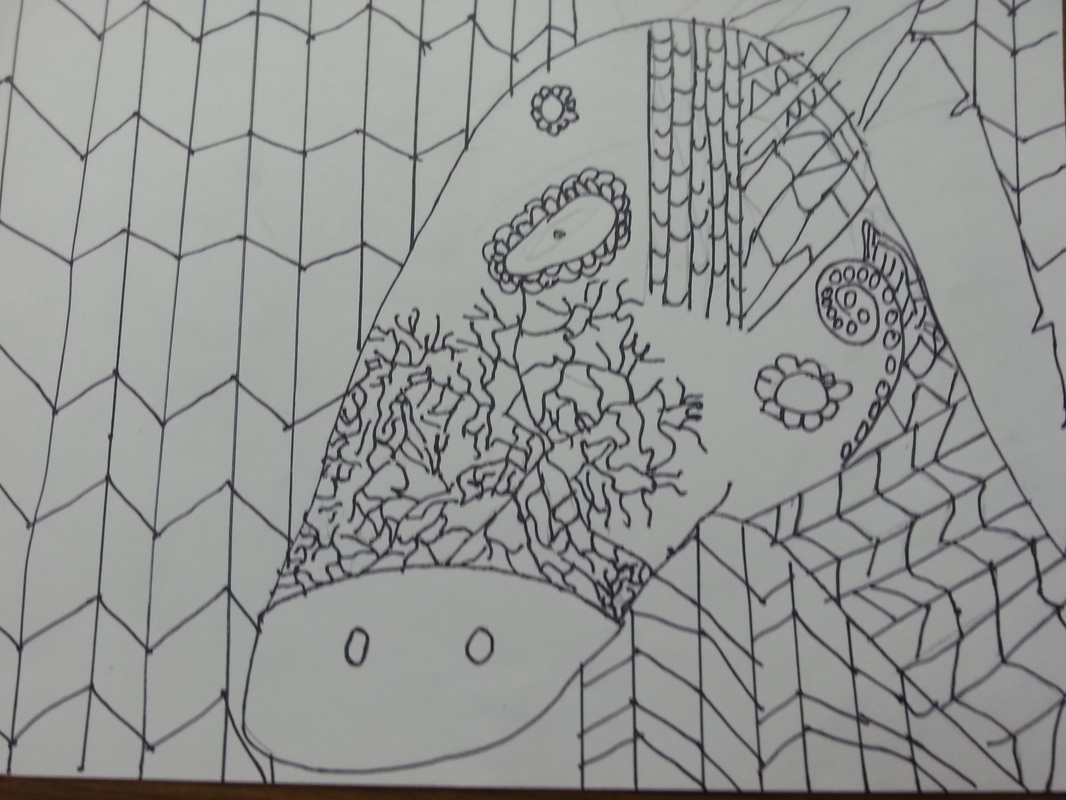
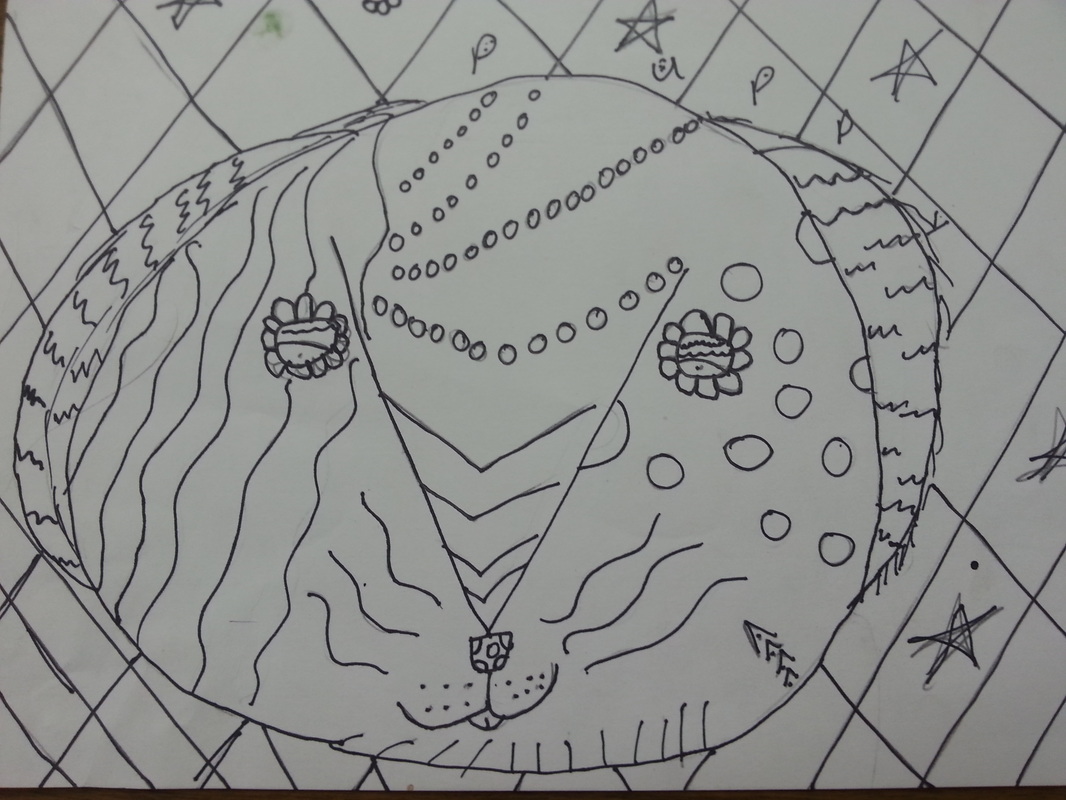
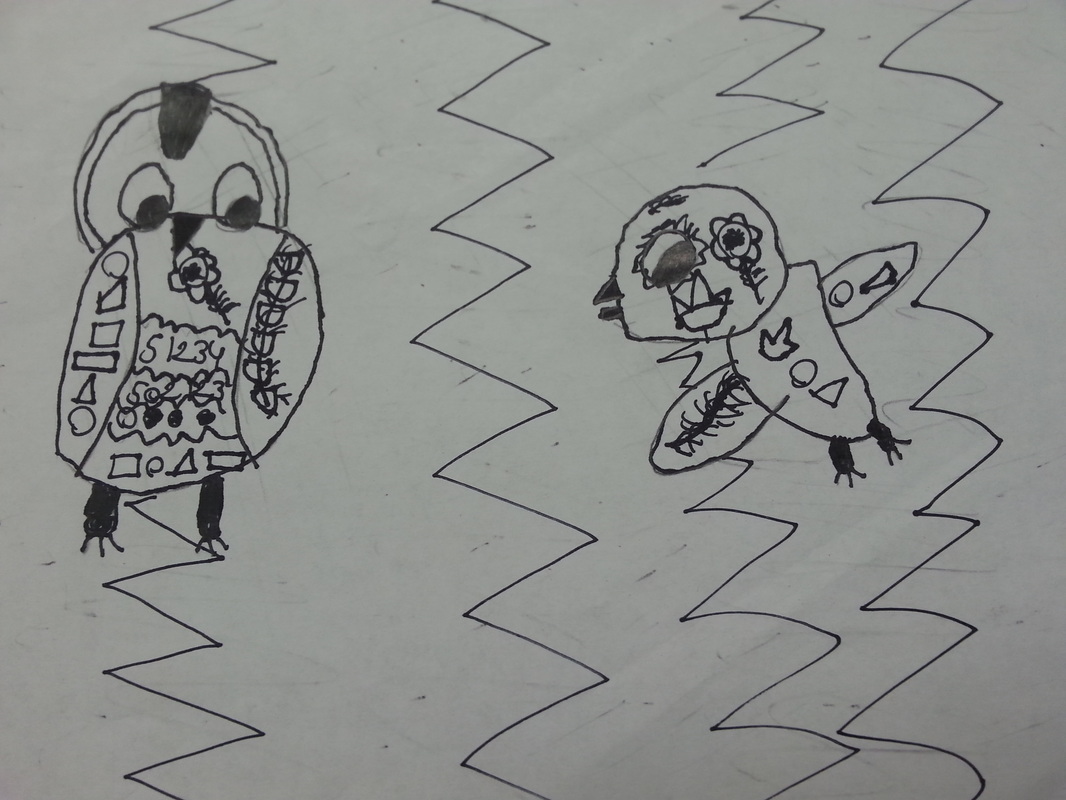
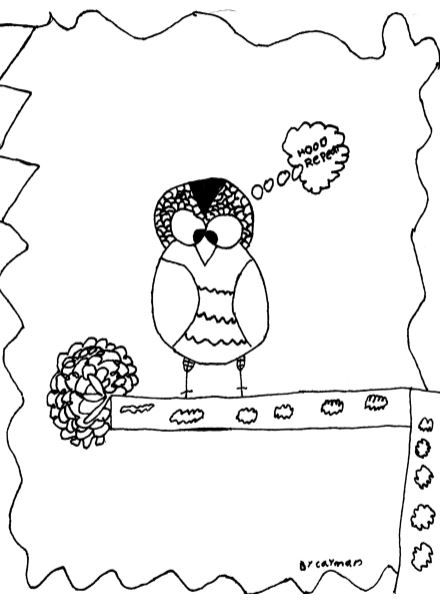
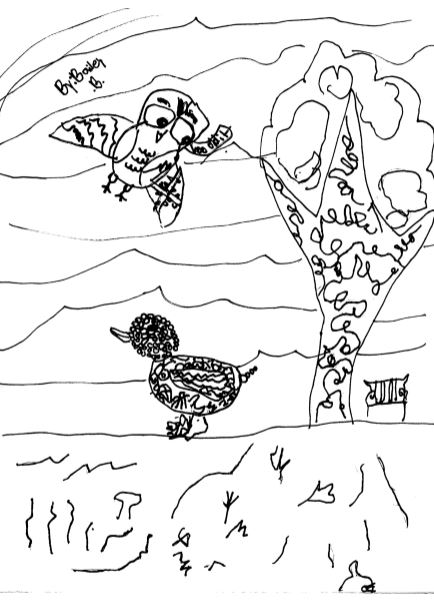
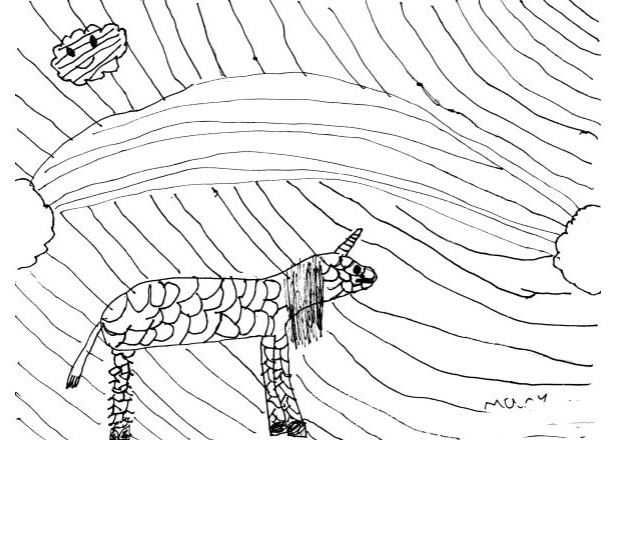
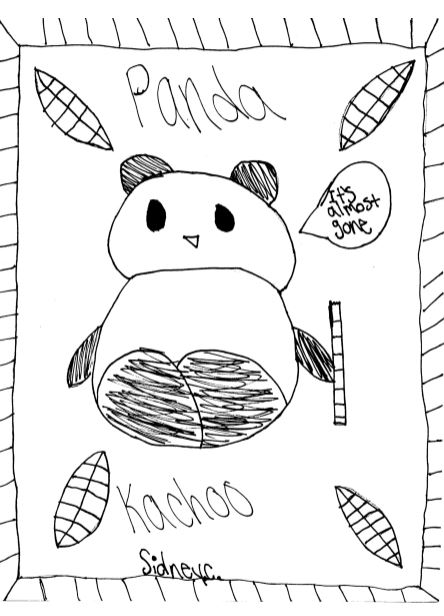
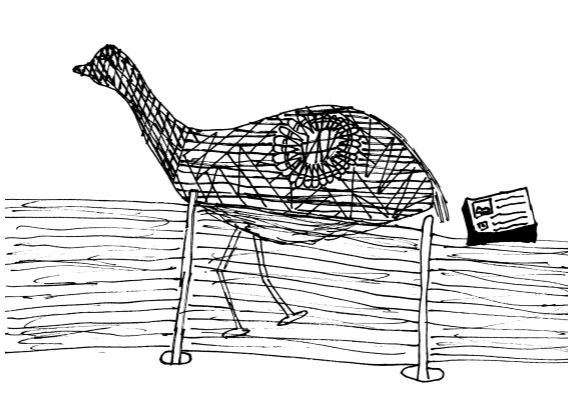
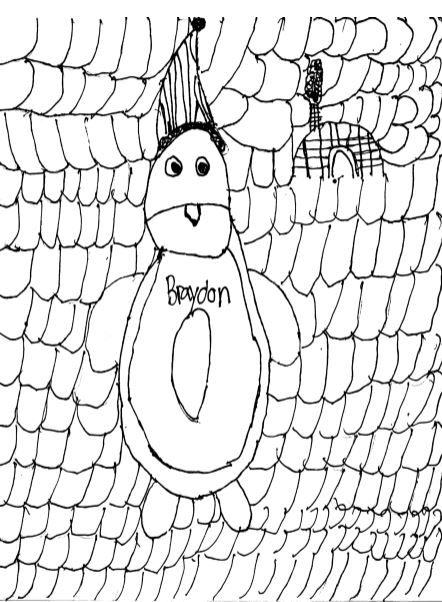
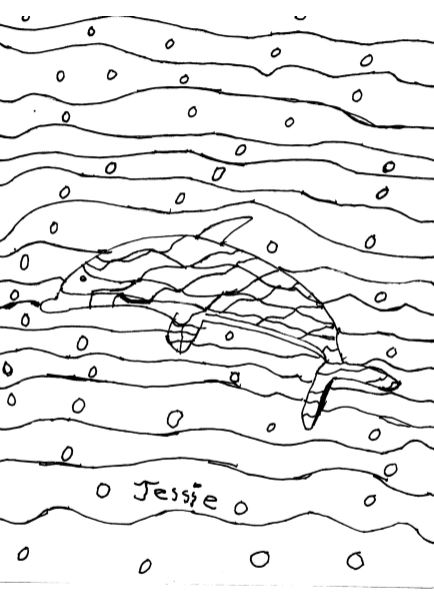
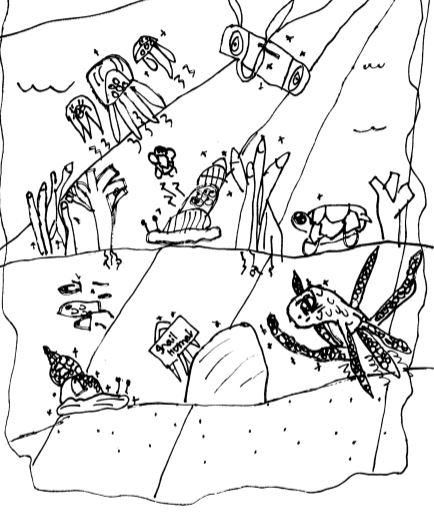
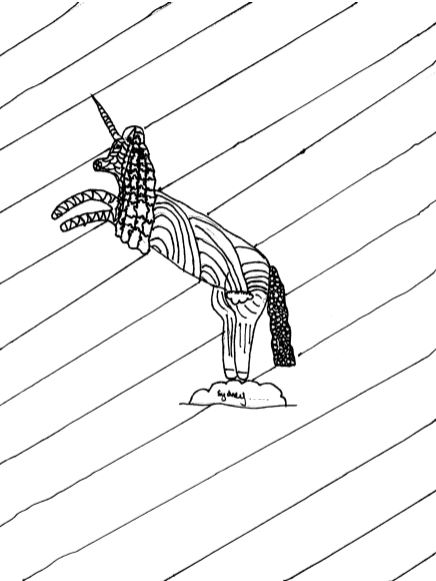
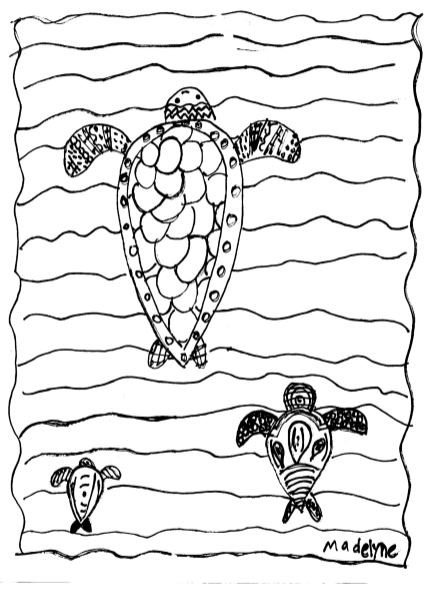
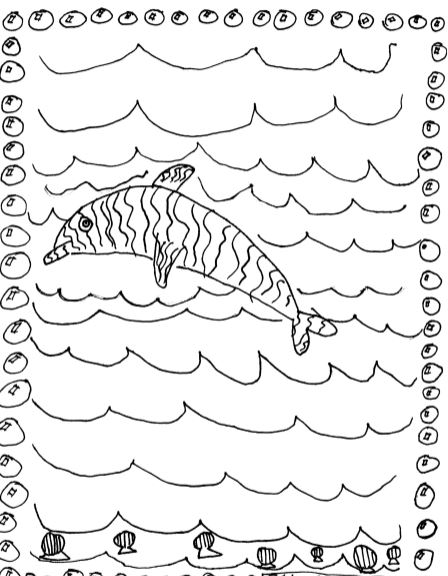
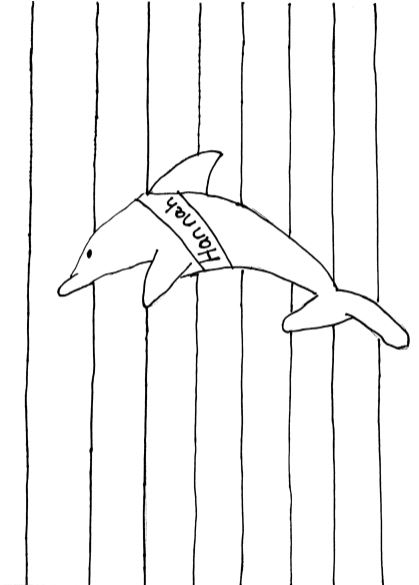
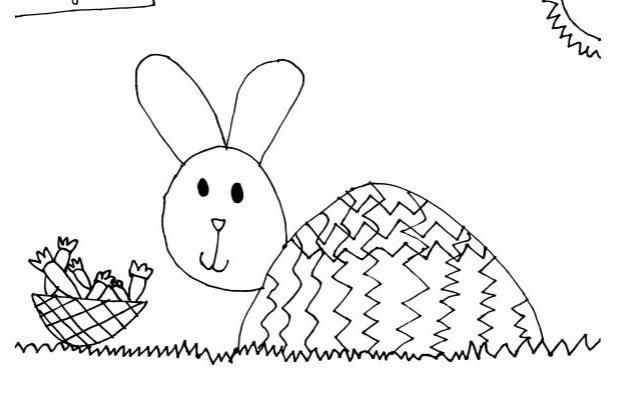
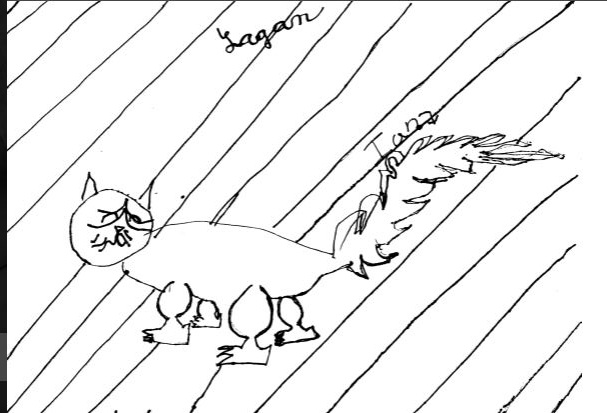
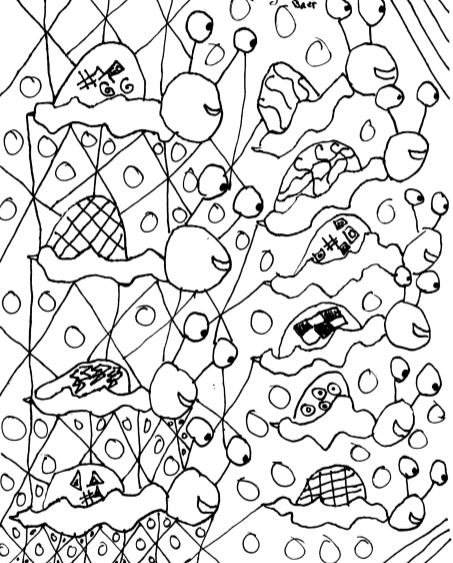
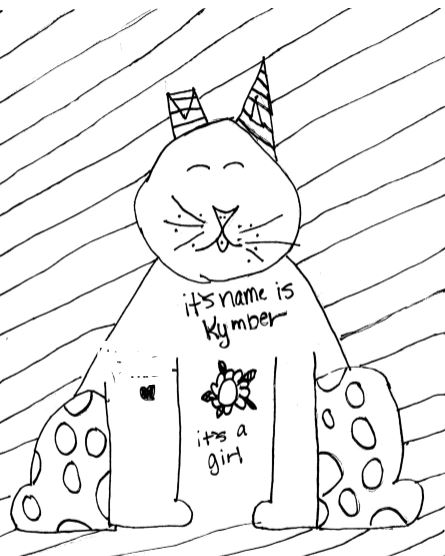
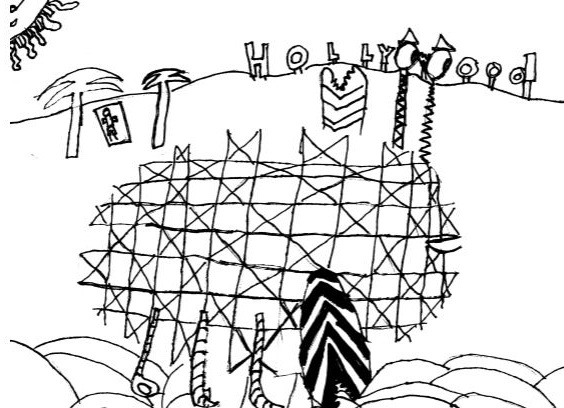
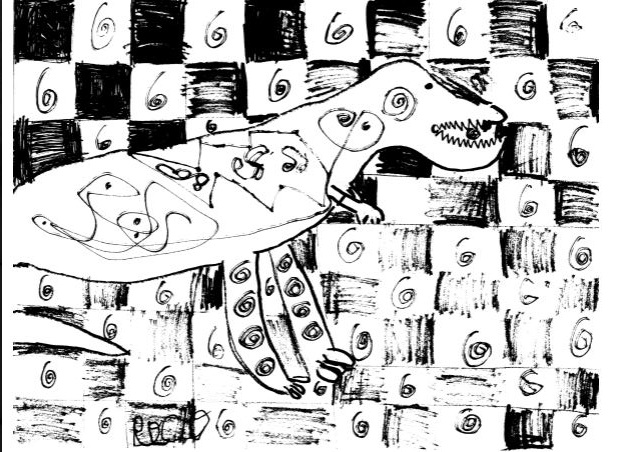
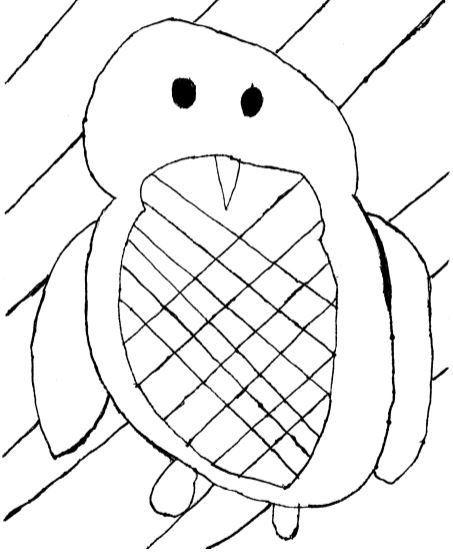
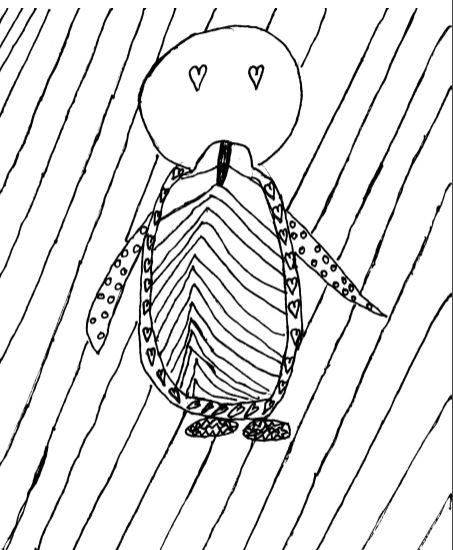
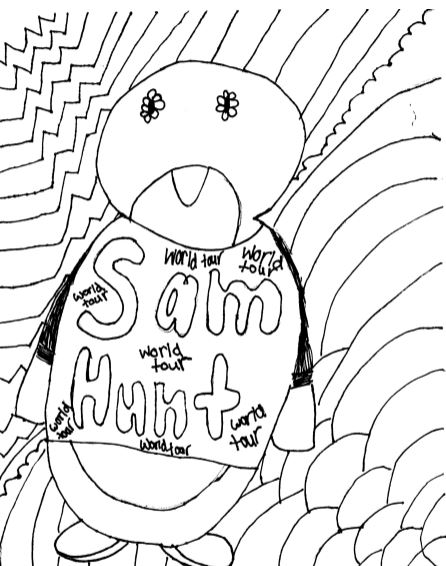
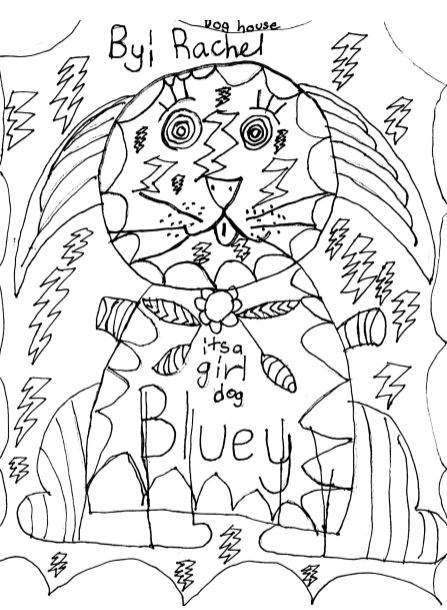
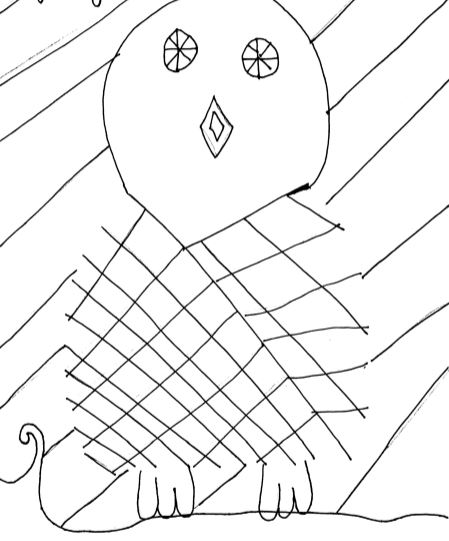
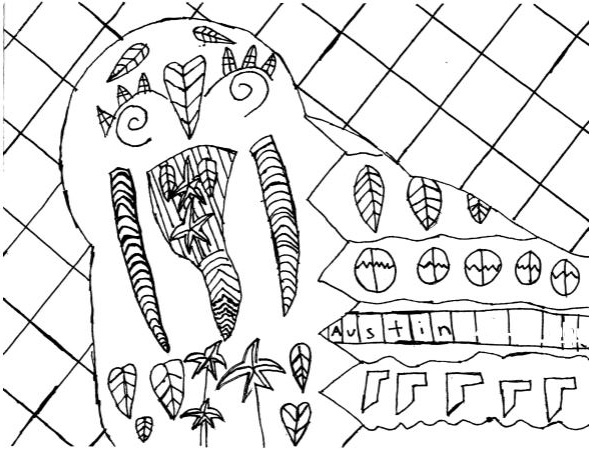
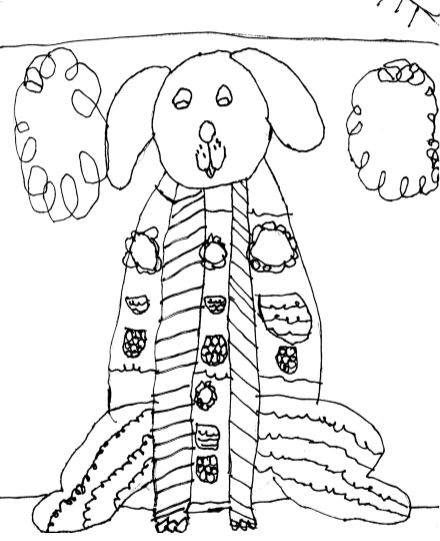
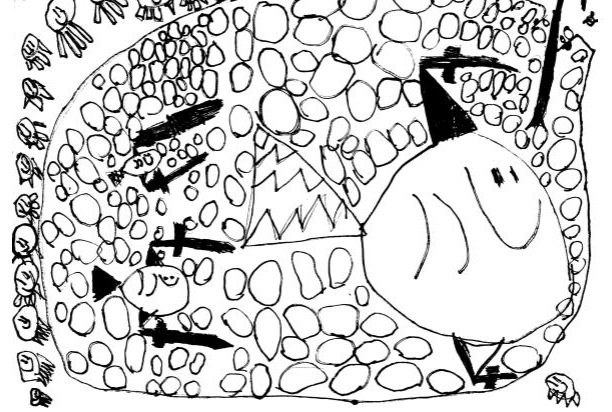
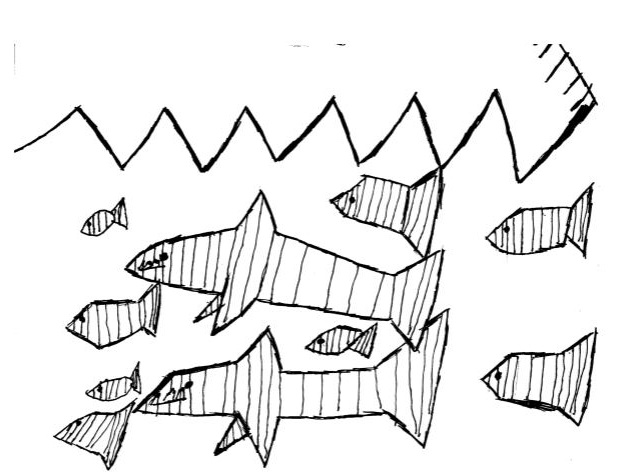
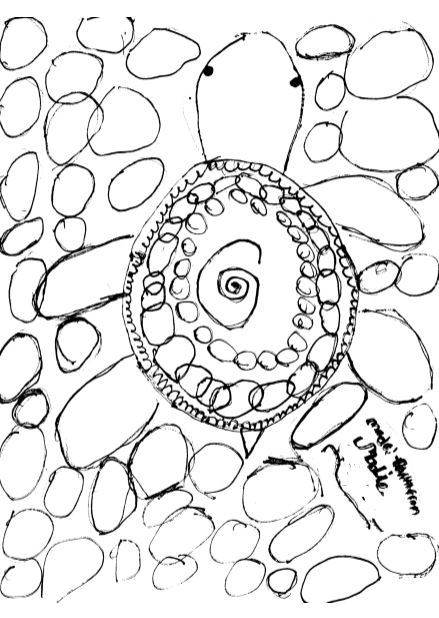
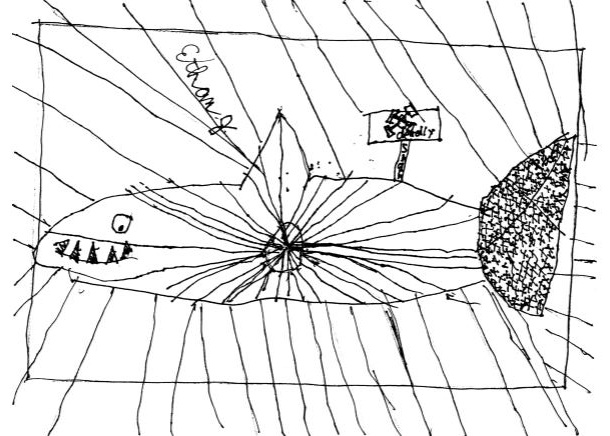
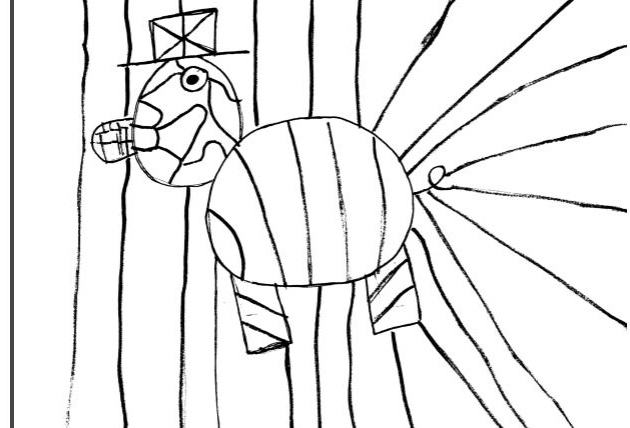
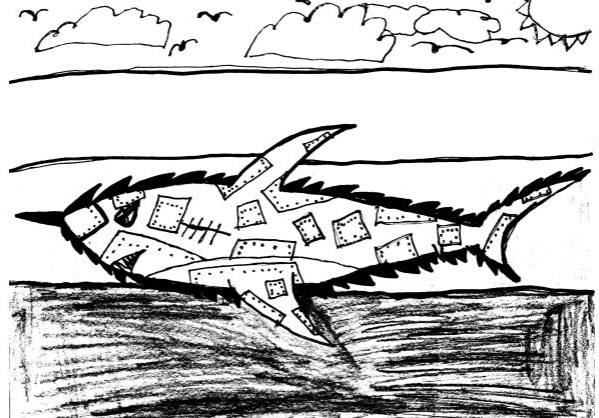
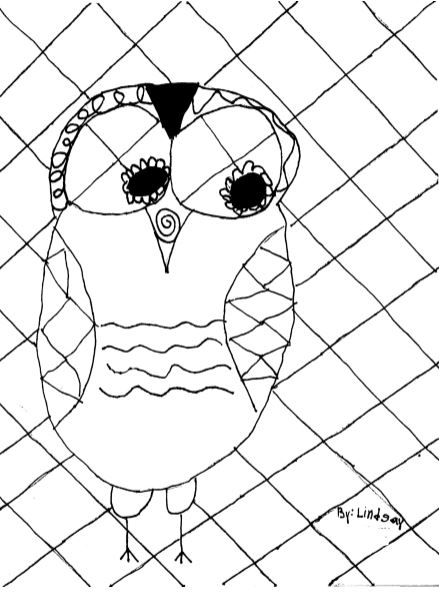
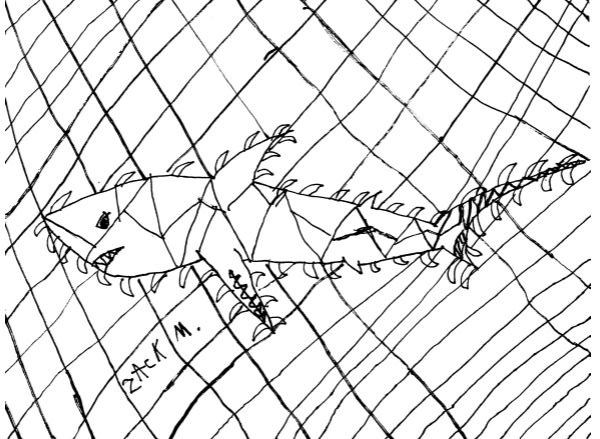
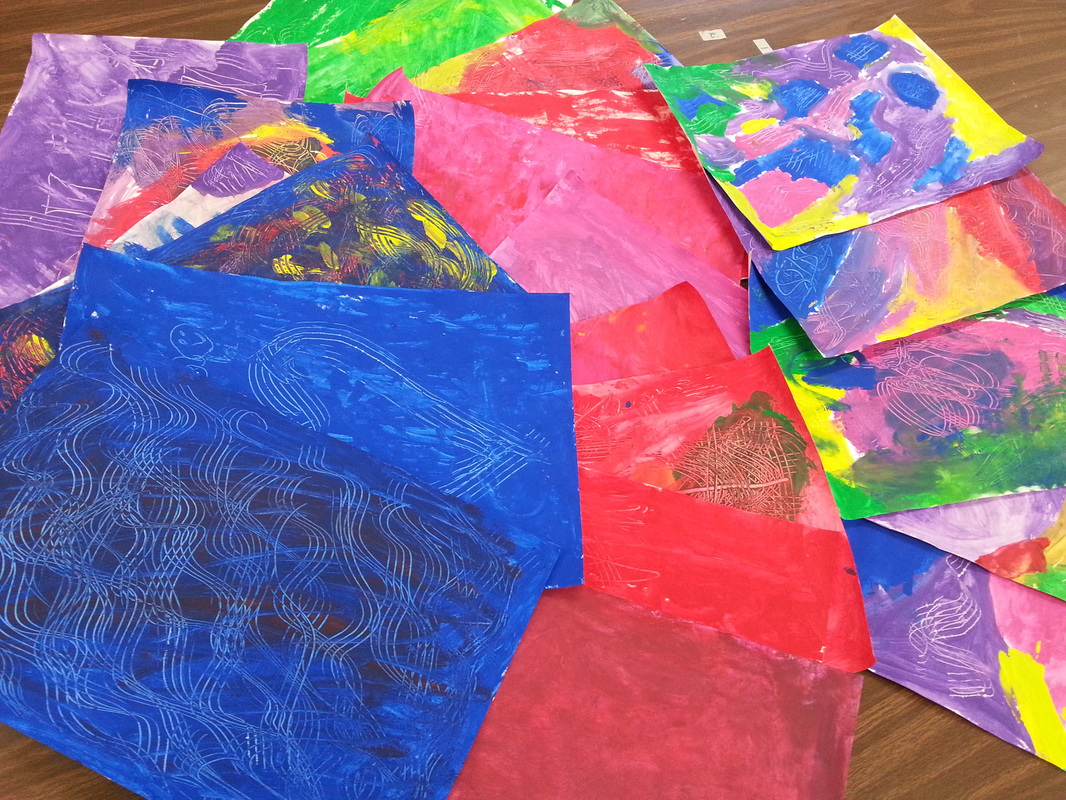
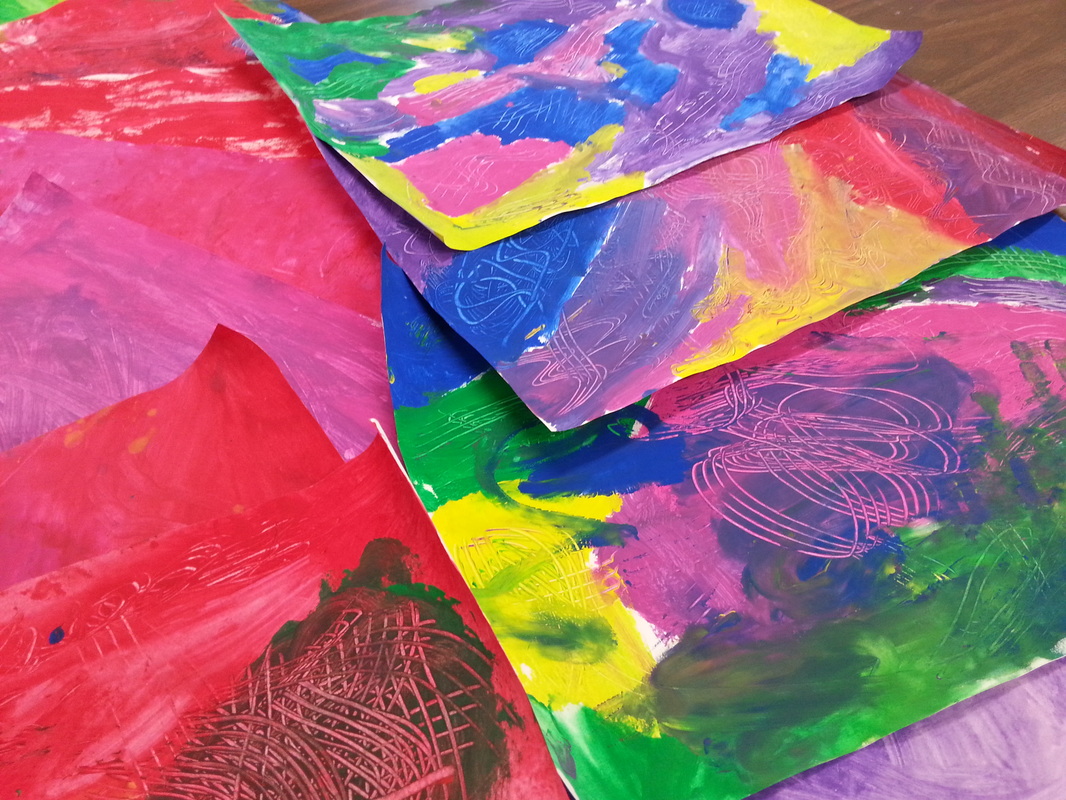
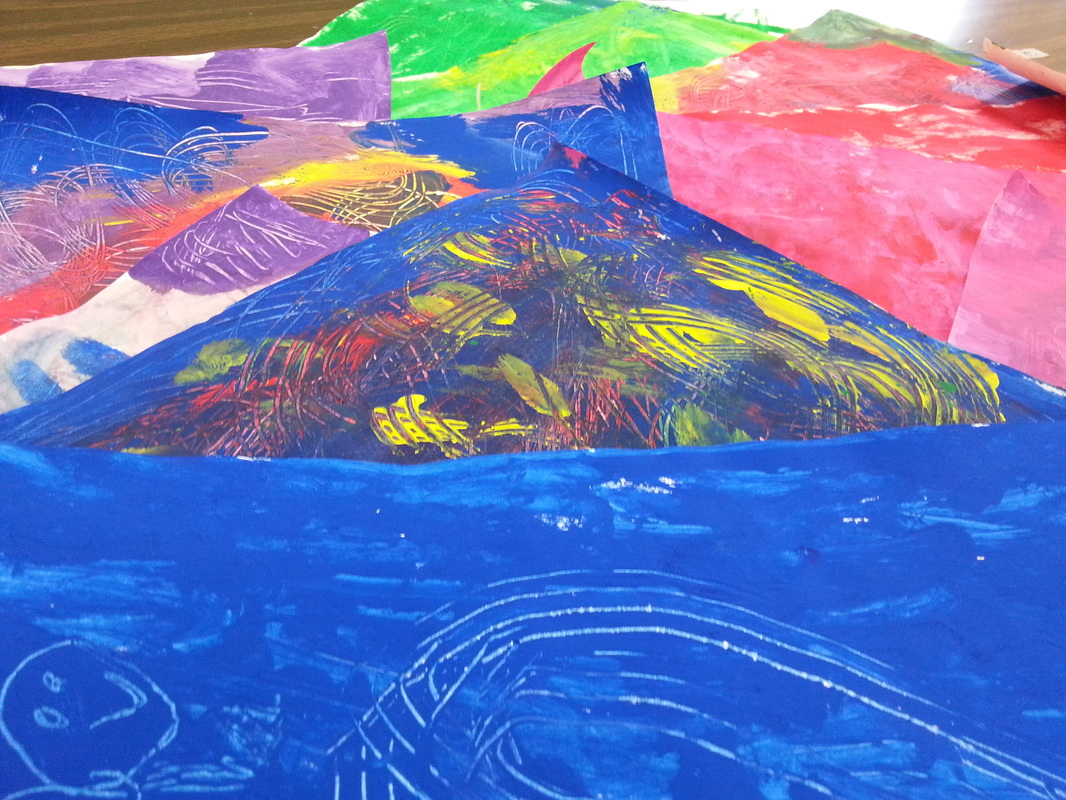
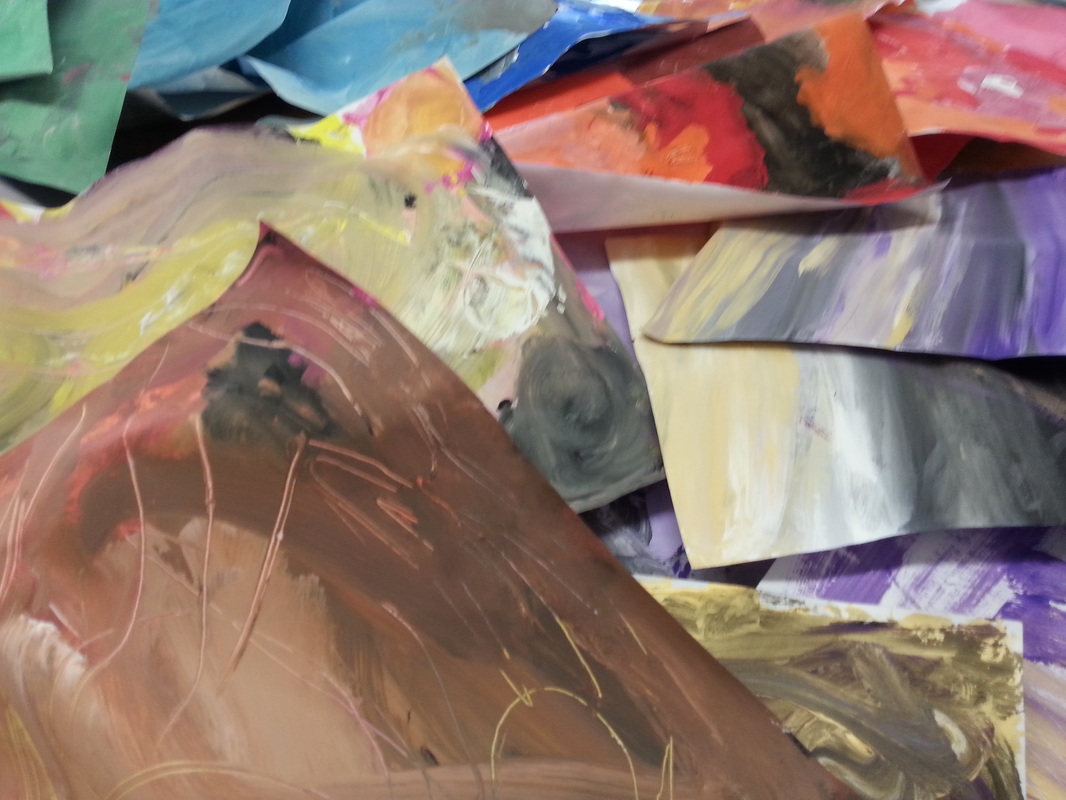
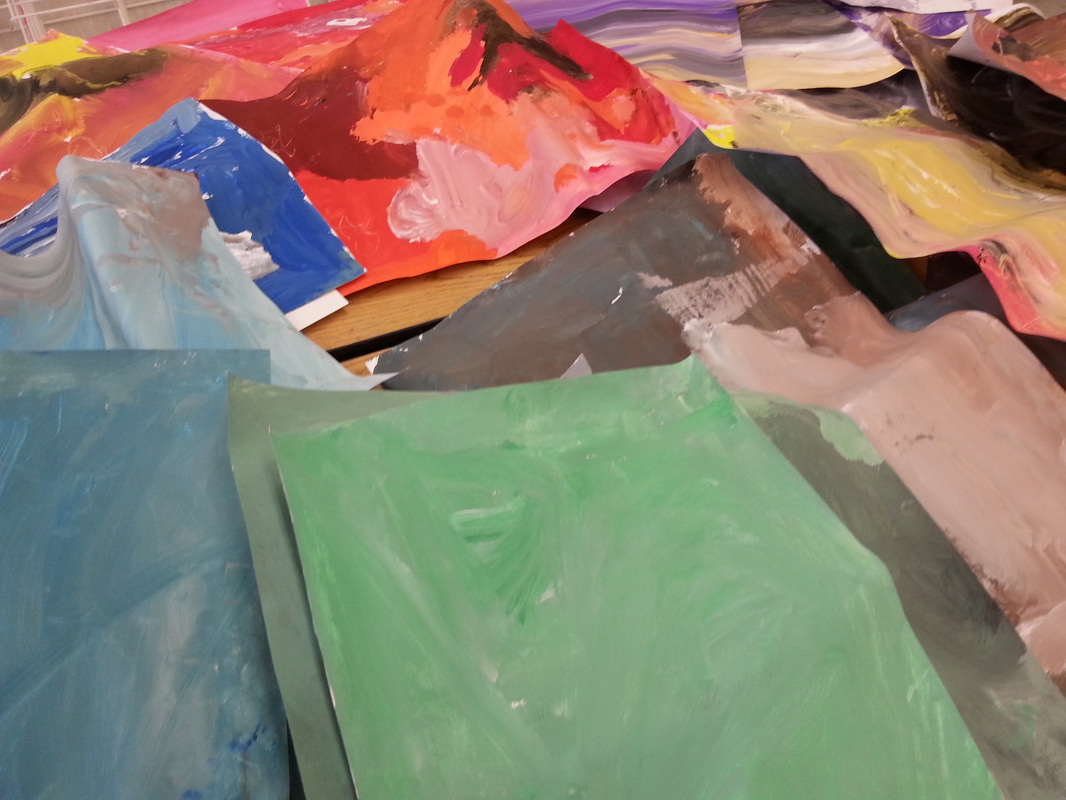
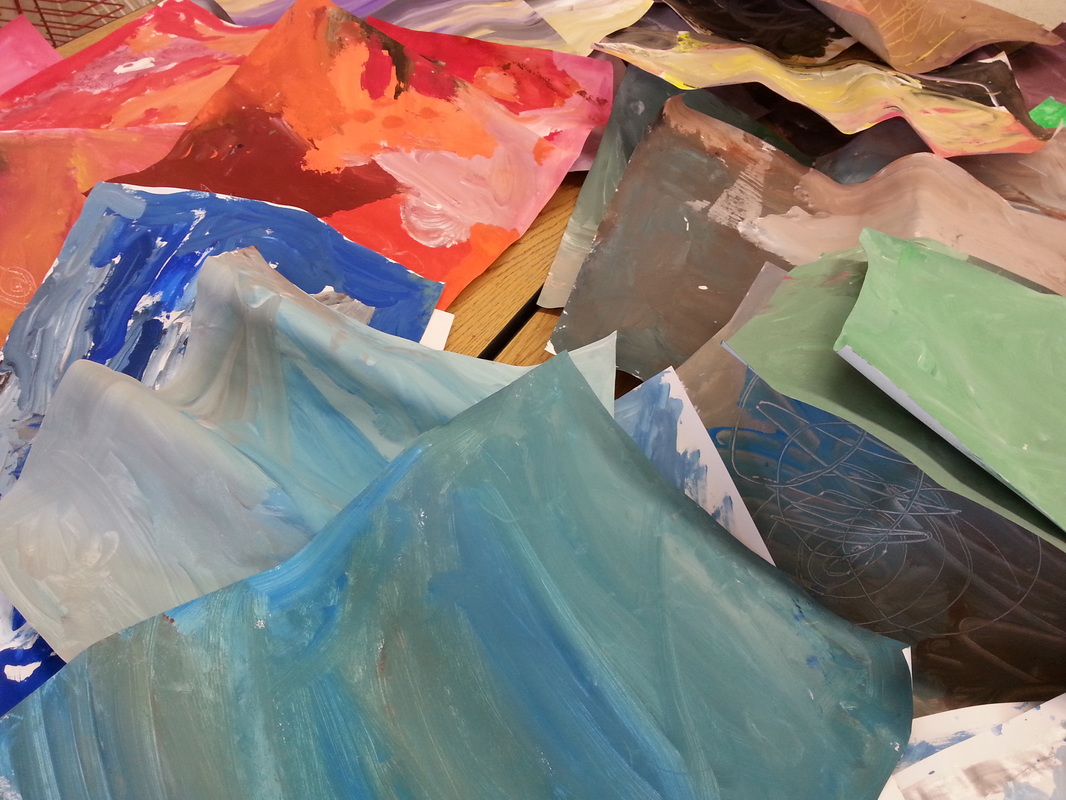
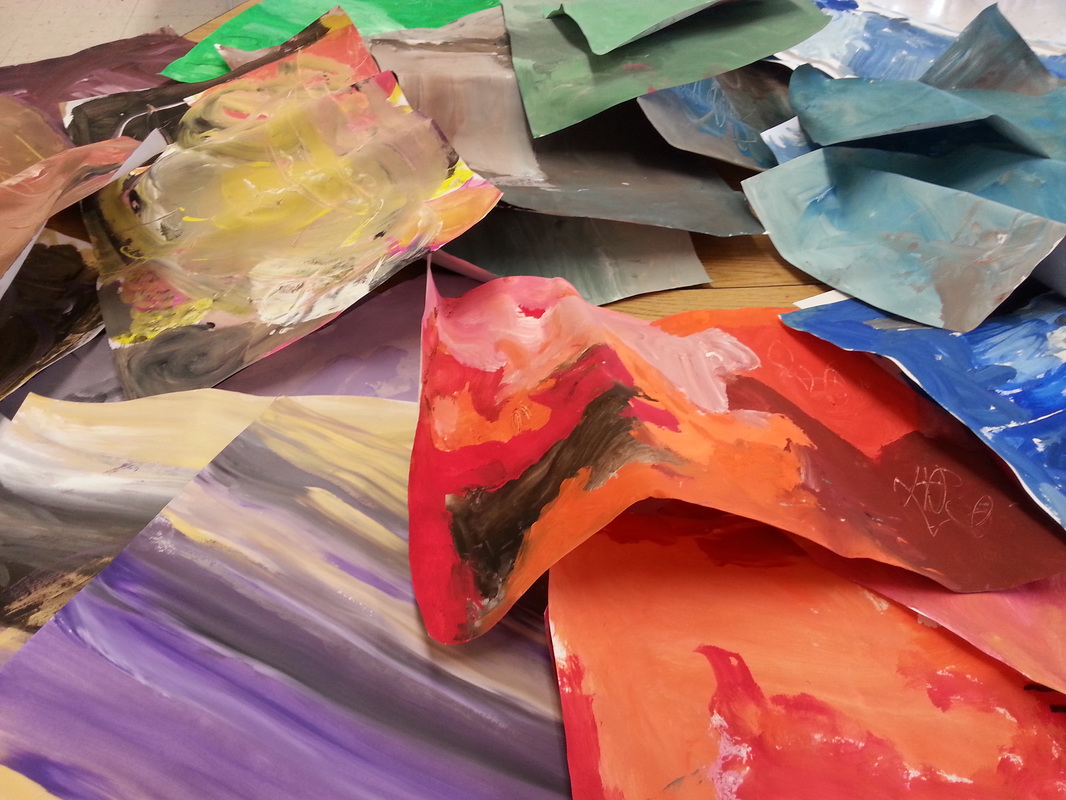
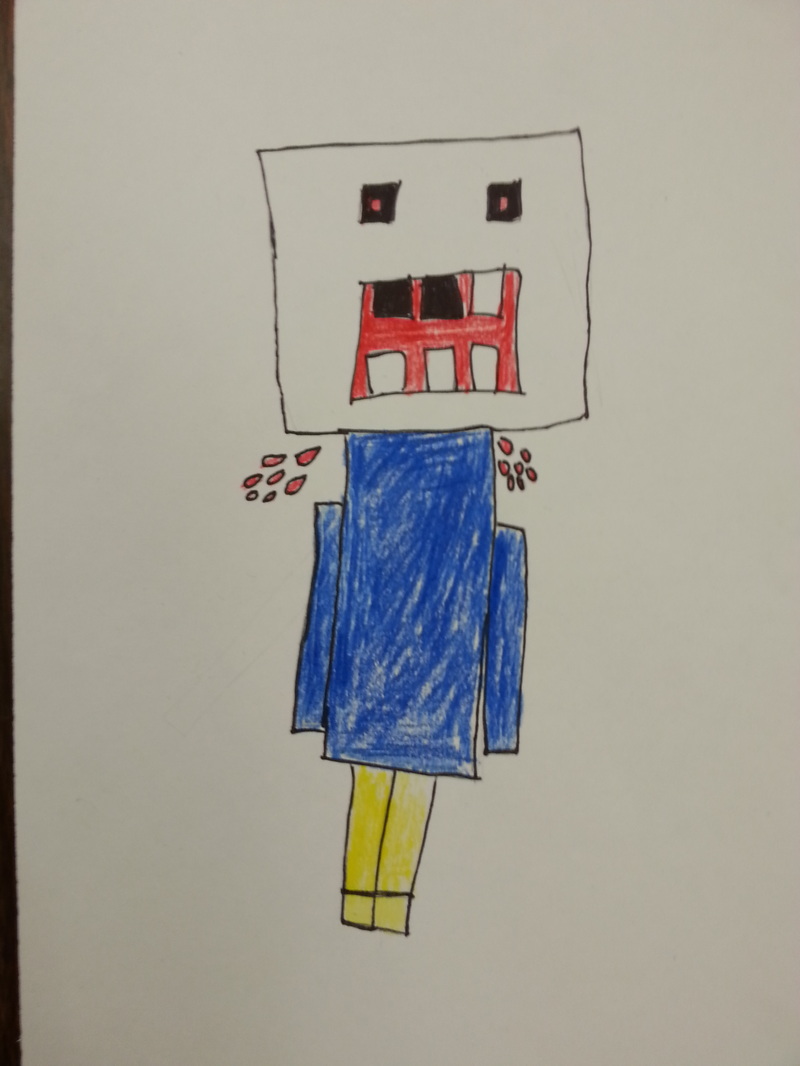
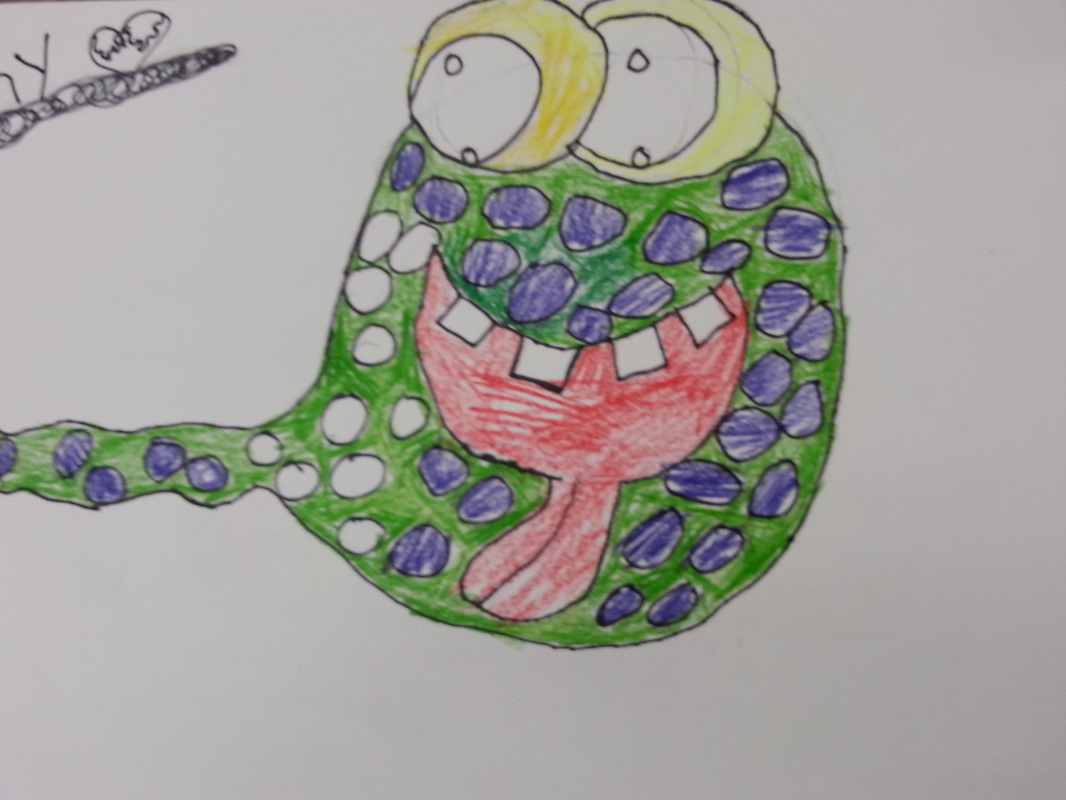
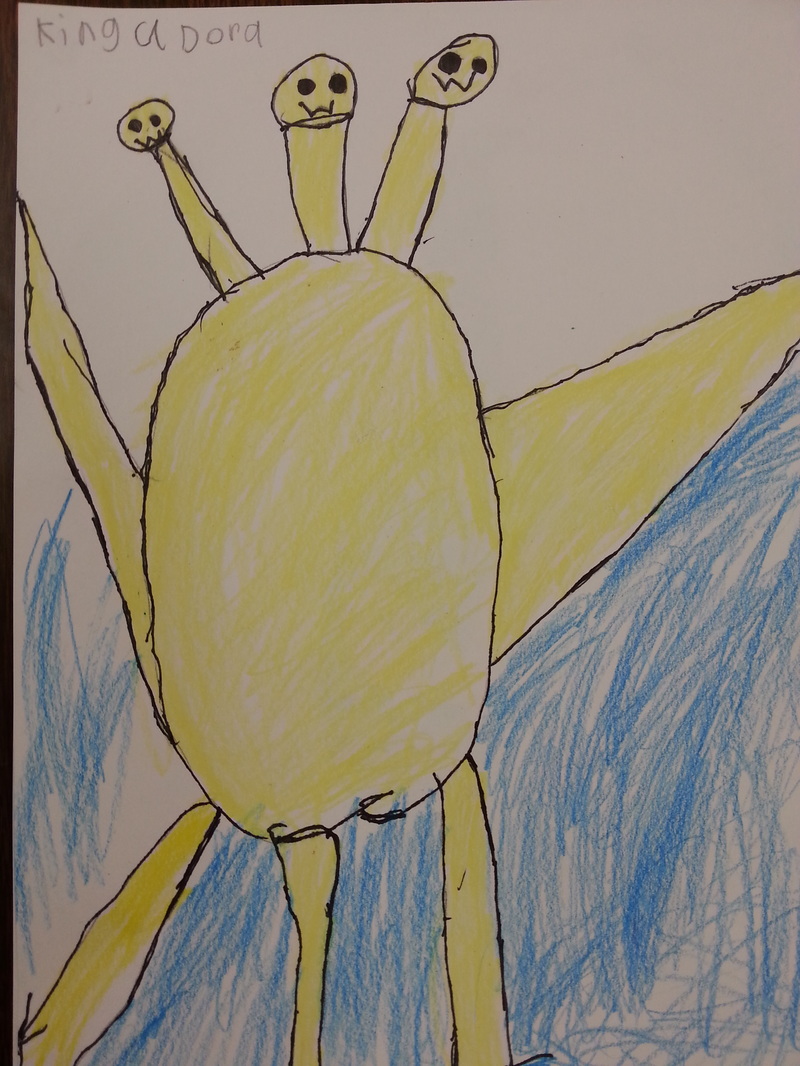
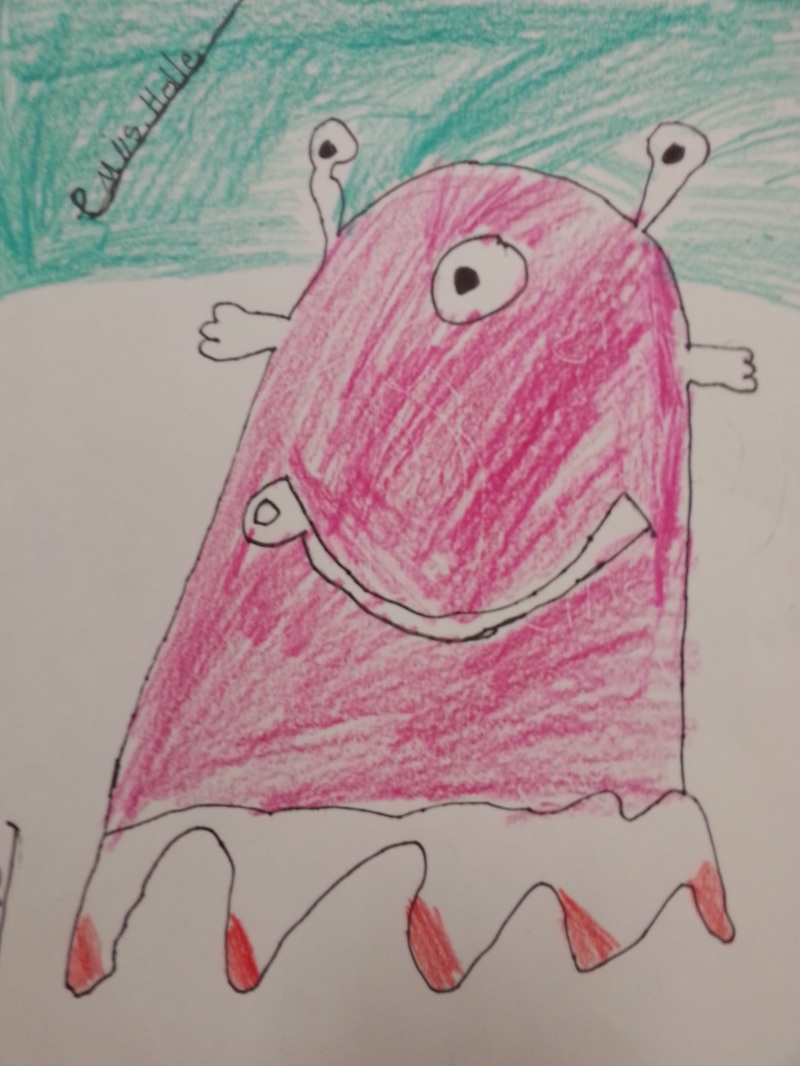
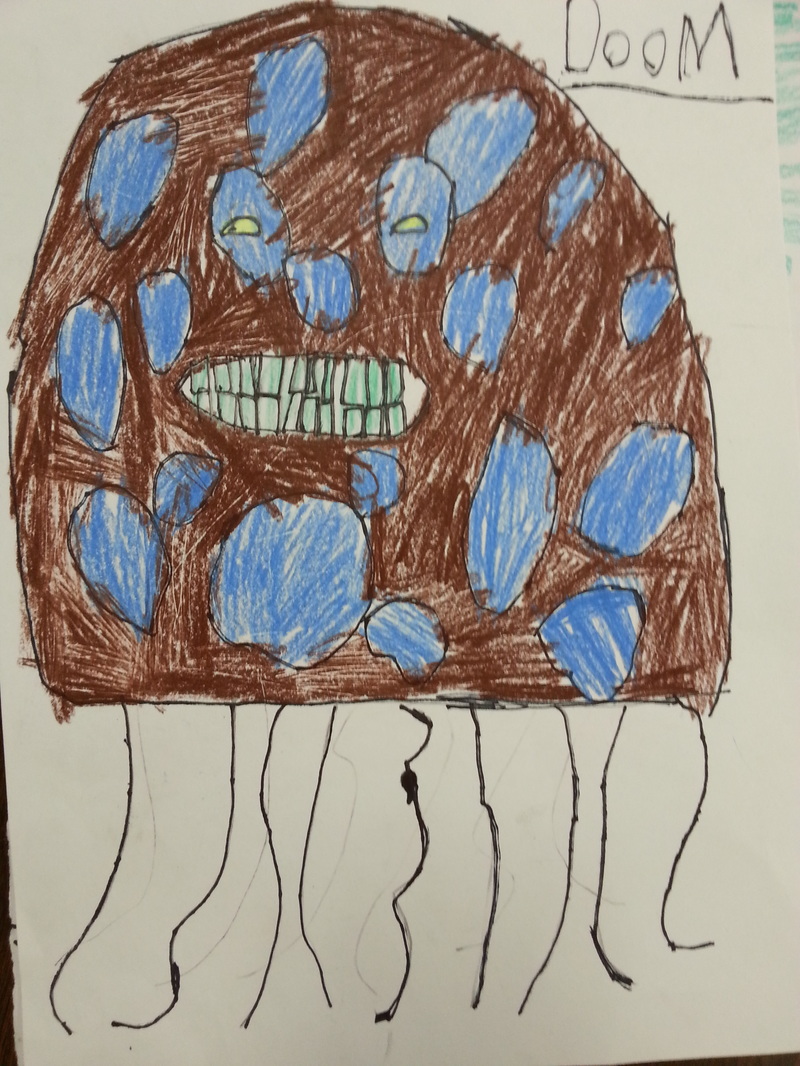
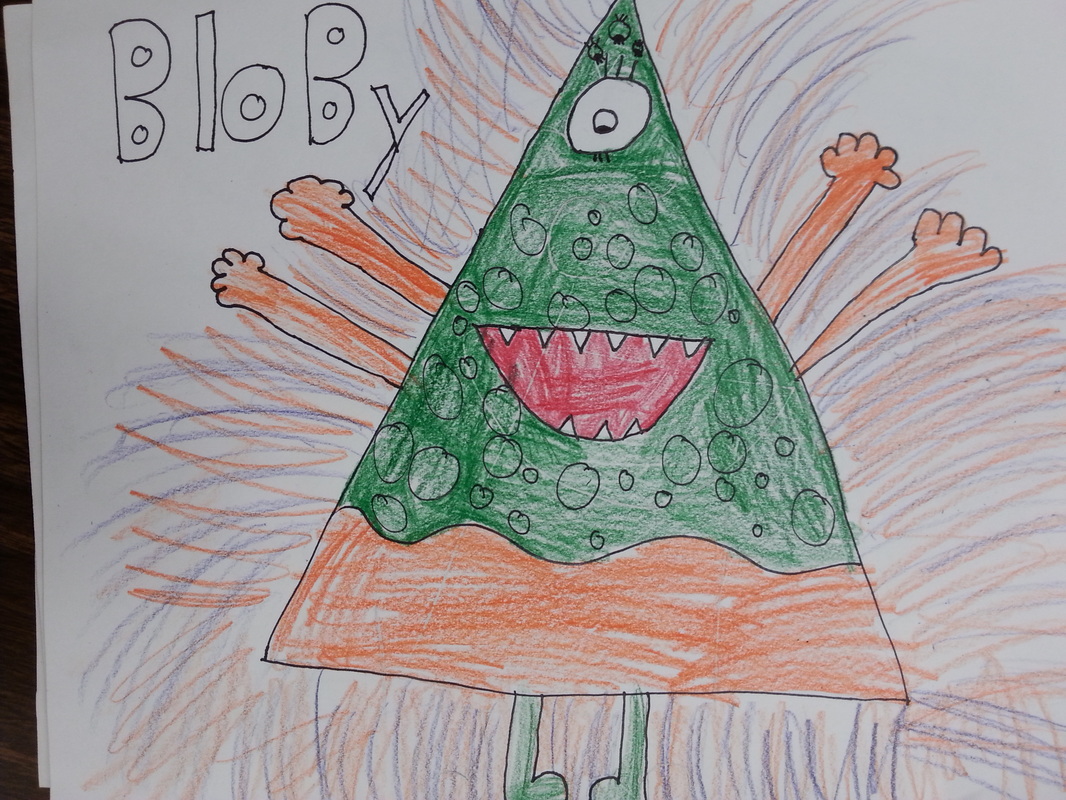
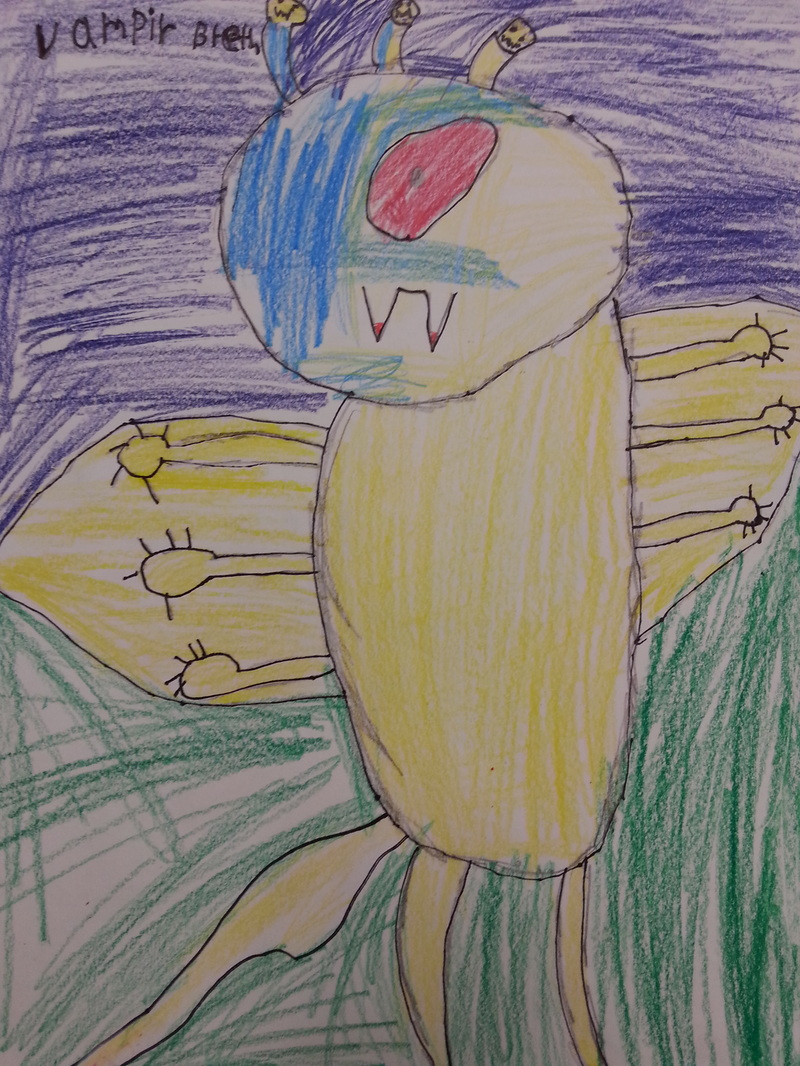
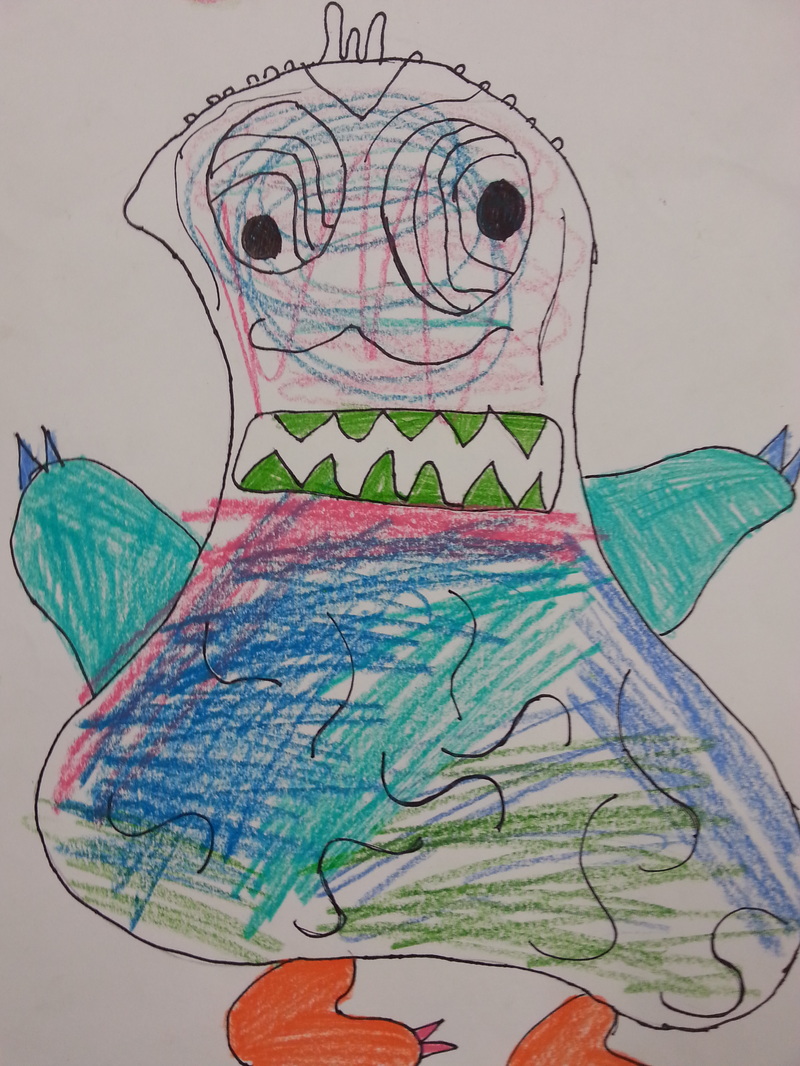
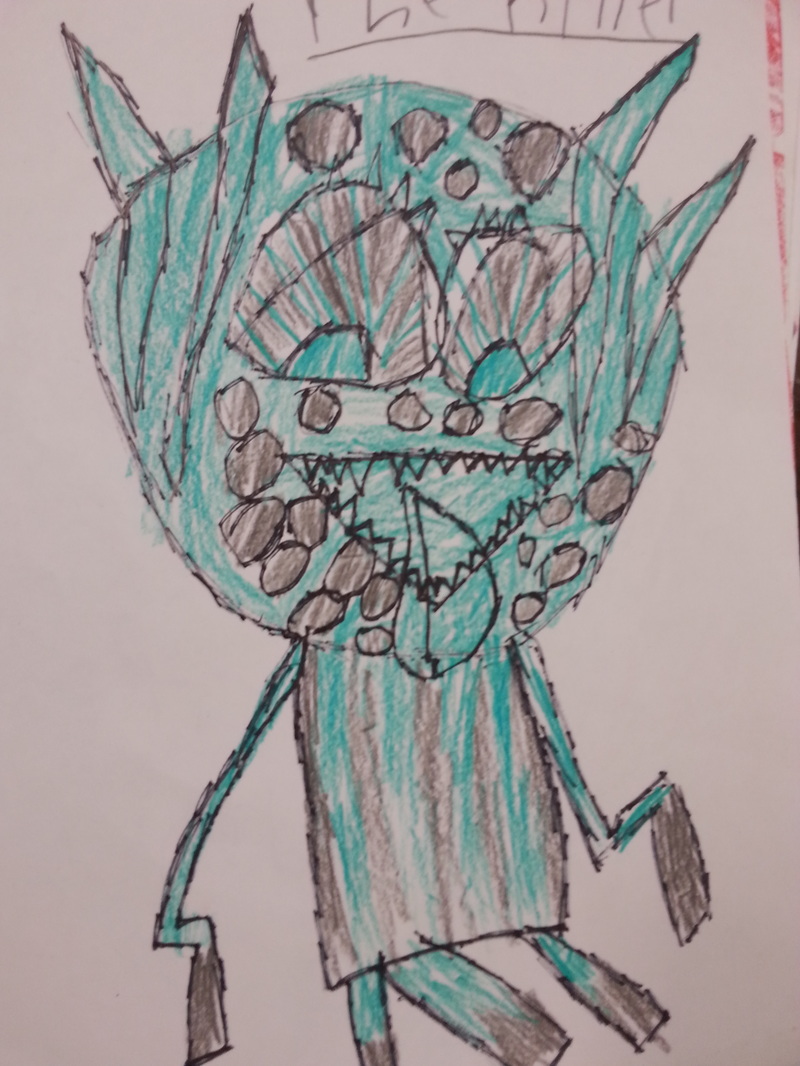
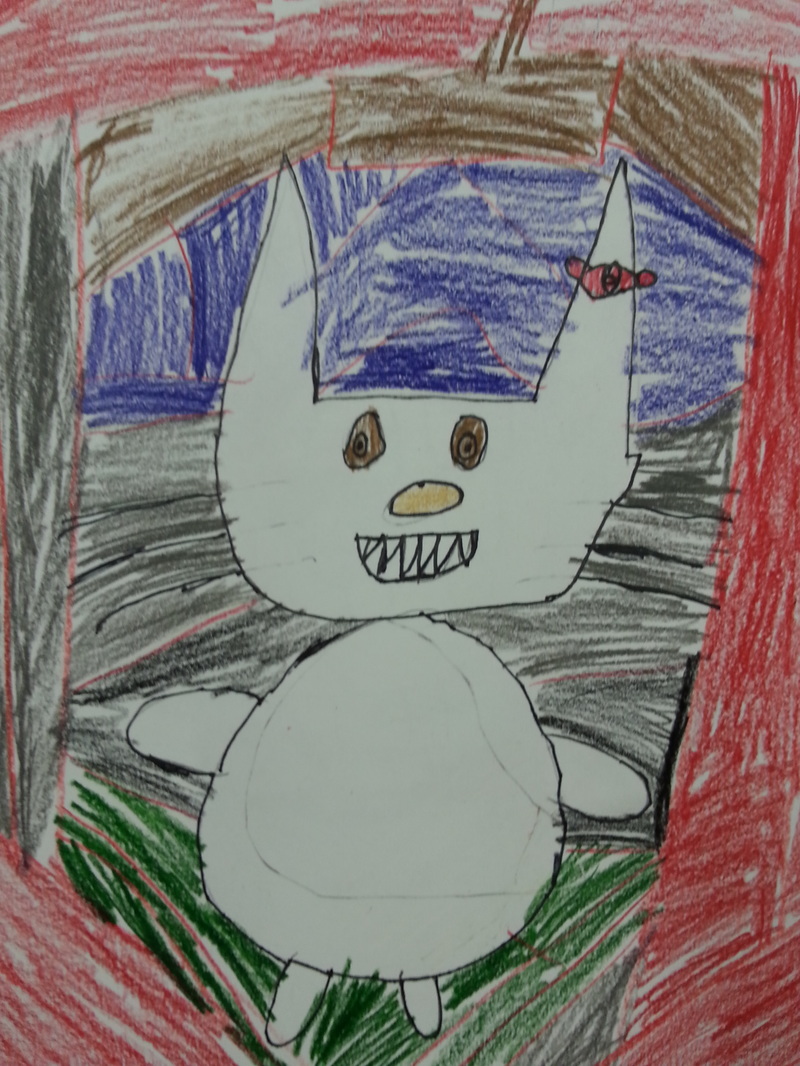
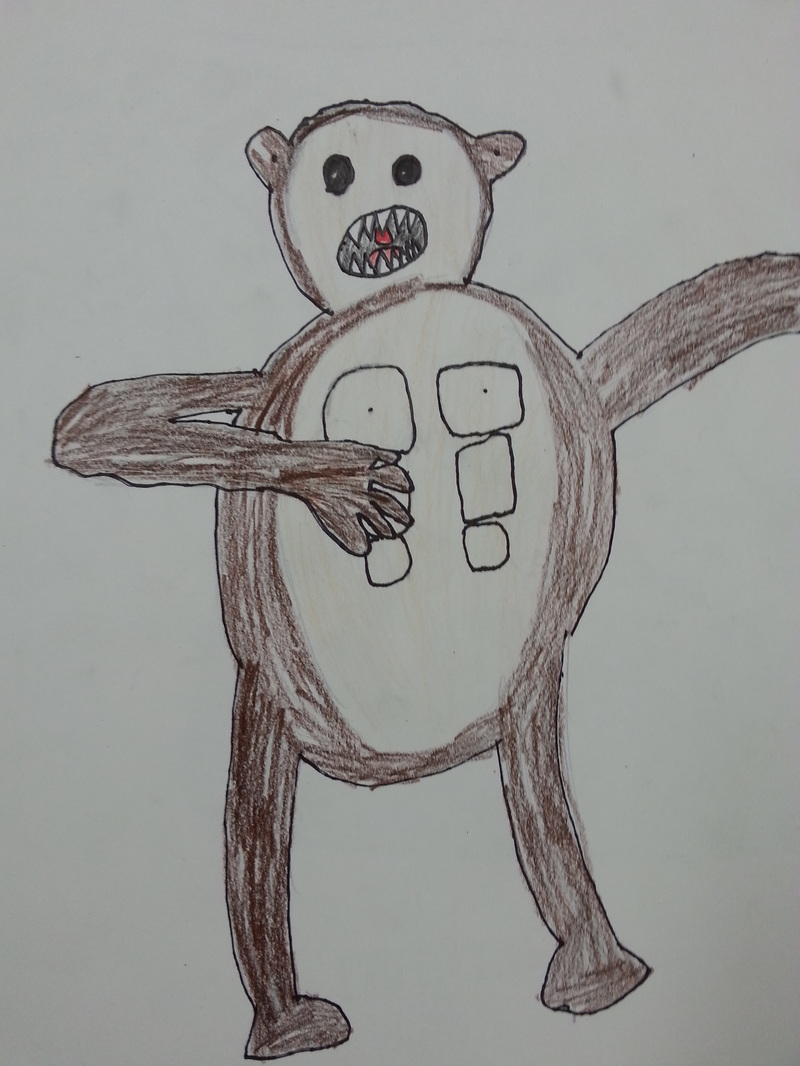
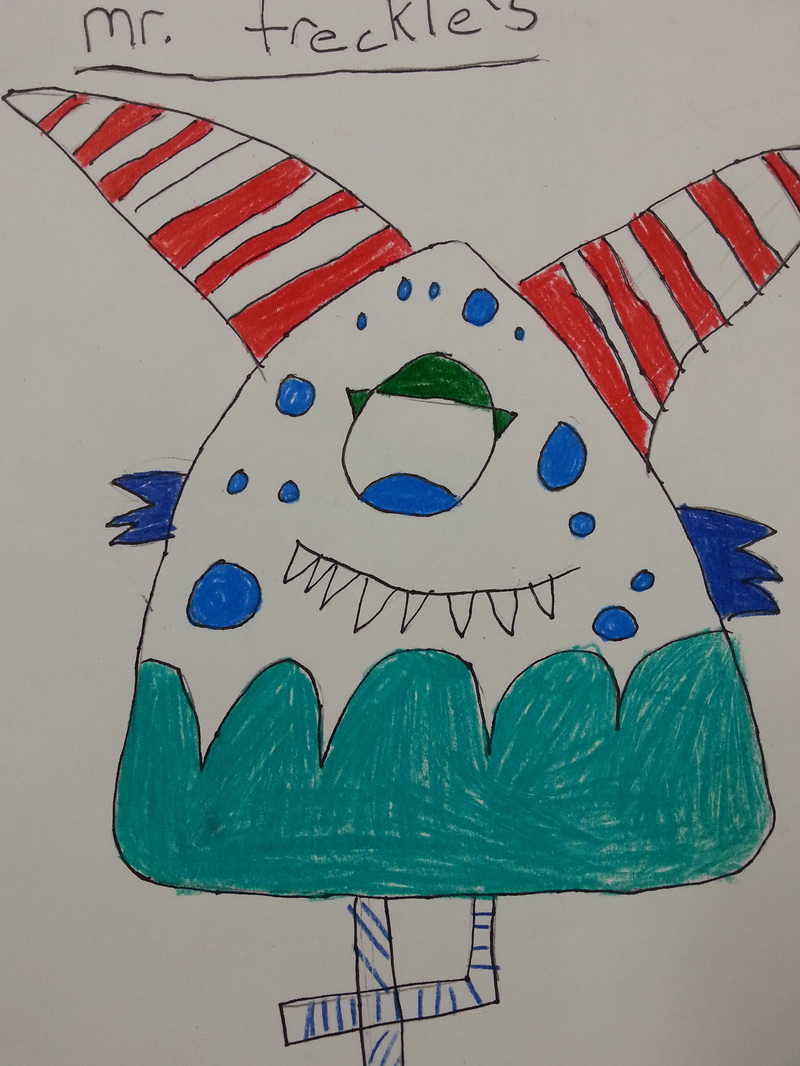
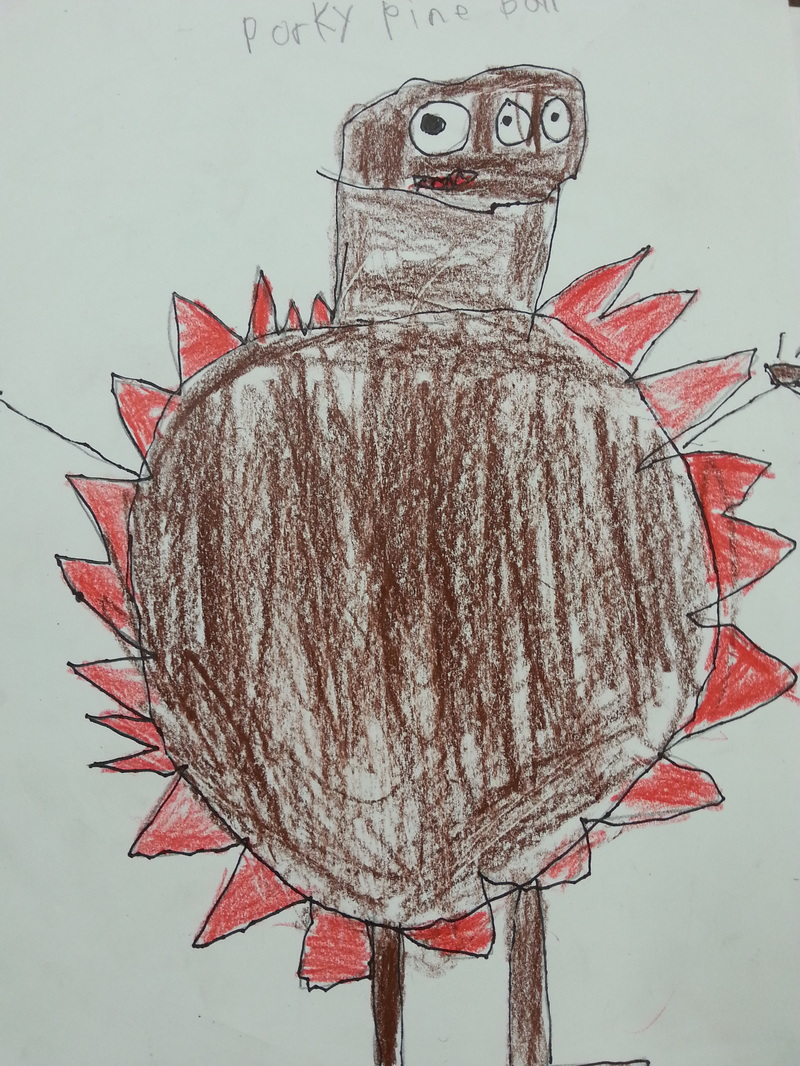
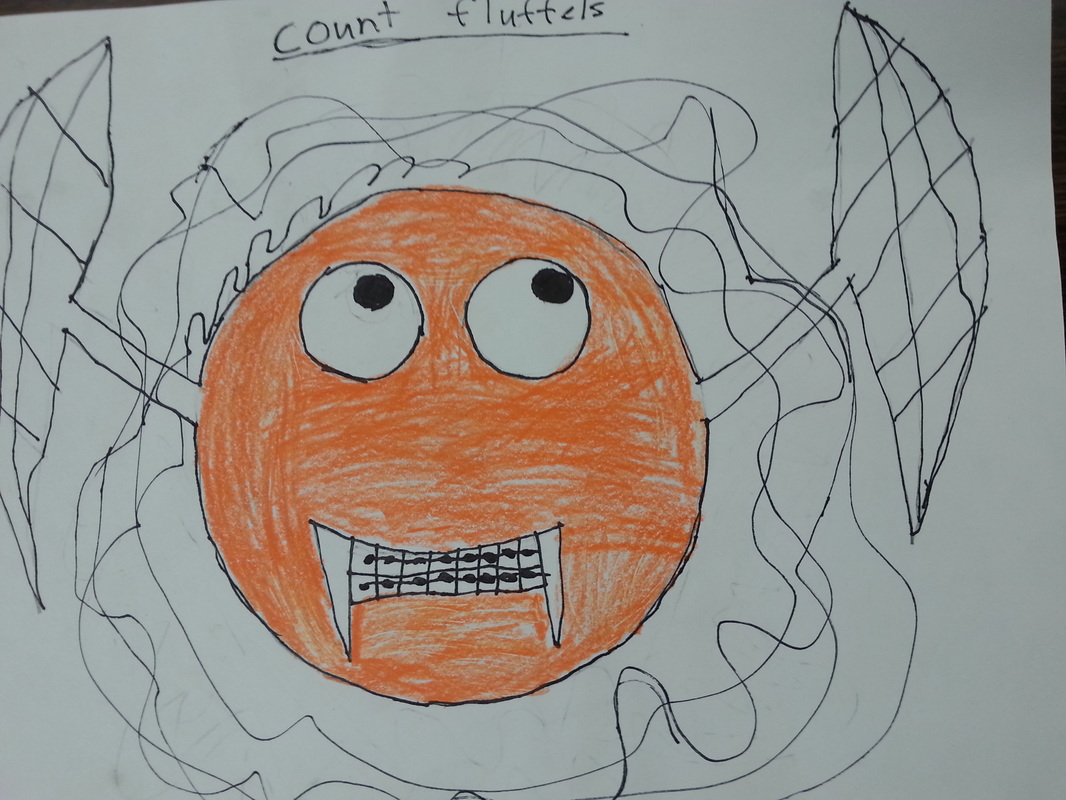
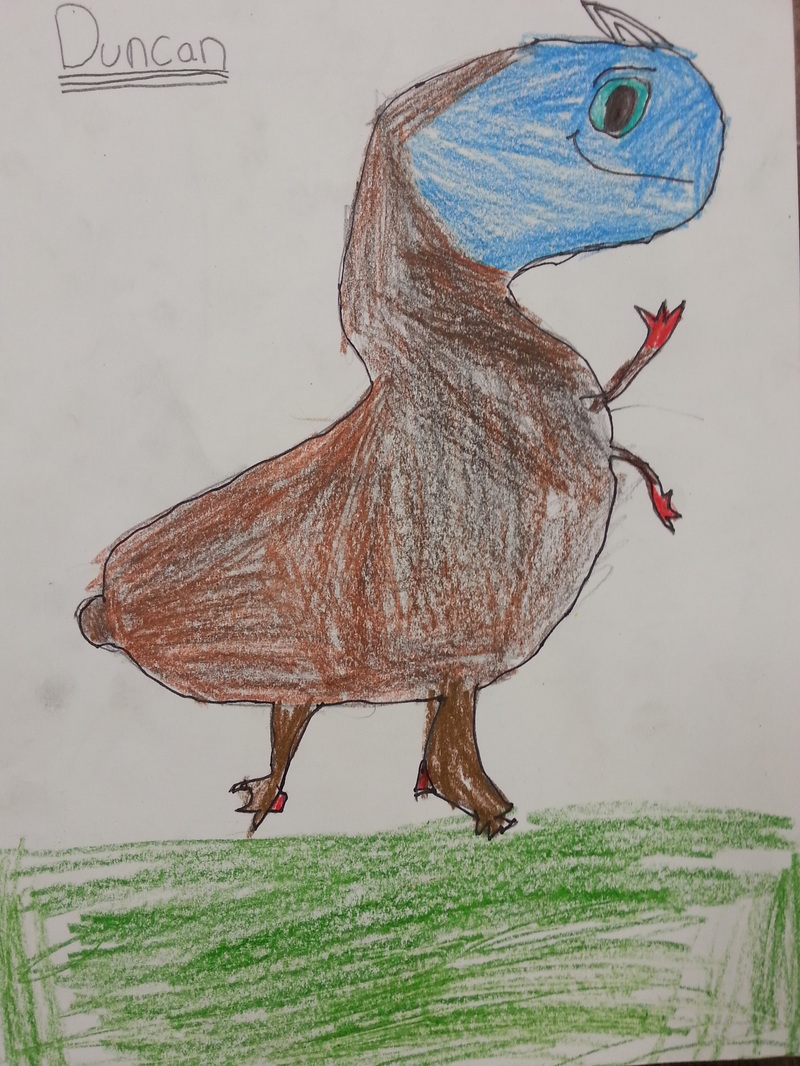
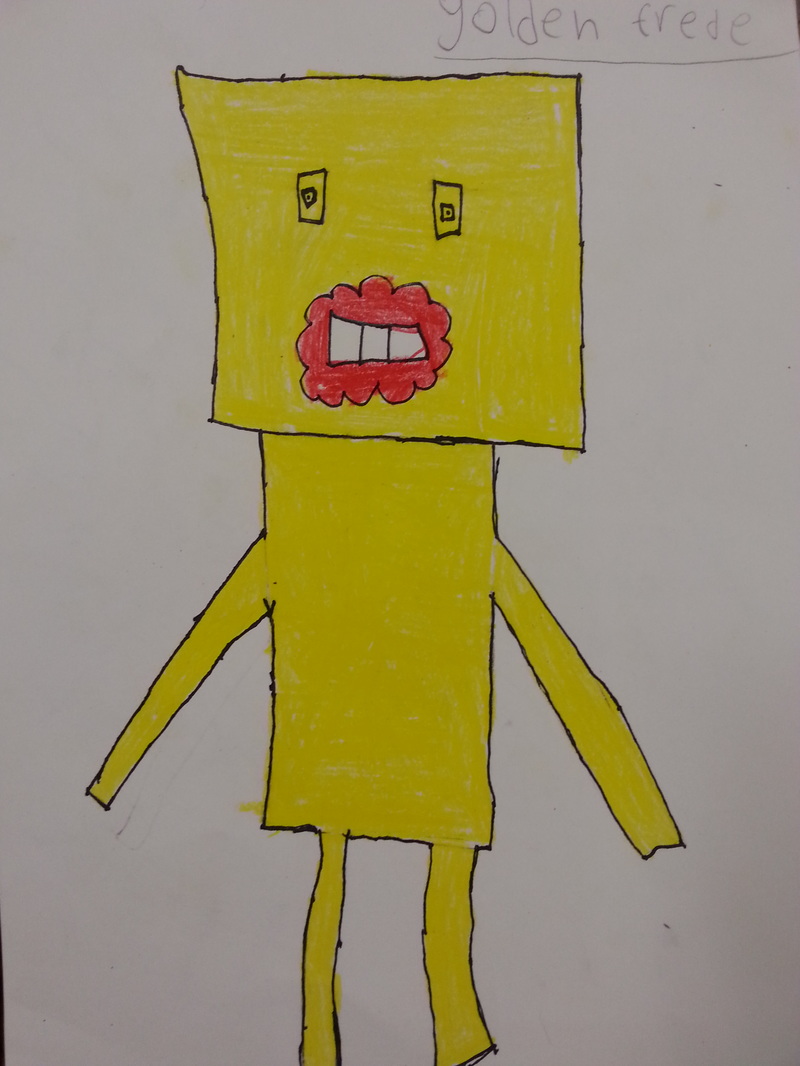
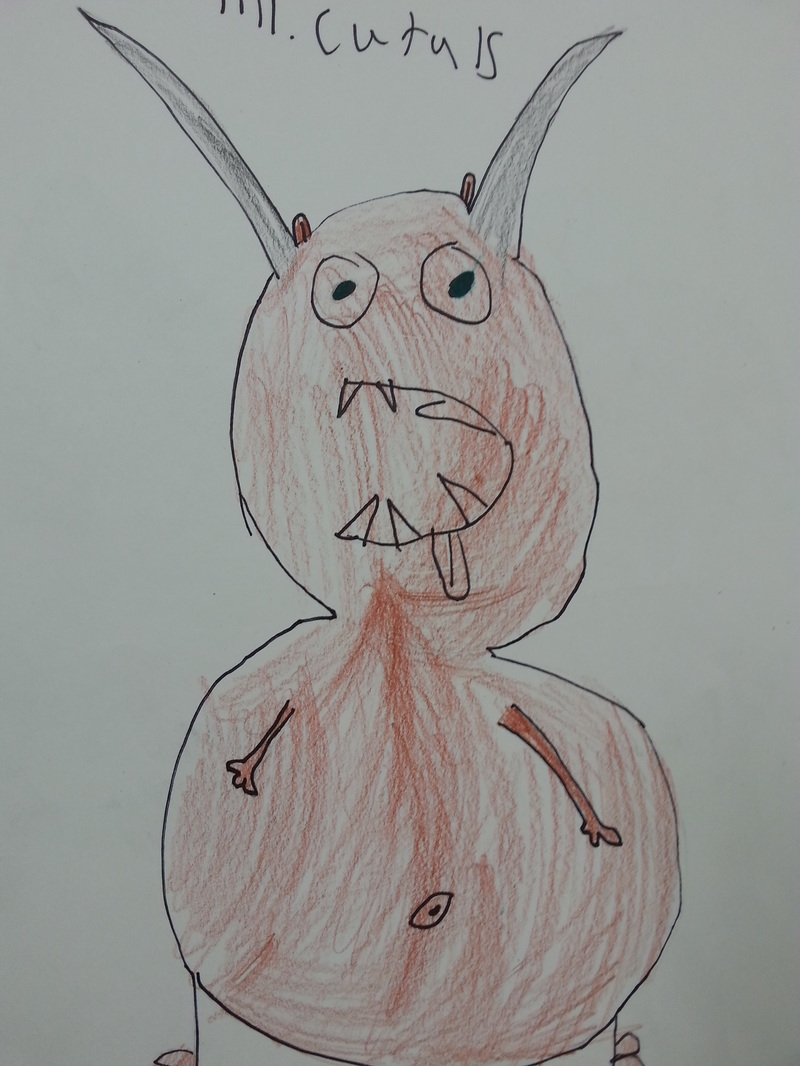
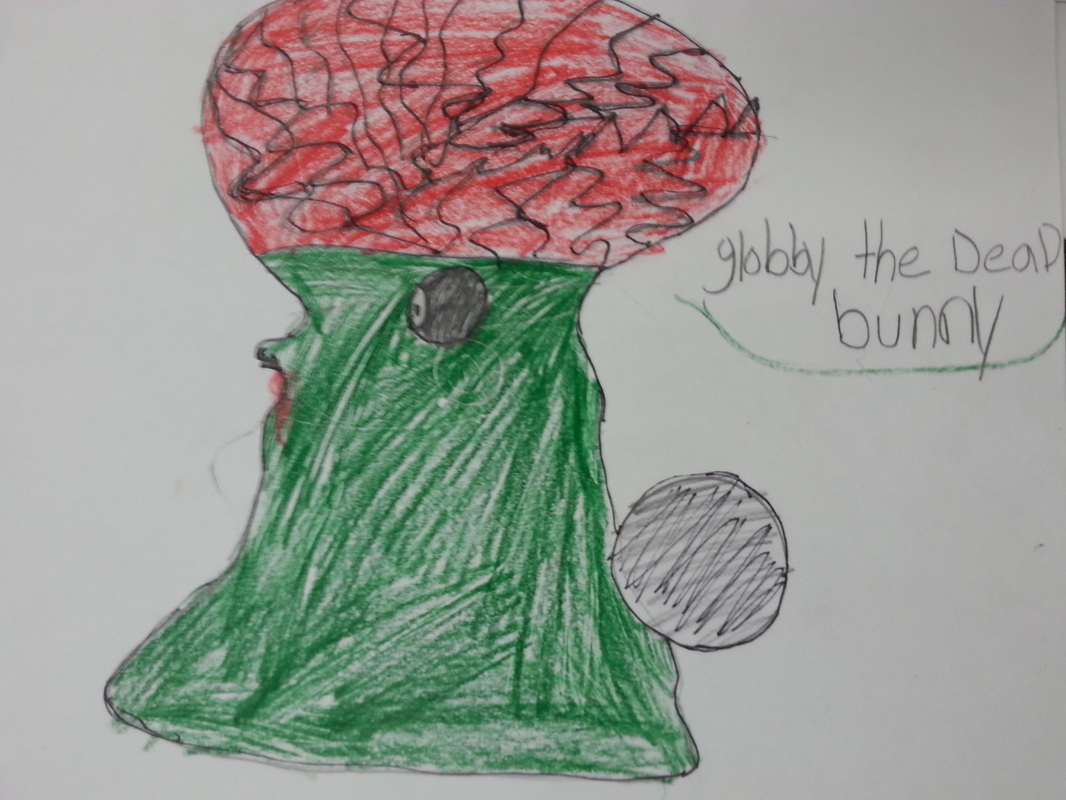
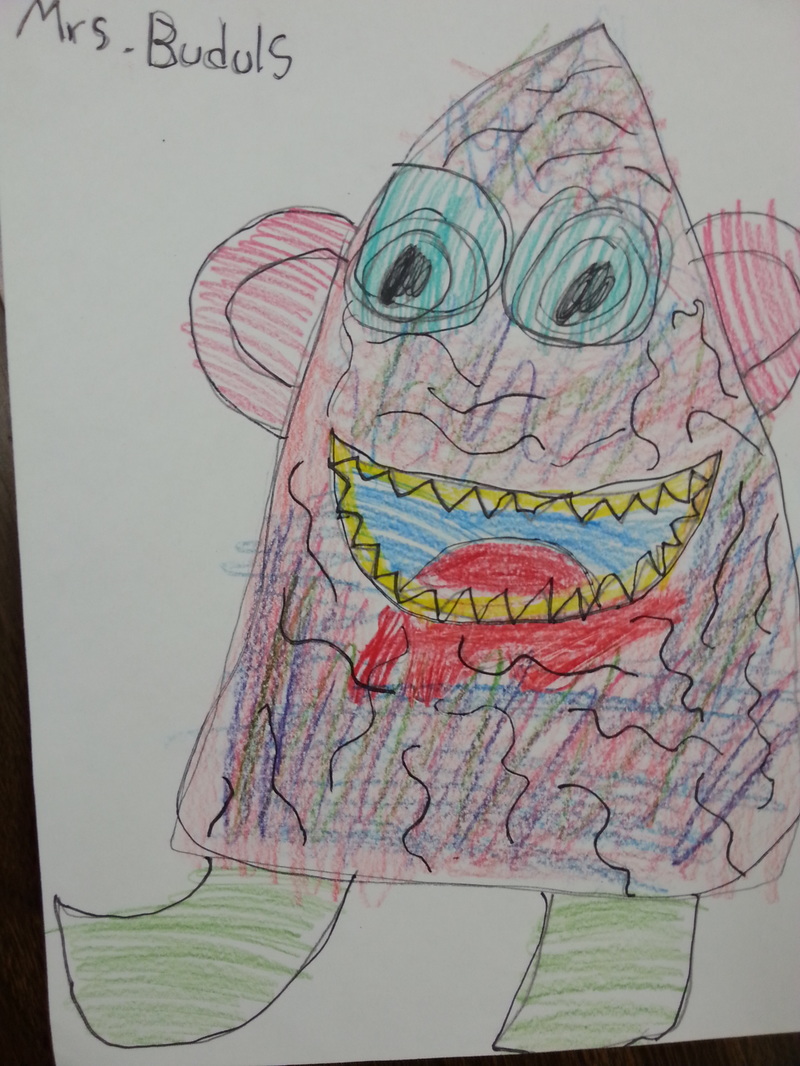
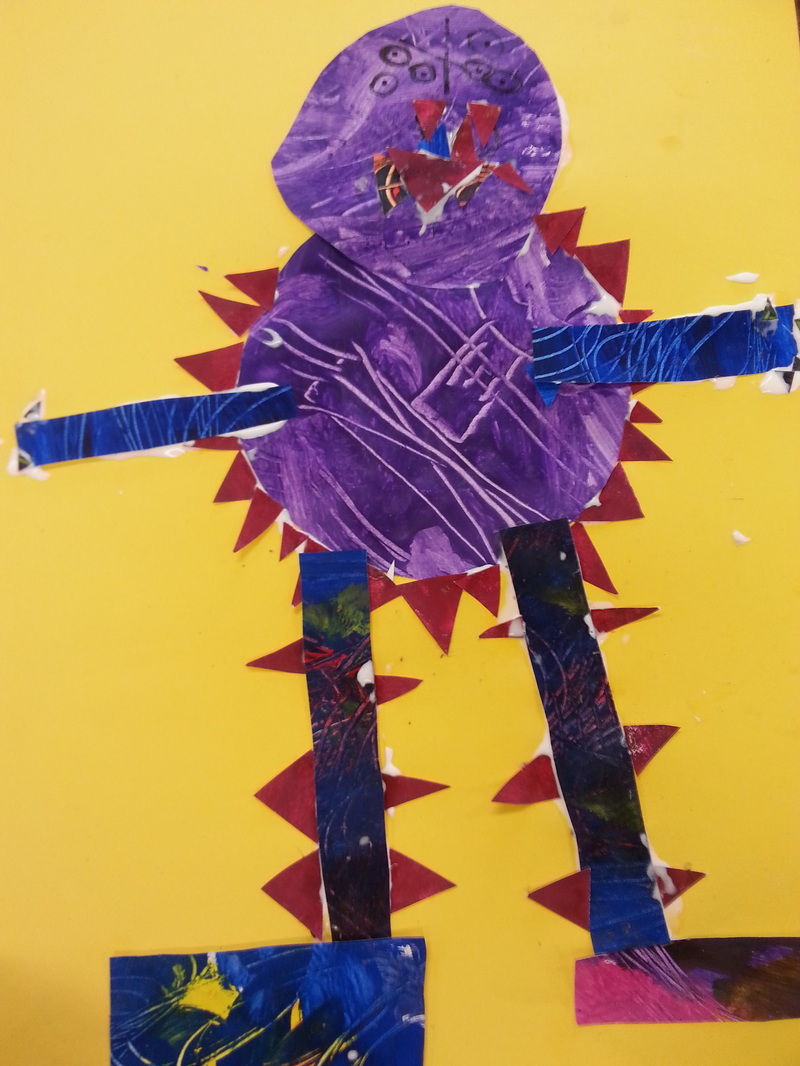
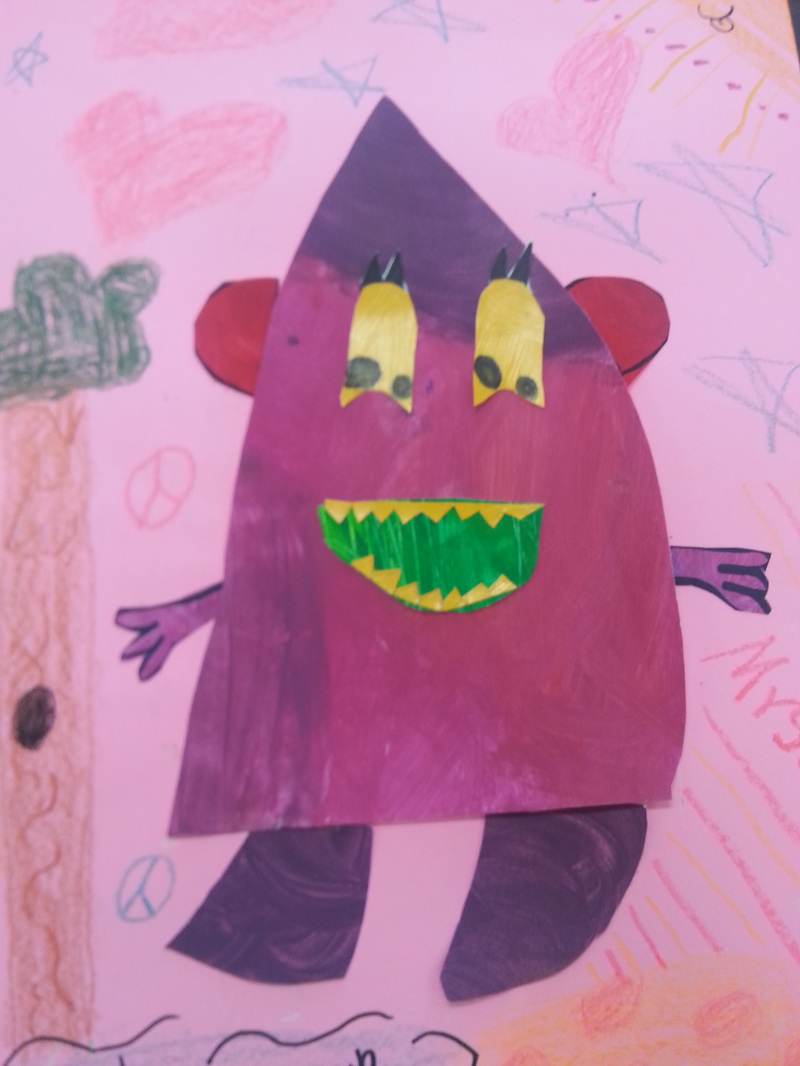
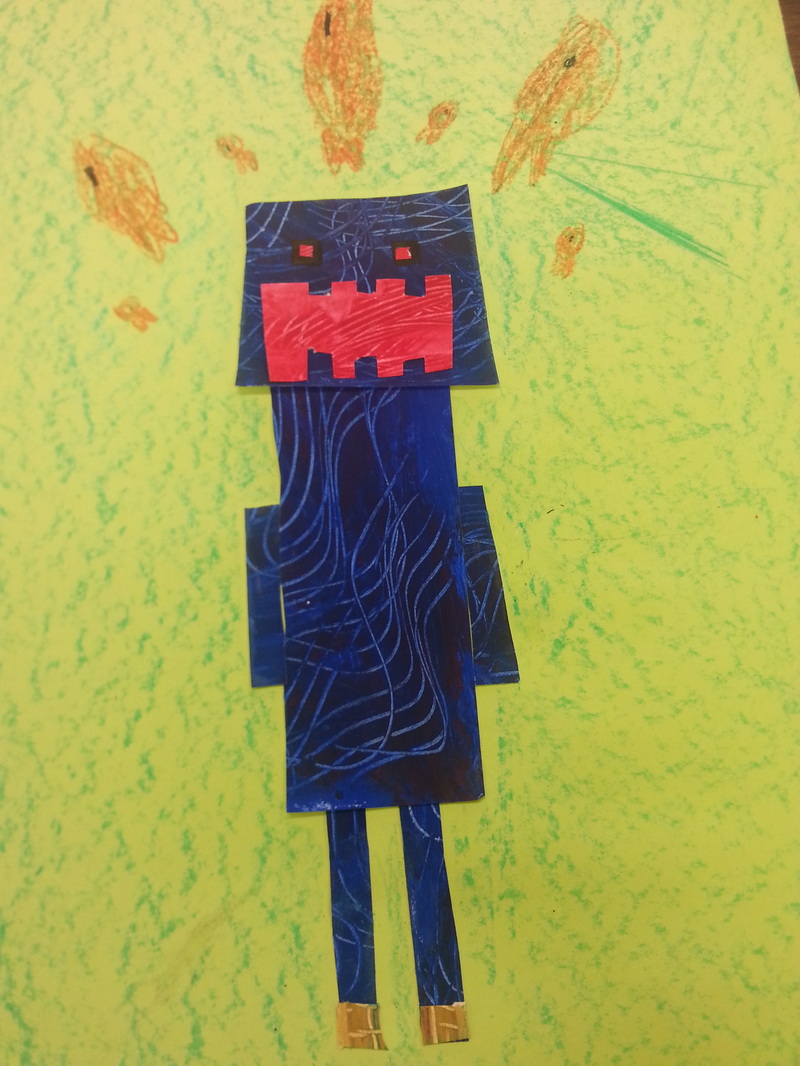
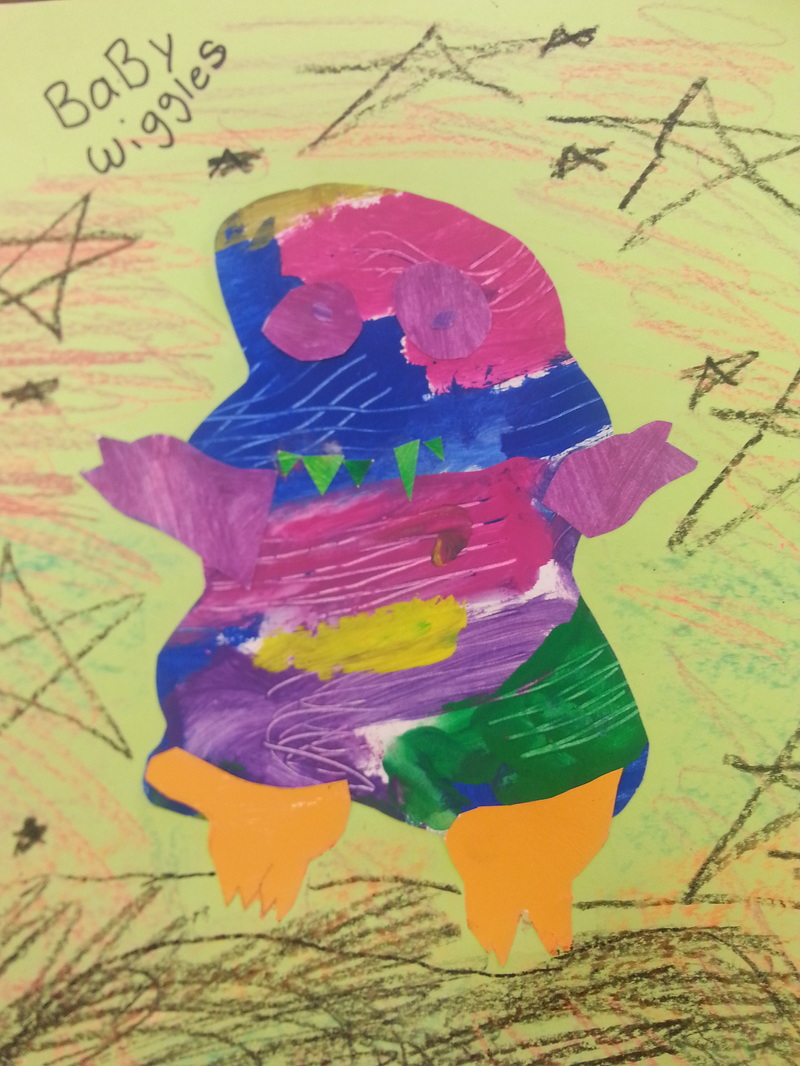
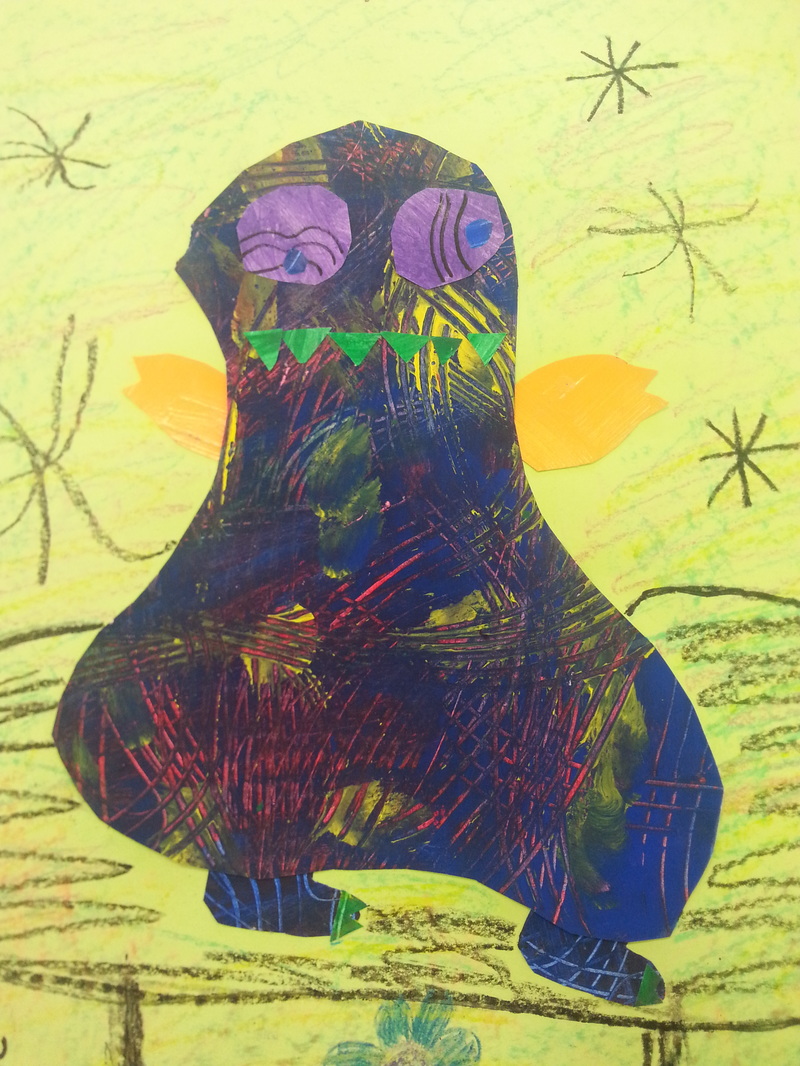
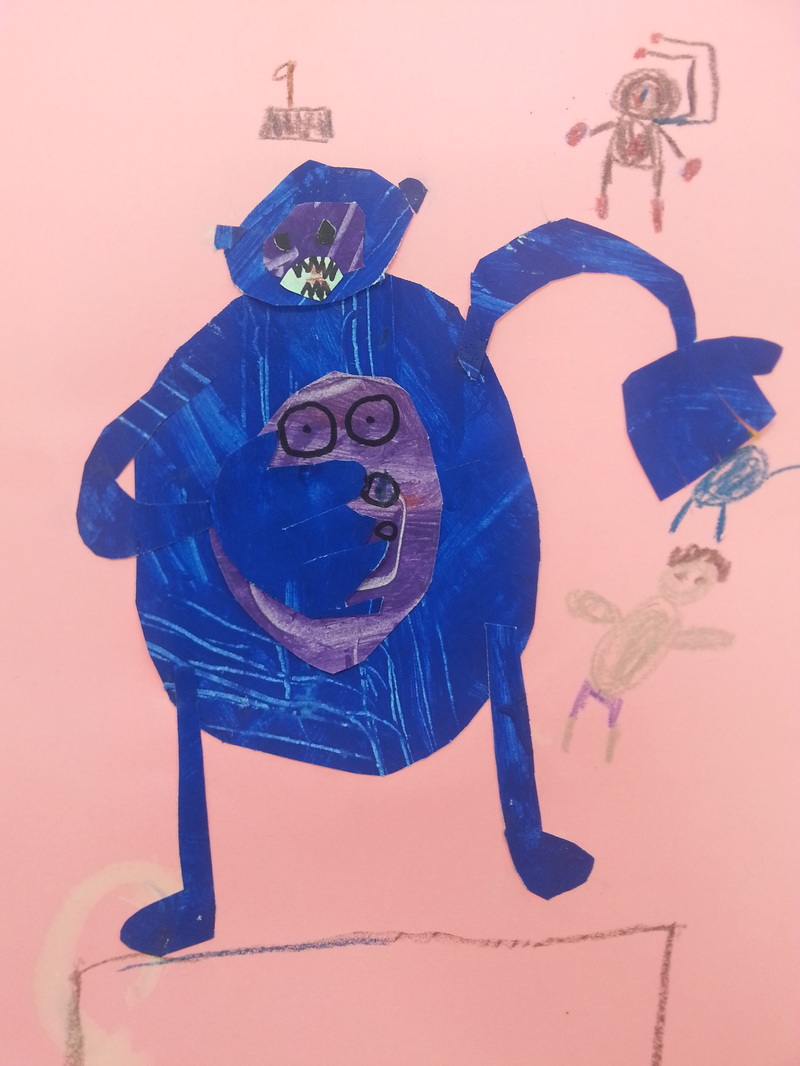
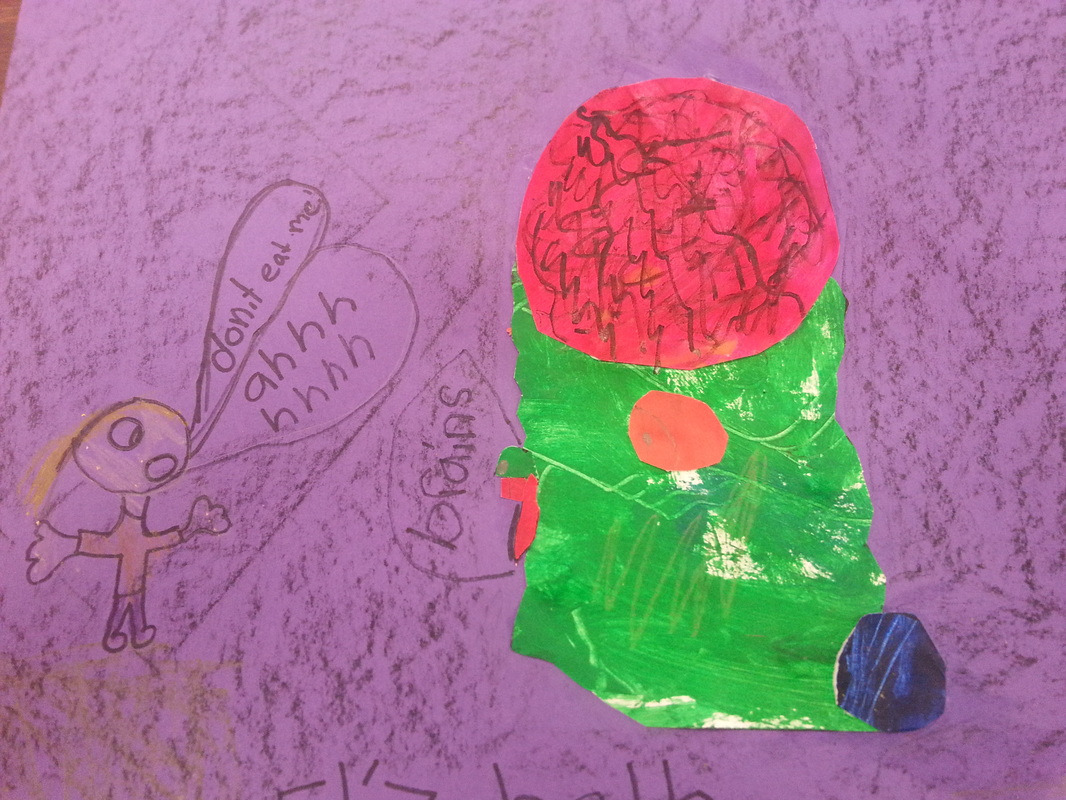
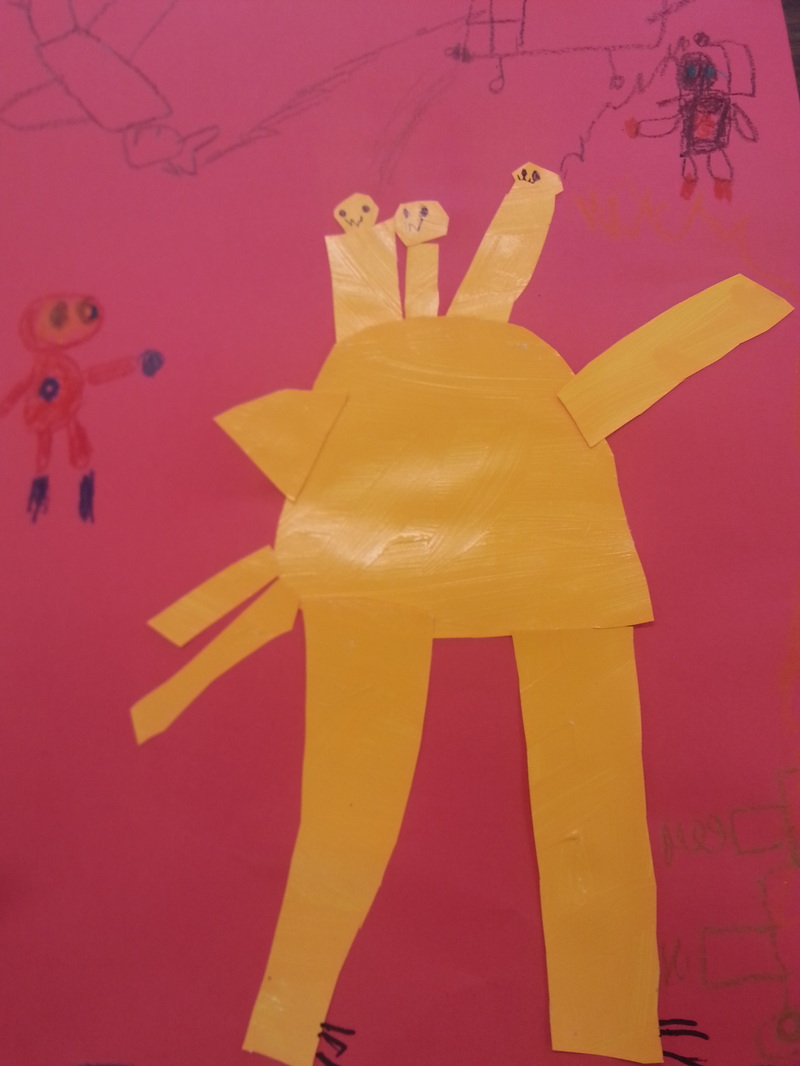
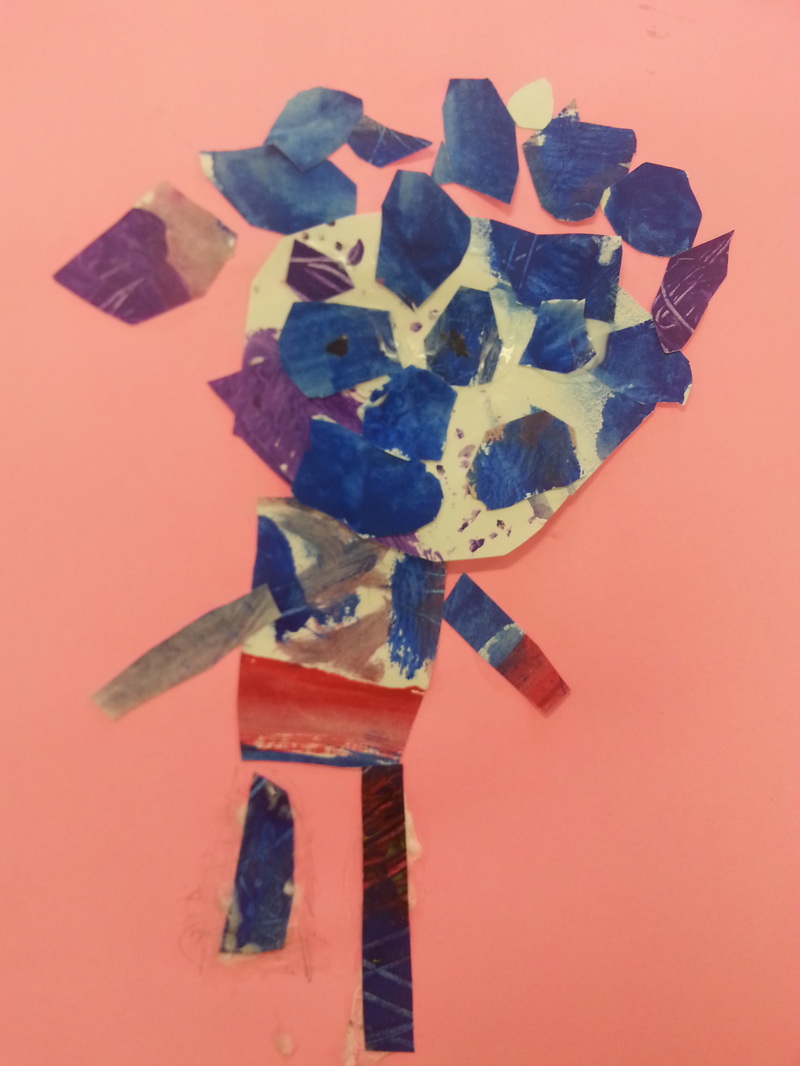
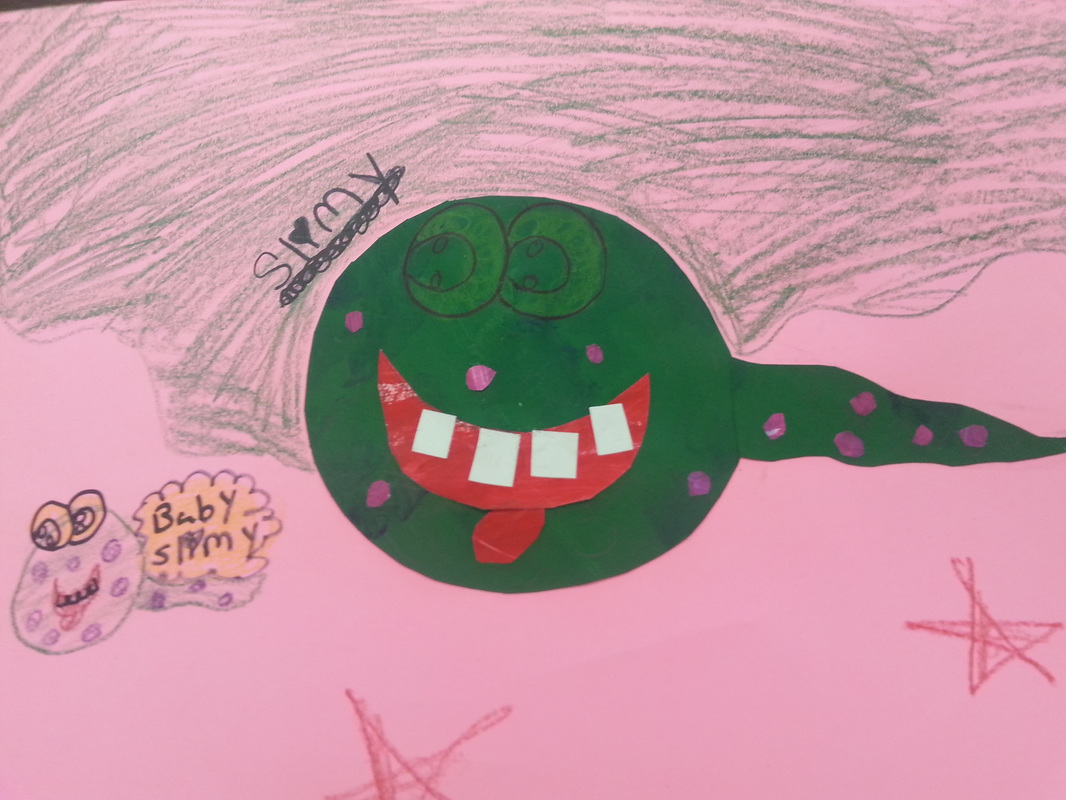
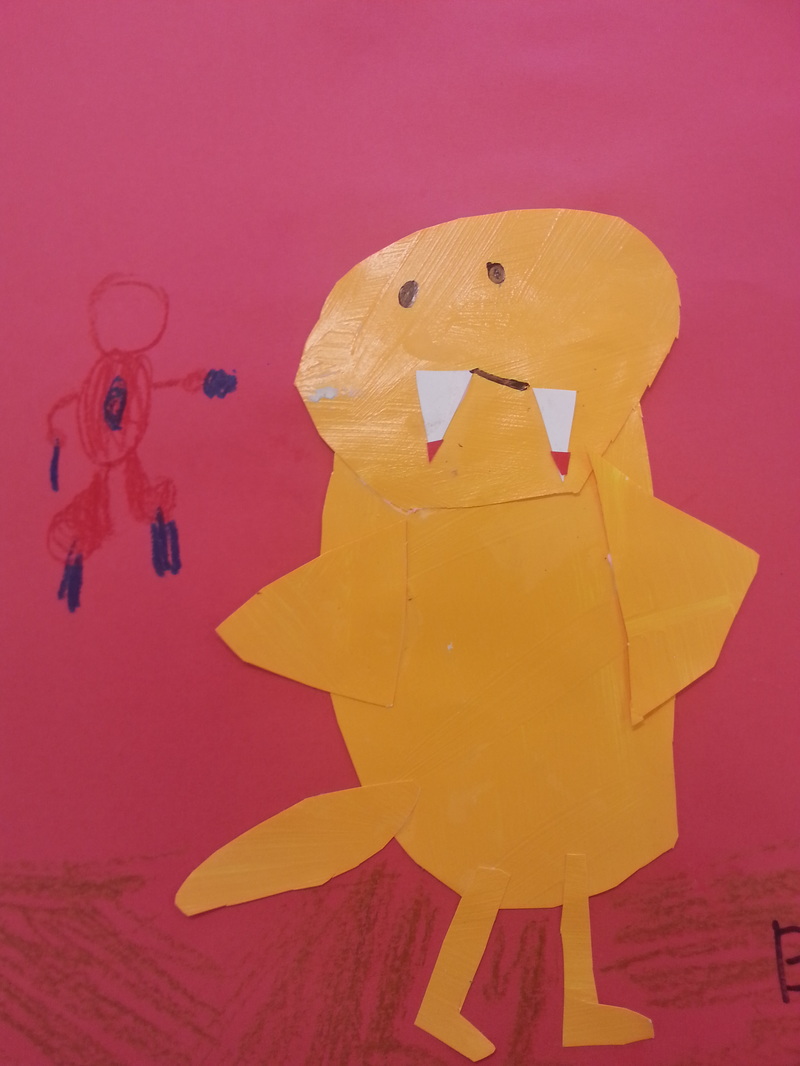
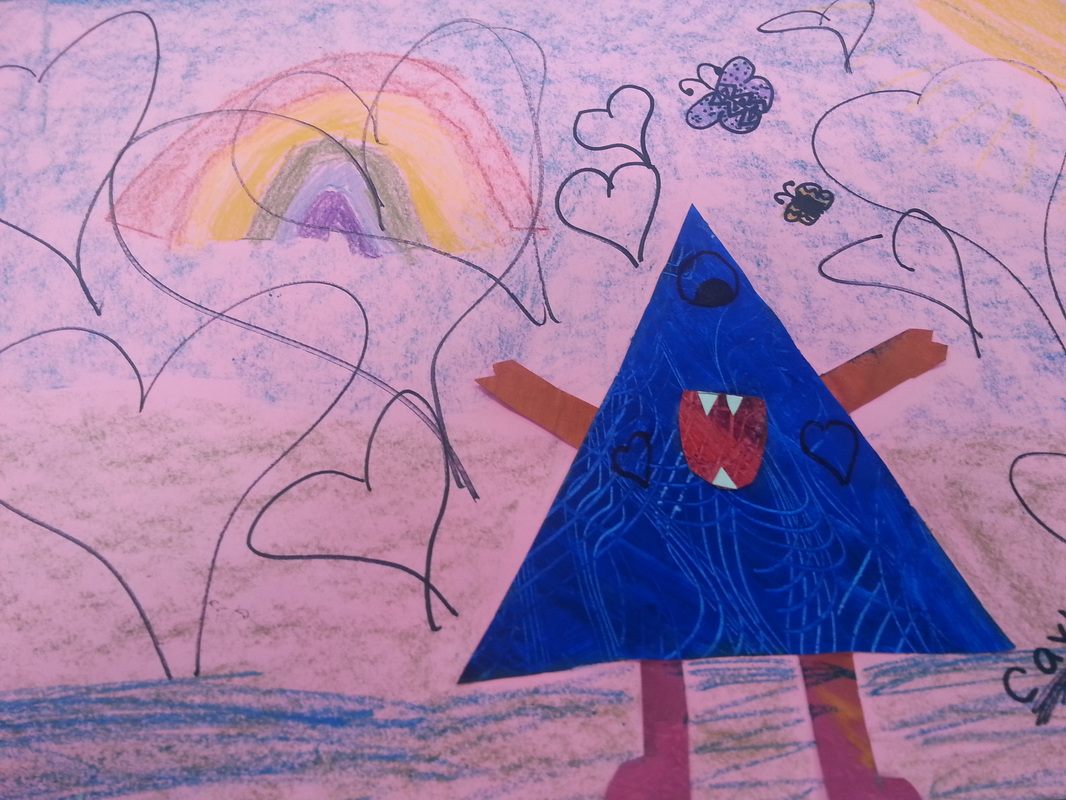
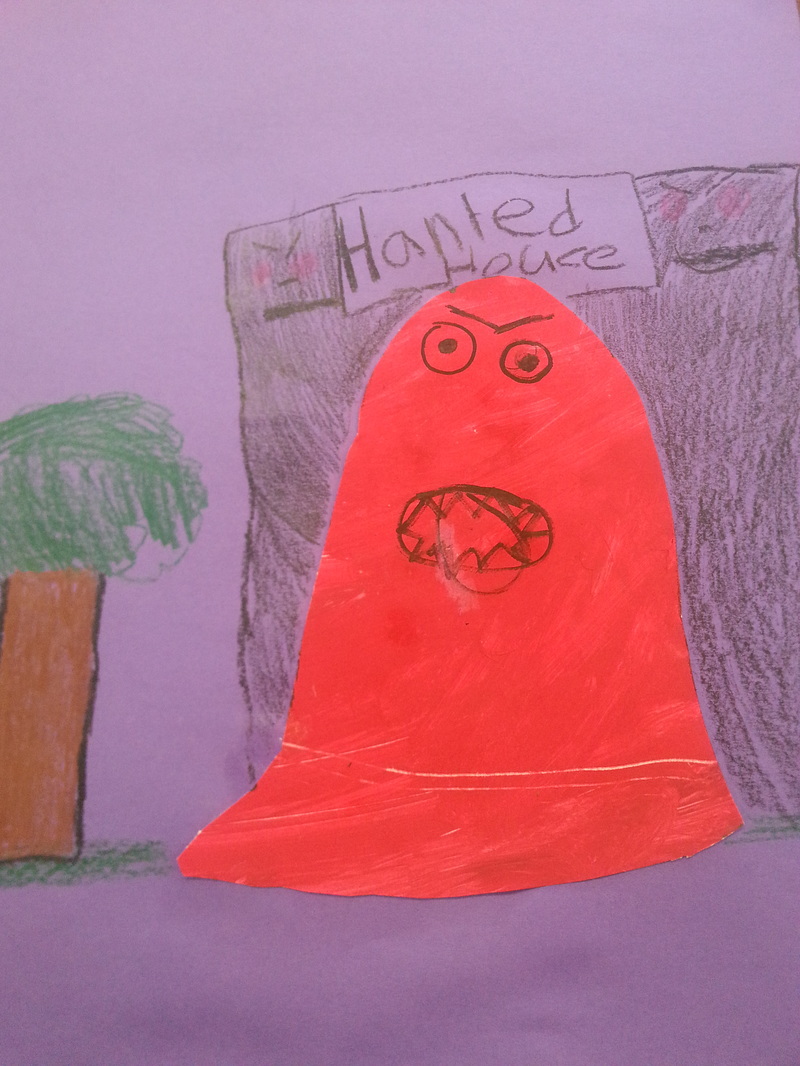
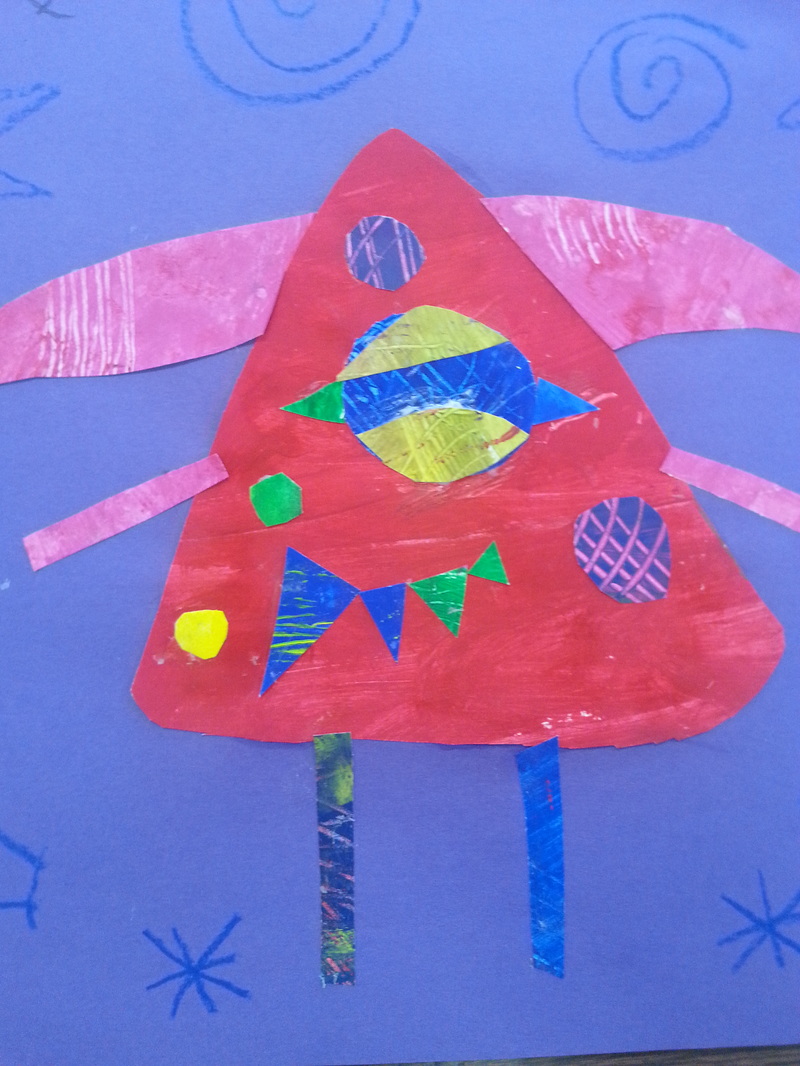
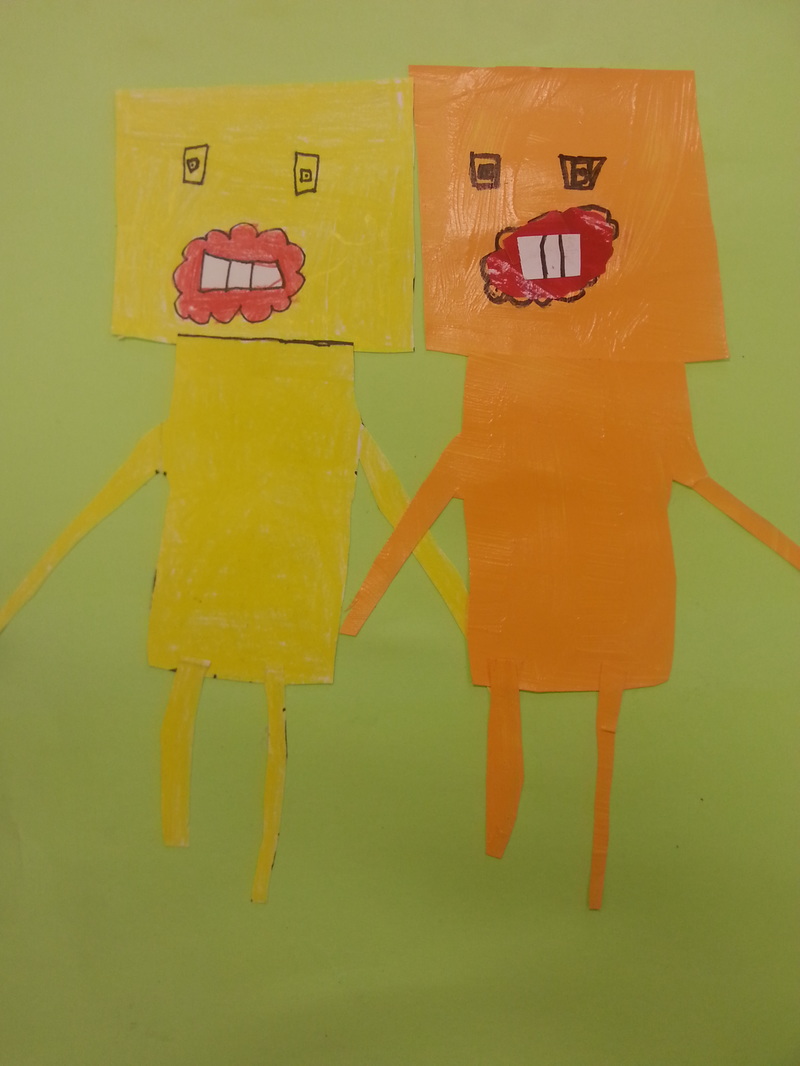
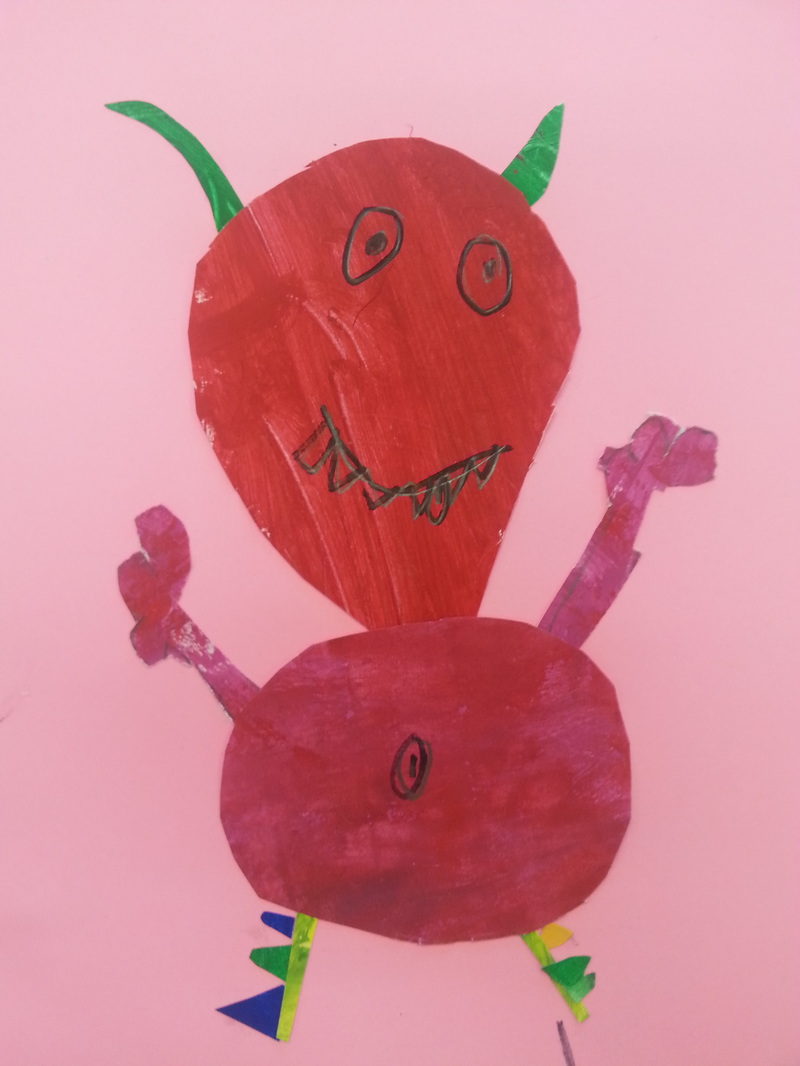
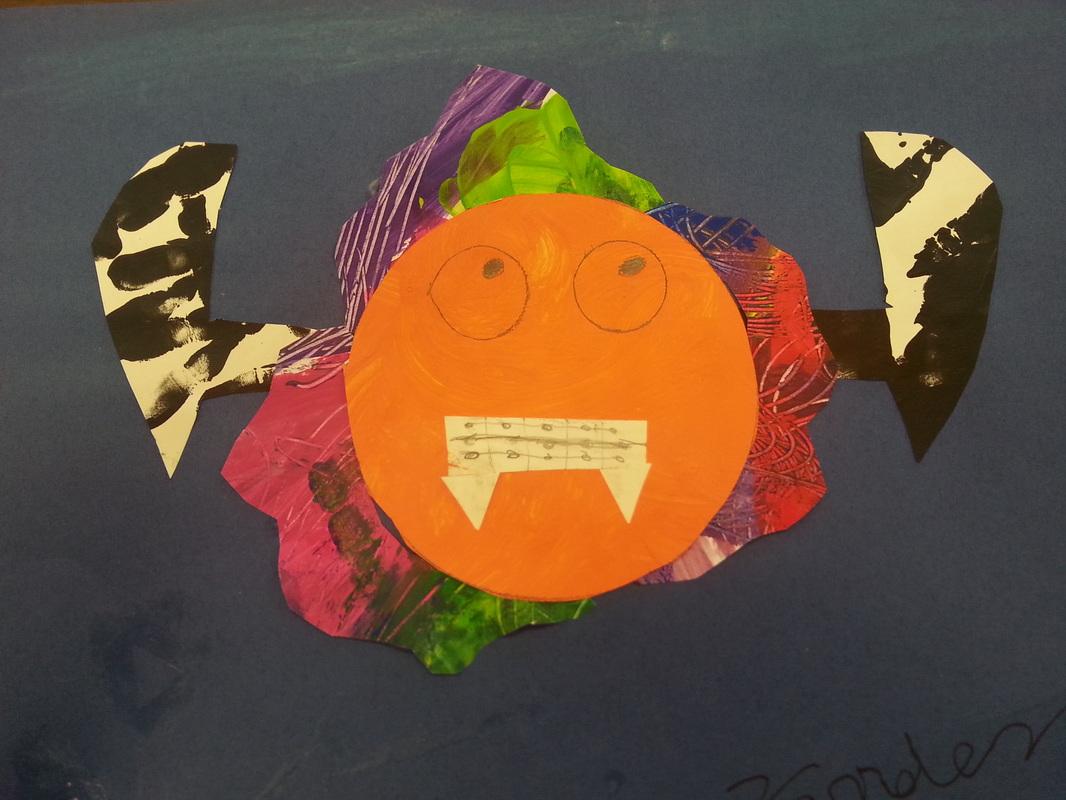
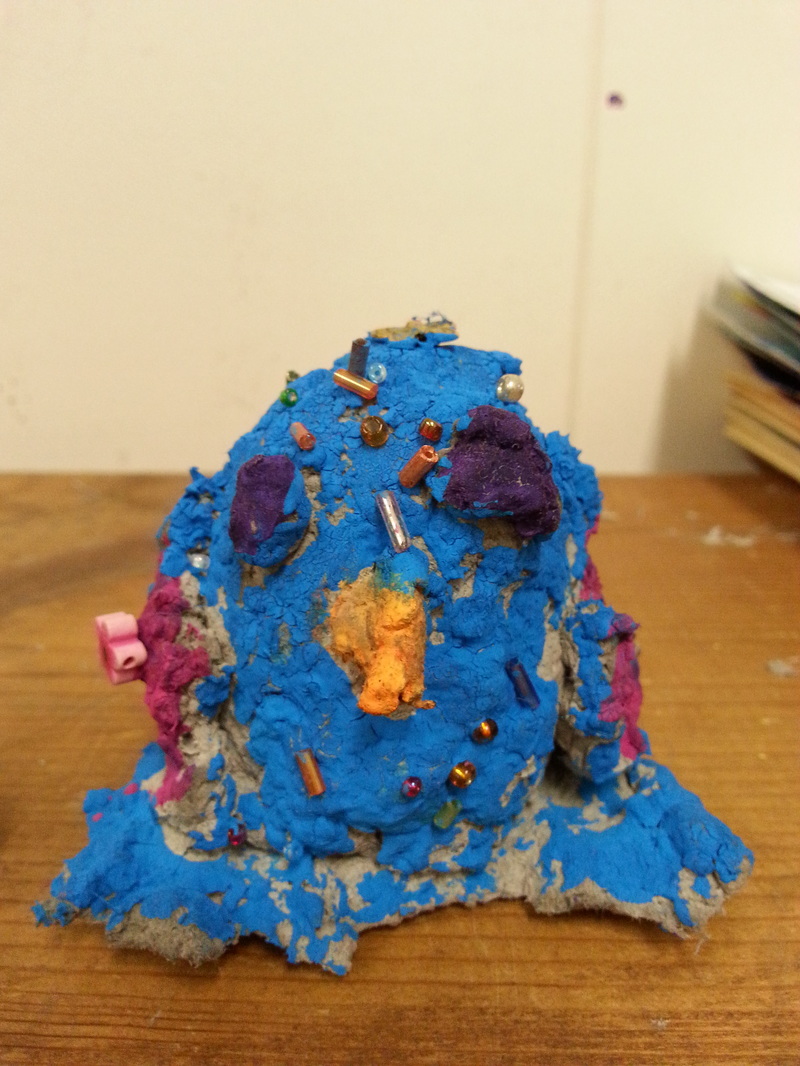
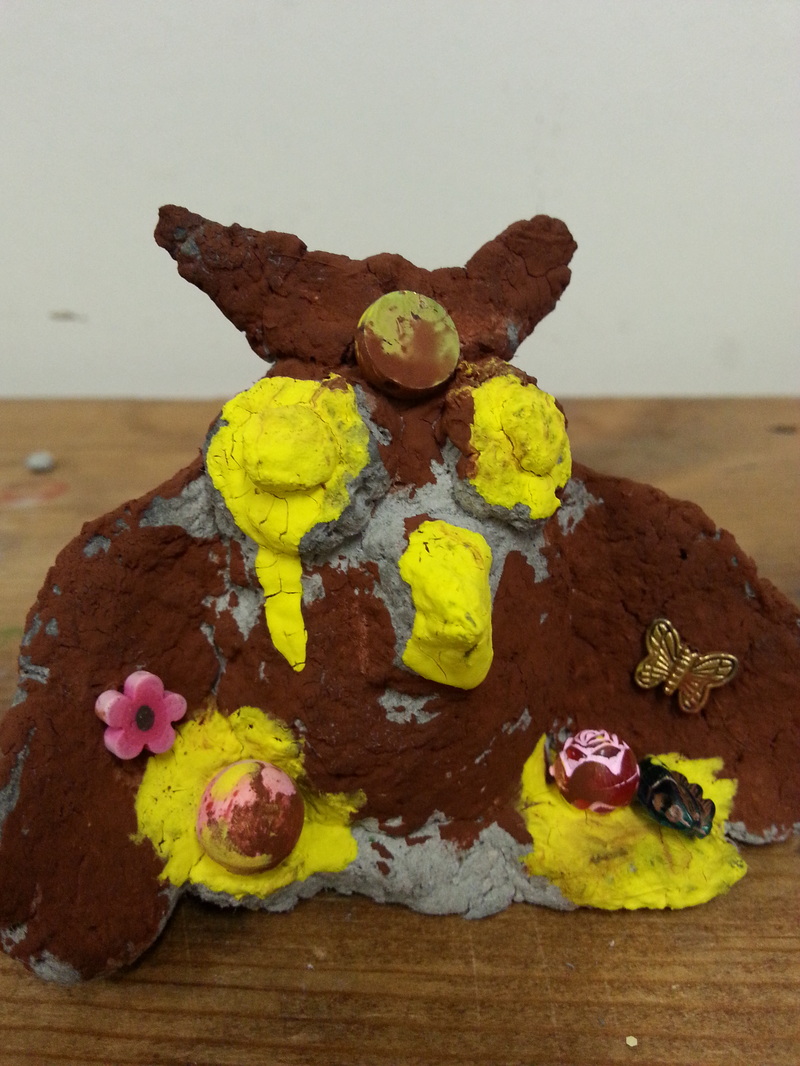
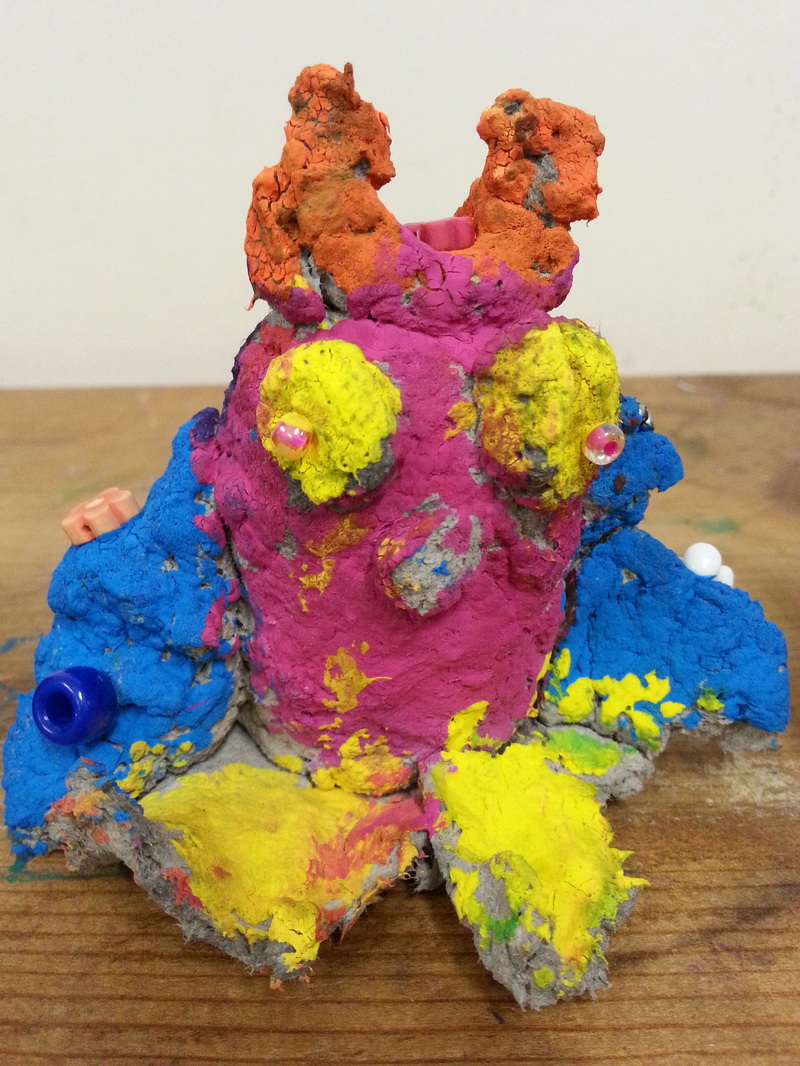
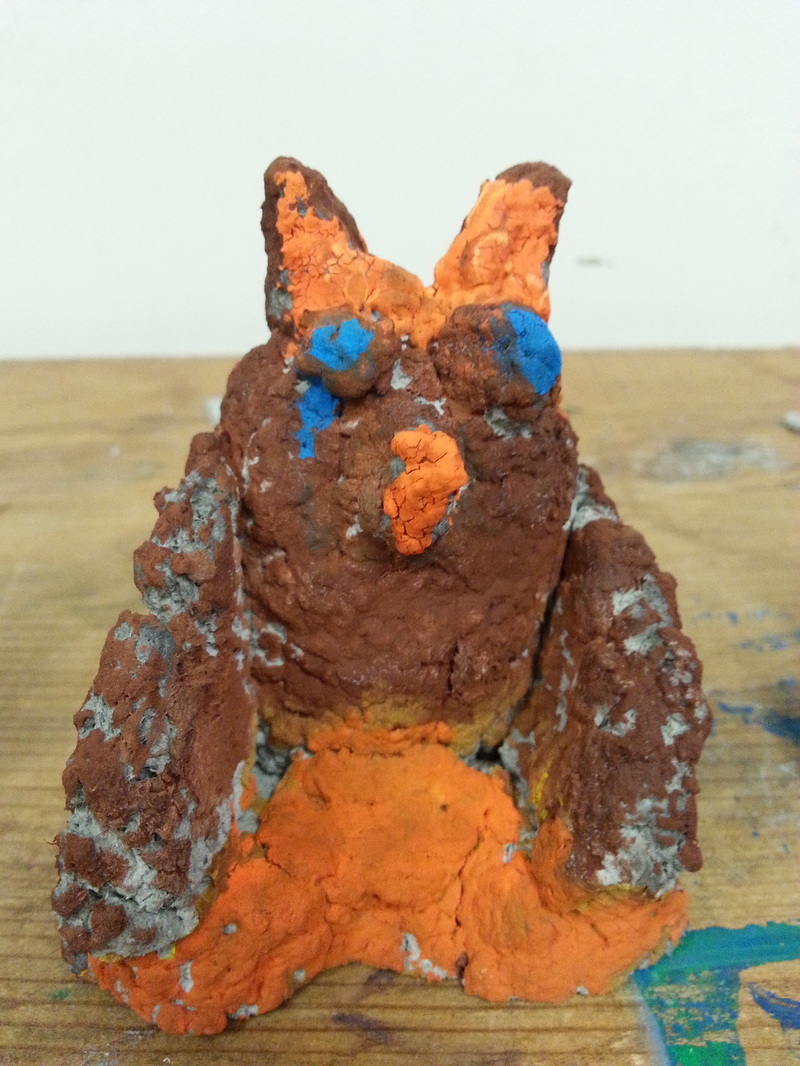
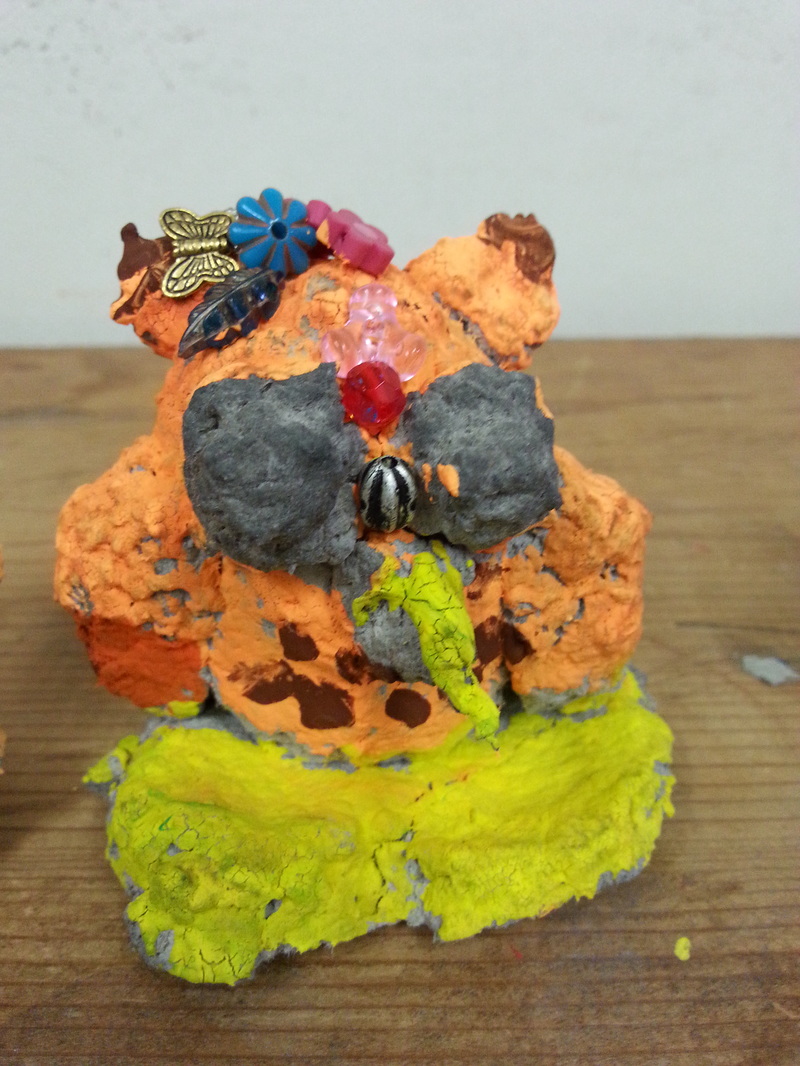
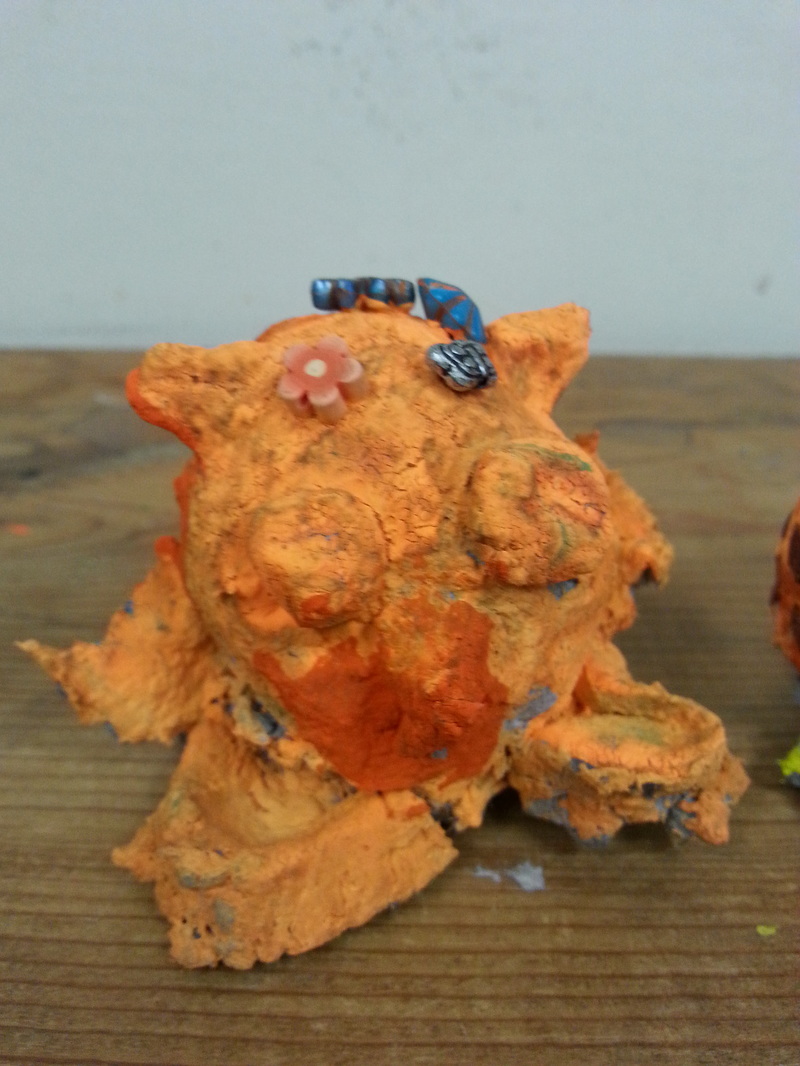
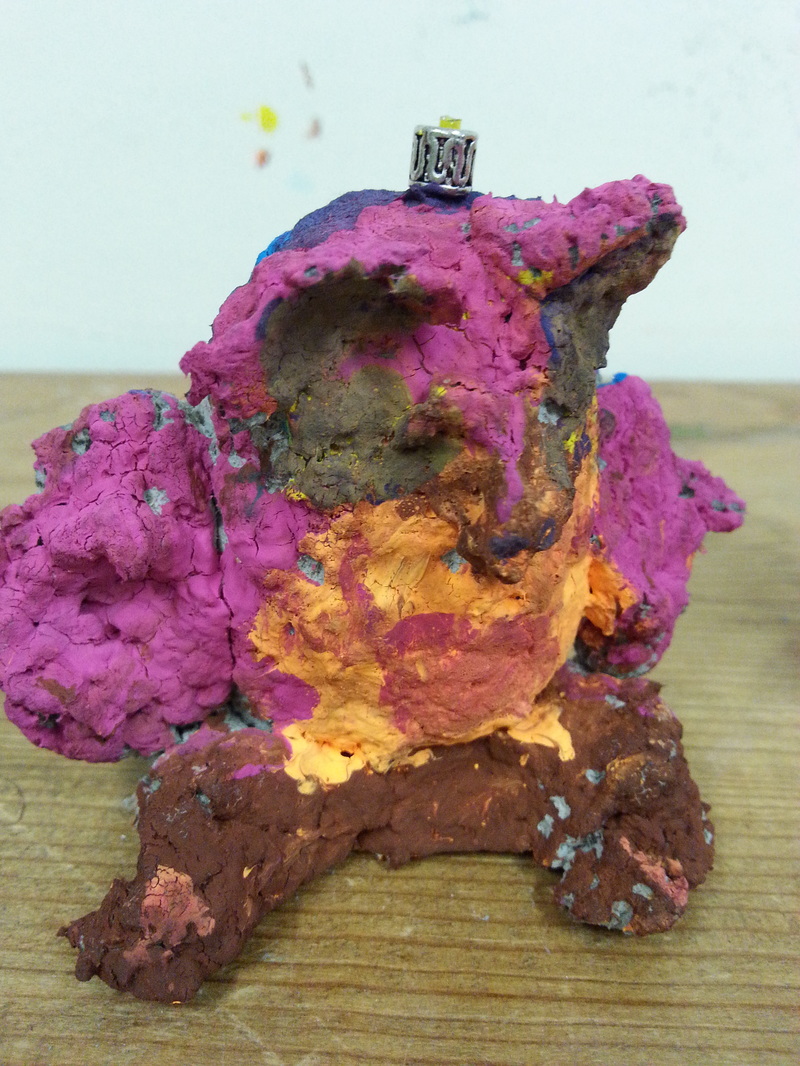
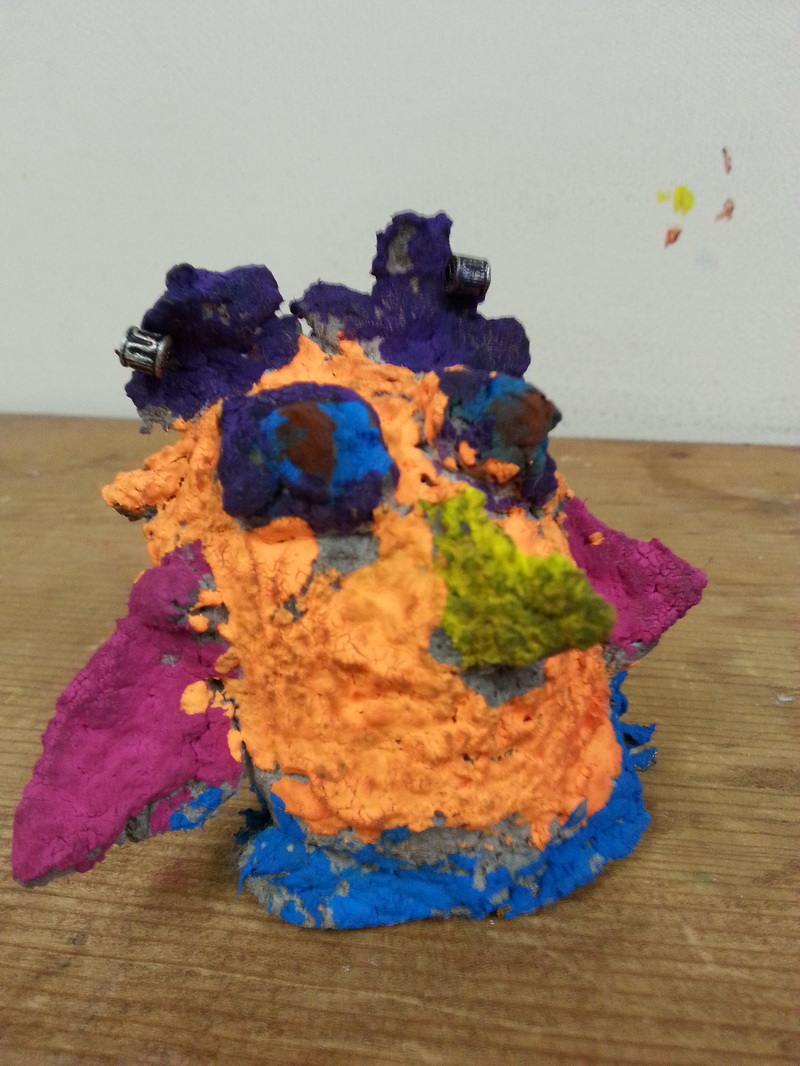
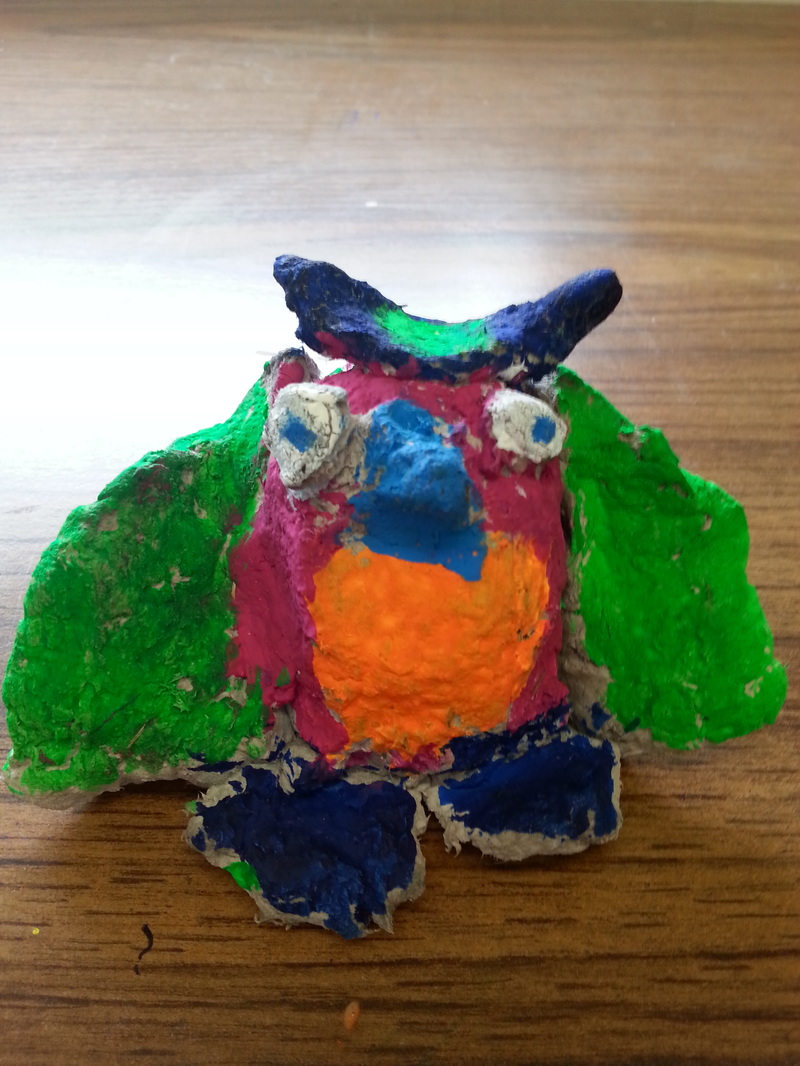
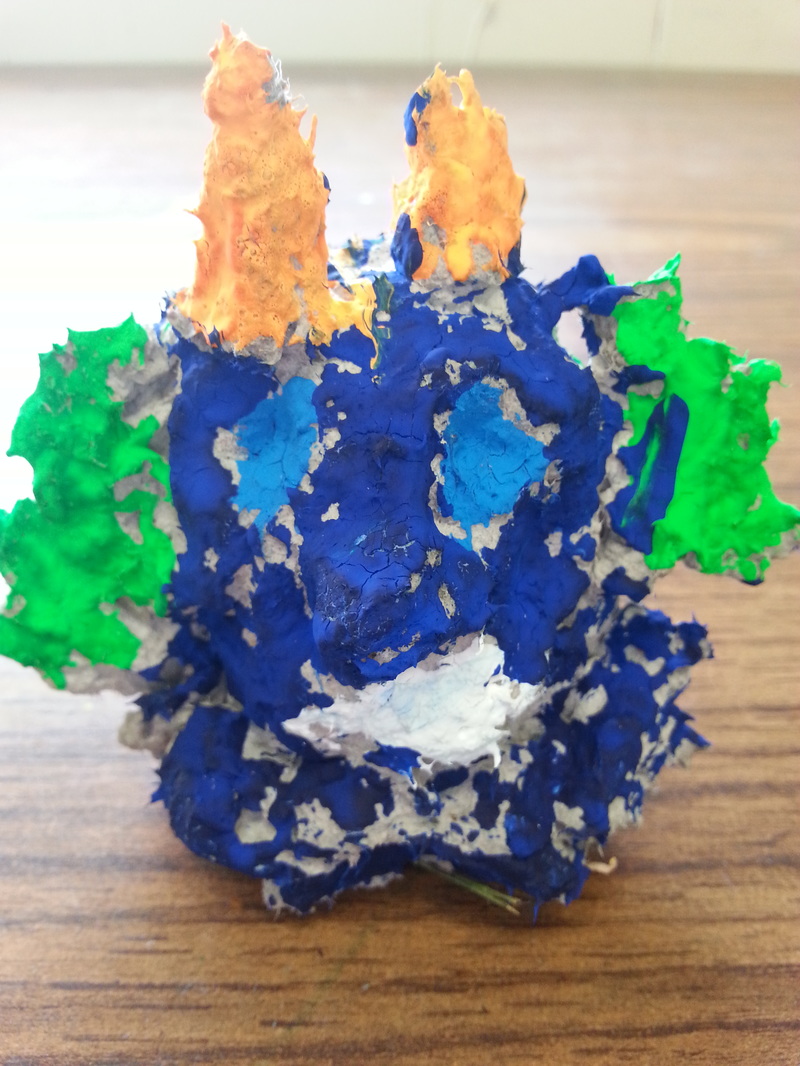
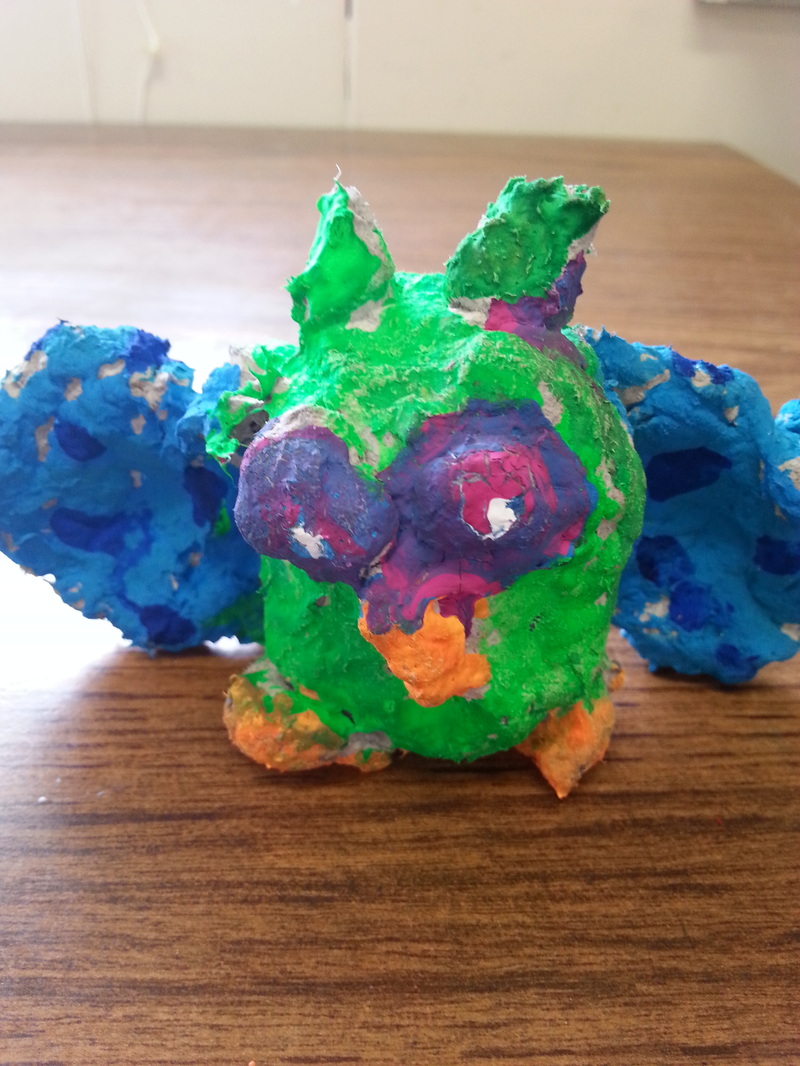
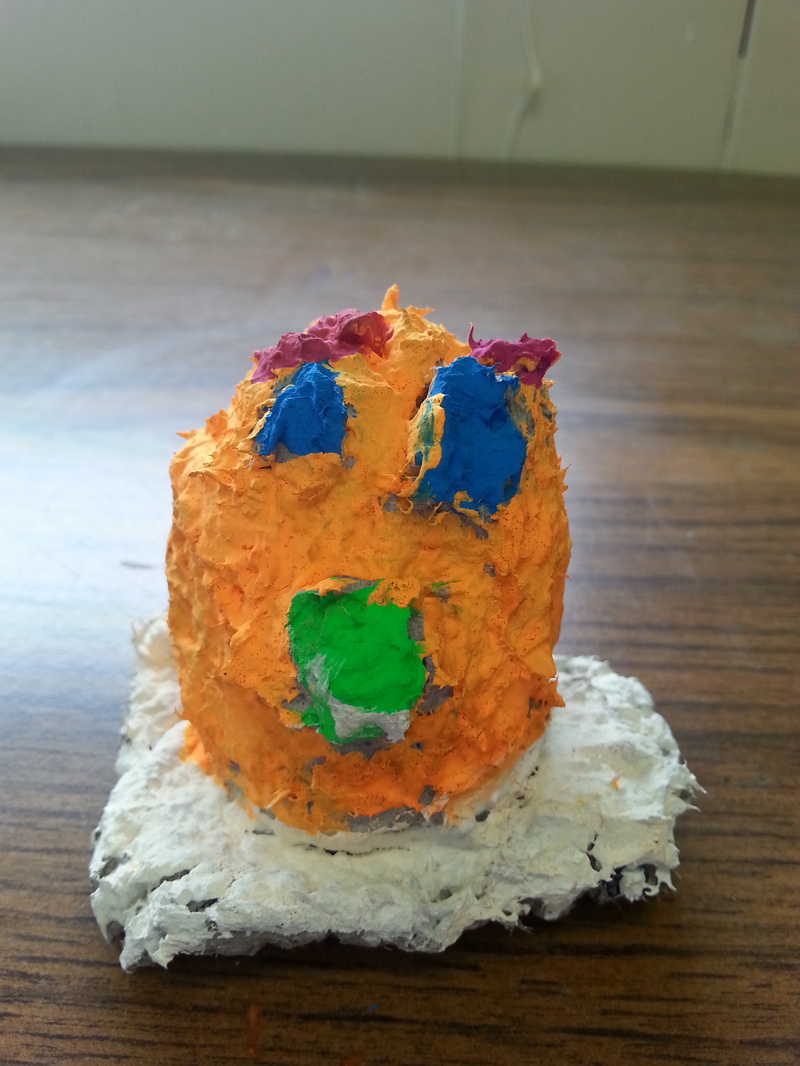
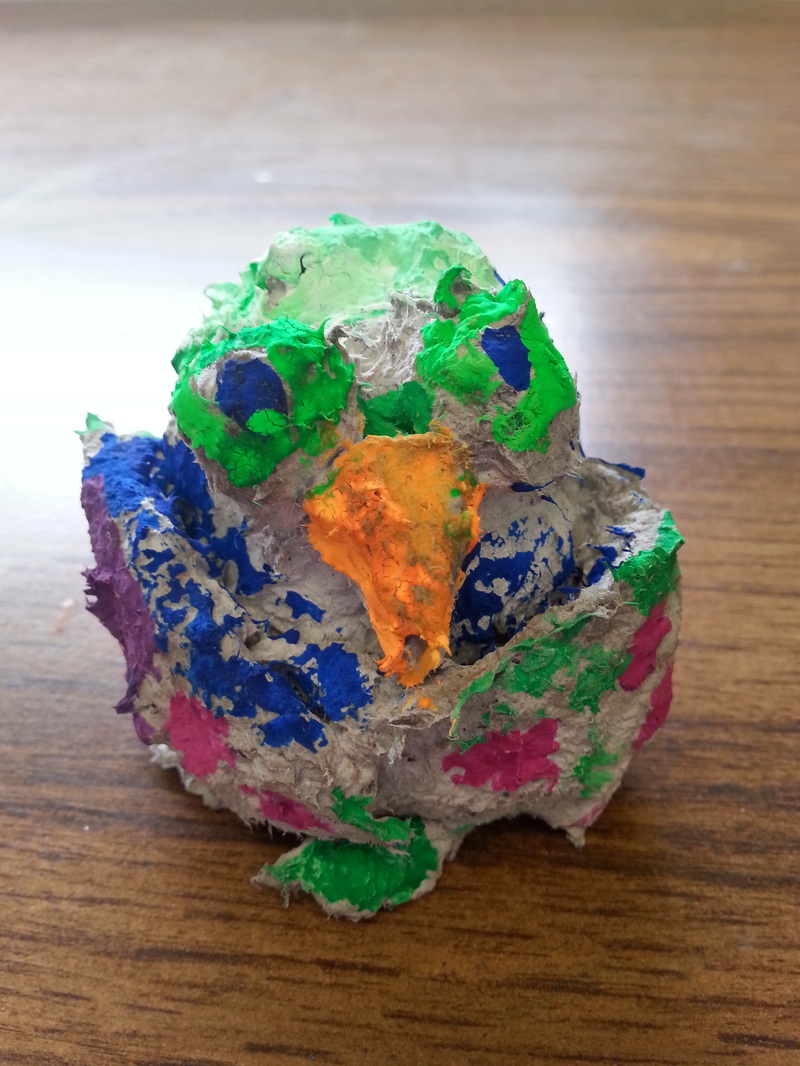
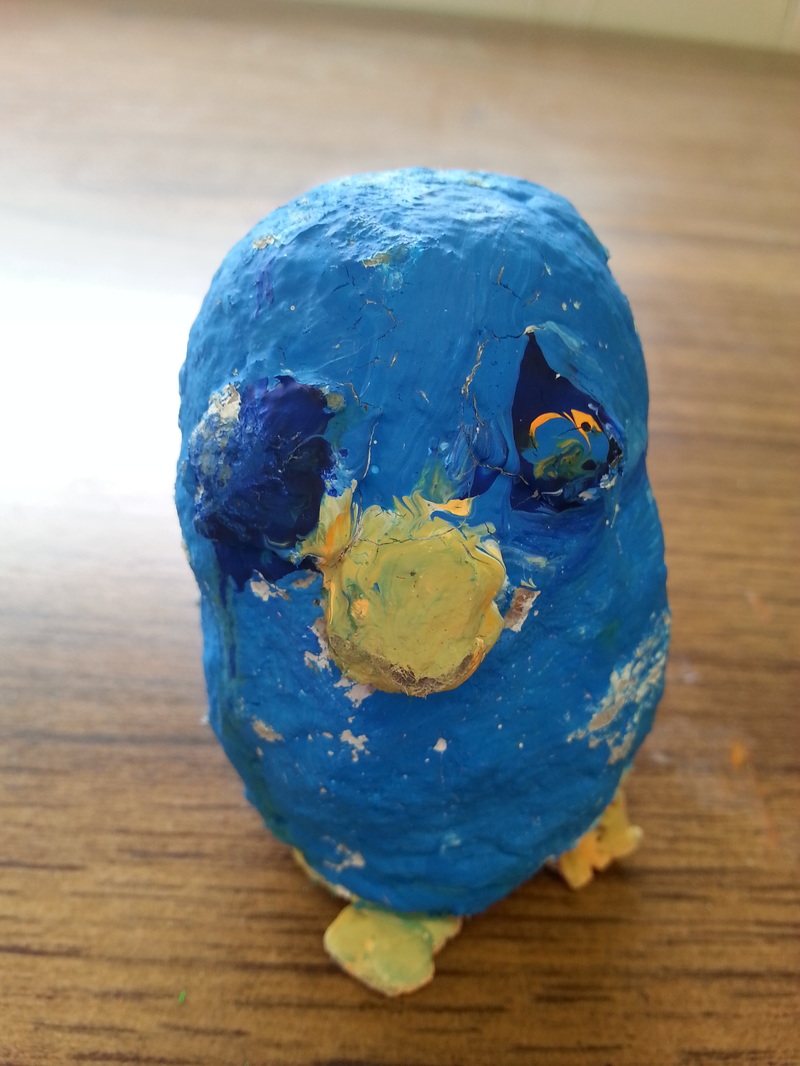
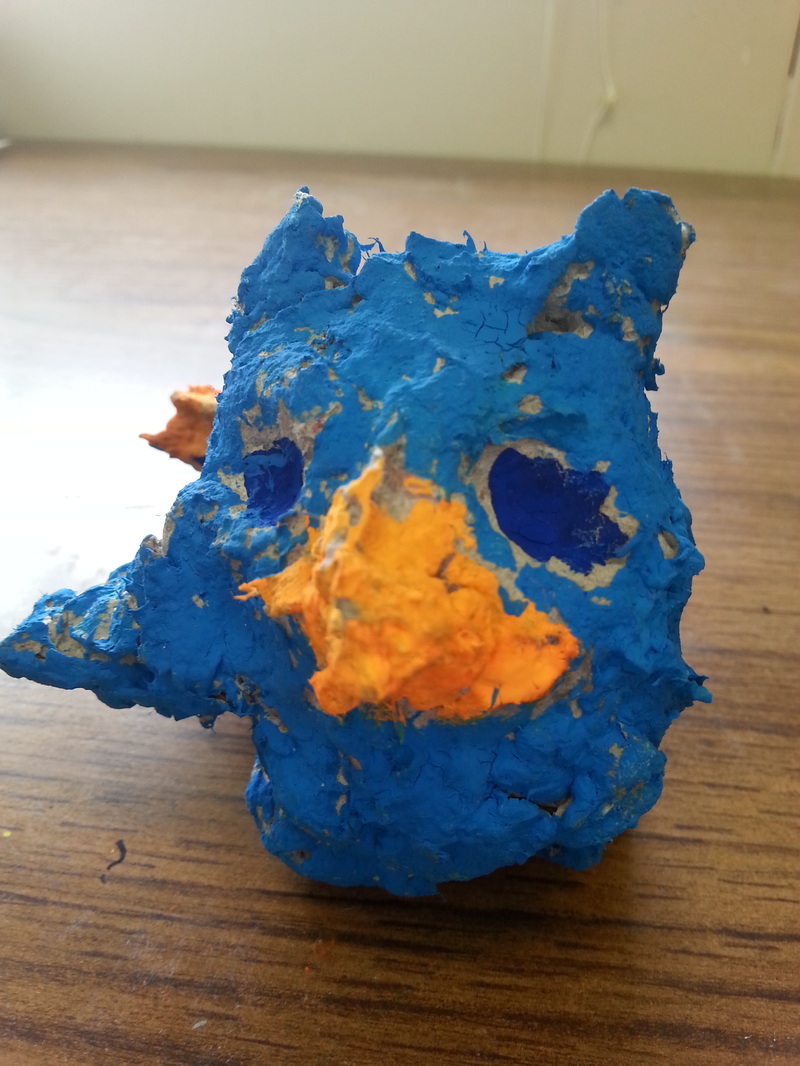
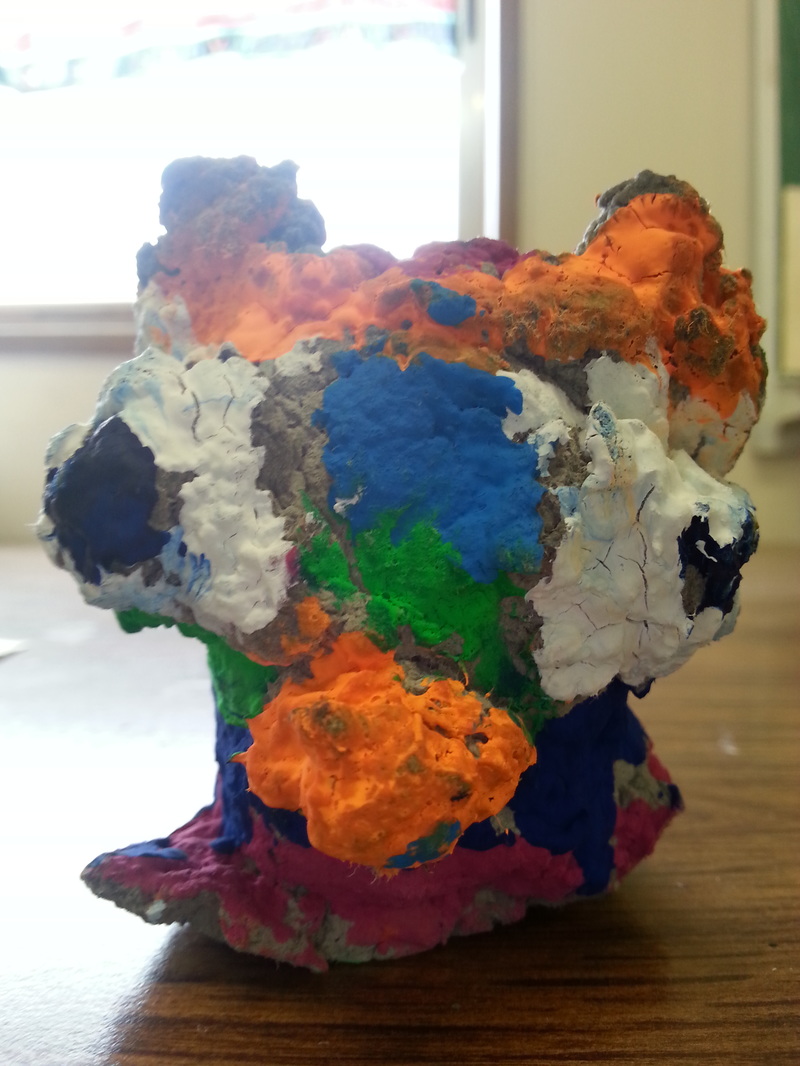
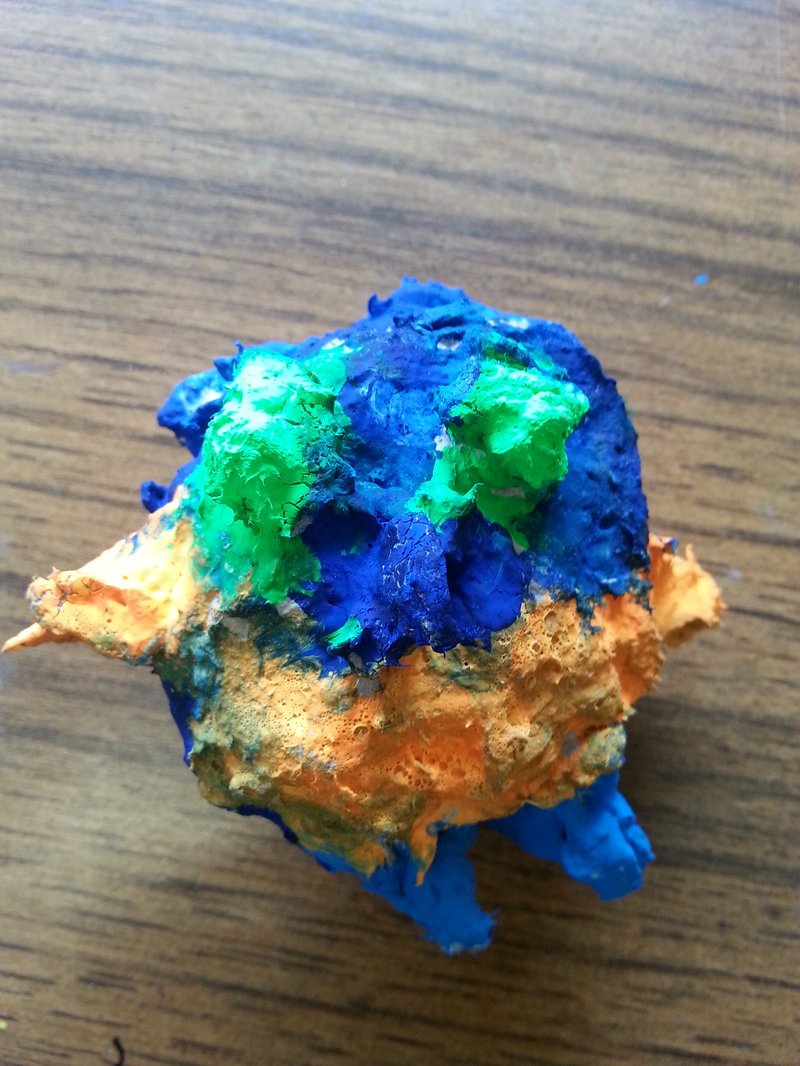
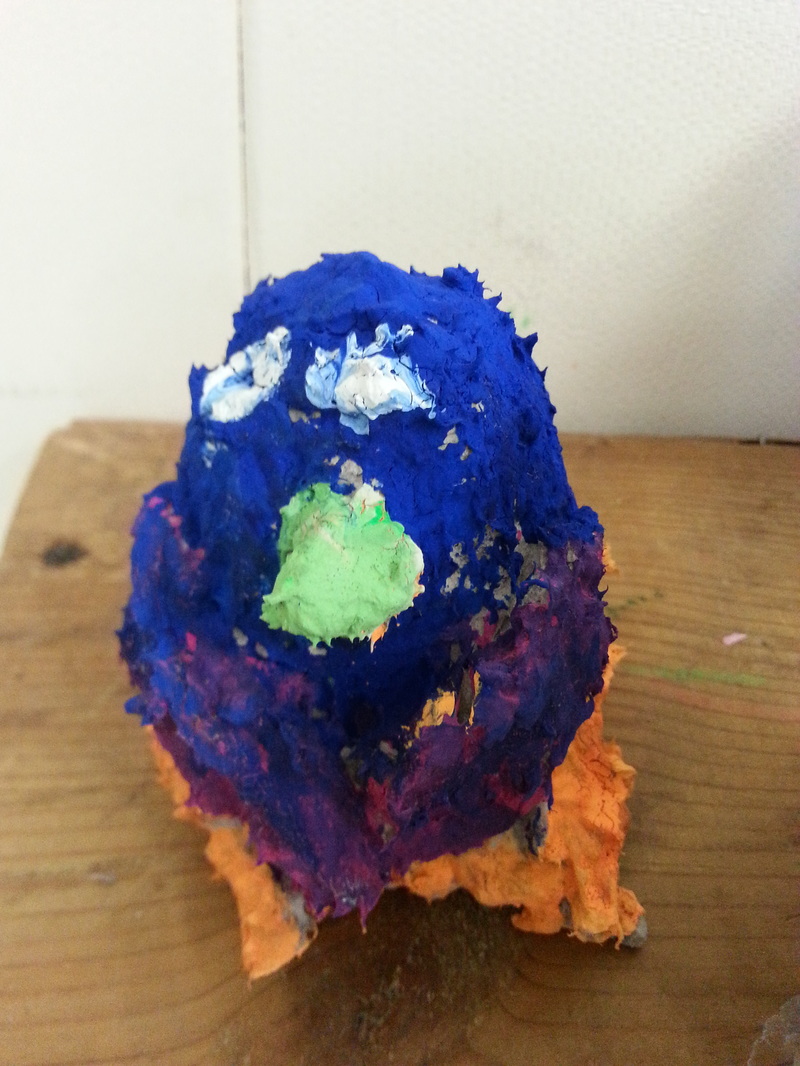
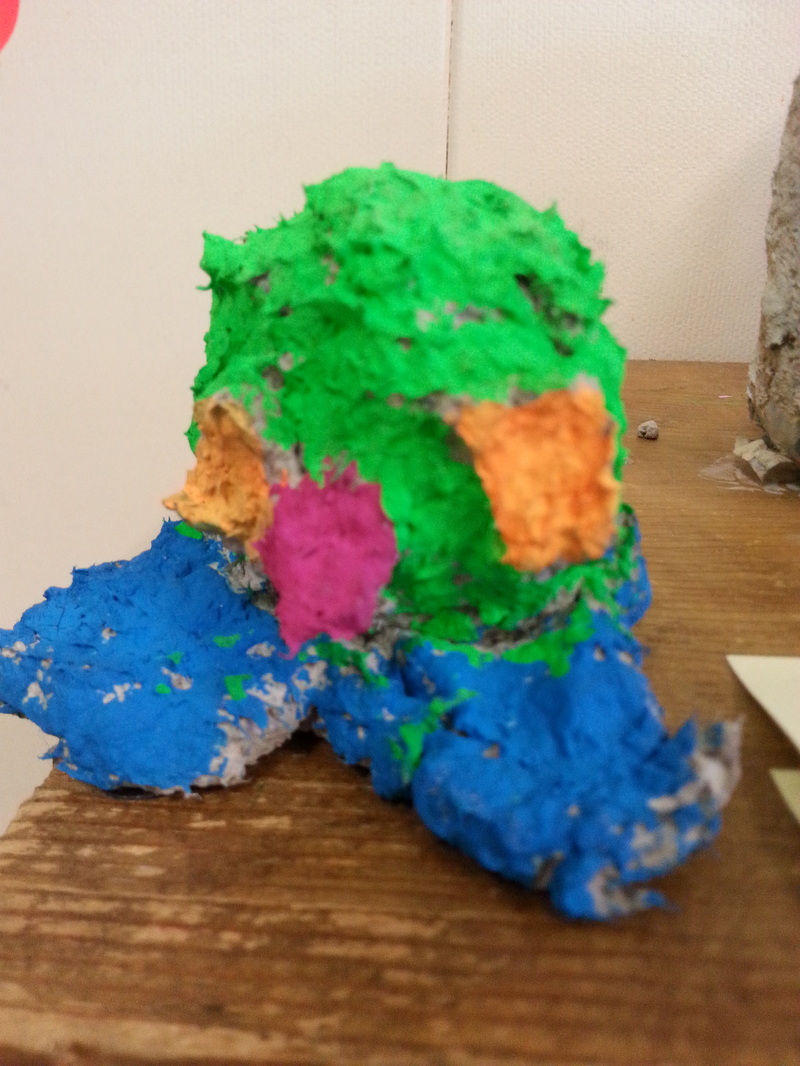
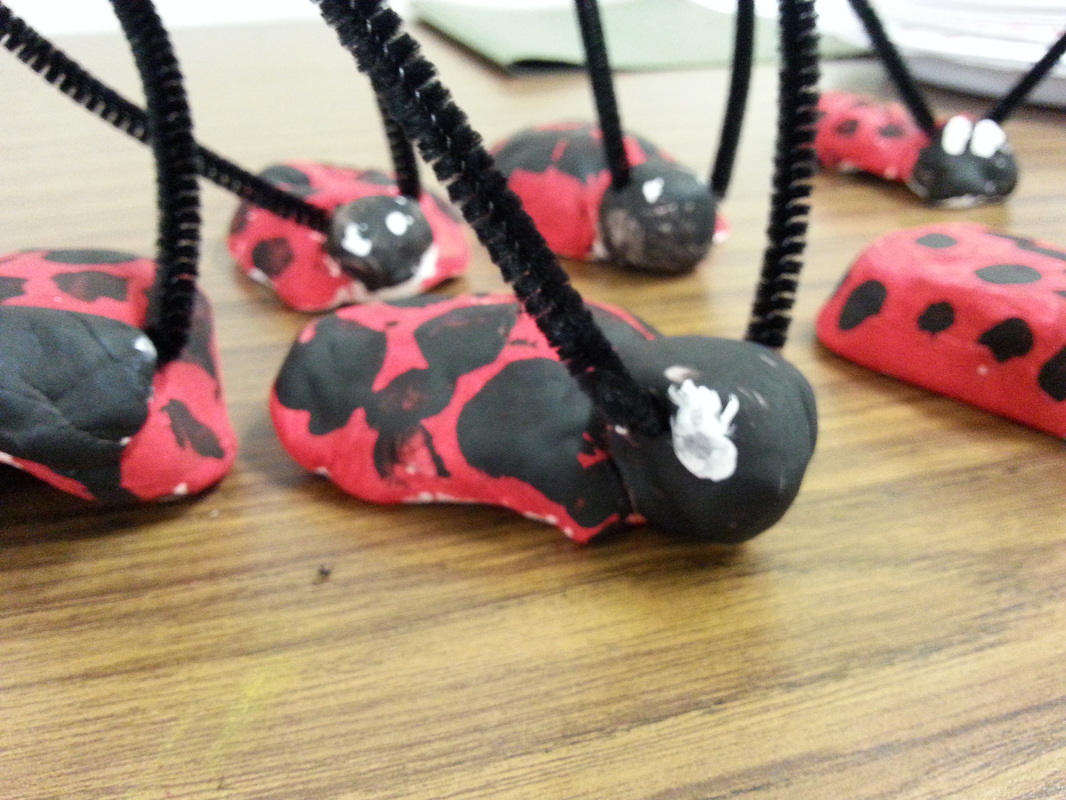
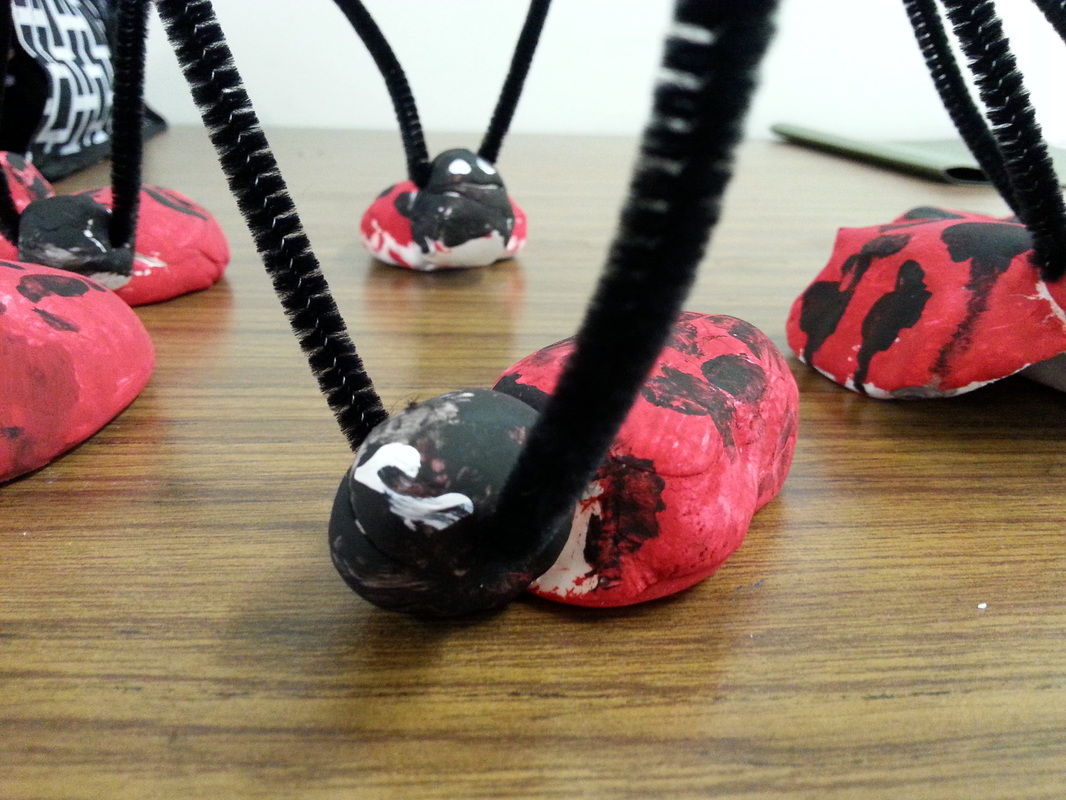
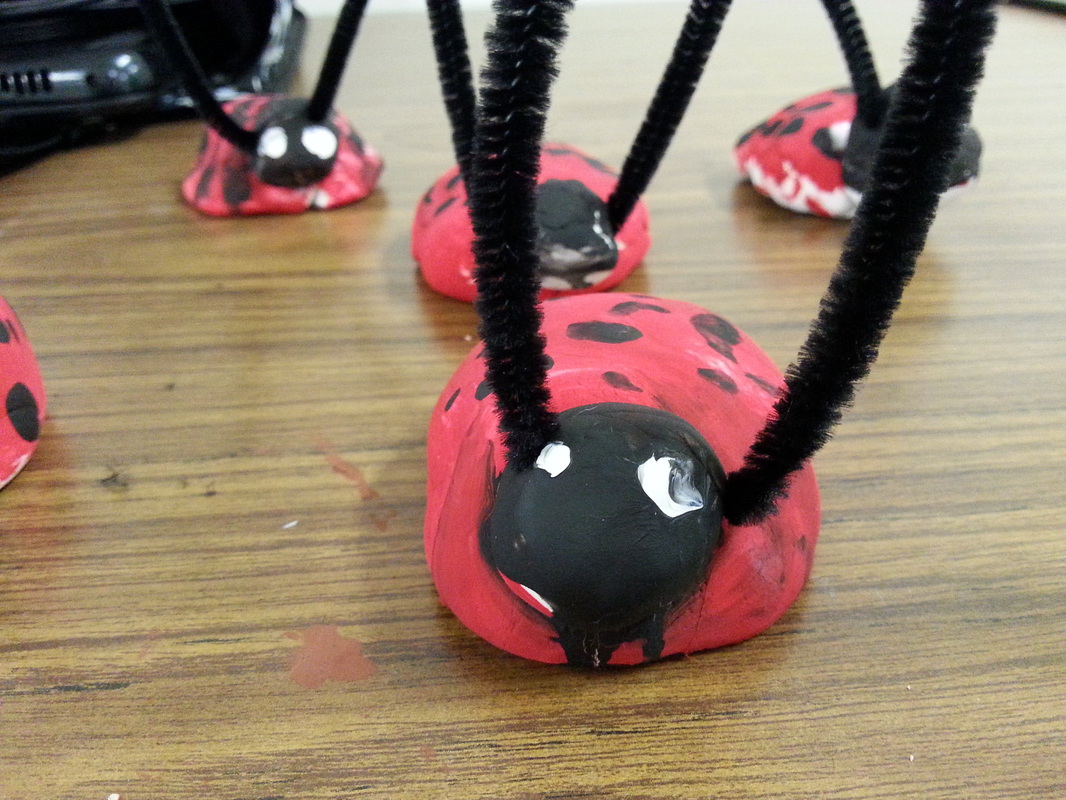
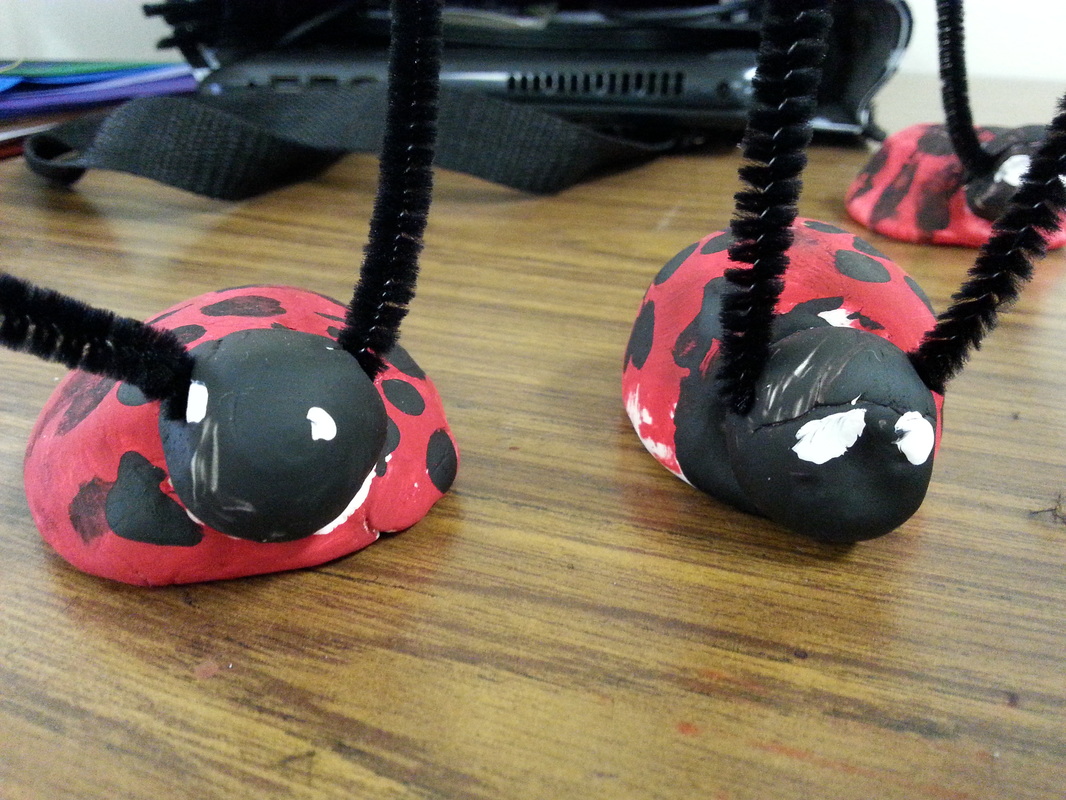
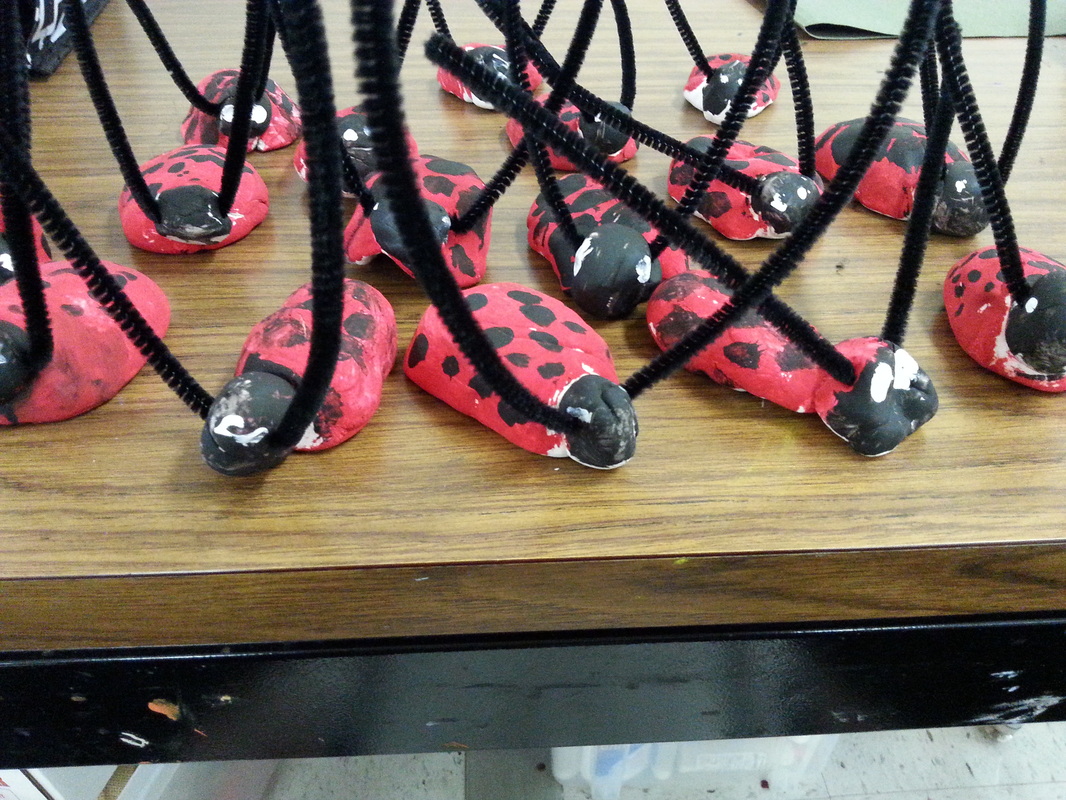
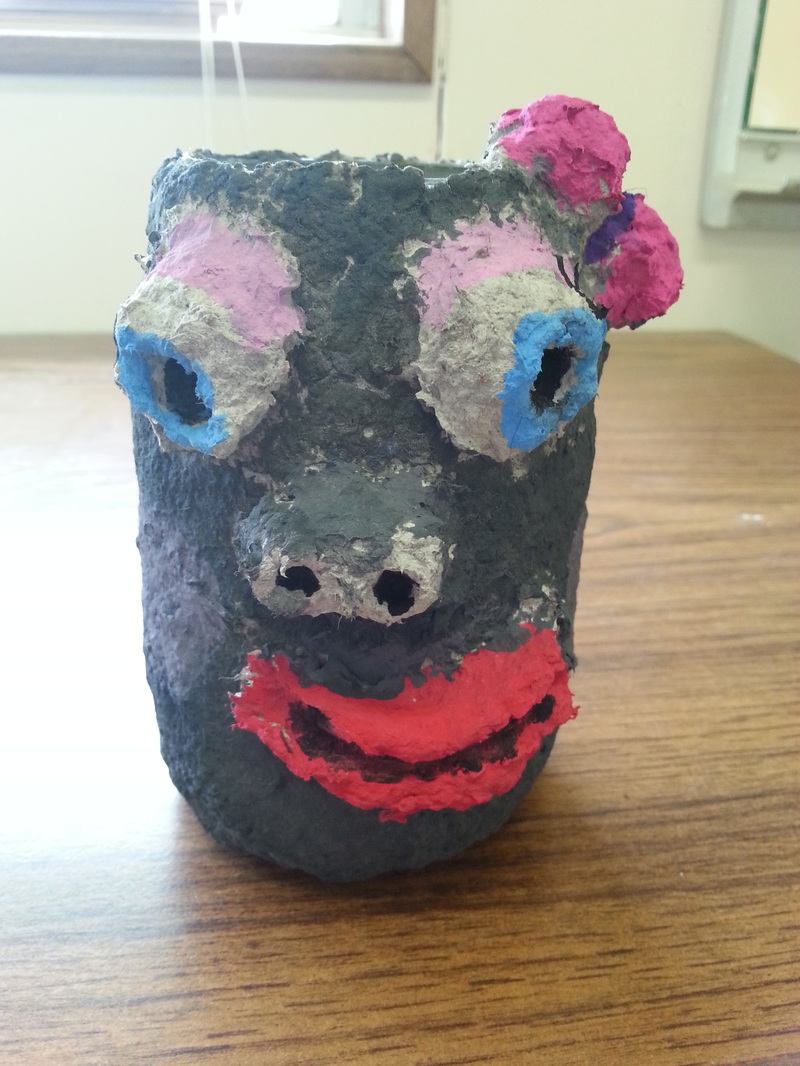
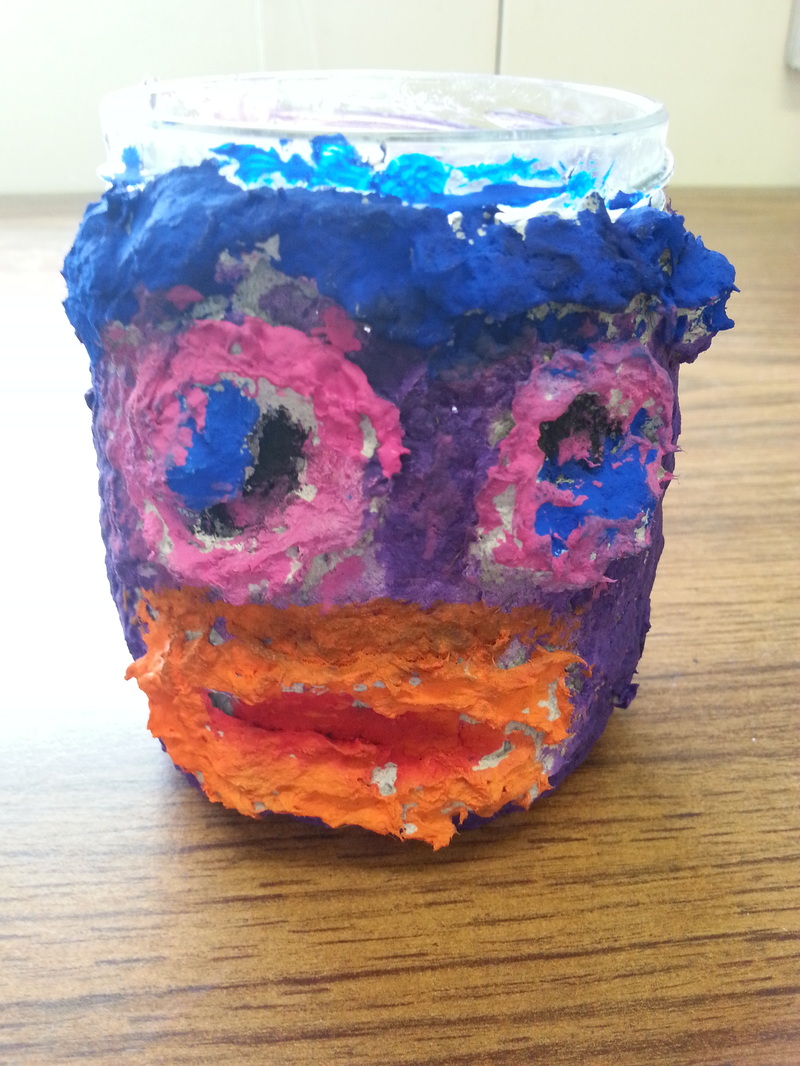
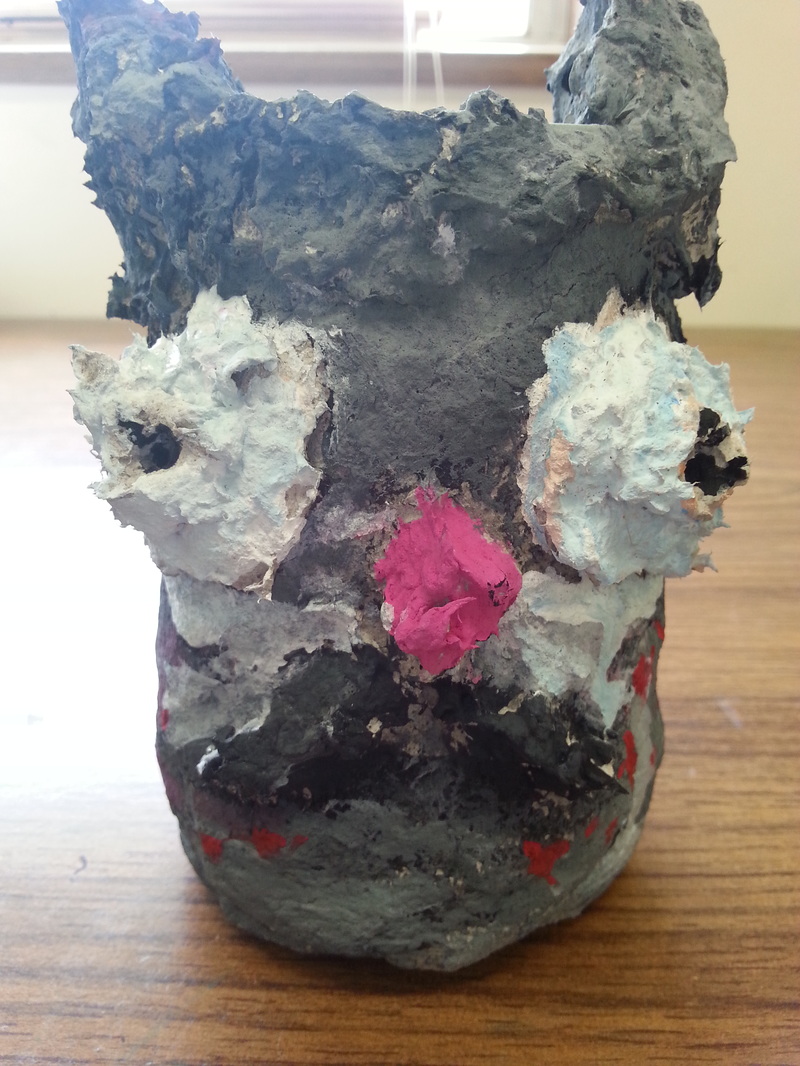
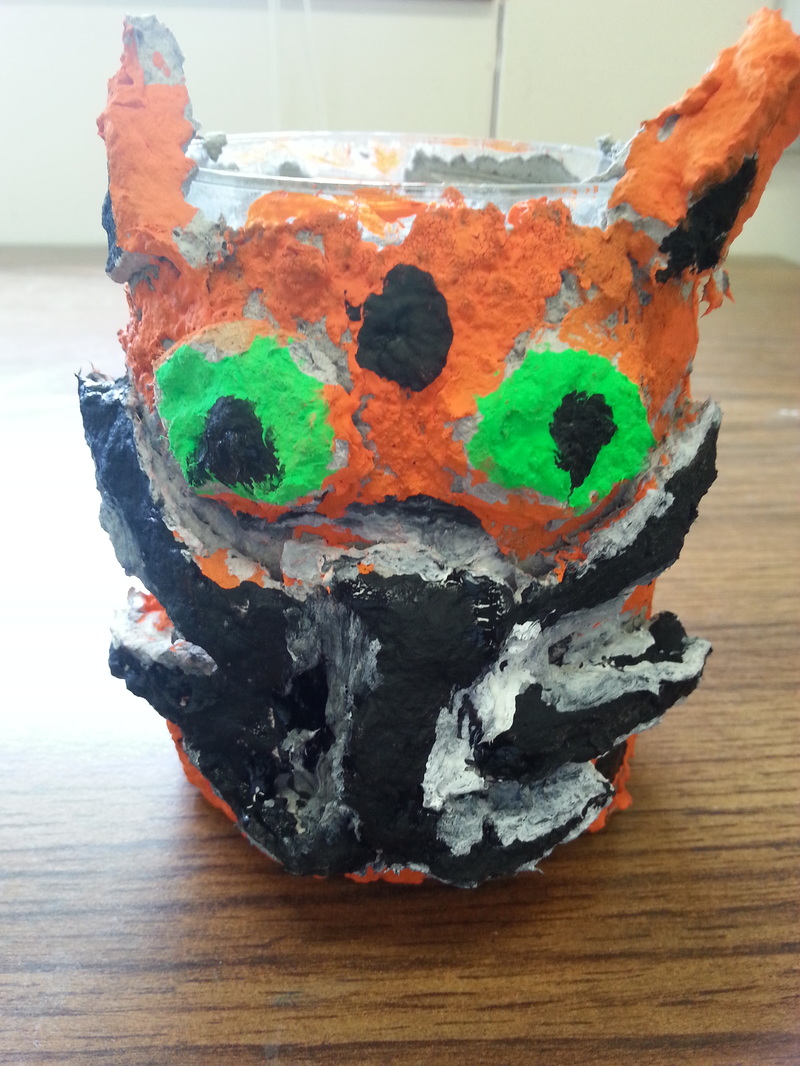
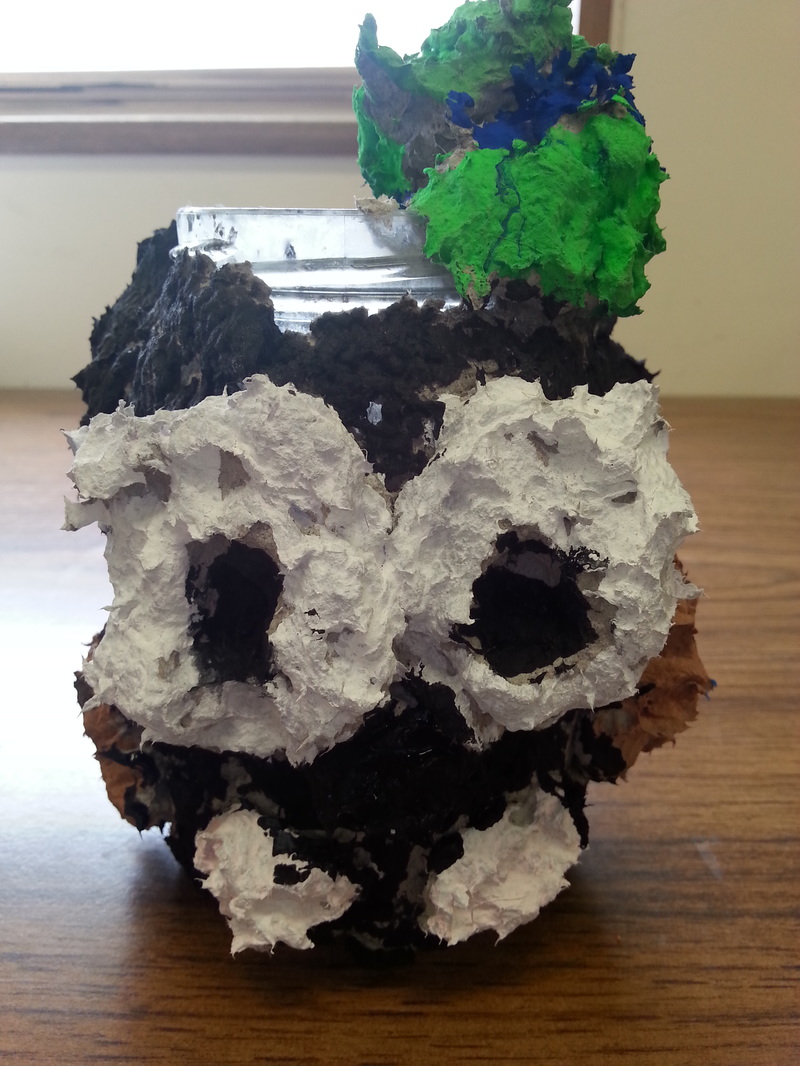
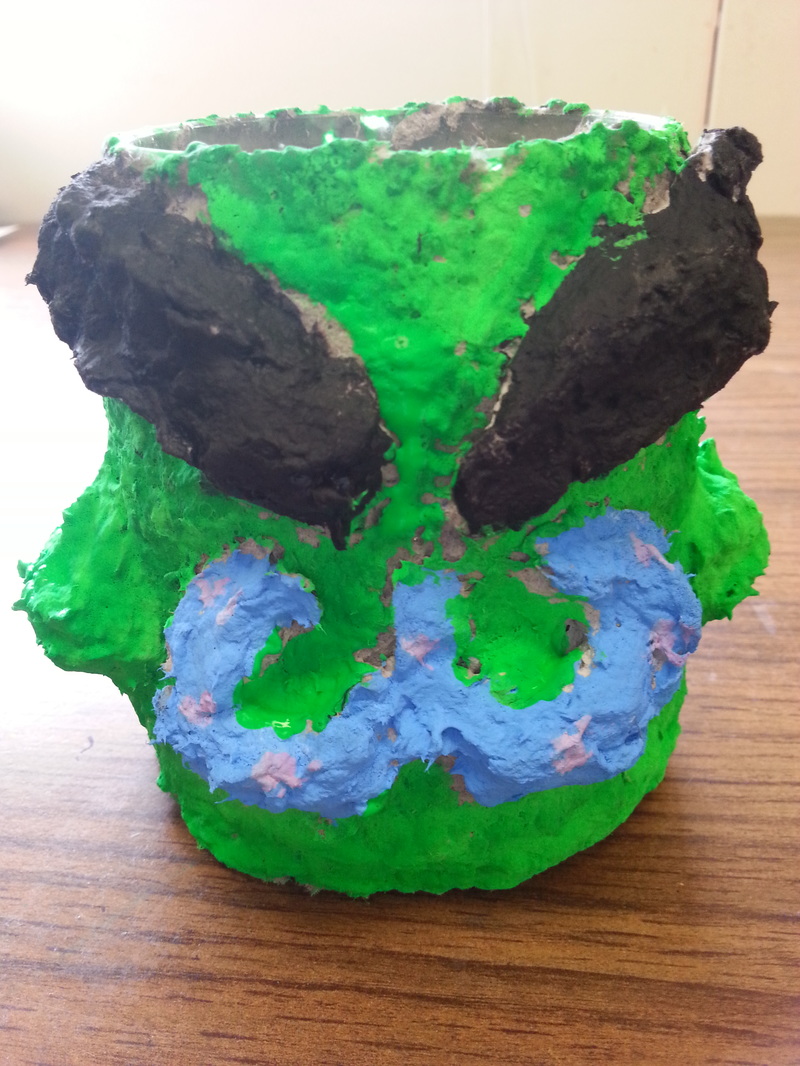
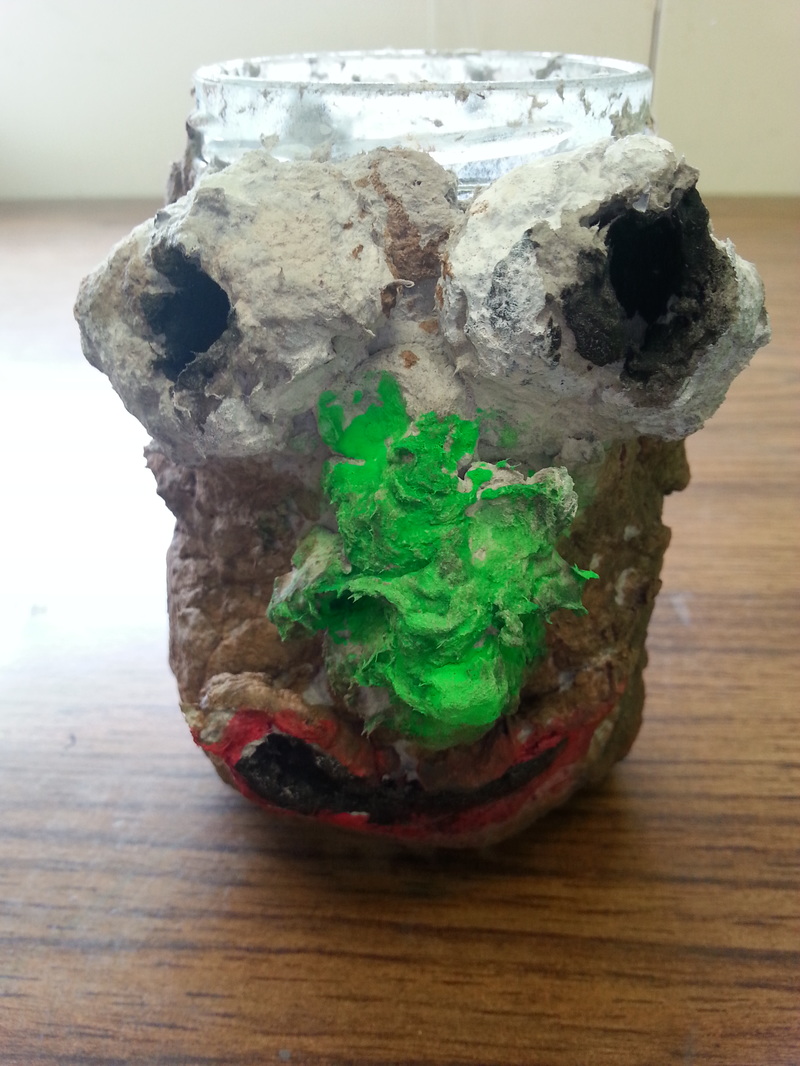
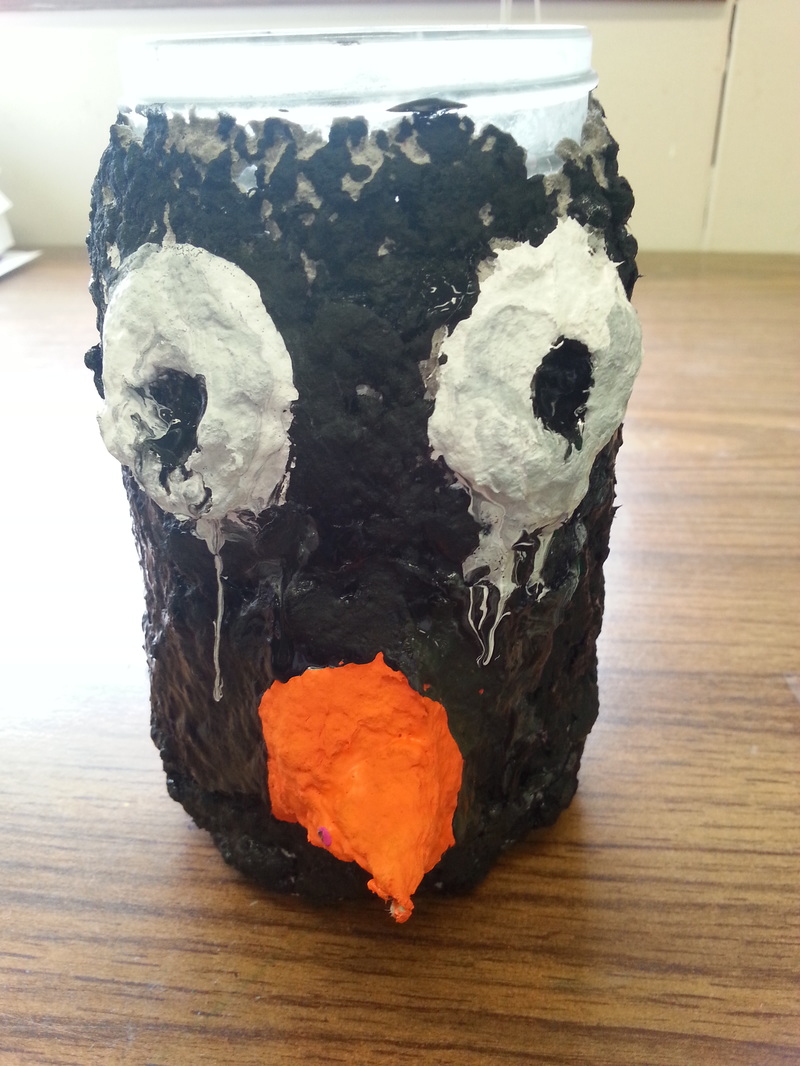
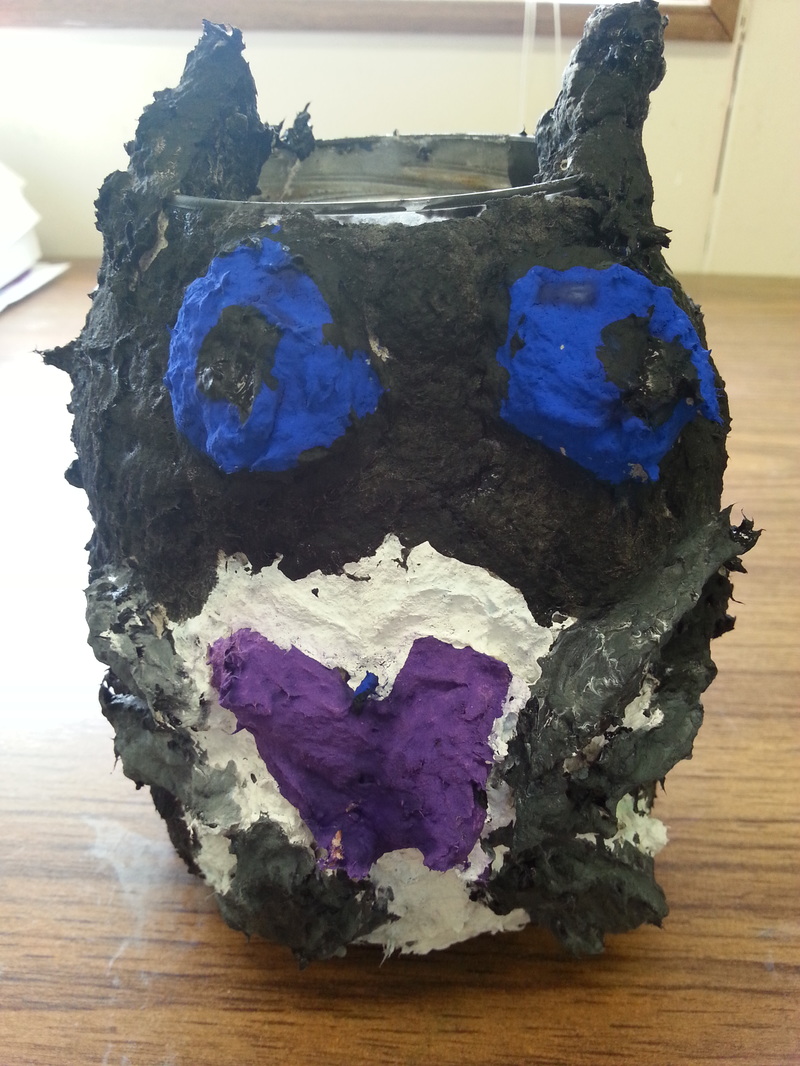
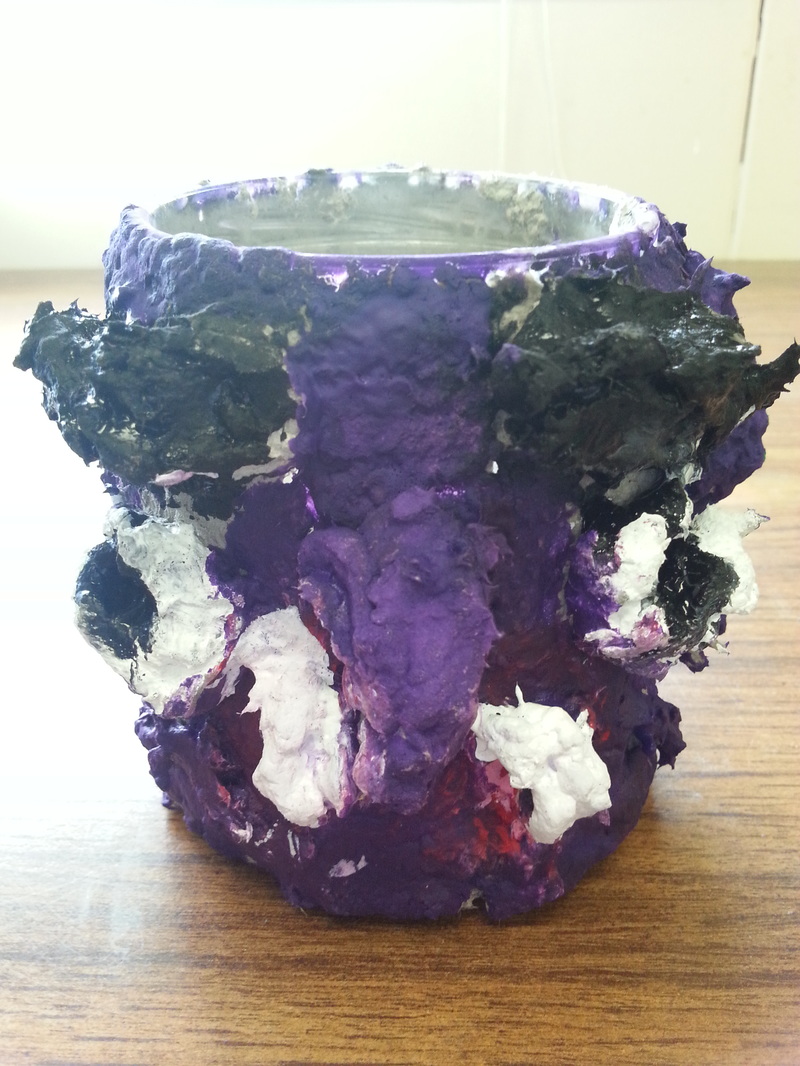
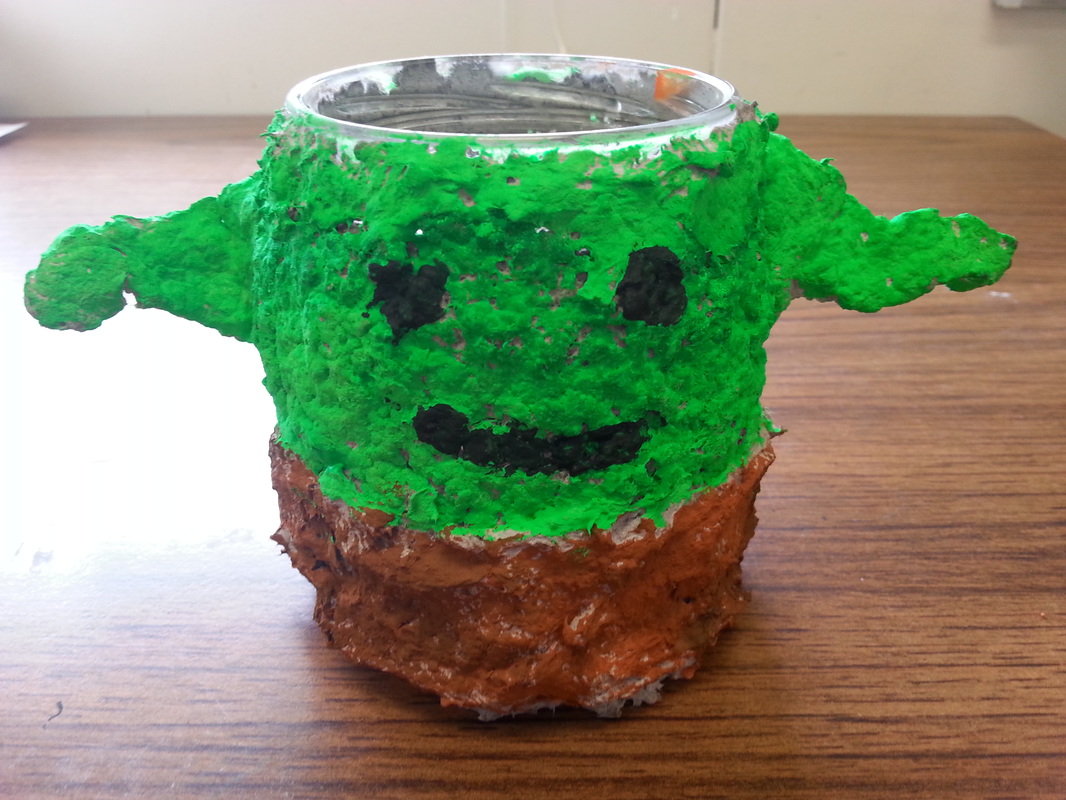
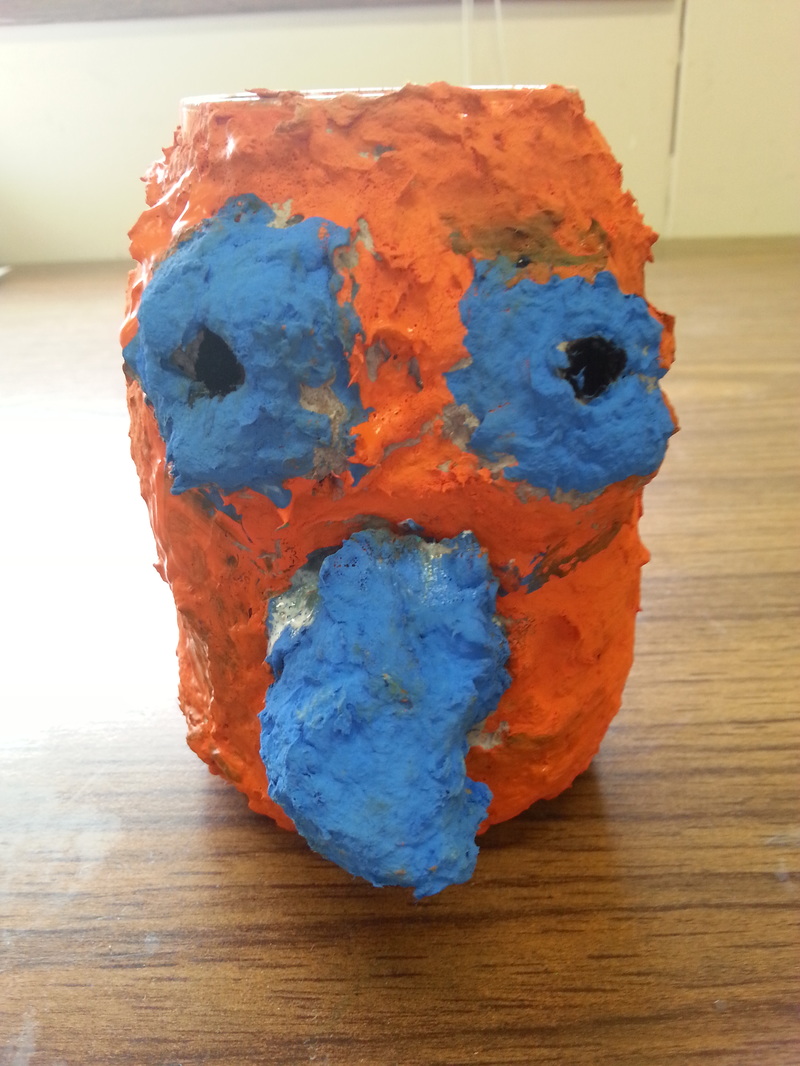
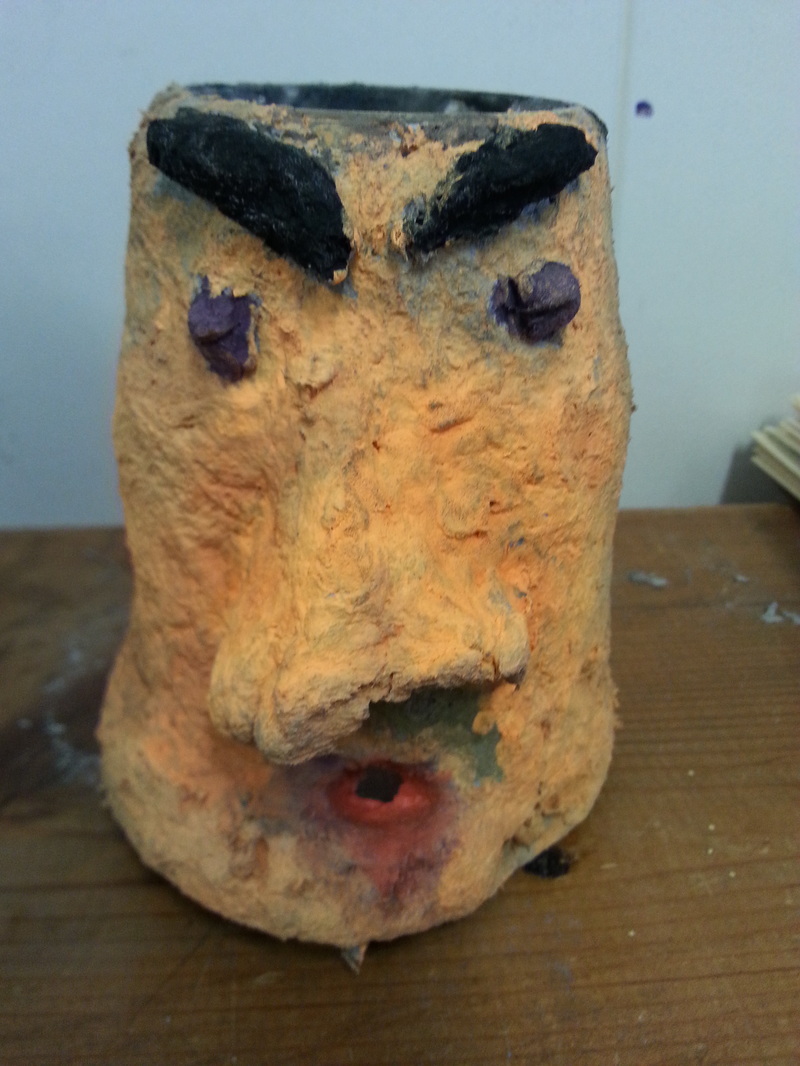
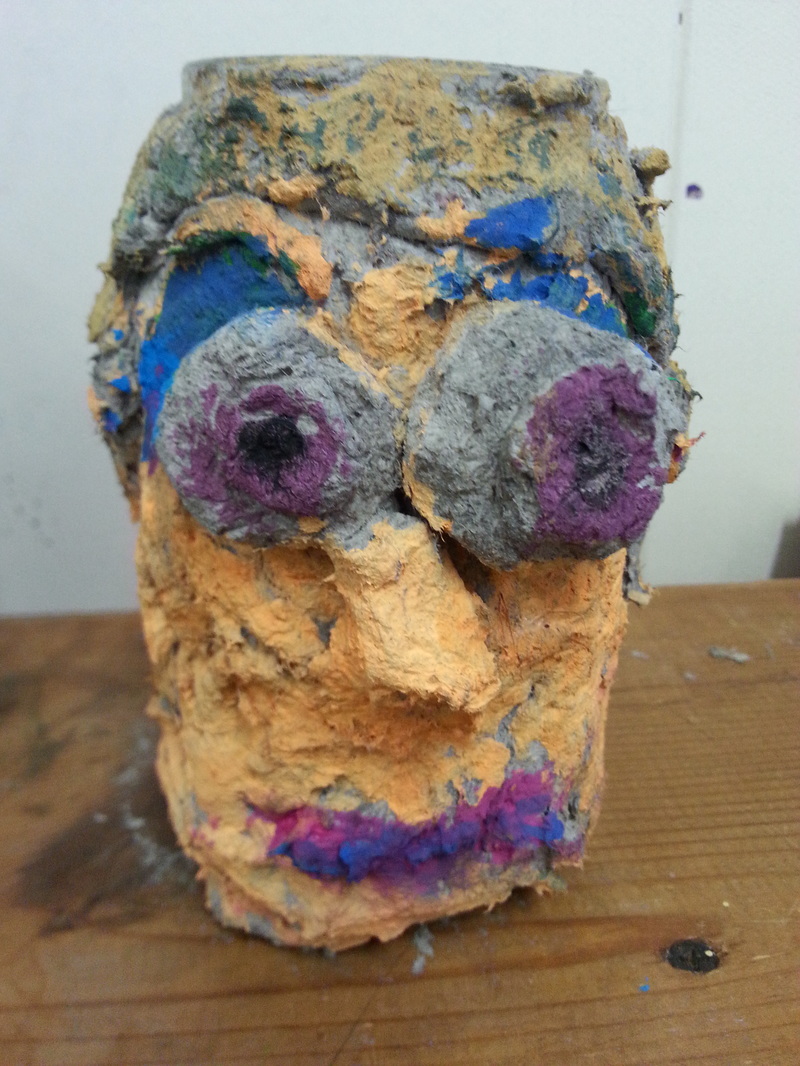
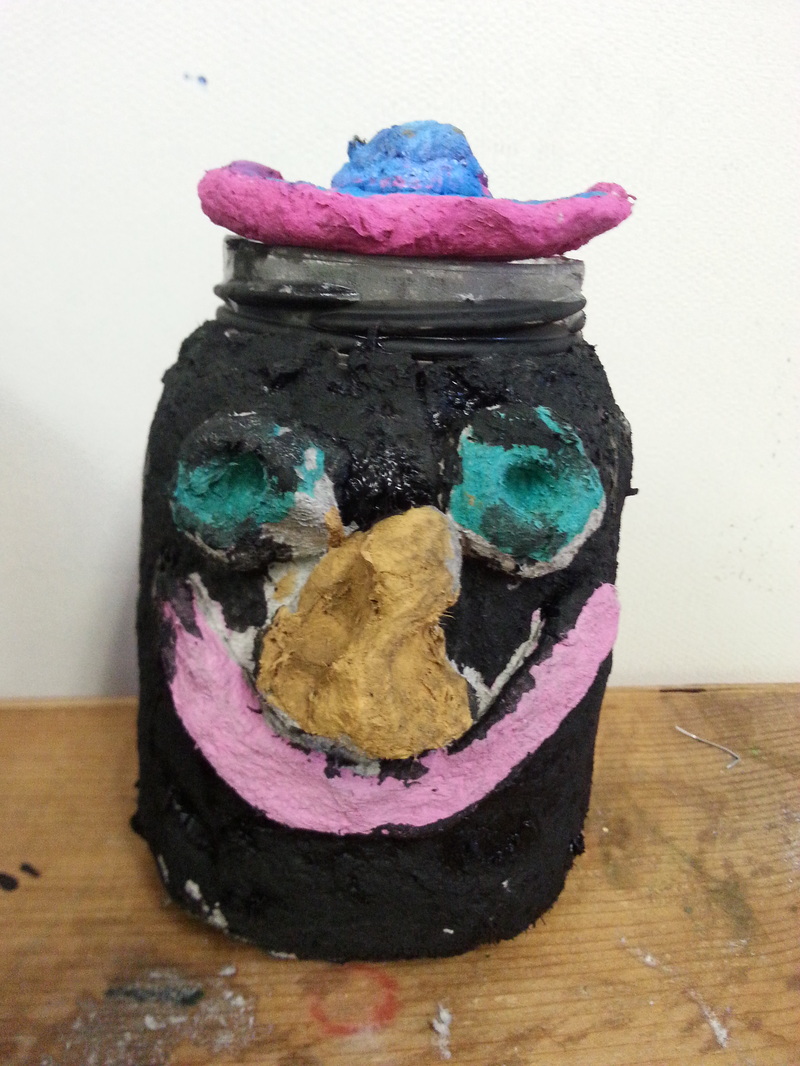
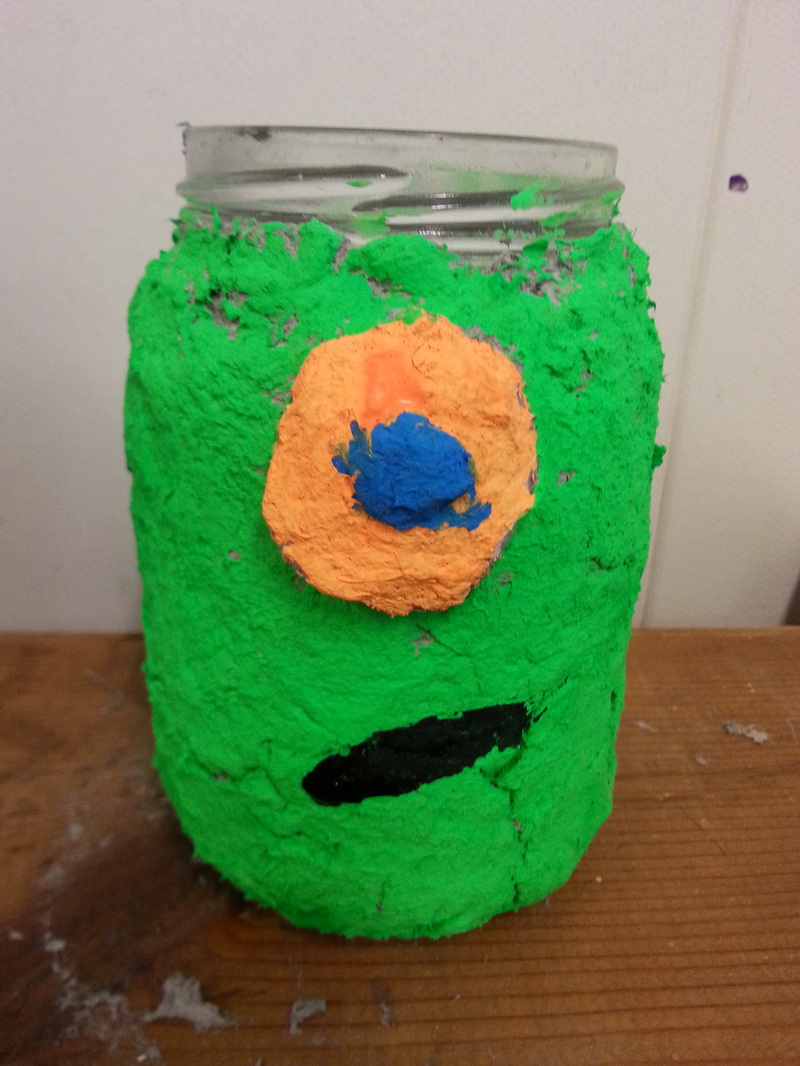
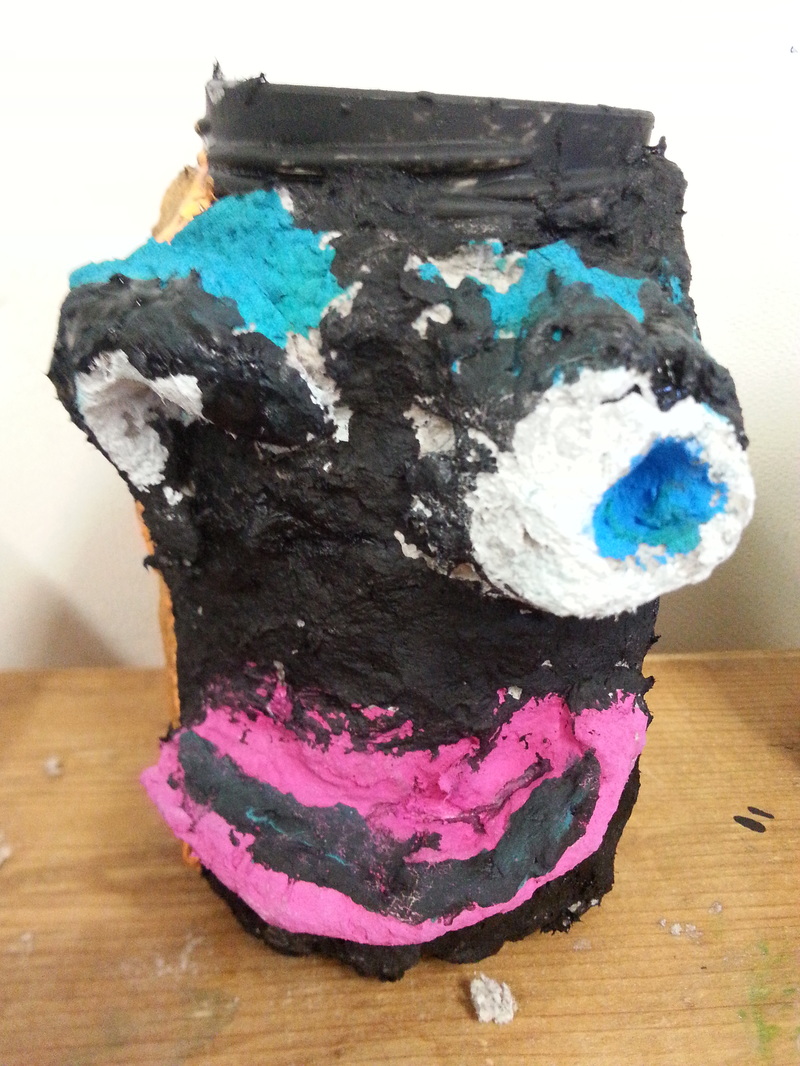
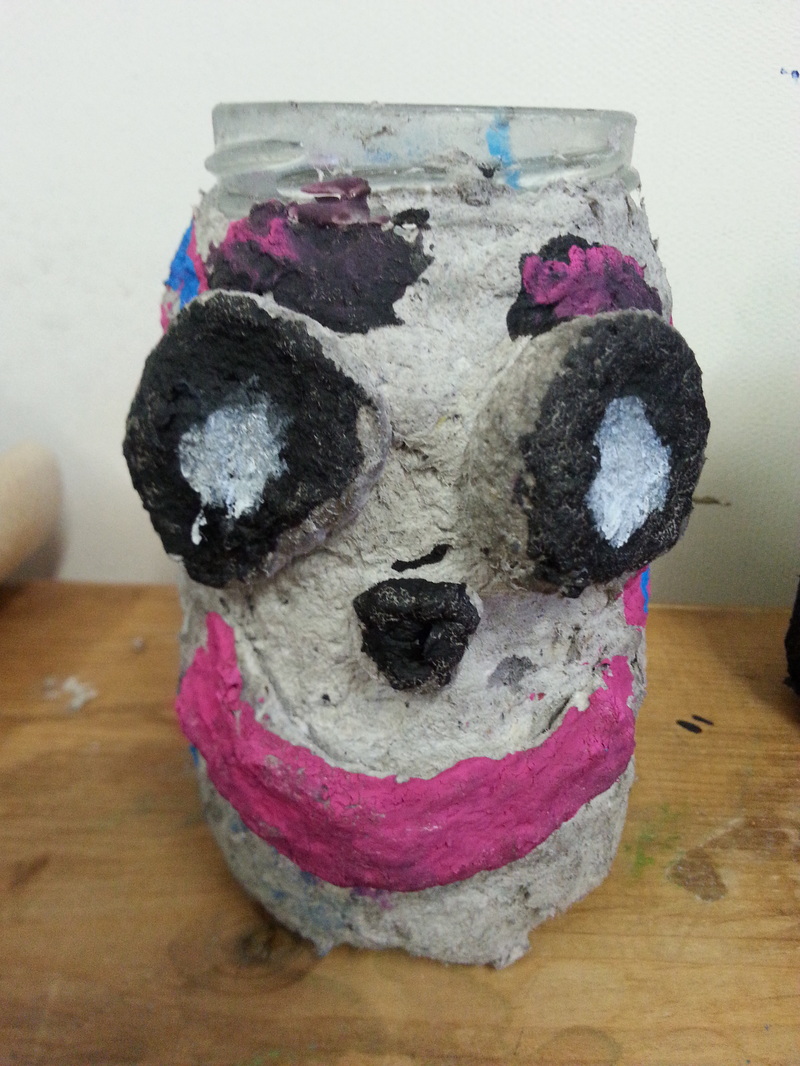
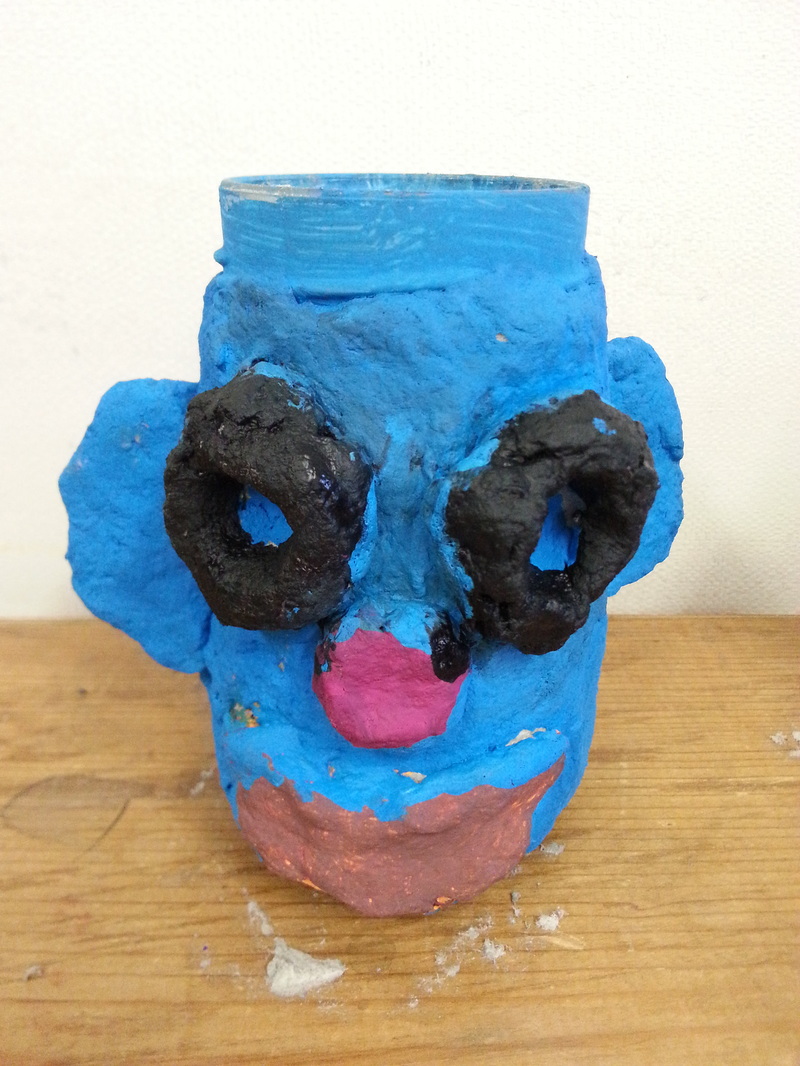
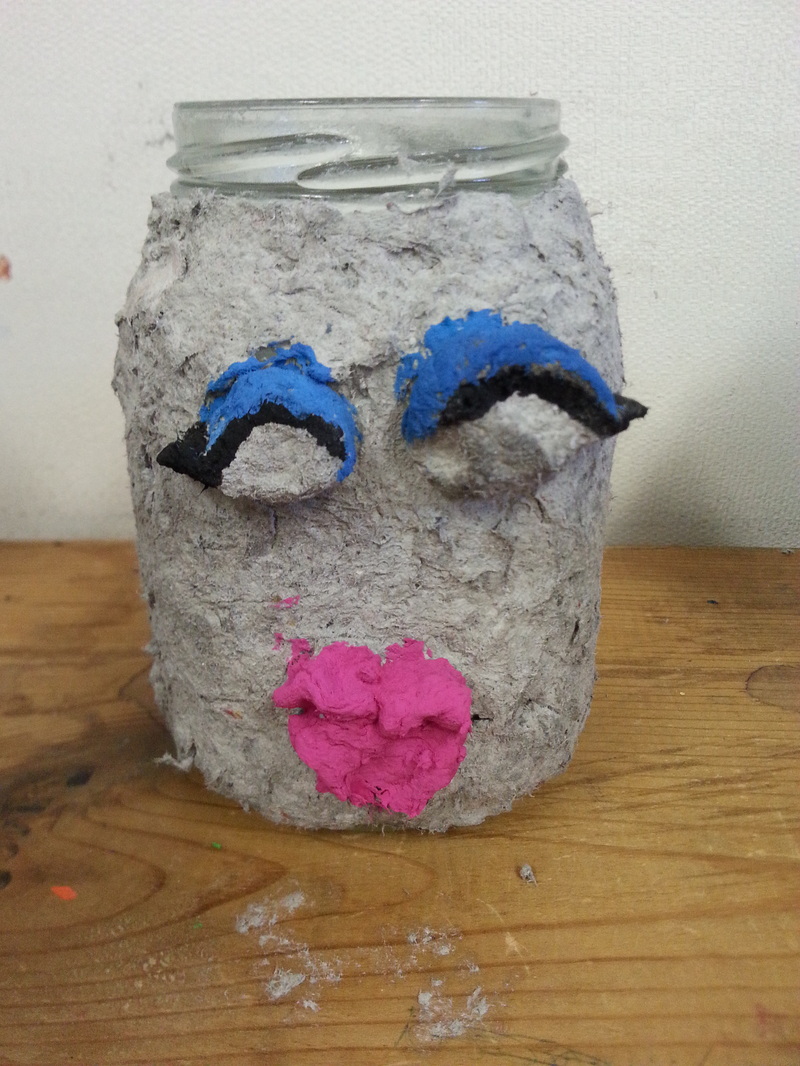
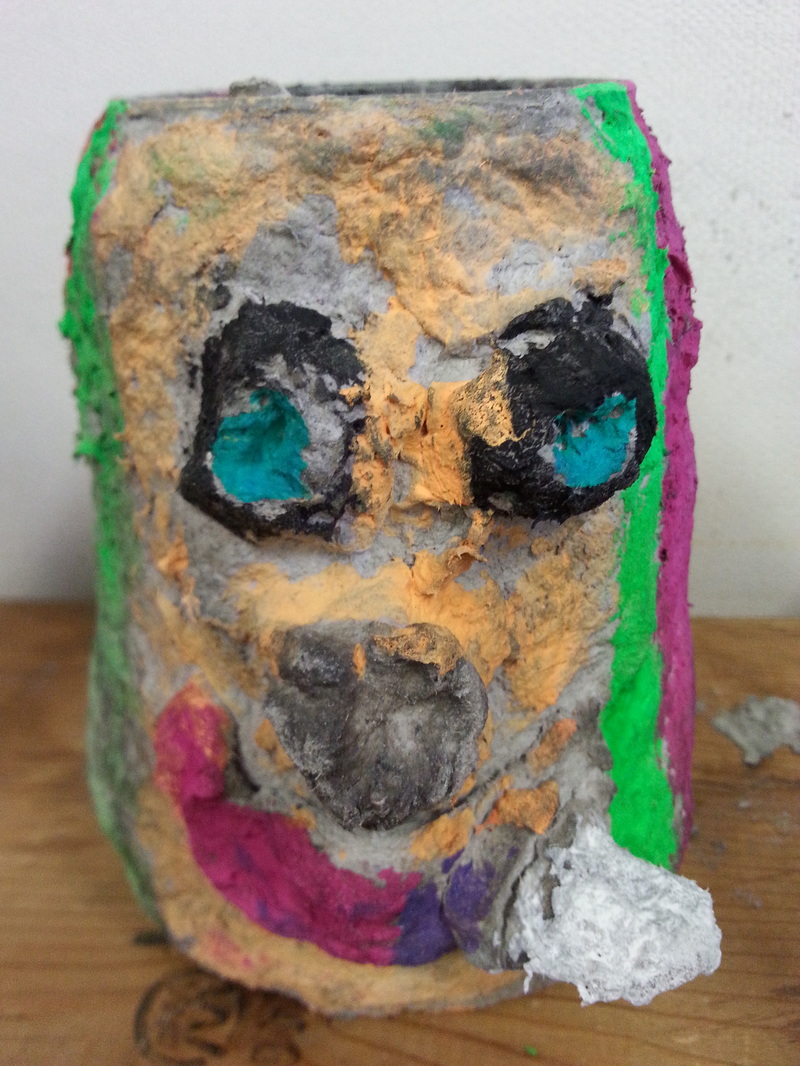
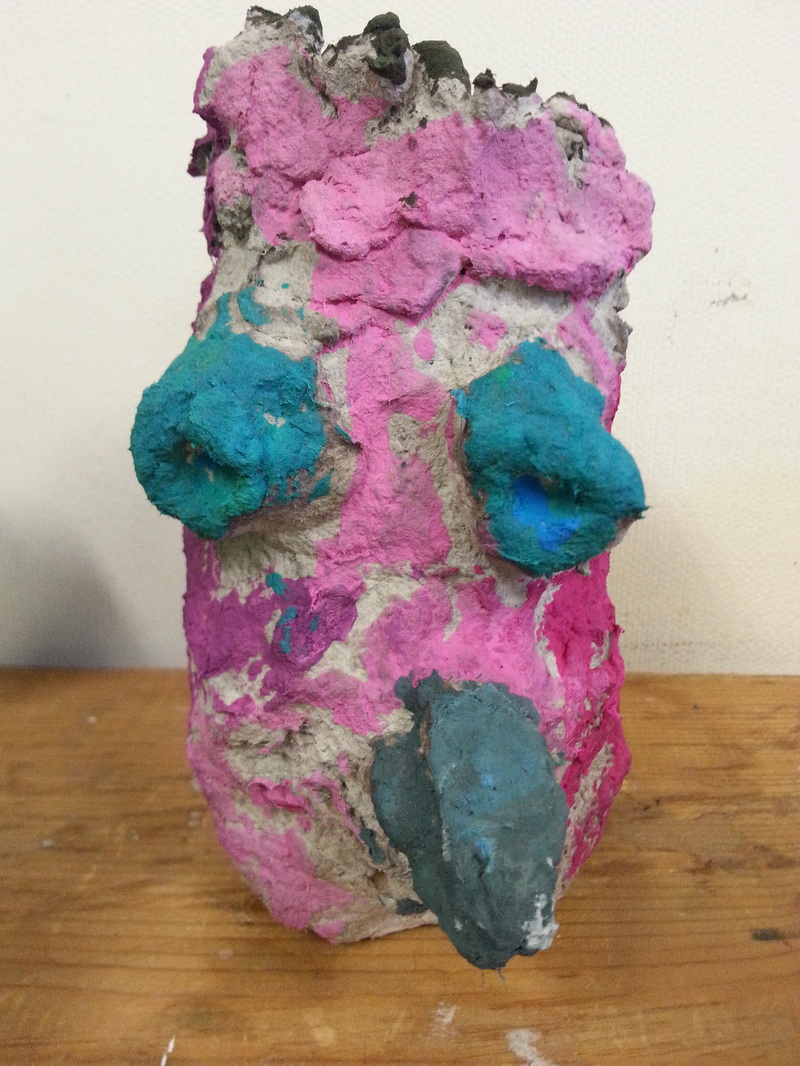
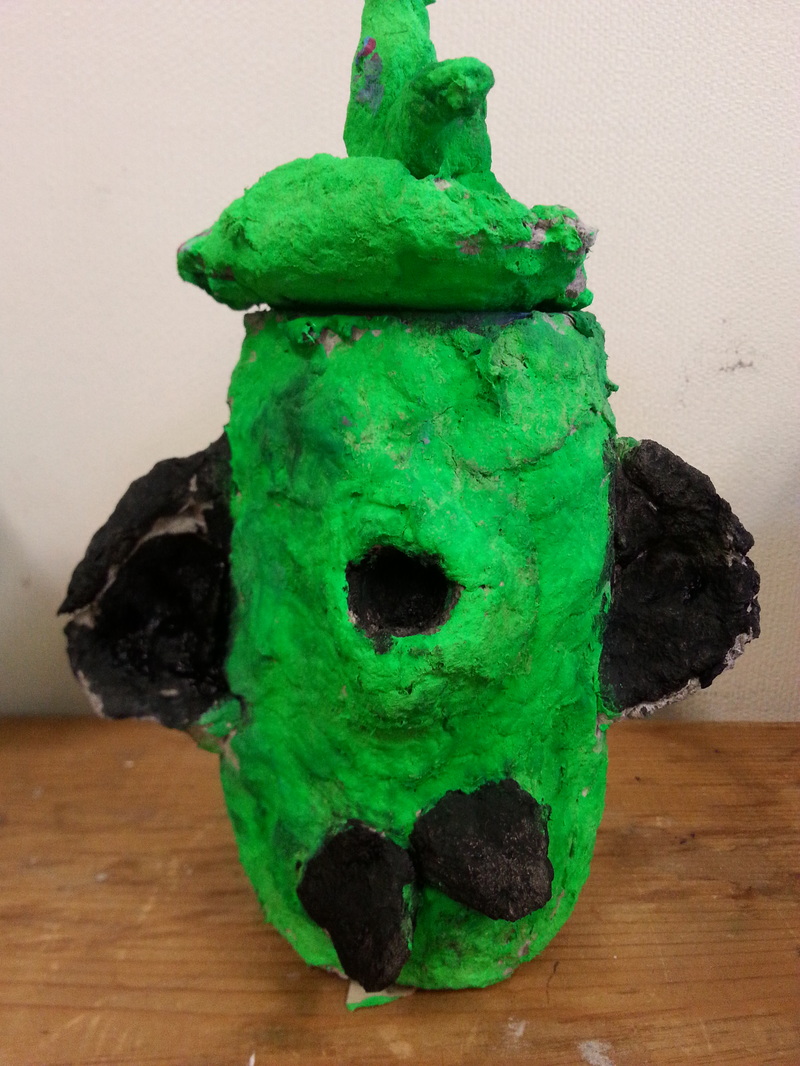
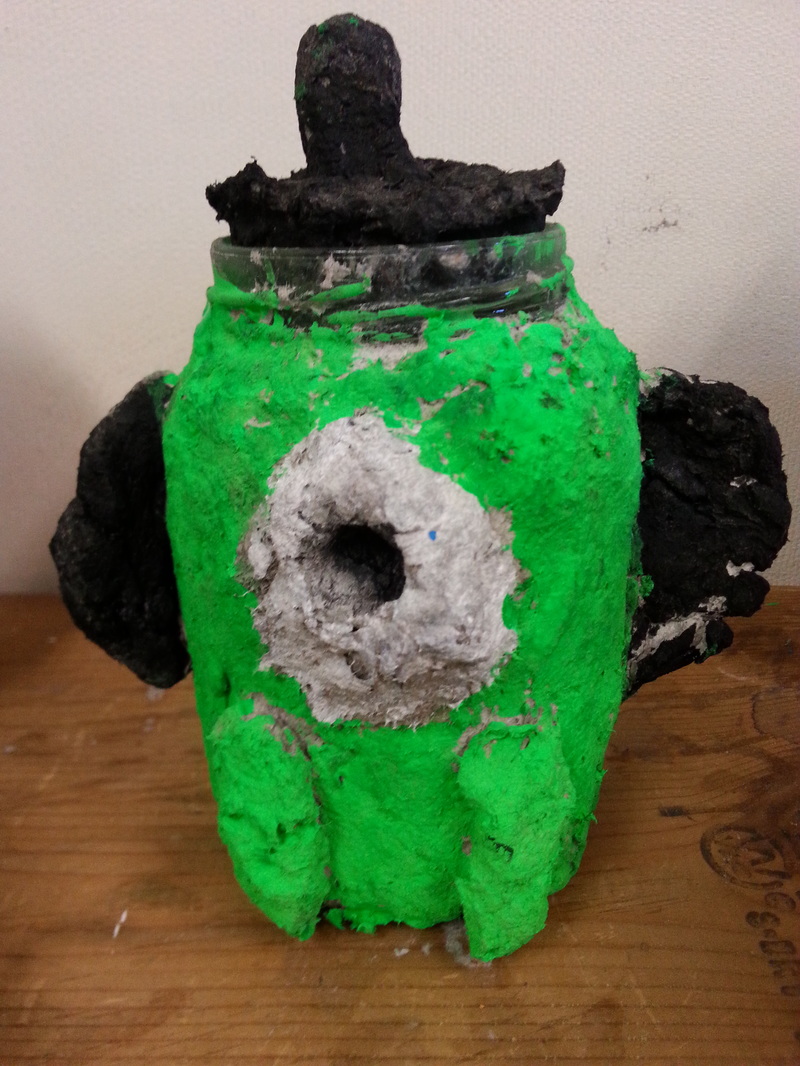
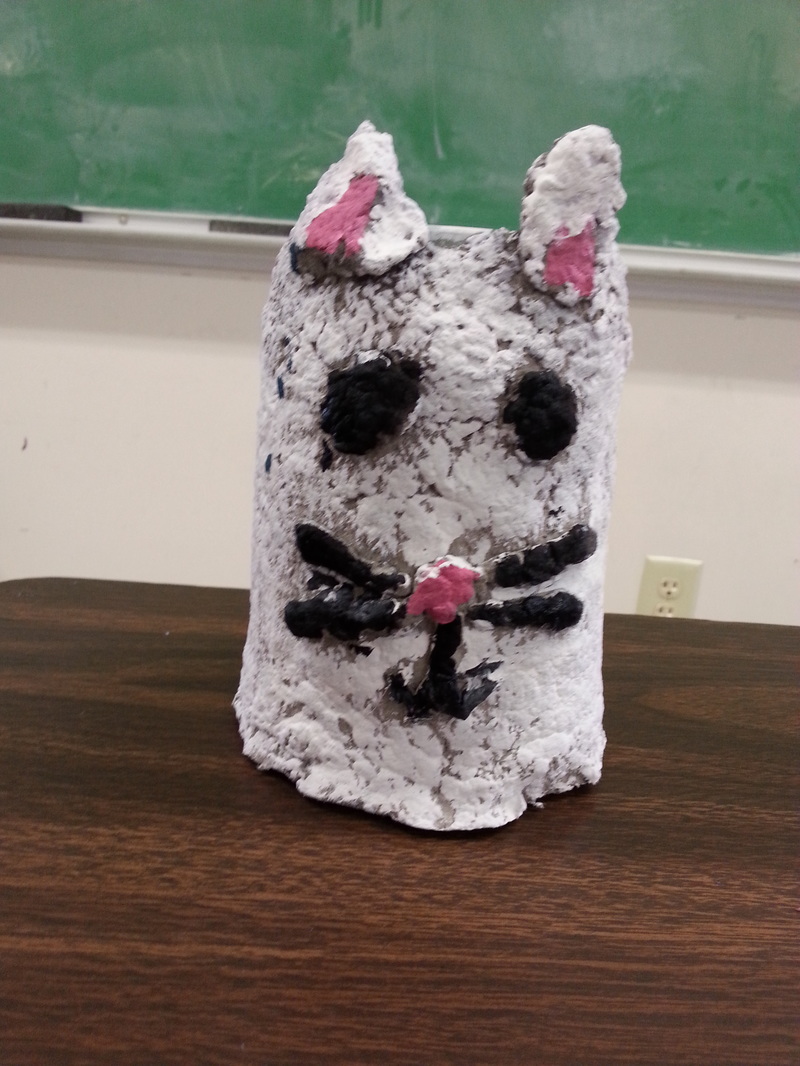
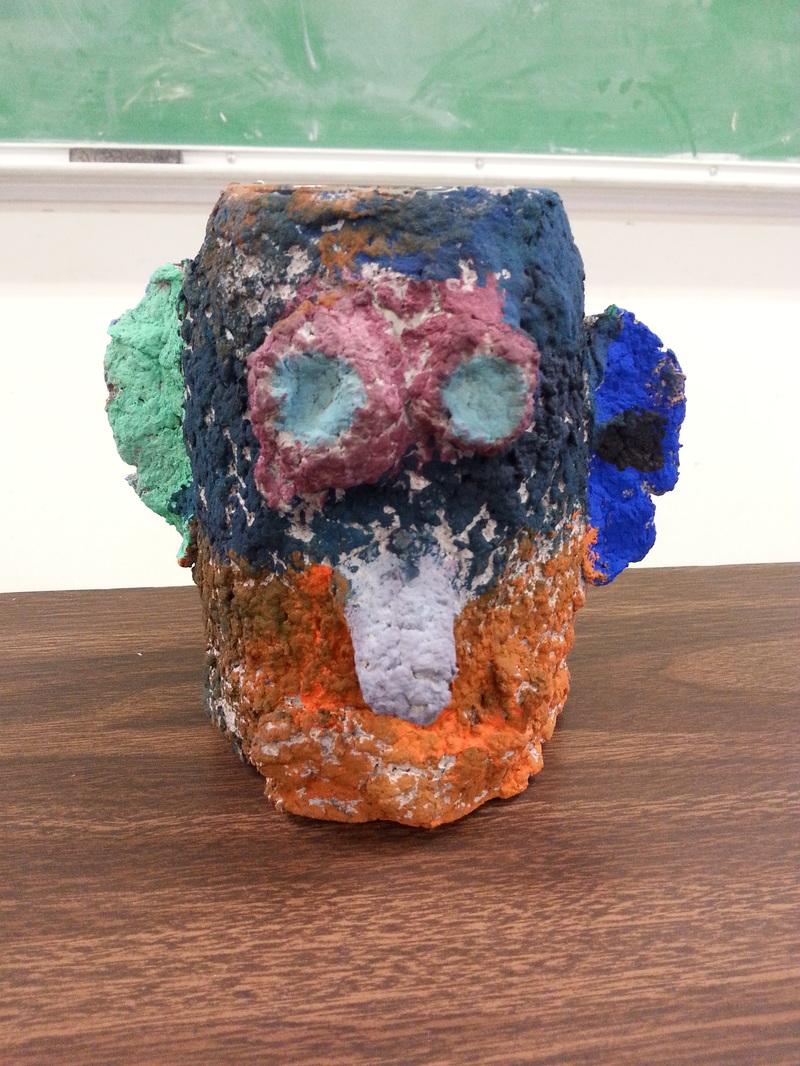
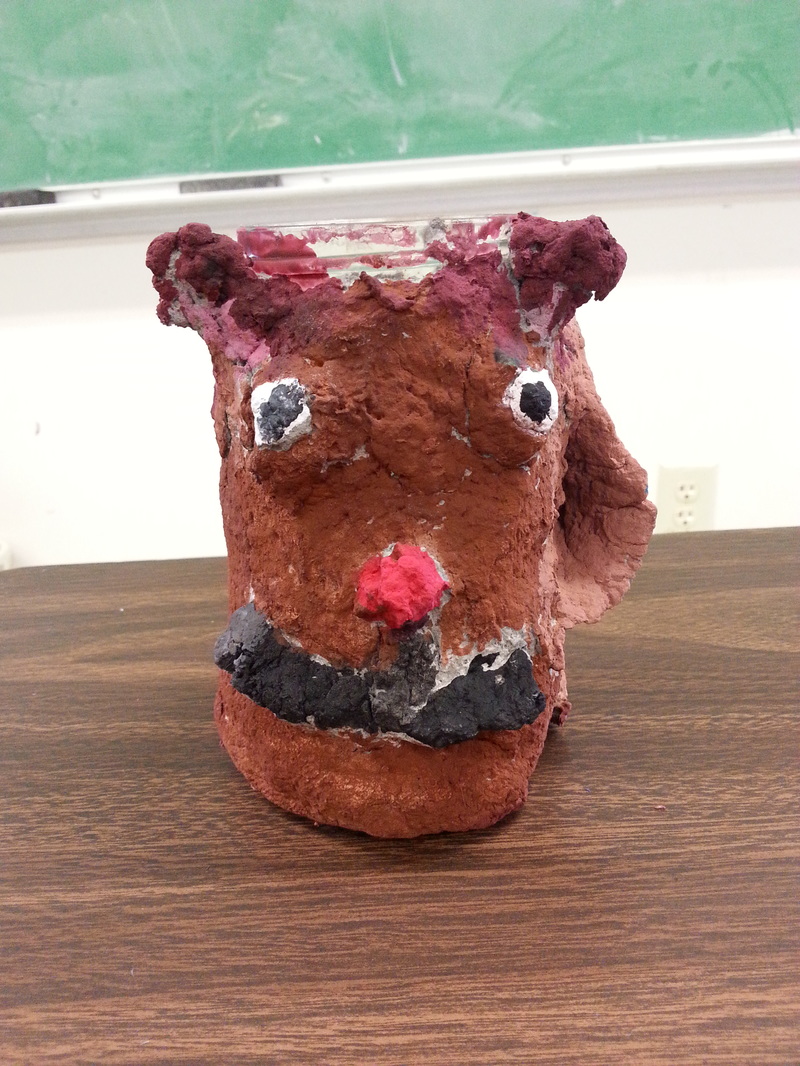
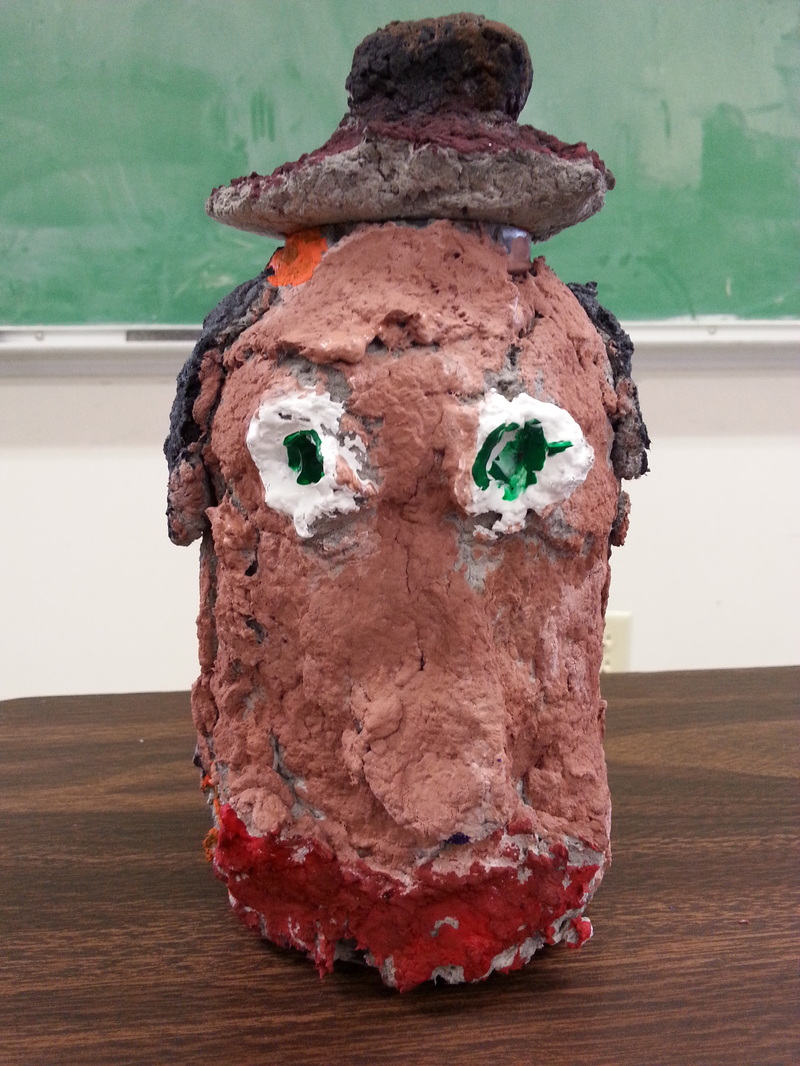
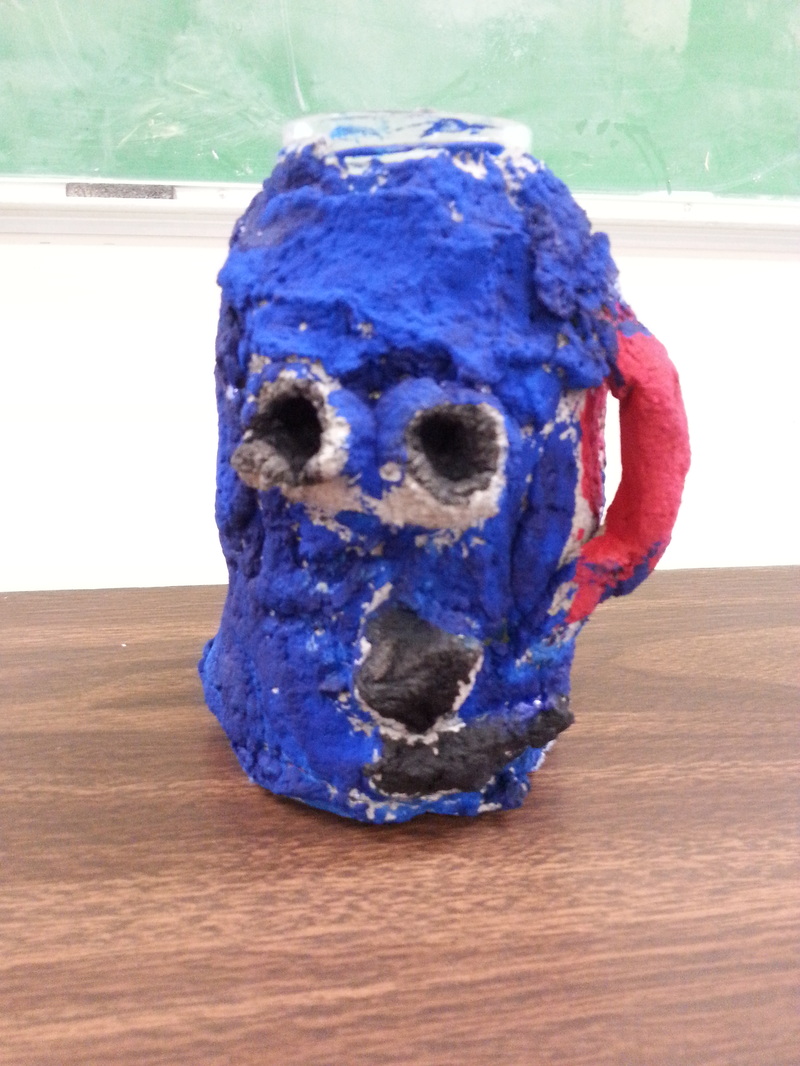
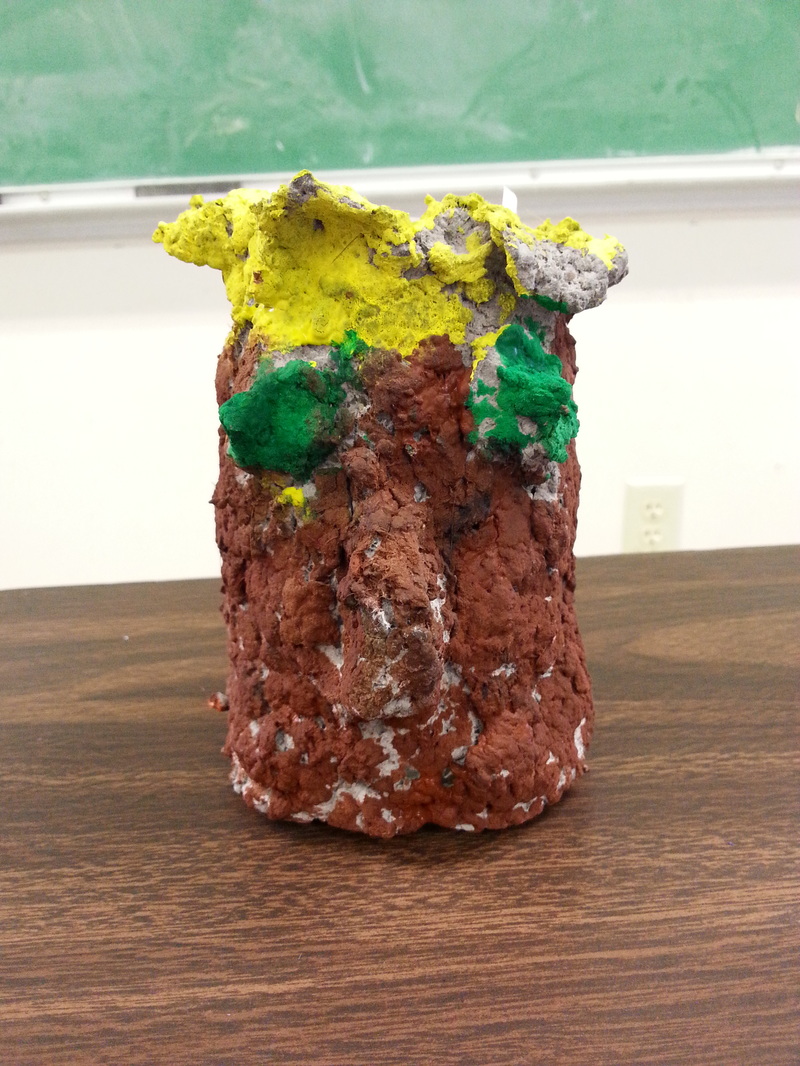
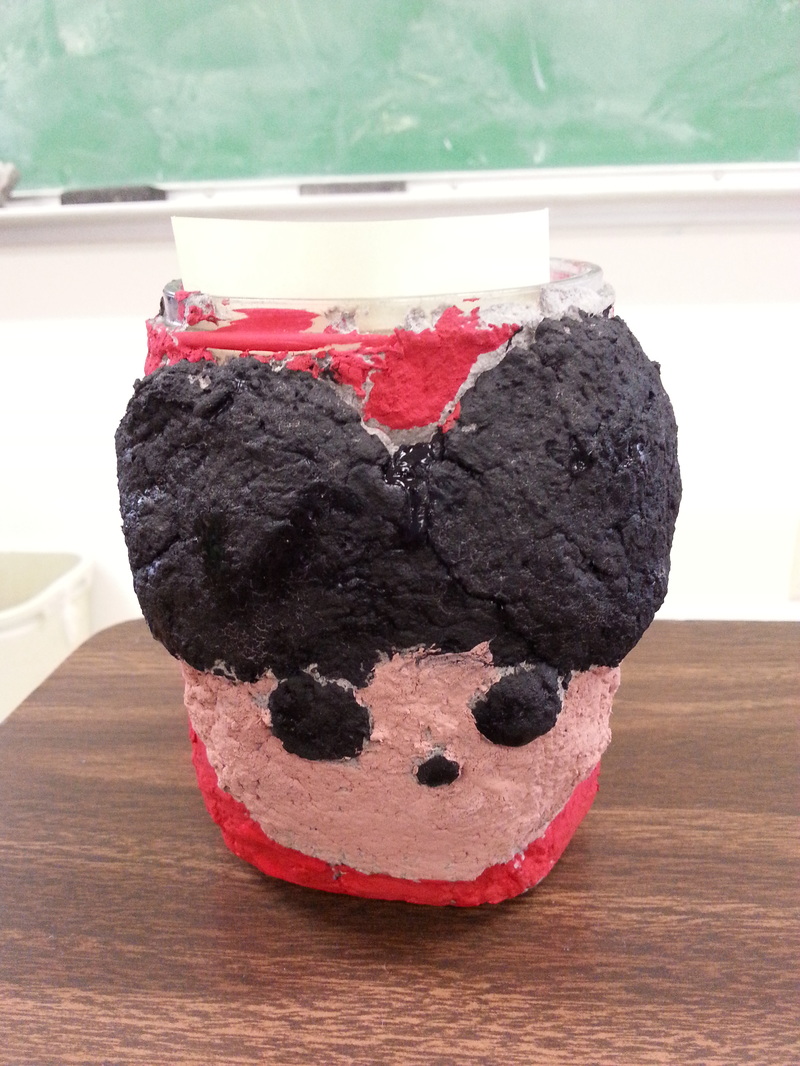
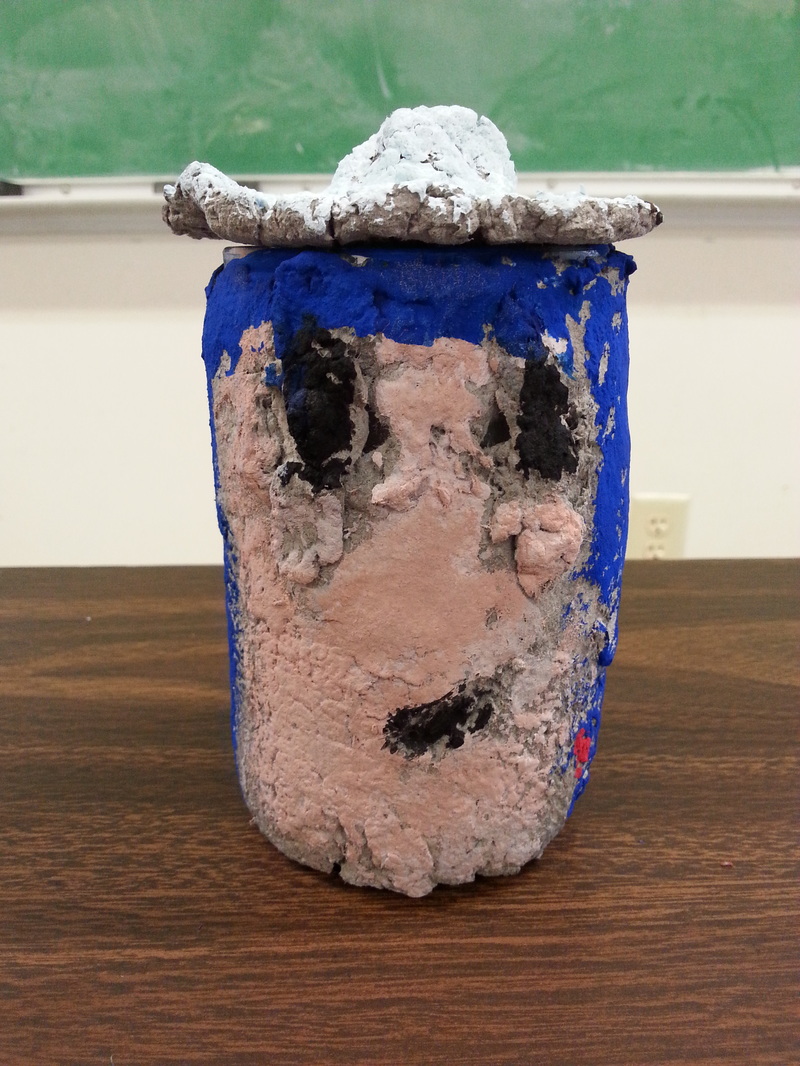
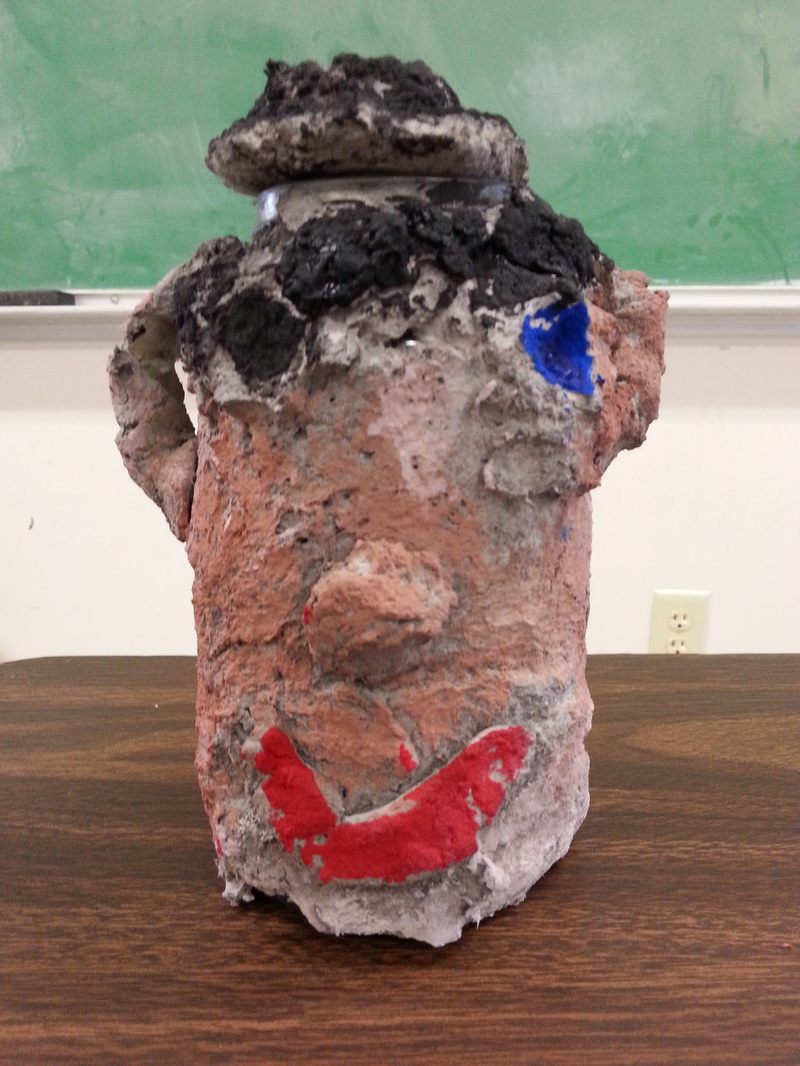
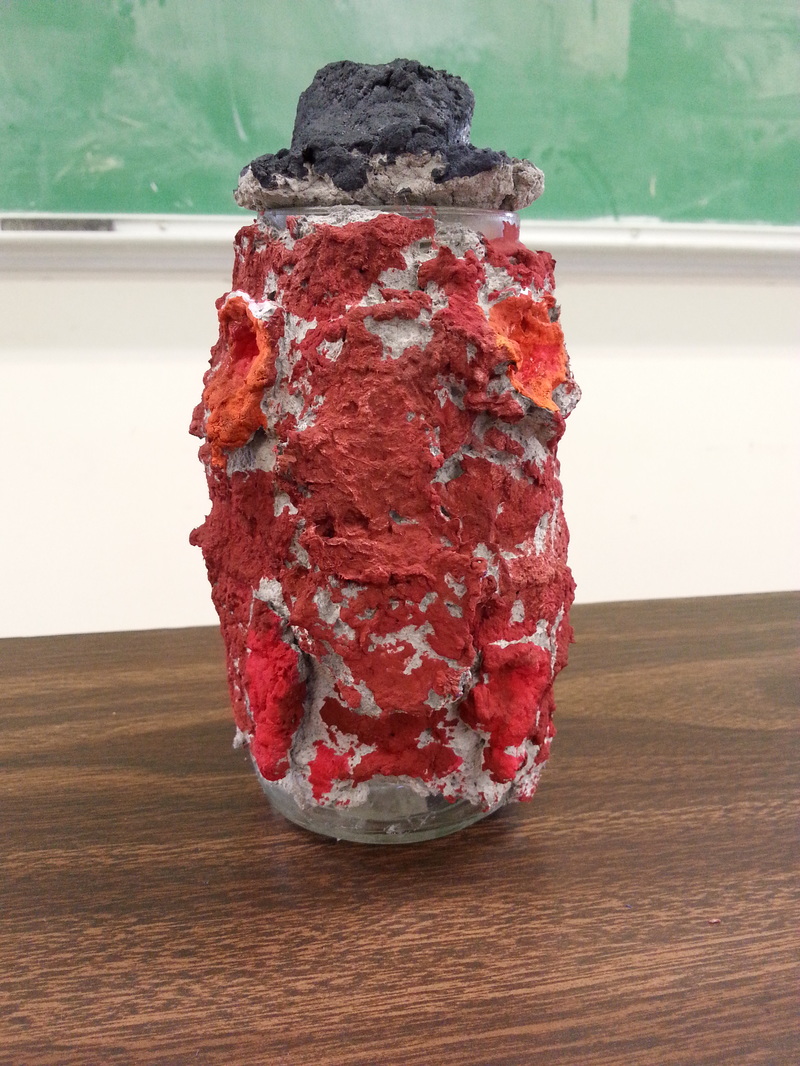
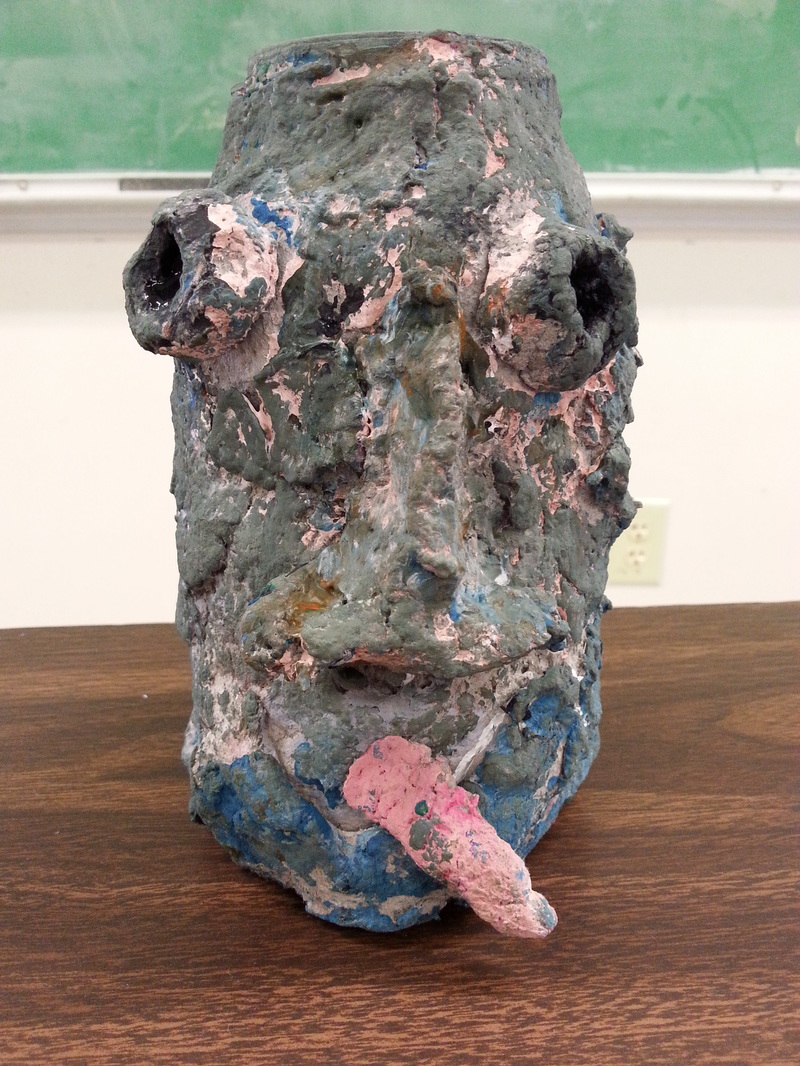
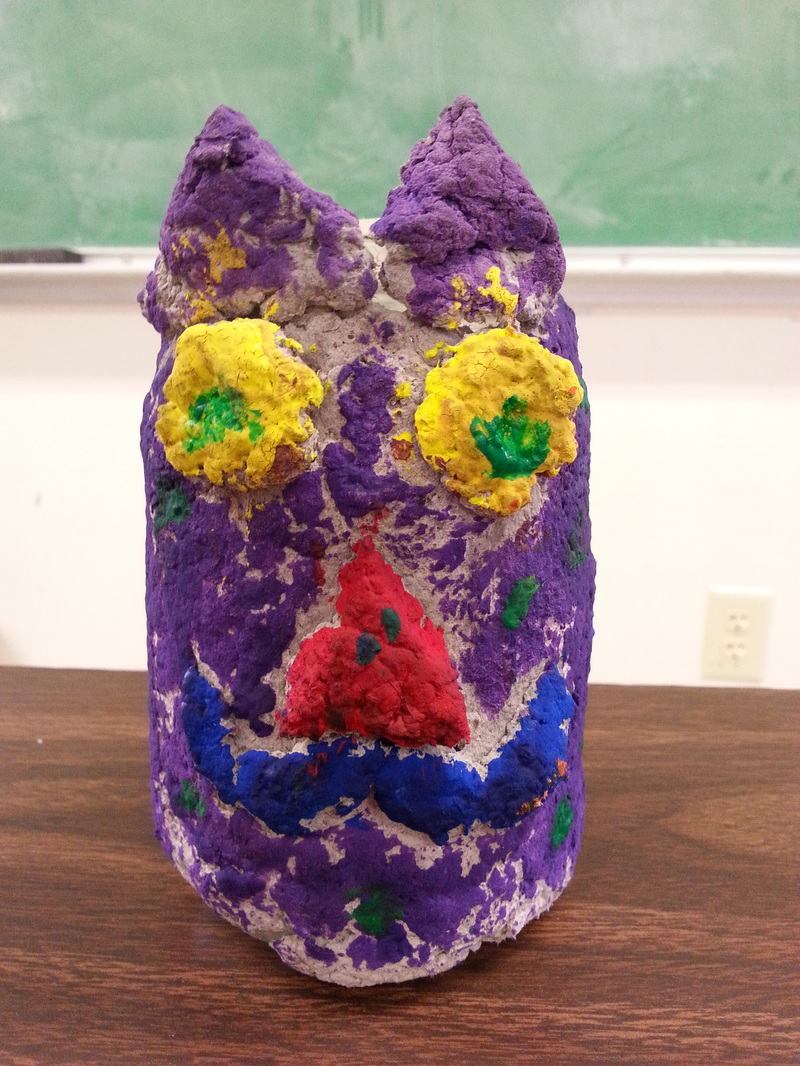
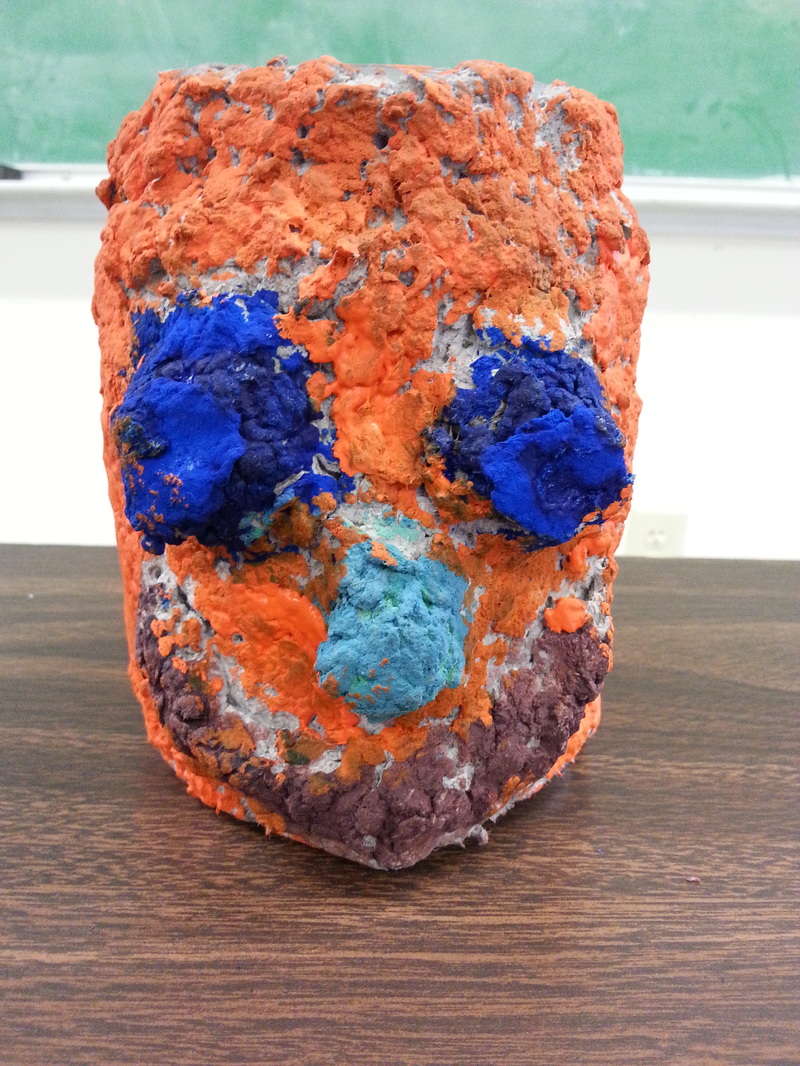
Unit Overview: Students will learn about artist Johanna Basford in order to create their very own personal coloring page. Students will learn about form, pattern, and motif in order to create their own coloring page. Students will based their coloring page on the form of an animal. Students learned about artist Johanna Basford and created their very own coloring page. Students learned that by using a basic form and adding pattern, motif, and design, one can create a unqiue and creative coloring page.The students coloring pages were combined to create a class coloring book that was sent out to parents and teachers in a pdf format. Students received their original coloring page and access to the pdf copy for unlimited print outs. (For students or schools who may not be able to afford a yearbook, this is a fun way to create a class yearbook and commemorate each student's individuality.) 5th Grade Coloring Pages 4th Grade Coloring Pages 3rd Grade Coloring Pages Unit Overview: Students will learn about painted paper collage in order to make their own painted paper collage monster. Student will study the artist Eric Carle and discuss how and why he create his own papers instead of using common construction paper. Students will then create painted papers for their monsters. Students will draw and write about their monster. Students will then create their collage monster using painted paper. This is one of my favorite lessons. As a child, I remember doing painted paper collage all the time. I enjoyed nothing more than making my own paper to create wonders and magical things that no one else had ever made before. I wanted my students to have this kind of experience. But, because Eric Carle lessons are so overdone, I also wanted my students to not only create their own papers, but their own creature to turn into a collage. Therefore, we have this project of collage monsters. To create a sense of community and sharing within the classroom, students made painted papers not only for themselves, but for all of their classmates. That way, students were not pressured to make tons of papers, students did not get upset were papers did not turn out the way they planned, and students got to have a piece of others artwork integrated into their own. Here are some of the painted papers. They are gorgeous! Next, students were asked to create a "blueprint" of their monster. They had to draw, color, and write about their monster before starting to cut paper. Students were asked to answer these three questions. 1. What is your monster's name? 2. What does your monster do? 3. What makes your monster special? This helps students to really focus on what their monster is about. It is also nice to integrate ELA and writing into the classroom. It allows the students to use all the skills they are learning in the classroom and apply them in a "real-life situation". (Please, avoid spelling everything for the kids. They will ask for help. Rather, sound it out with them. More often than not, they know how to spell it, they just need some reassurance.) I got some of the funniest monsters I've ever read. I got zombie bunnies, lovable monsters, scaredy monsters, killer monsters, vampire monsters, monsters that eat people, dogs, cats, houses, etc. I think this is a good exercise to allow these students imaginations to be creative and spontaneous. Here are some of the cool monsters. Students then spent a class period cutting out all of their pieces for the collage. I had them place their drawing of their monster beside them. Every time one of them would shout, "I'm done!", I'd have them assemble their monster to make sure he/she wasn't missing anything. More often than not, a leg, arm, nose, tail, tooth, or eye was missing. I left that day only to cutting. The next class period, students glued down all their monster pieces onto a colored background of their choice. They chose a color that would help their monster to "pop-off the page". This is a time-consuming, messy, and laborious project. It took me a 4-5 classes to complete with my students. However, I think the results speak for themselves. I couldn't be prouder of these delightful 2nd graders. Unit Overview: Students will learn about sculpture technique and make celluclay owls. Students will explore a new material and discuss the challenges and successes they experienced. Students will paint their owls using bright colors. Students at this school did not have access to clay or a kiln. This makes doing 3-D 'ceramic' projects very hard. I, personally, am not a big fan of "Model Magic" or air dry clay bodies. Coming into this school, there was an abundance of one material called "Cellu-clay", a paper-mache like medium that smears on like clay. Since the resident art teacher at this school wished to use up this material completely, I planned my 'ceramic' projects for my students around this material. Because "Cellu-clay" needs a base solid structure in order to build, I planned for my students to make owls using a foam egg base, "Cellu-clay", and paint. Students were asked to explore this material and have fun. This material is challenging and difficult for first grade. And, overall, the students handled the material beautifully. 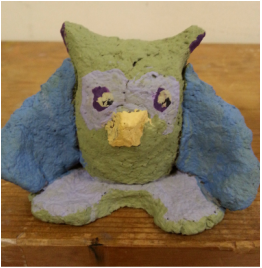 My teacher example Unit Overview: Students will learn about ceramic techniques by creating a pinch pot ladybug. Students will learn about the parts of a ladybug, what a ladybug does, and read "The Grouchy Lady", by Eric Carle. Students made little ladybug pinch pots as an introductory lesson to clay. These kindergartners were so excited to first use clay. Now, because kindergartners aren't great at scoring and slipping, I have two solutions to helping them make great ladybugs. 1. Use model magic or airdry clay. This stuff sticks well without needing all that fancy clay technique and works just as well. (I usually don't recommend model magic, but for the little ones who have trouble with dexterity and strength in their hands, model magic really works the best.) 2. If you have clay and want to use it, expect disembodied ladybugs. It's just going to happen with the wee ones. That's why they made ceramic glue! Loctite has this product called 60 second universal glue. And as long as the edges of the bisque-fired clay still fit against each other, you can use this product to reattach any broken clay pieces. (Some people use hot glue, which is messy and it never holds. This stuff works like magic as long as the pieces fit perfectly against each other.) But, having nightmares of little ones with fingers glued to each other eternally, I decided to go with the model magic. So enjoy "the loveliness of ladybugs". Fun fact: a swarm or group of ladybugs is called: a loveliness of ladybugs 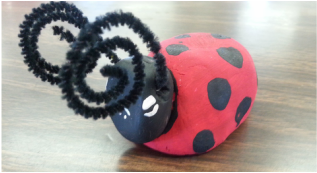 My teacher example Unit Overview: Students will learn about face jugs from the South in the United States during the 1800's. Students will examine what makes a face jug different from other jugs in history. Students will create their own face jar based on the face jugs of the South during the 1800's in order to demonstrate self-expression, creativity, and 3-D building techniques. Students made face jars once again, but in another grade. While the previous jars were at a third grade level, these are what the fourth graders came up with. Unit Overview: Students will learn about face jugs from the South in the United States during the 1800's. Students will examine what makes a face jug different from other jugs in history. Students will create their own face jar based on the face jugs of the South during the 1800's in order to demonstrate self-expression, creativity, and 3-D building techniques. Students at this school did not have access to clay or a kiln. This makes doing 3-D 'ceramic' projects very hard. I, personally, am not a big fan of "Model Magic" or air dry clay bodies. Coming into this school, there was an abundance of one material called "Cellu-clay", a paper-mache like medium that smears on like clay. Since the resident art teacher at this school wished to use up this material completely, I planned my 'ceramic' projects for my students around this material. Because "Cellu-clay" needs a base solid structure in order to build, I planned for my students to make face jars using glass jars (pickle, salsa, marinara, olive, etc. jars that had been collected over a long period of time), "Cellu-clay", and paint. 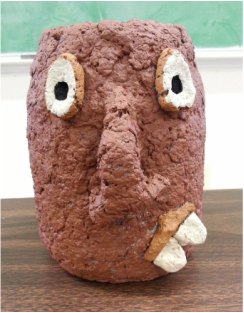 My teacher example This third grade class did an amazing job with a material they had never handled before. This material was difficult, gross, and messy at times. But it produced beautiful and creative works of art. The students succeeded in creative problem solving to make these incredible works. |