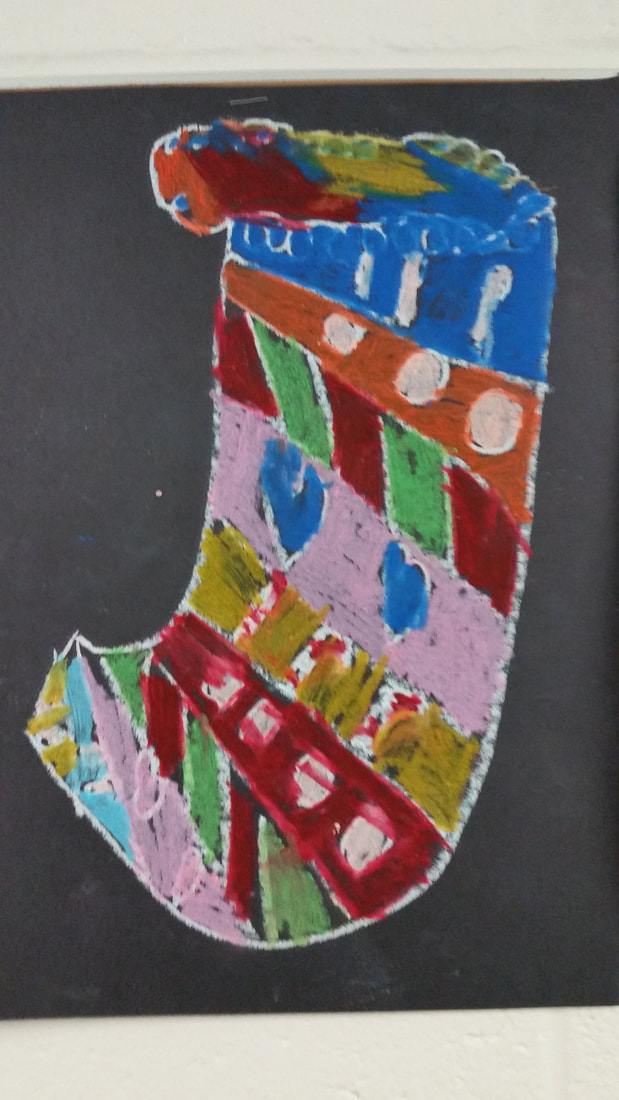
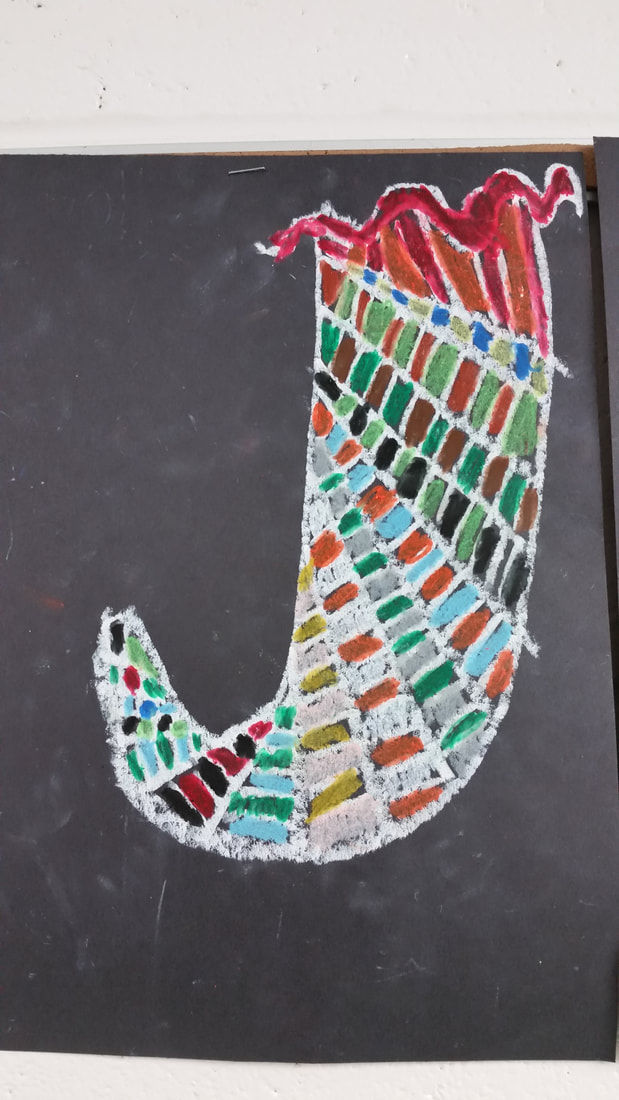
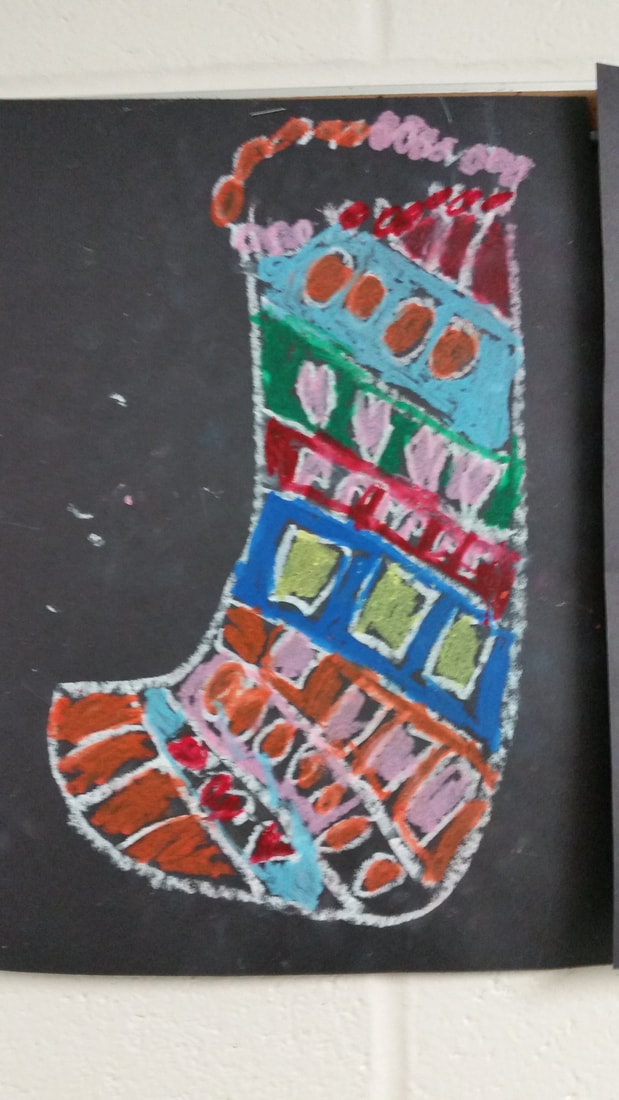
|
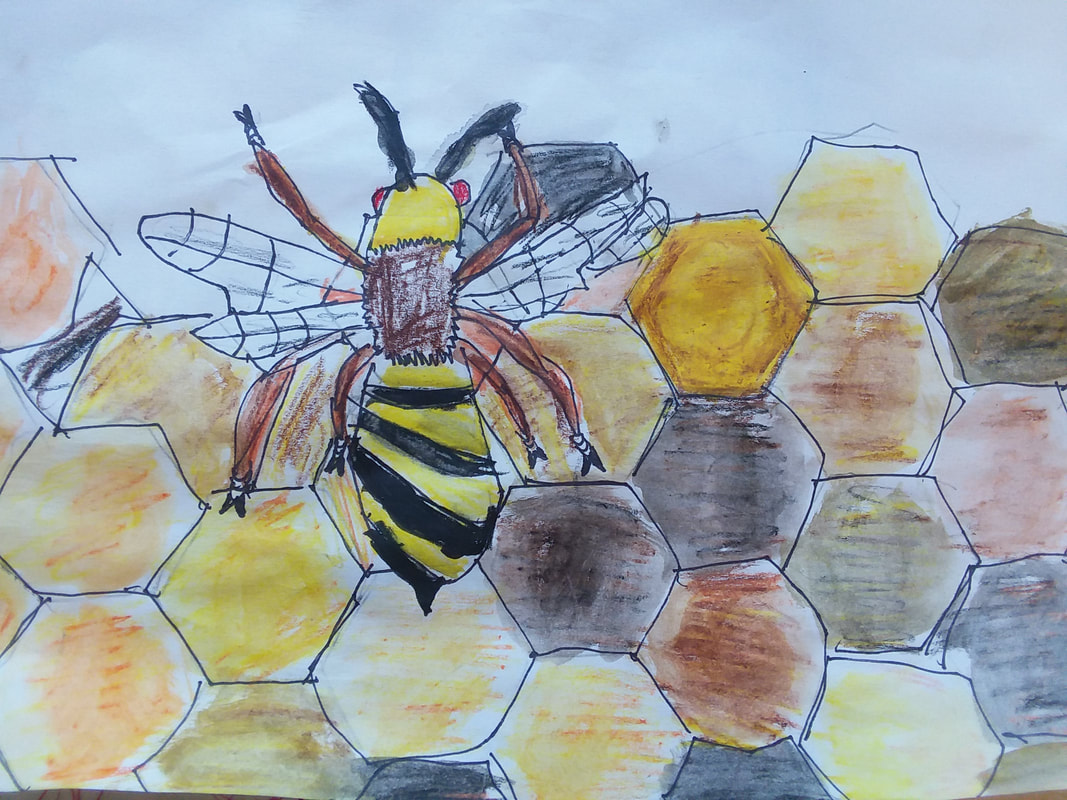
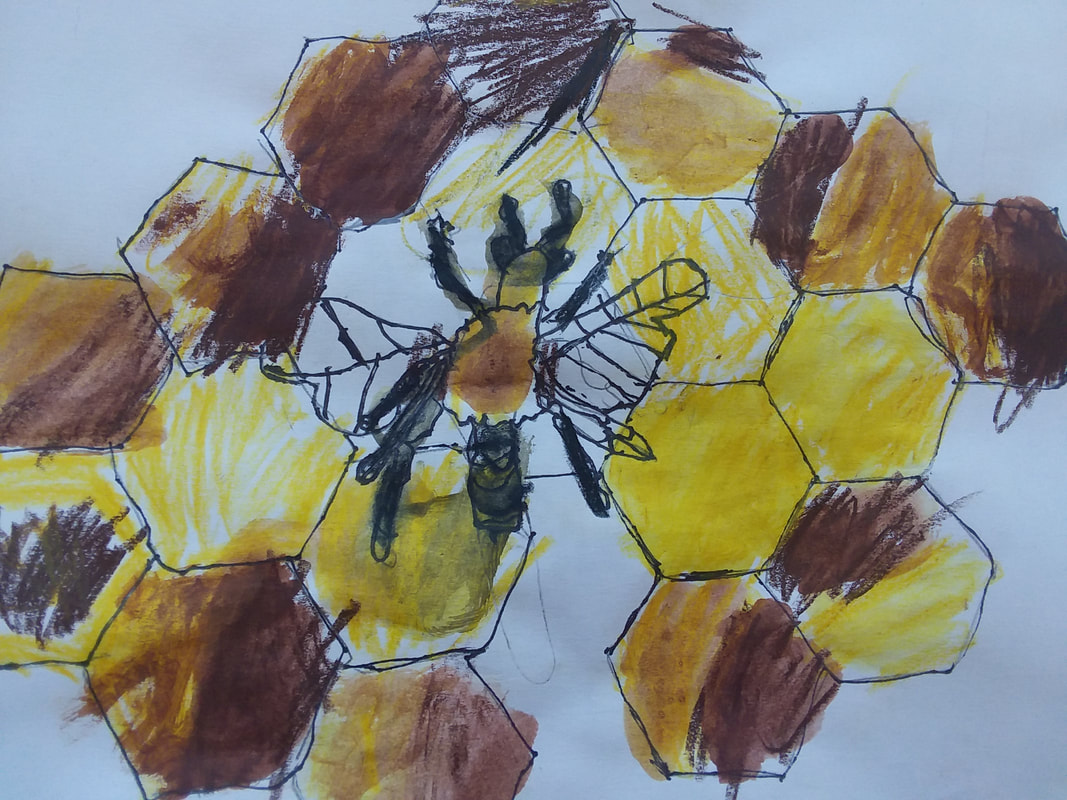
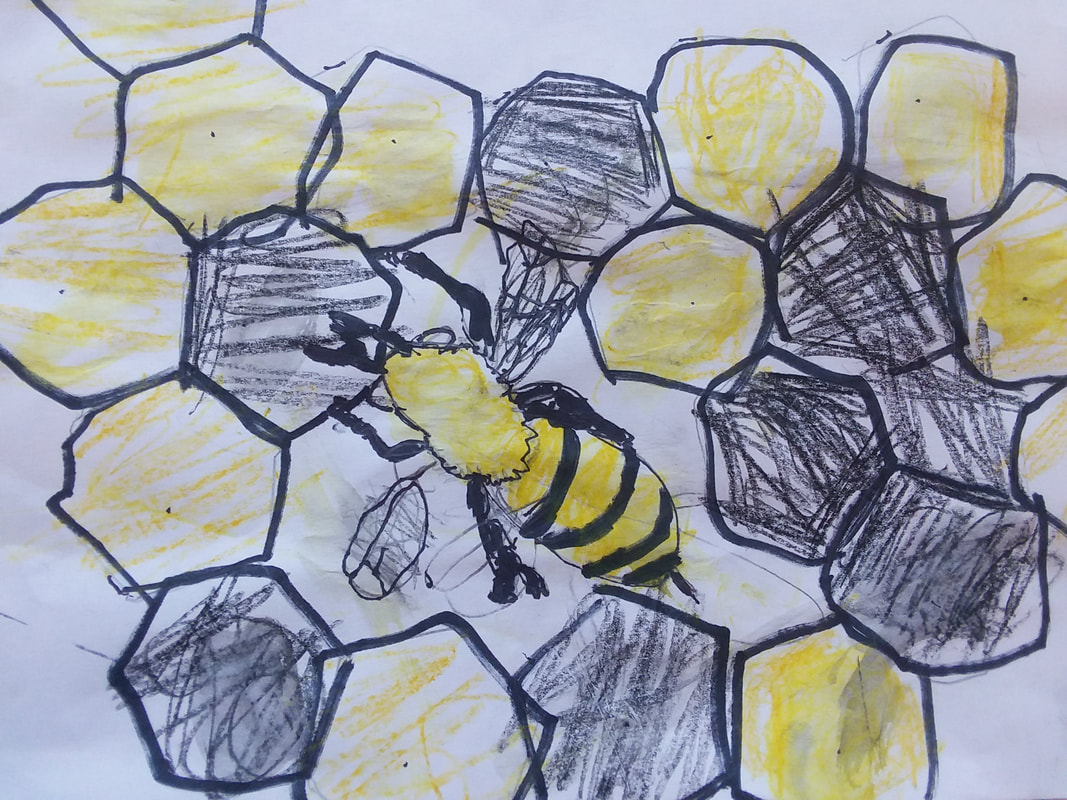
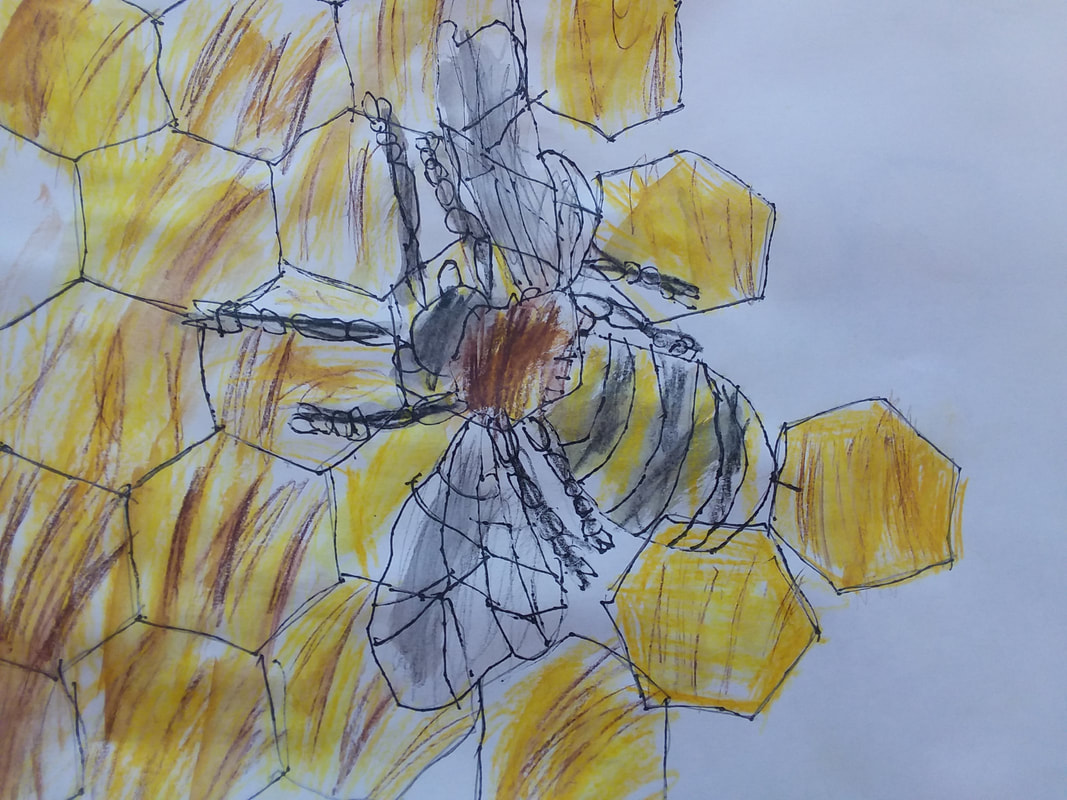
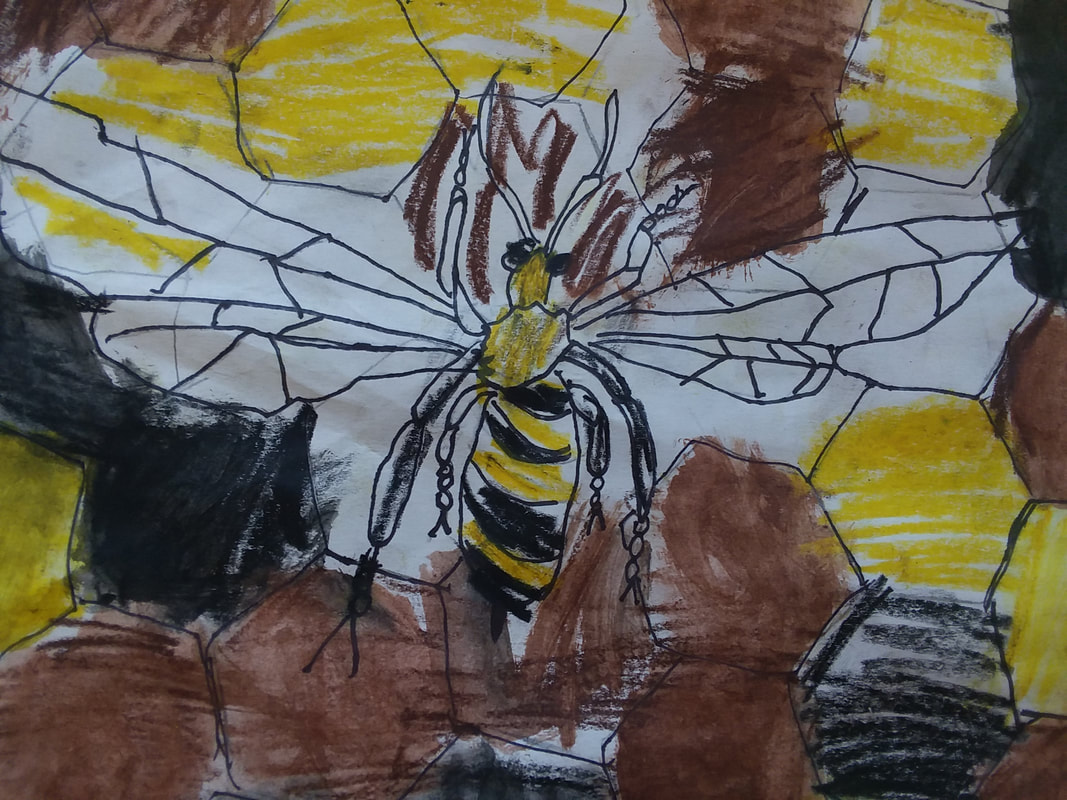
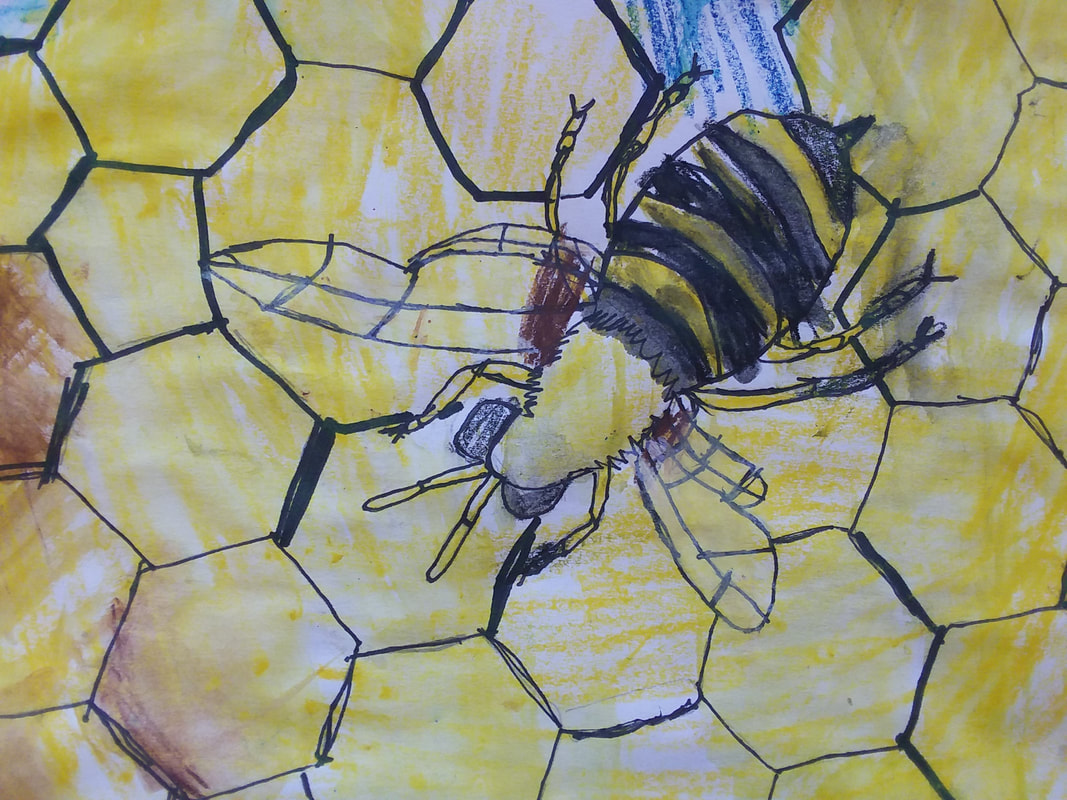
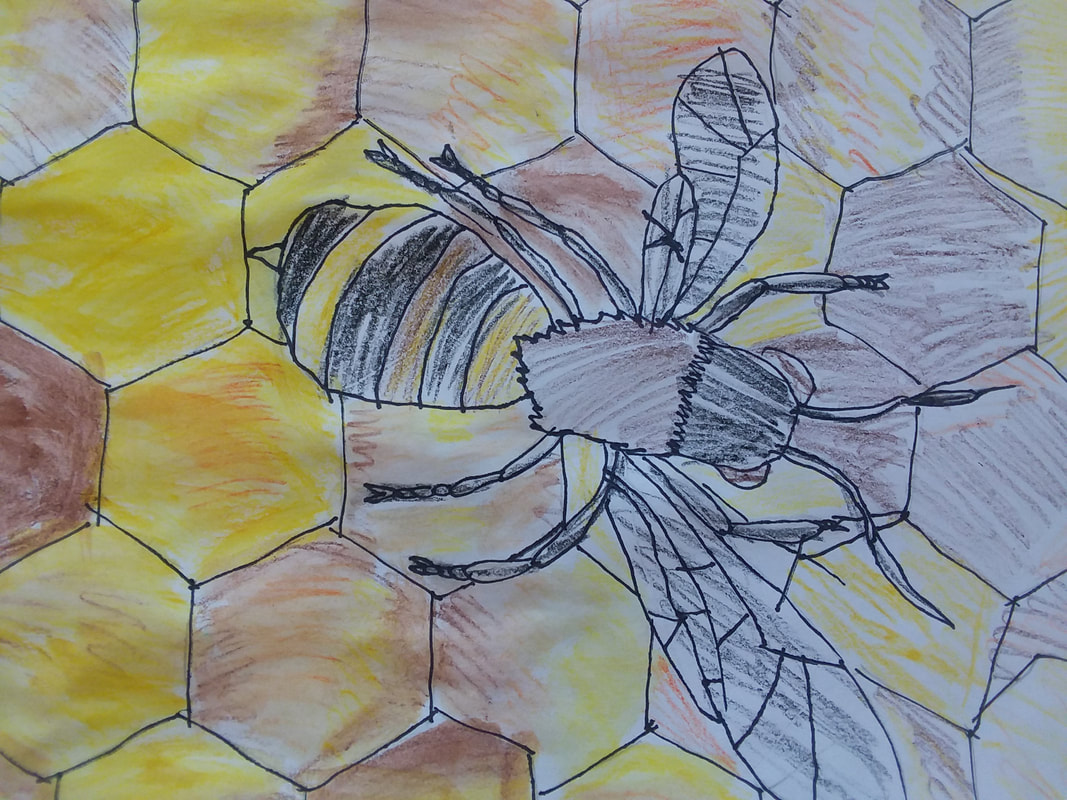
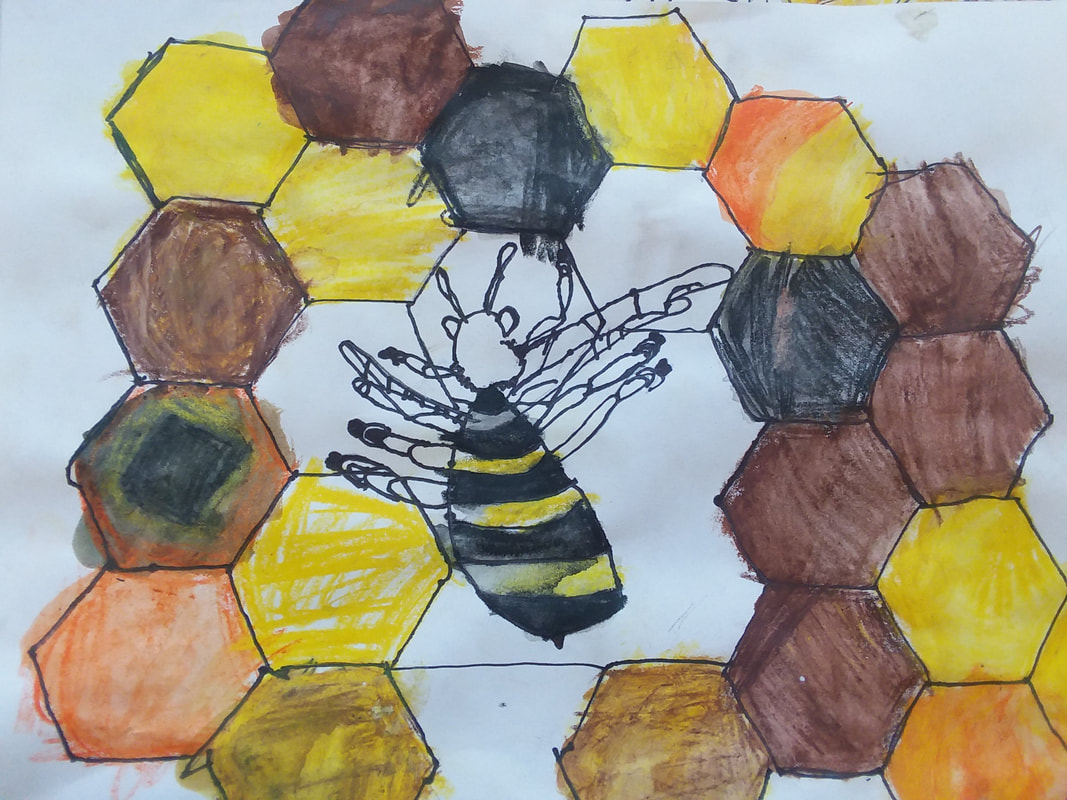
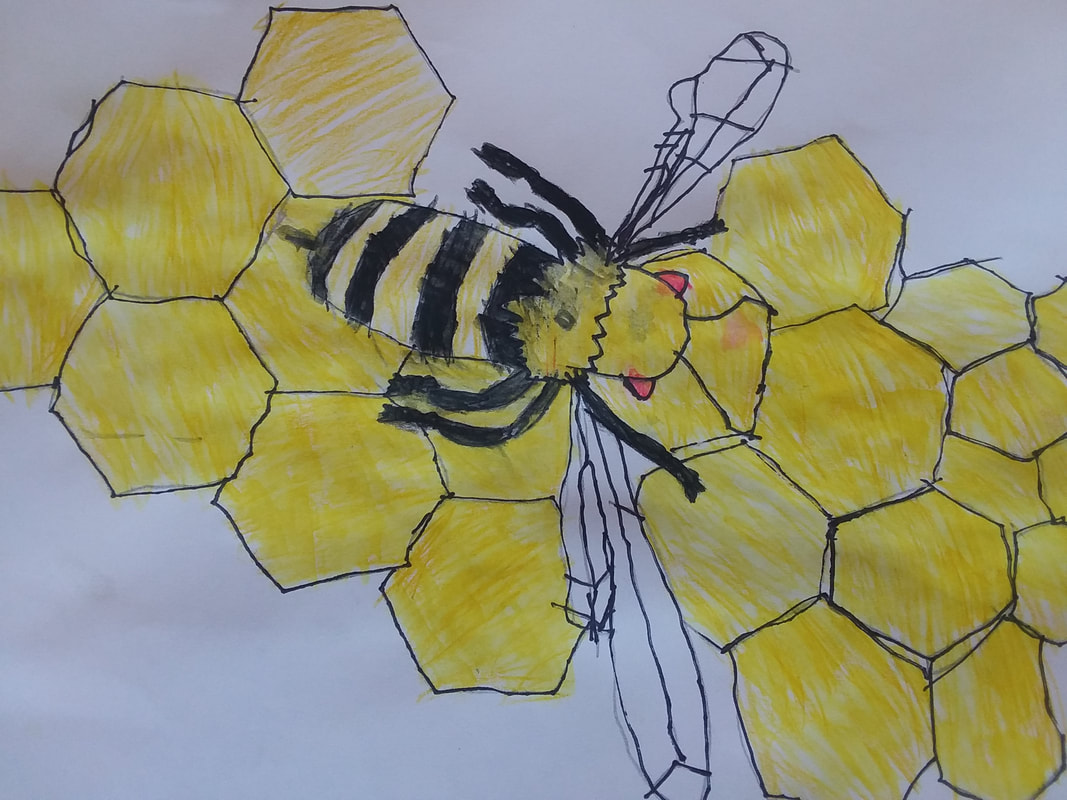
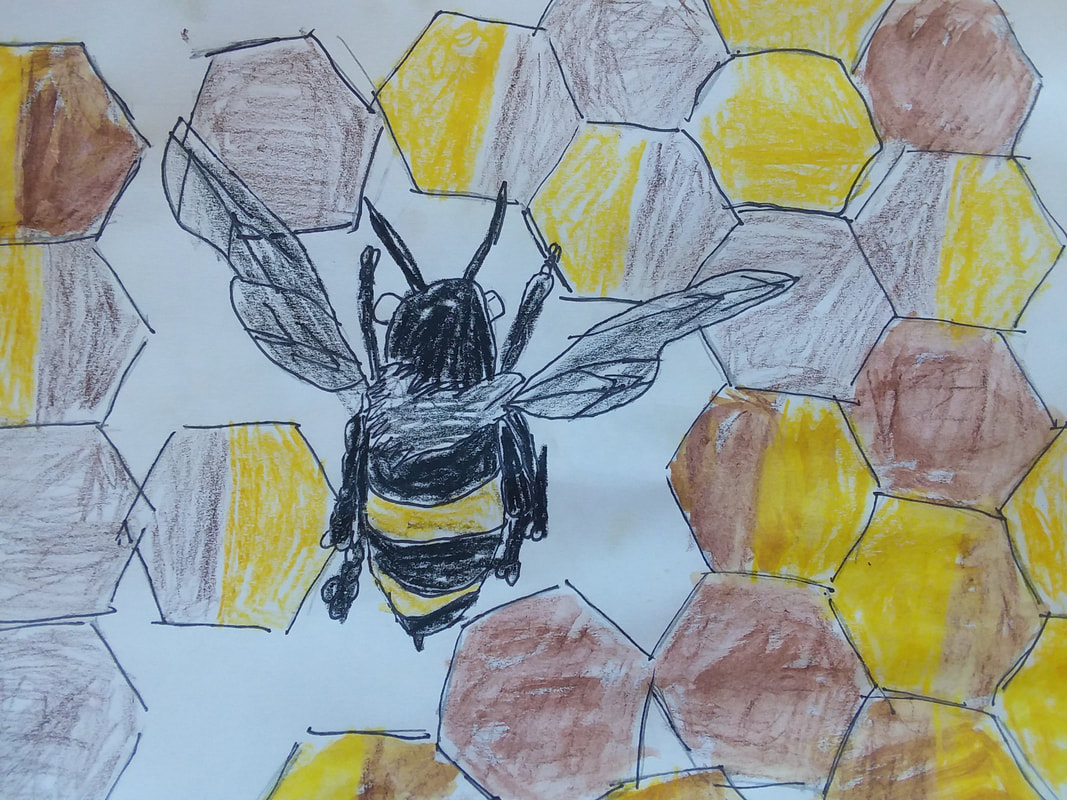
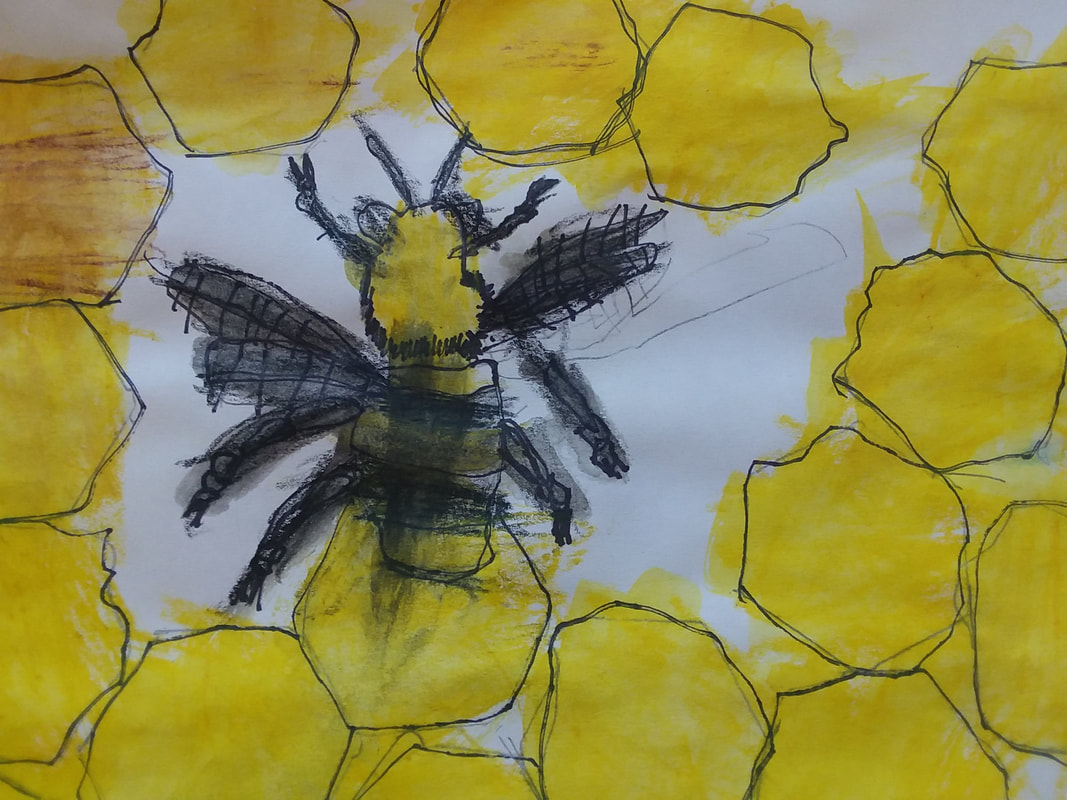
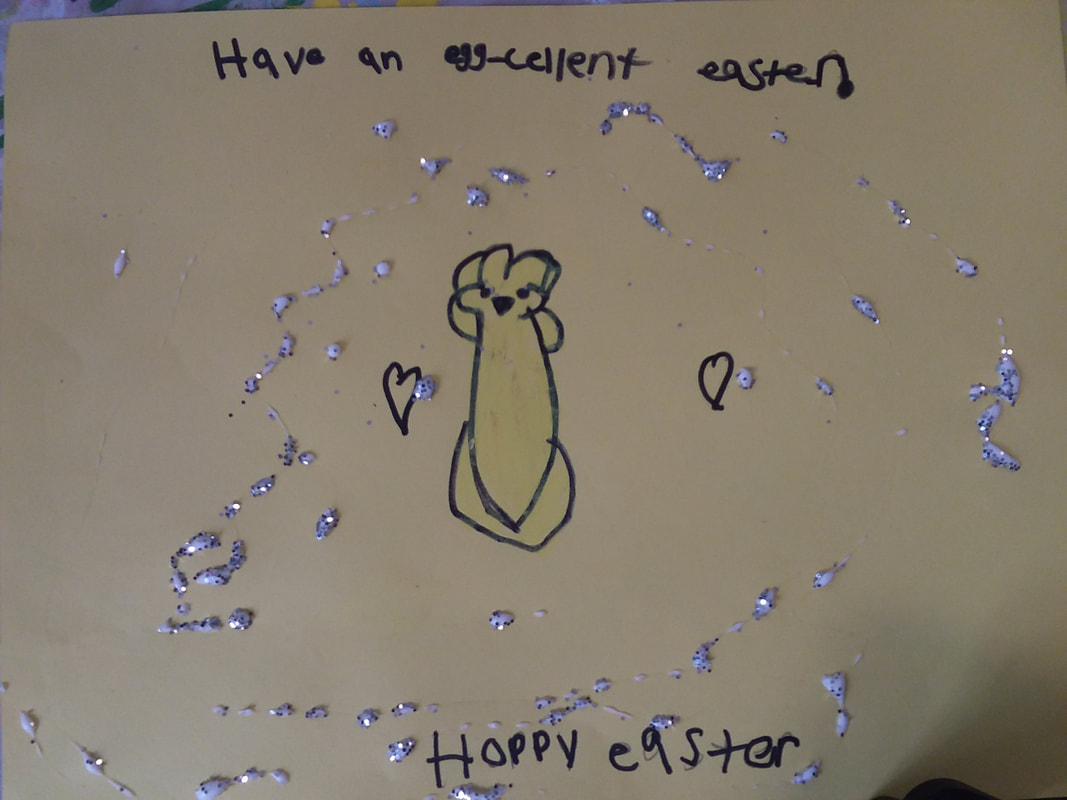
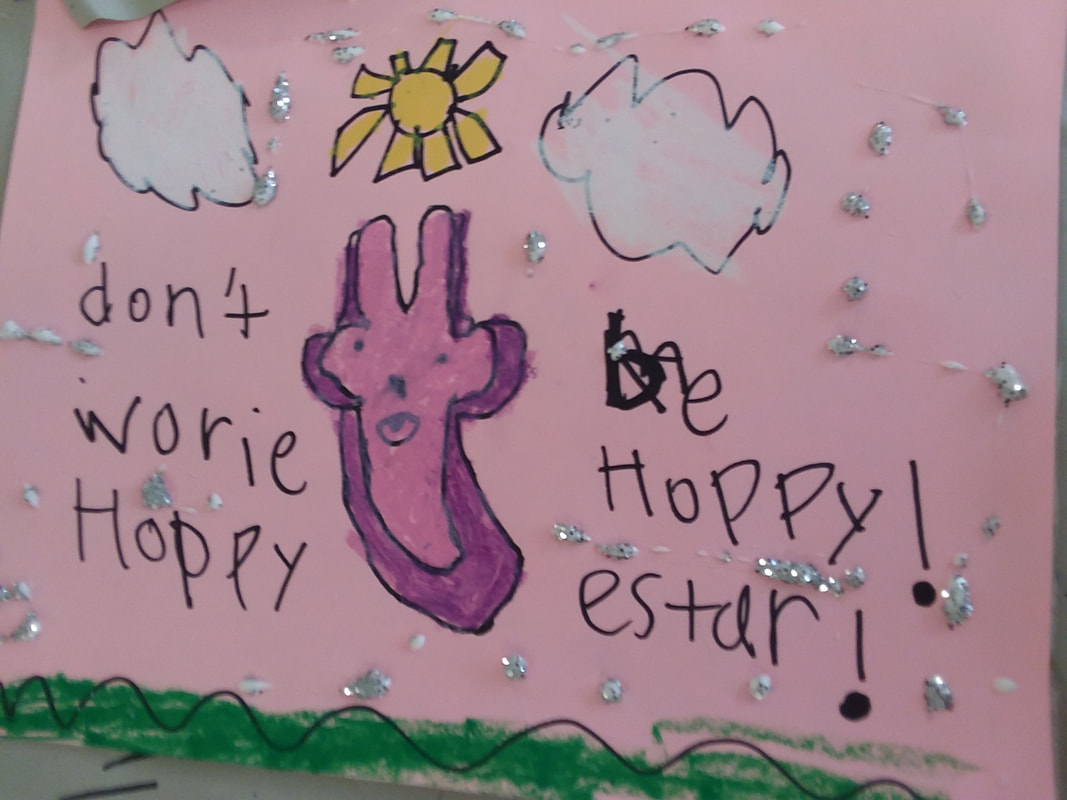
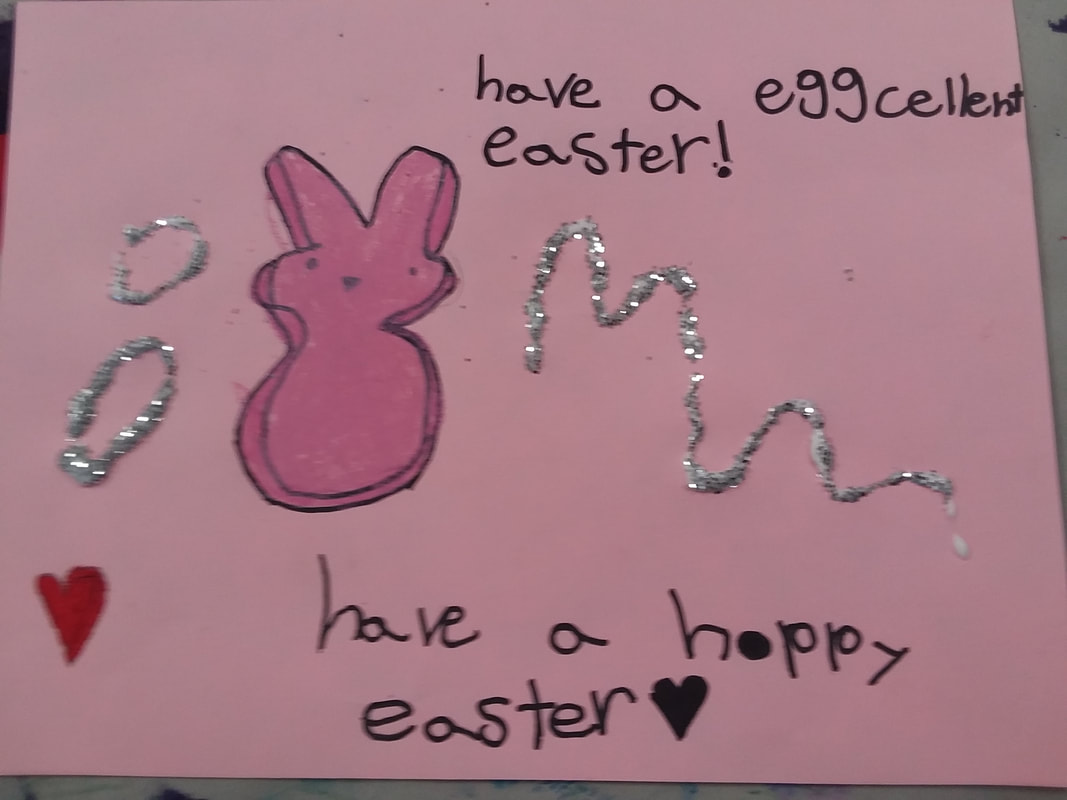
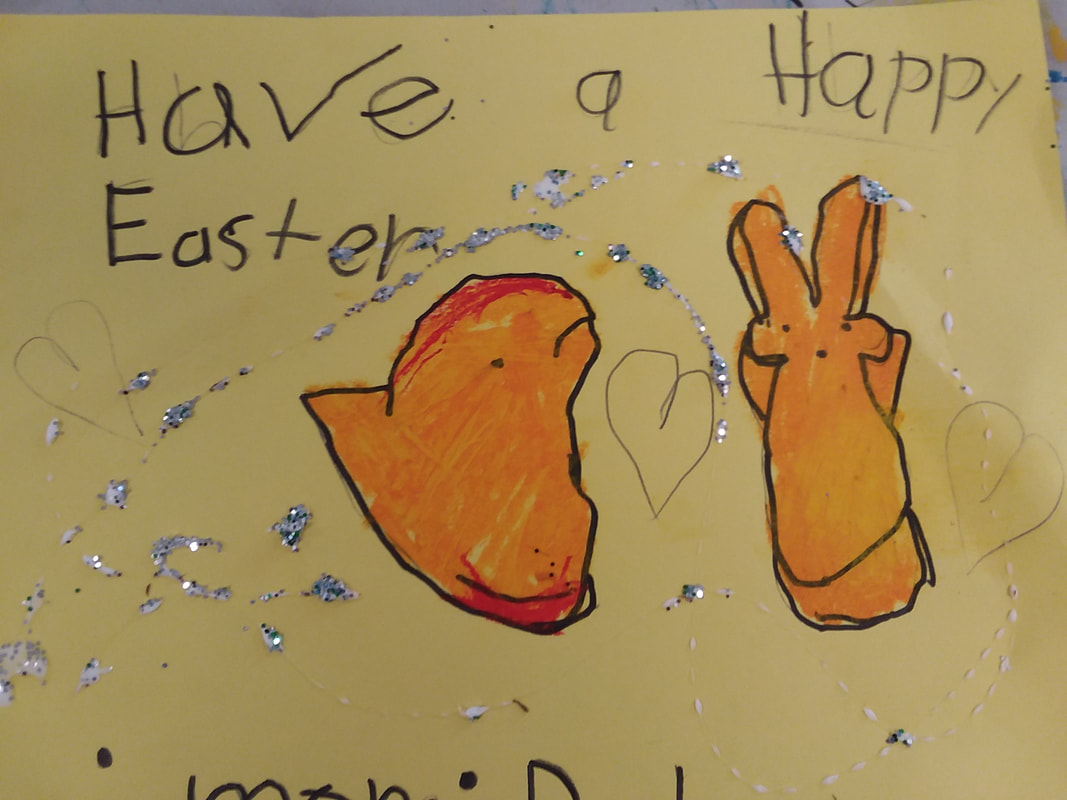
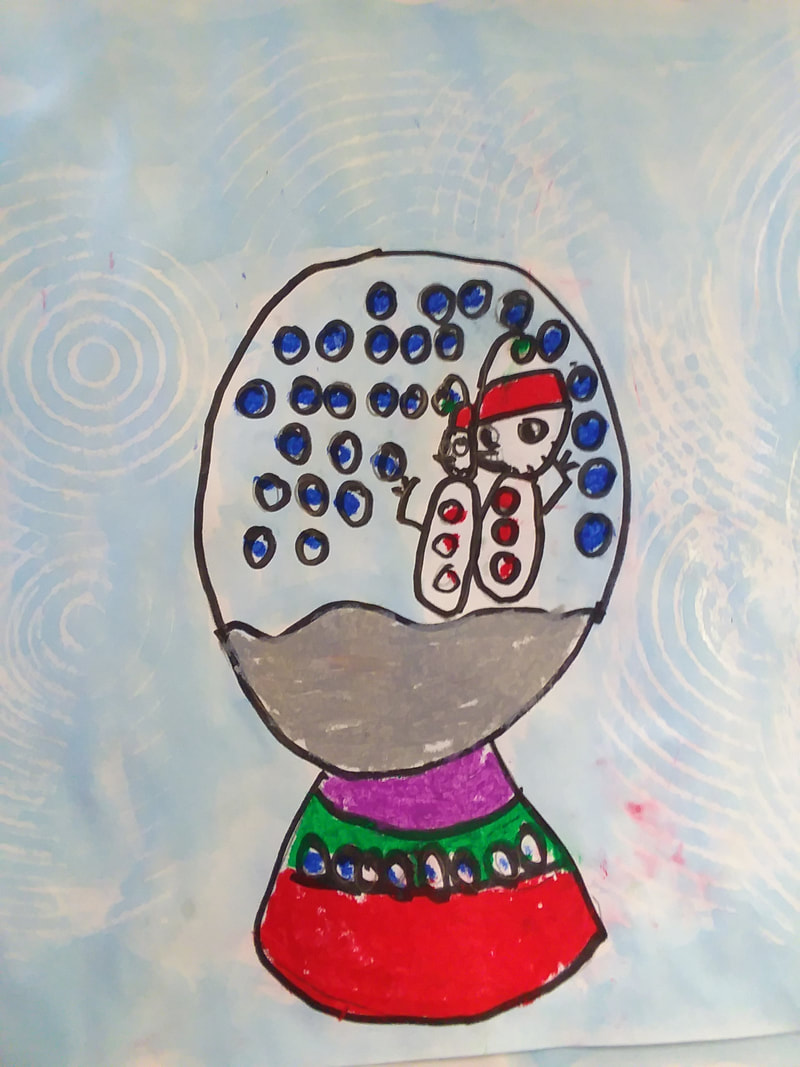
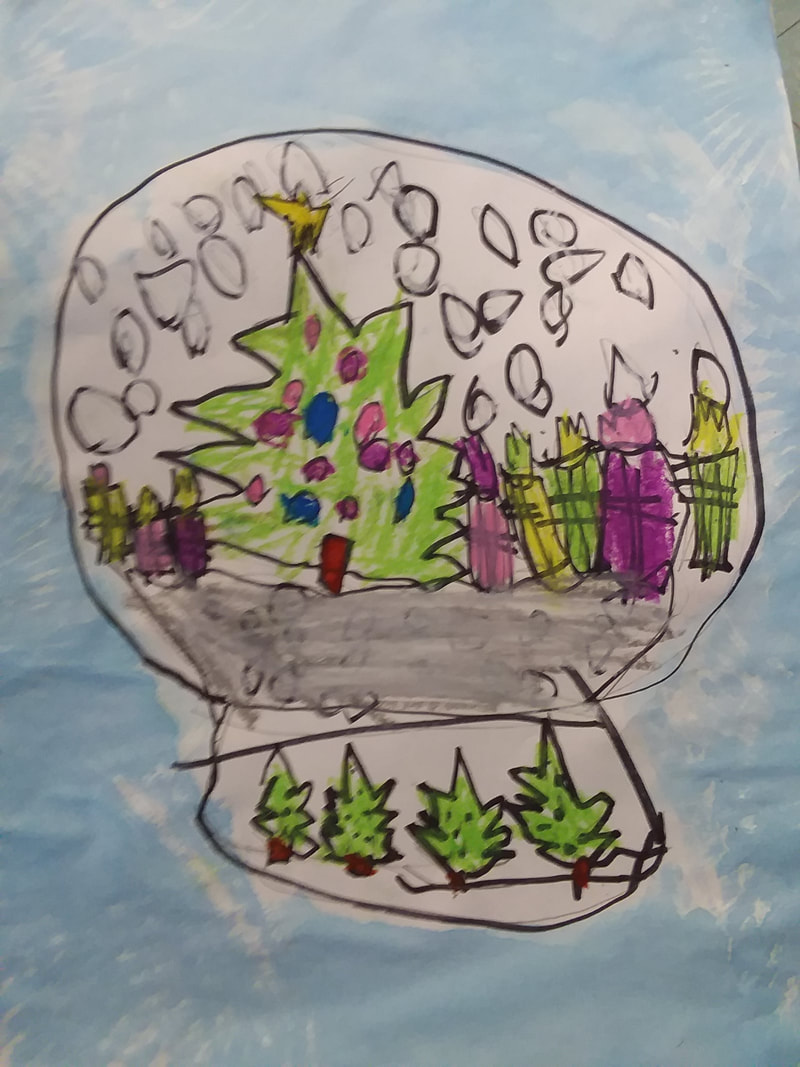
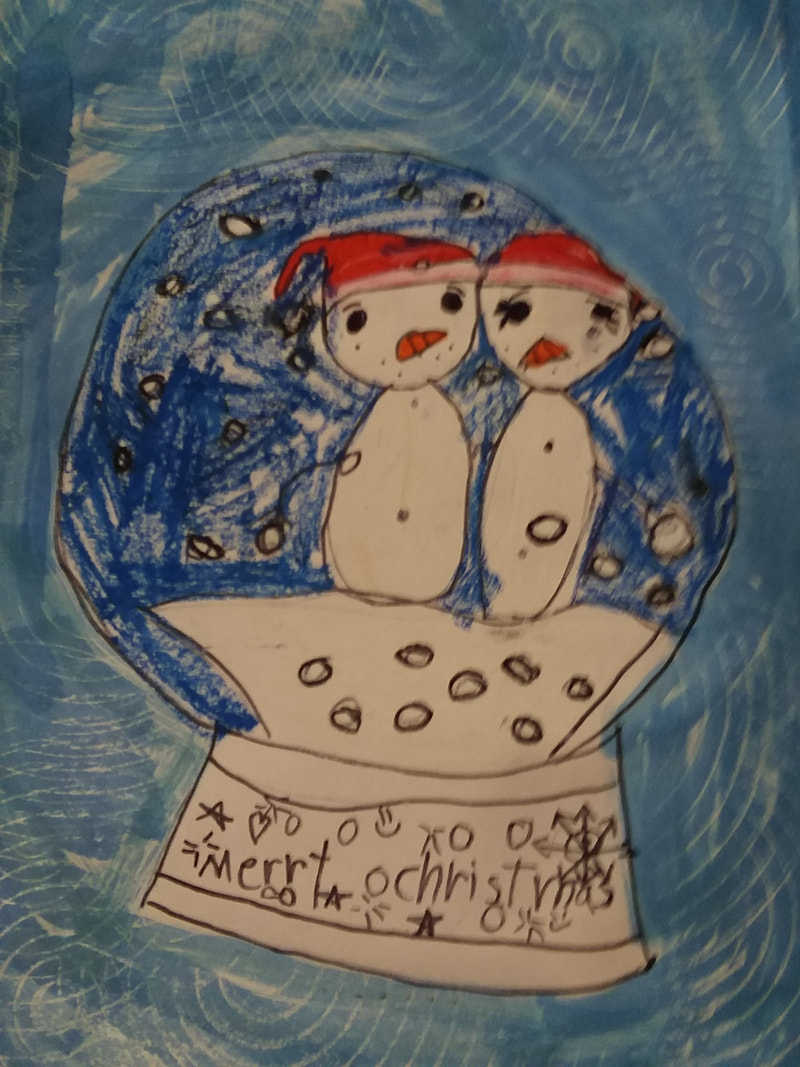
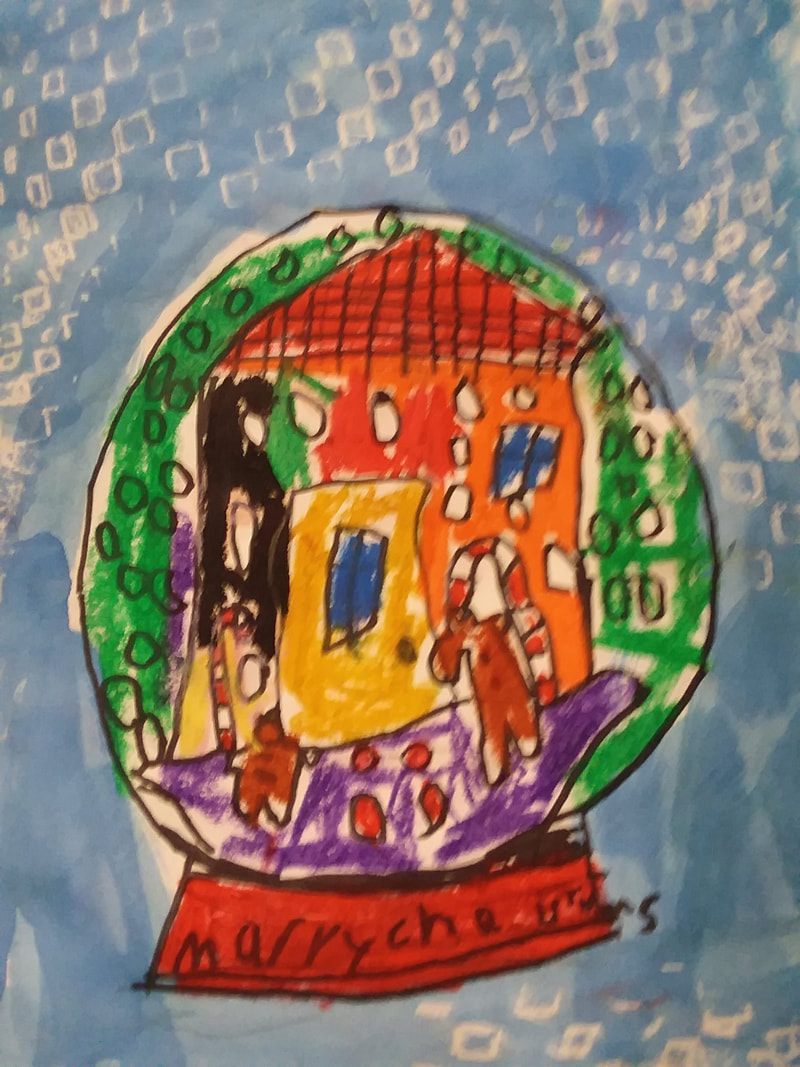
Unit Overview: Students studied honeybees and created bee artworks to show realistic drawing of an animal and how to incorporates shapes into an artwork. BEEEEEEEEEEES! That's one of husband's favorites sayings. It comes from the "improved pain scale". #6. I'll post it below for your entertainment. 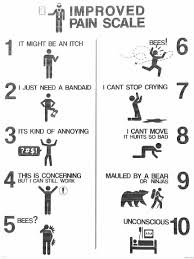 In addition to that being a common phrase in my house, I also happen to own bees. Yes, in my free time, I am a part-time beekeeper. I love bees. I love how focused they are. How happy they are. And yes, they may seem scary. Honestly though, I've never been stung by my bees. Even as I'm ripping open their home to steal their food. They just kind of buzz in an annoyed tone and go along their merry way. So, inspired by my love of bees (and wanting to teach students about the importance of pollinators), we did this lovely art lesson on bees. We utilized an Art Hub for Kids video (thanks, Mr. Rob!) on how to draw a realistic bee (see here). After drawing the bee in pencil, we sharpied and erased. Then, using hexagon shapes, we traced the hexagons (even through the bee) in pencil to create a honeycomb style design behind the bee. Because we sharpied the bee before we traced the hexagons on top, the students were able to better sharpie the honeycomb pattern around the bee. Finally, we colored using watercolor crayons (yes, they do exist!) and painted with pure water. Ta-da! The pictures are bee-utiful! The kids were a-buzz making them. And that's all the bee puns I got.
0 Comments
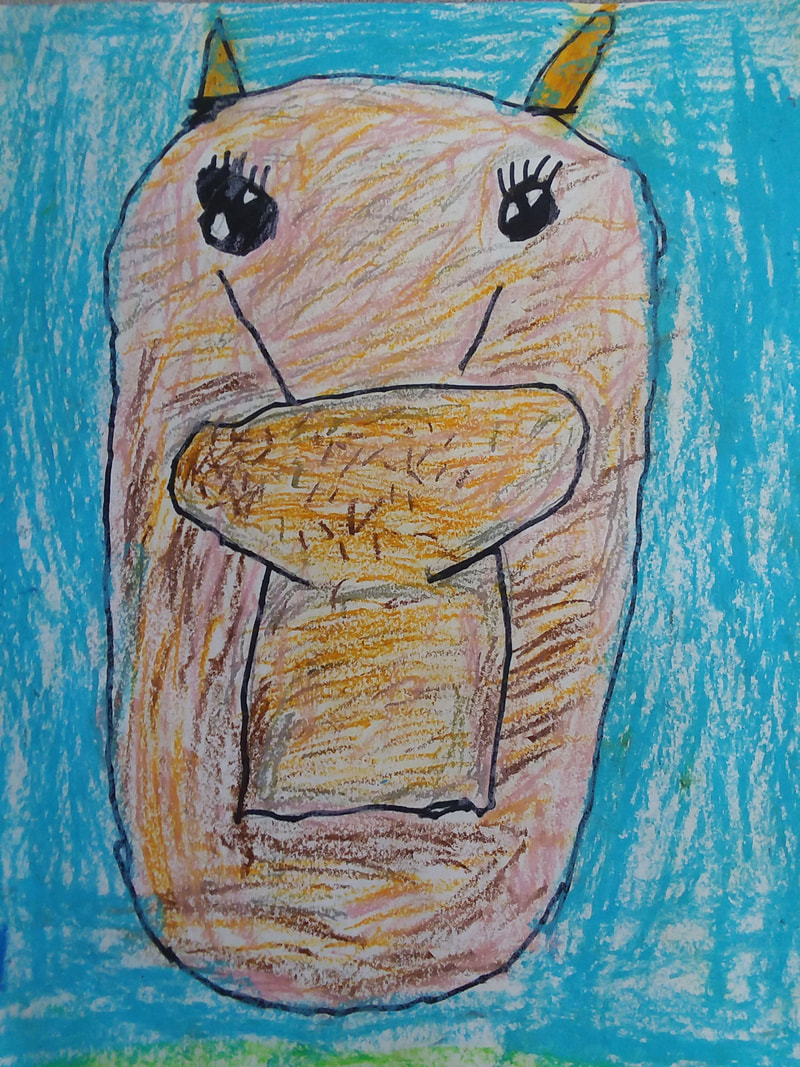
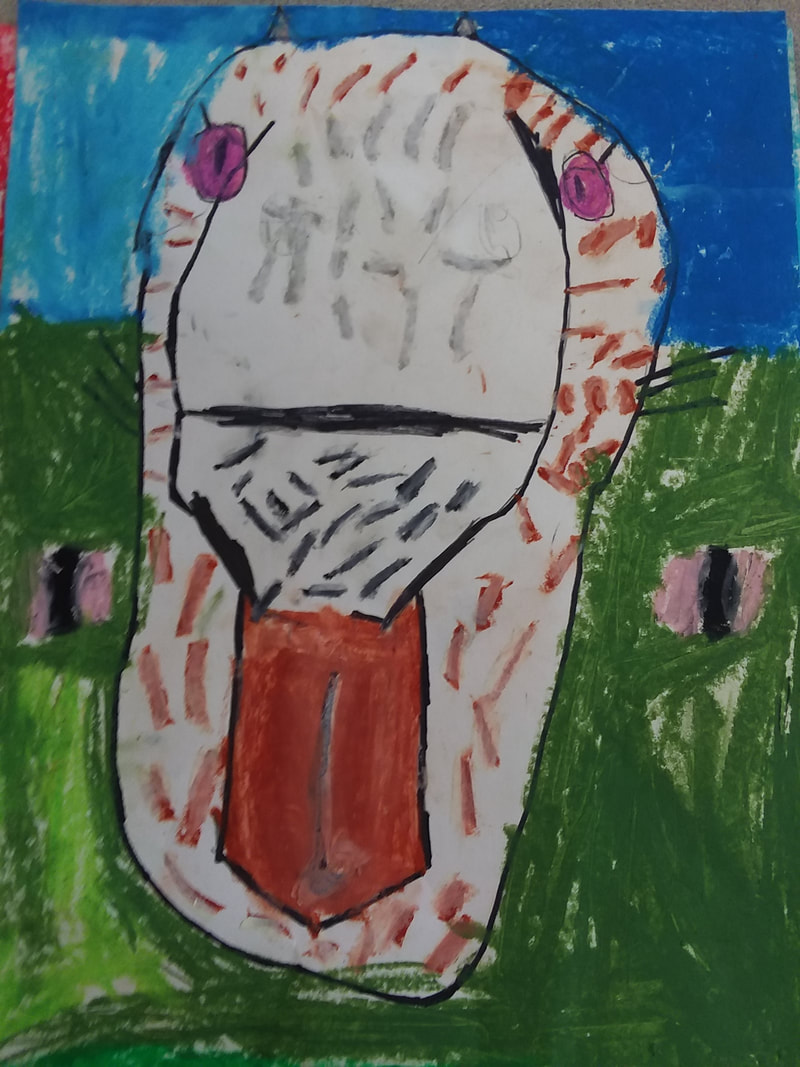
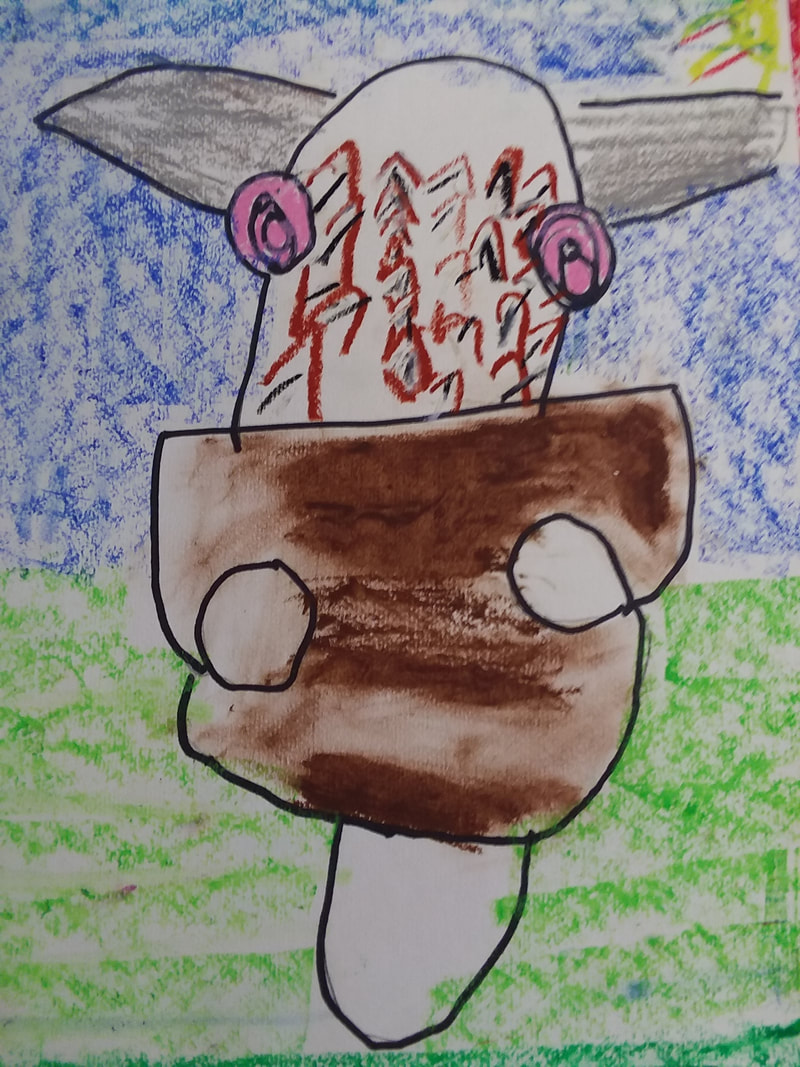
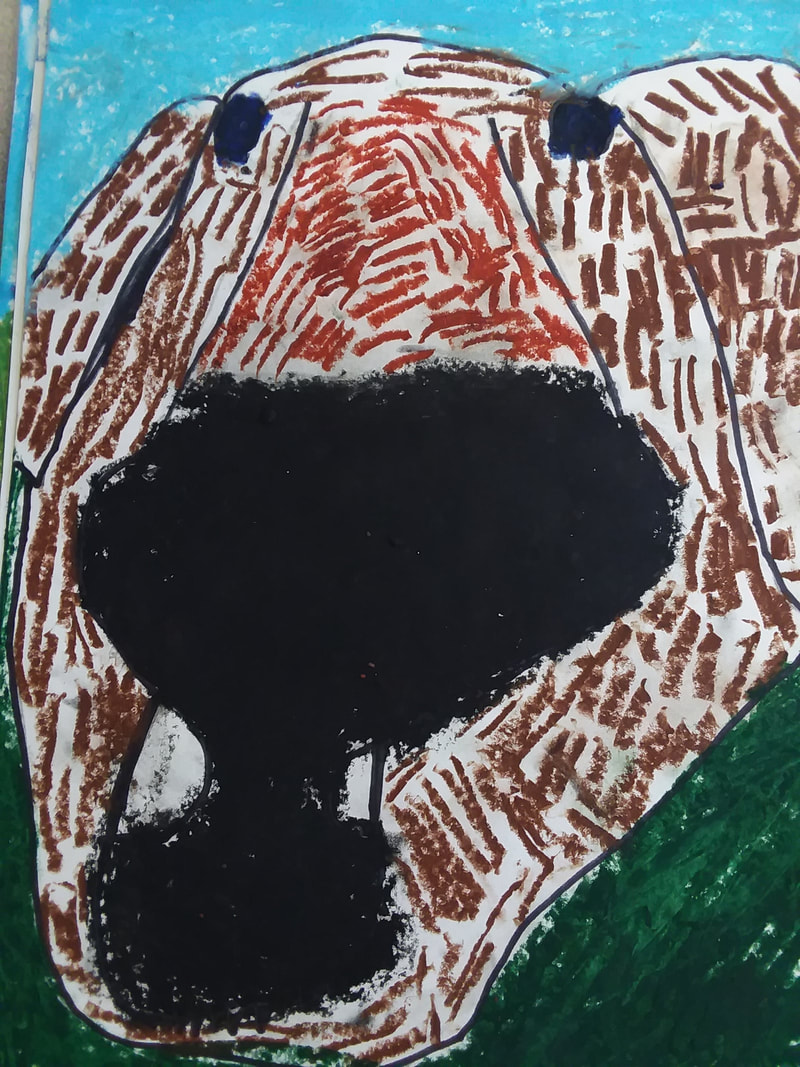
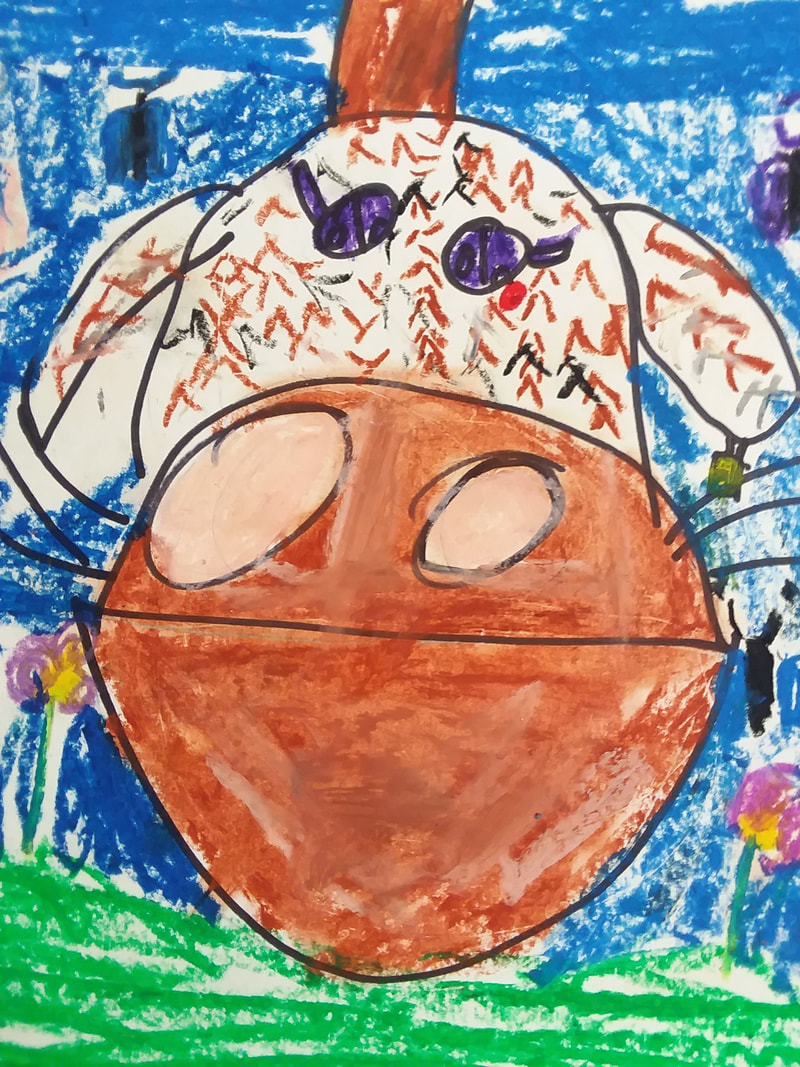
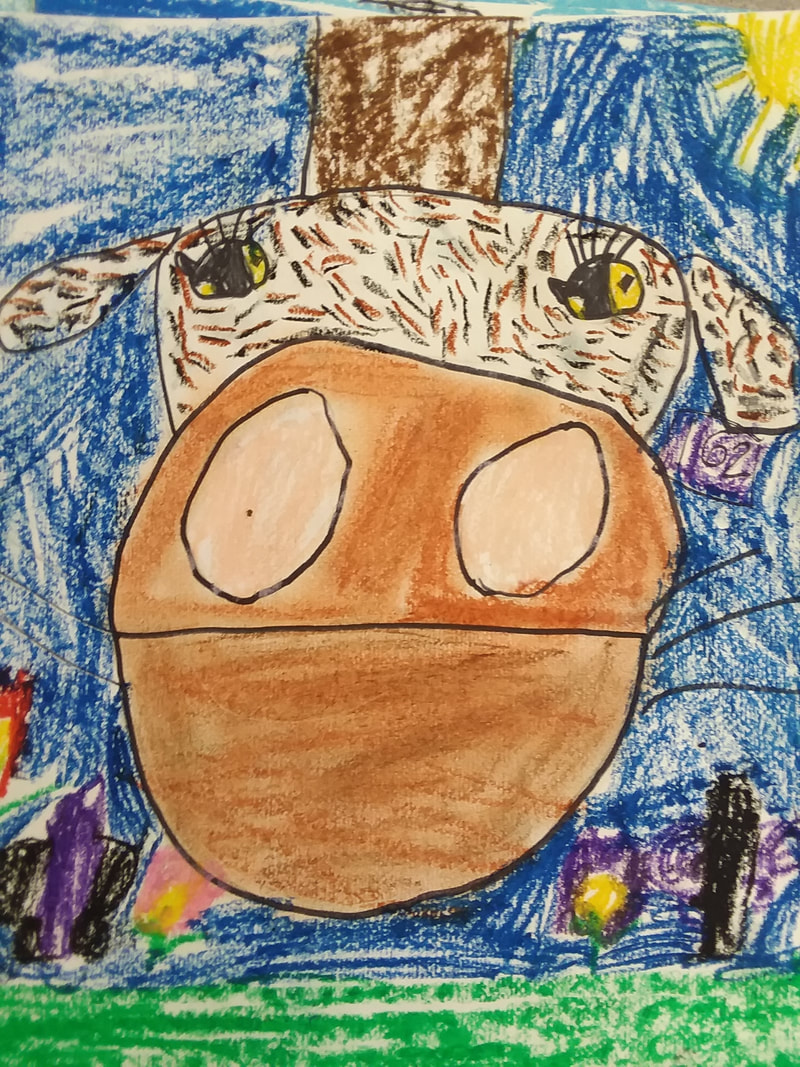
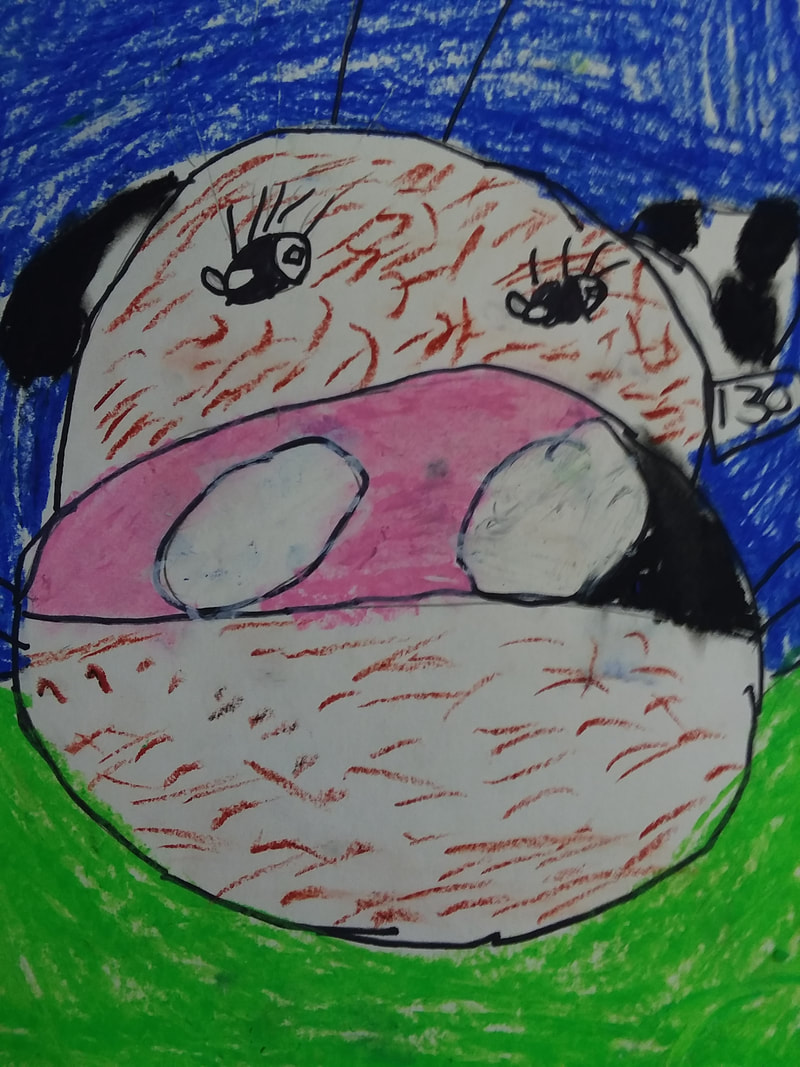
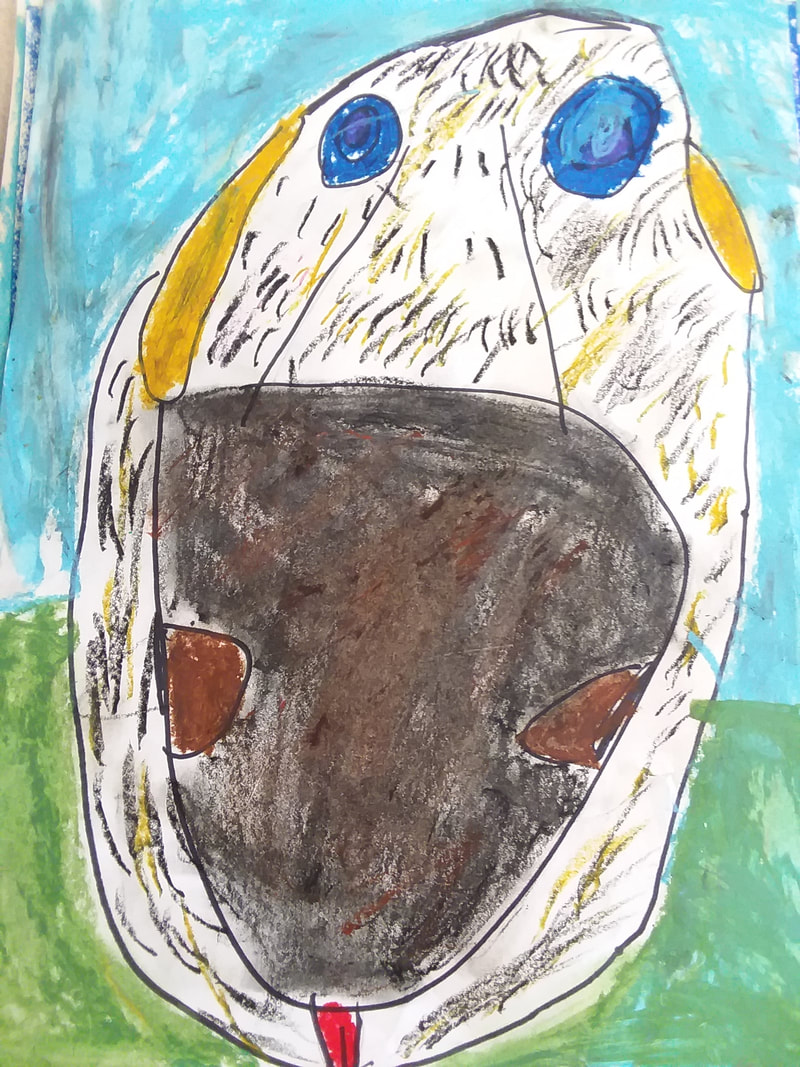
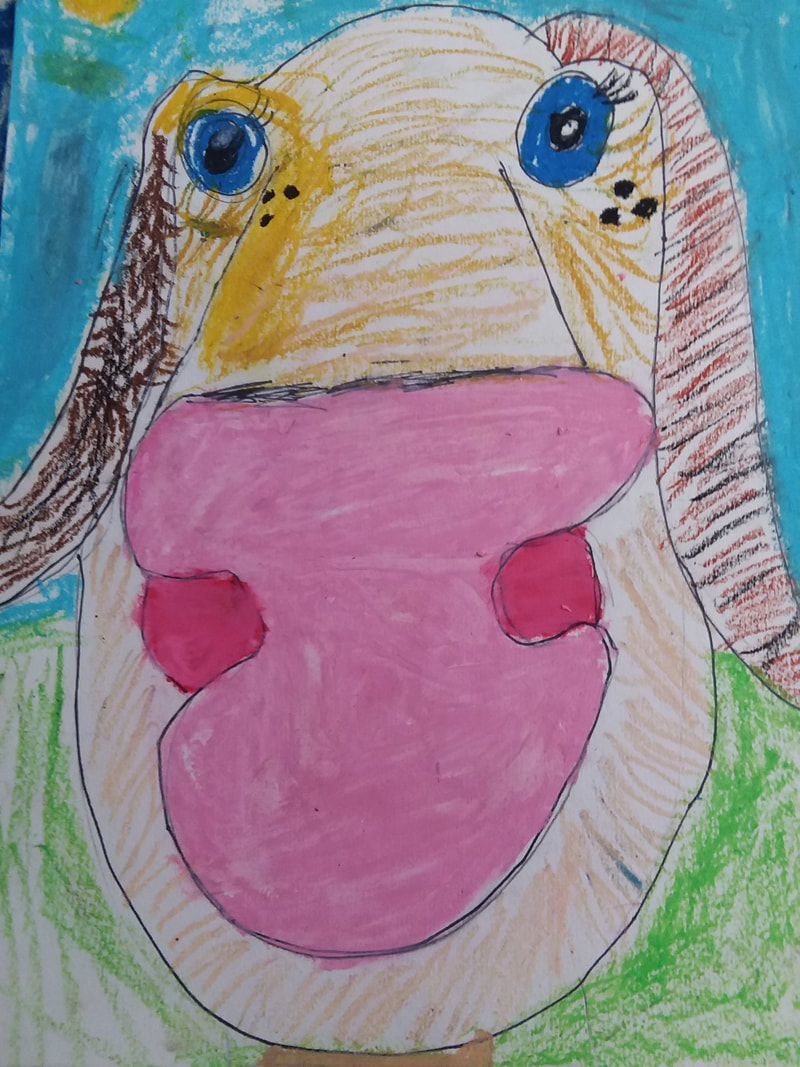
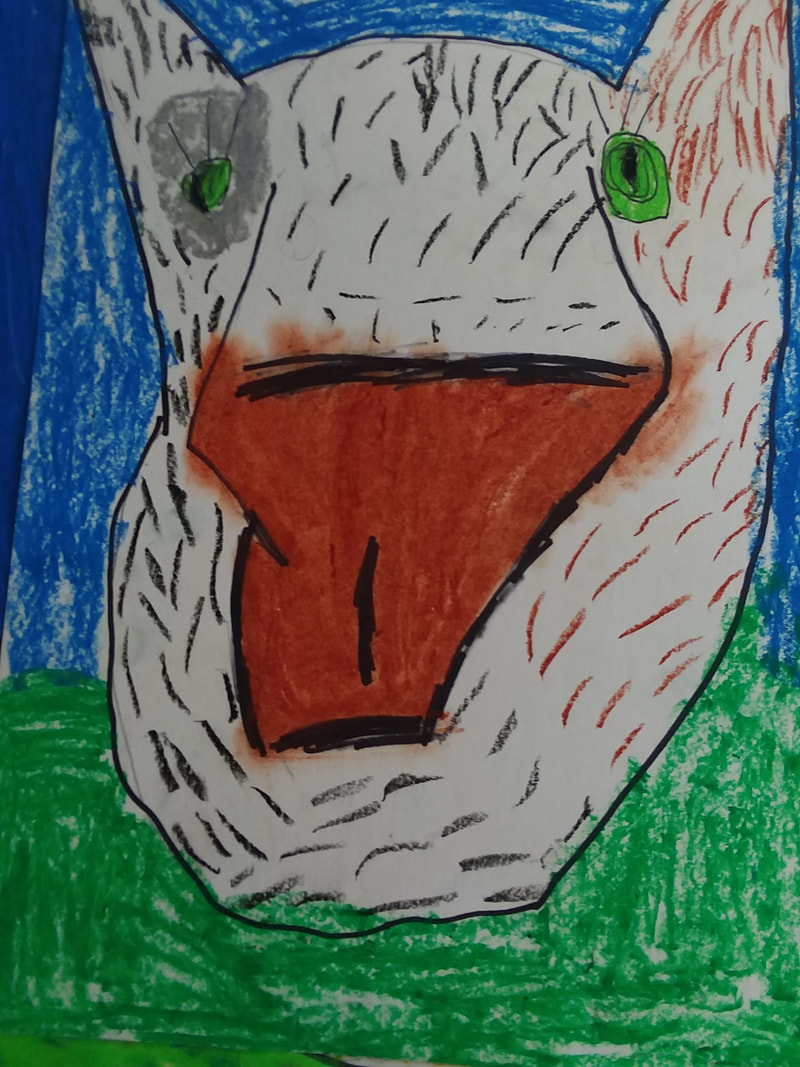
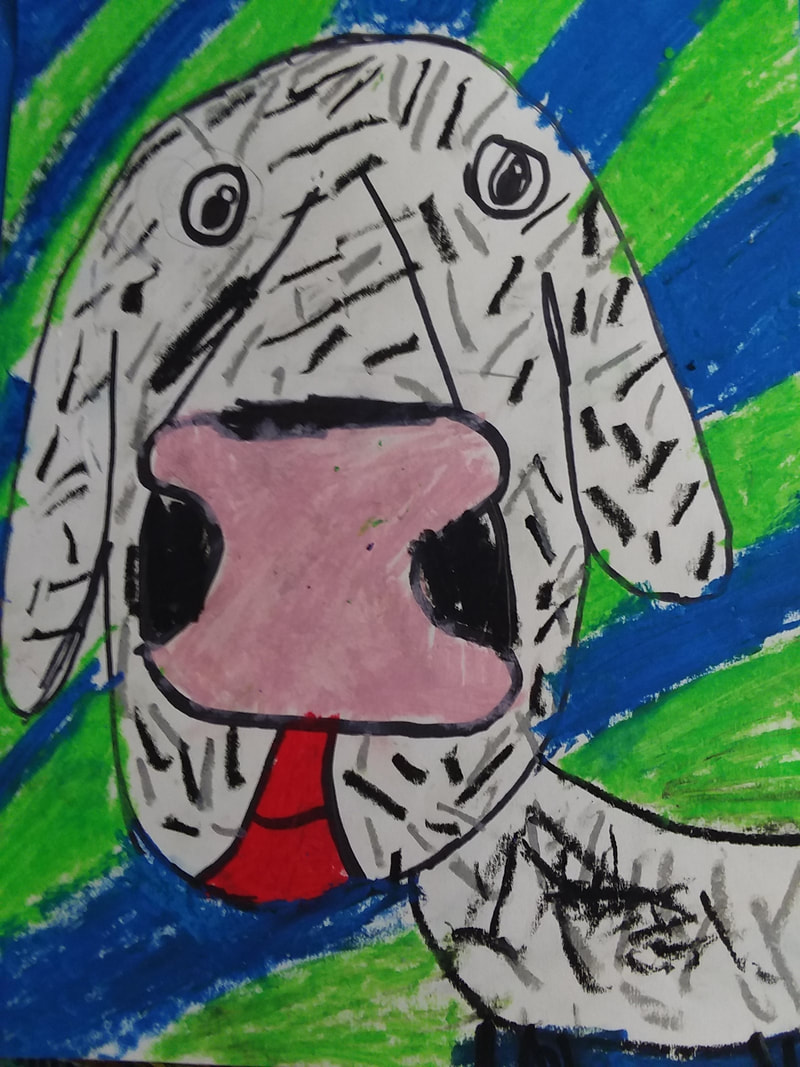
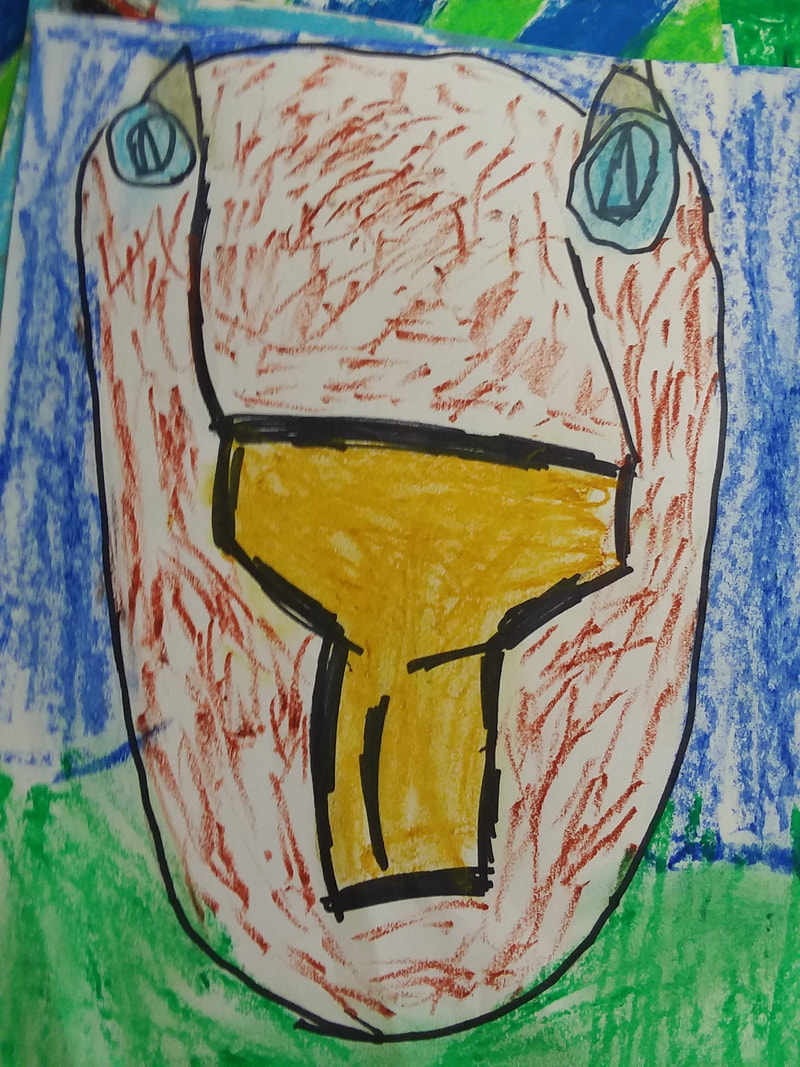
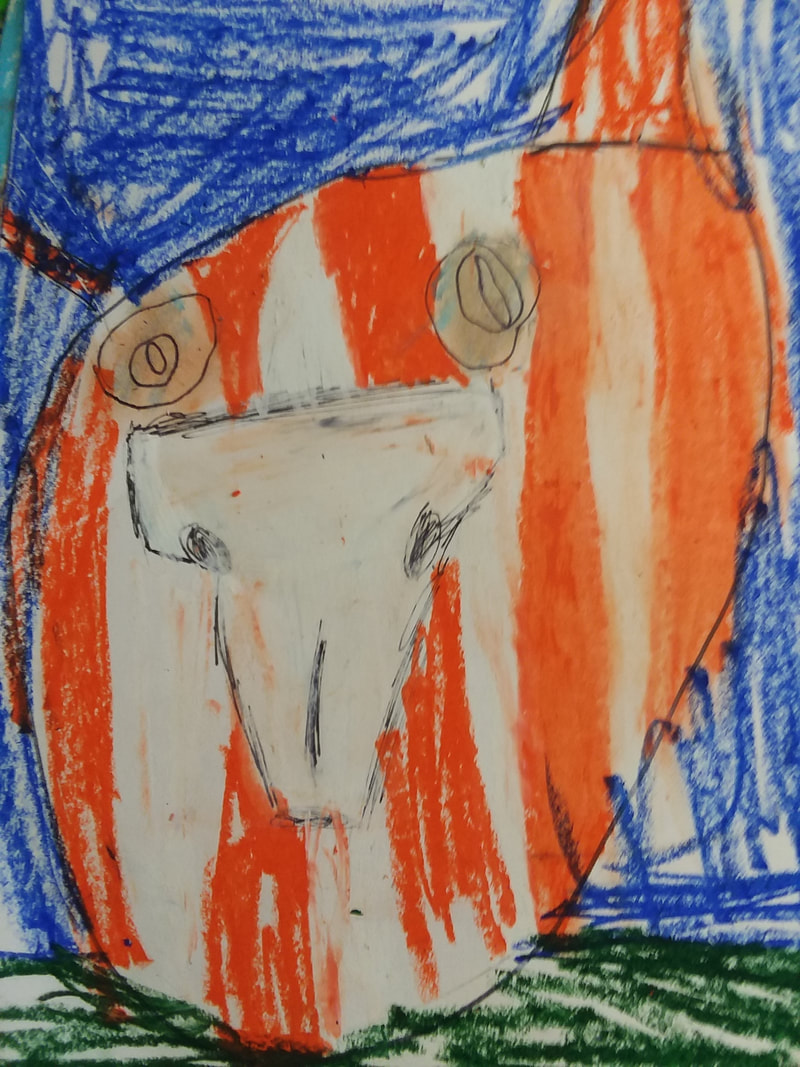
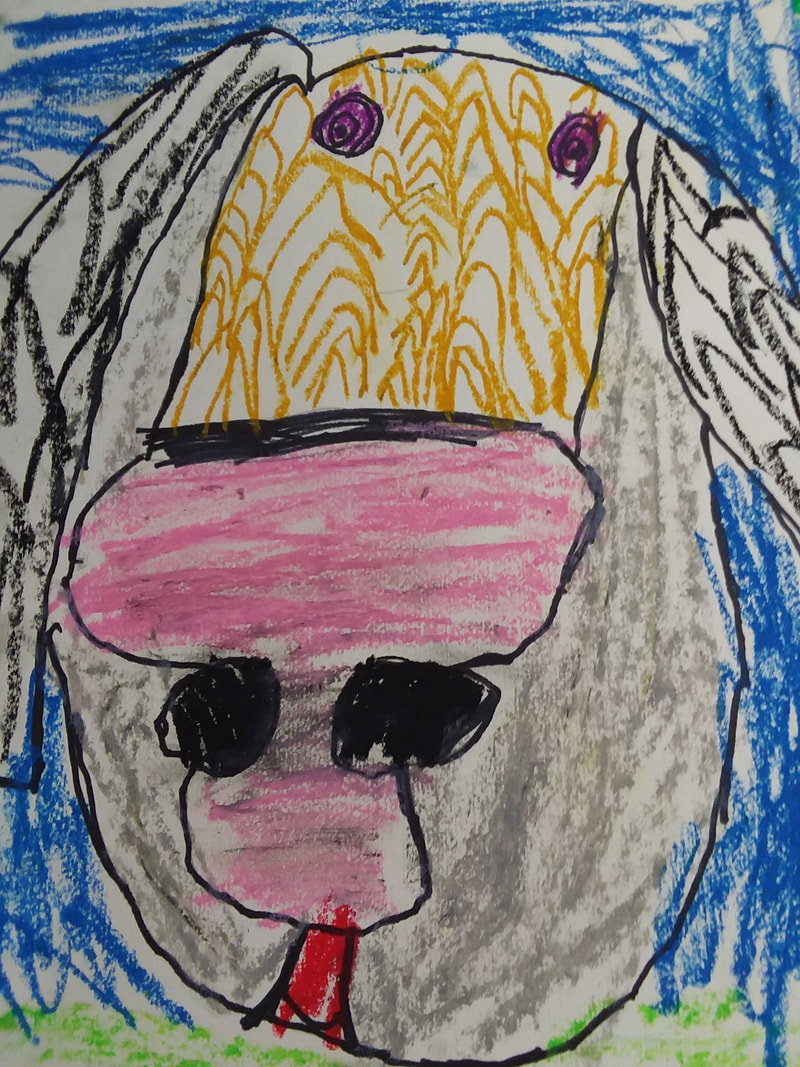
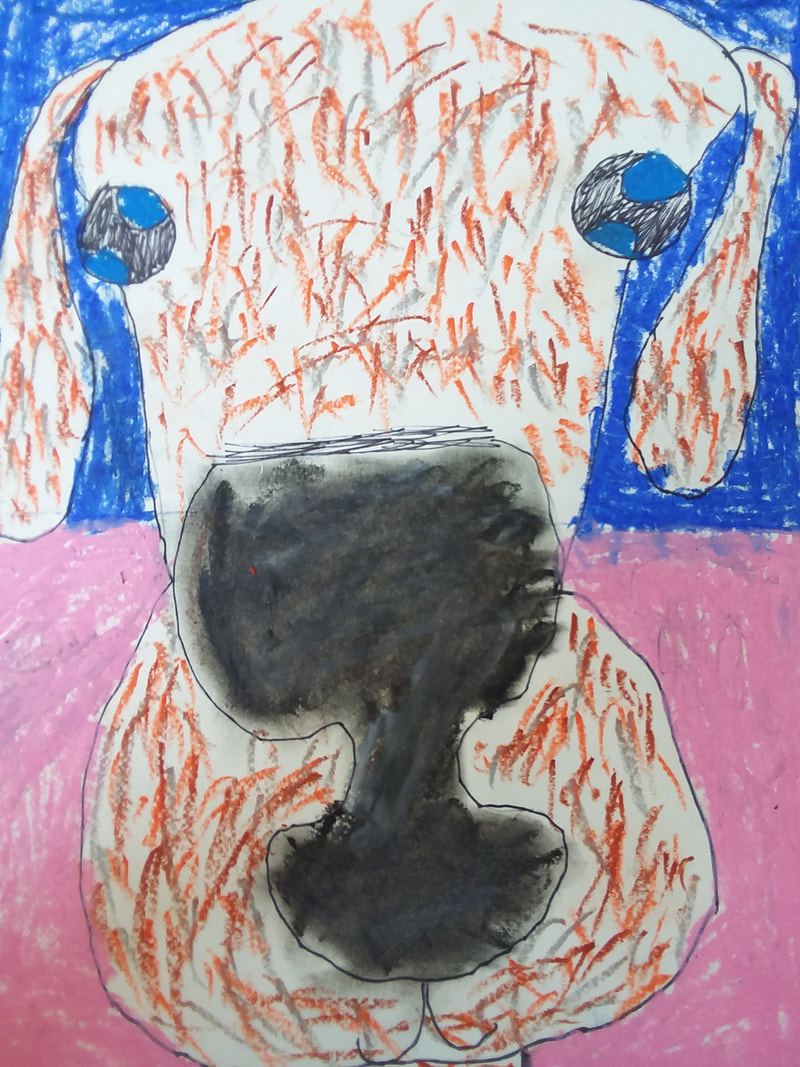
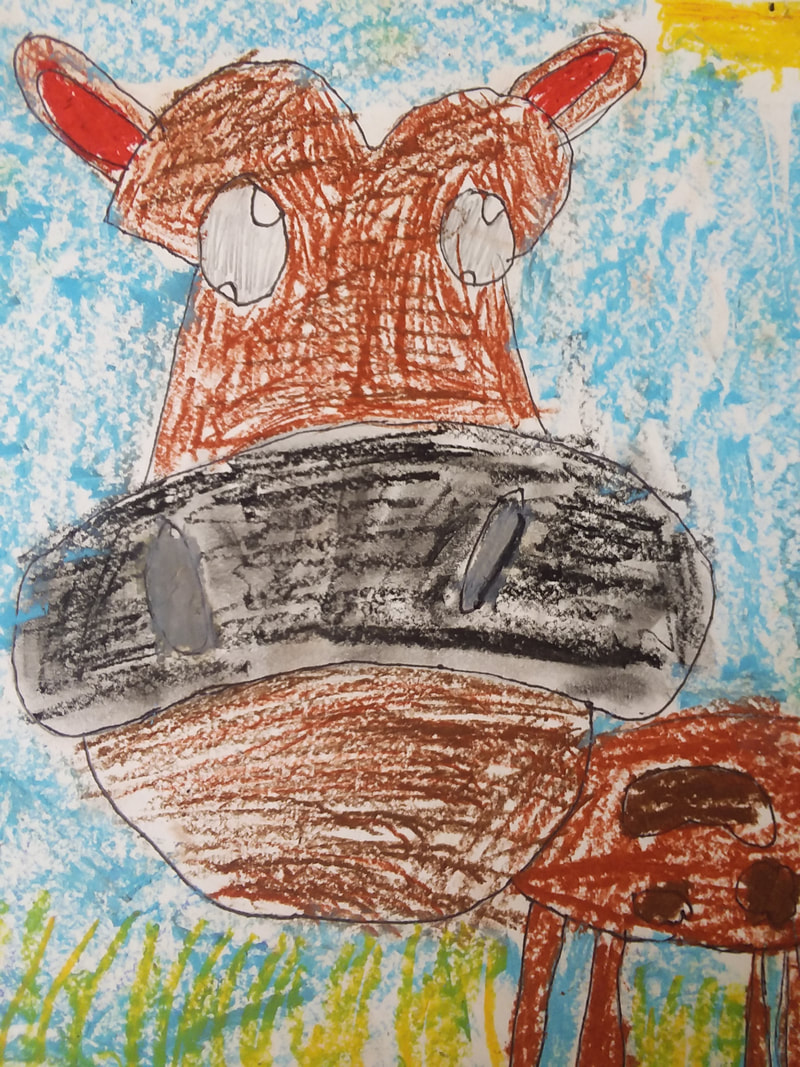
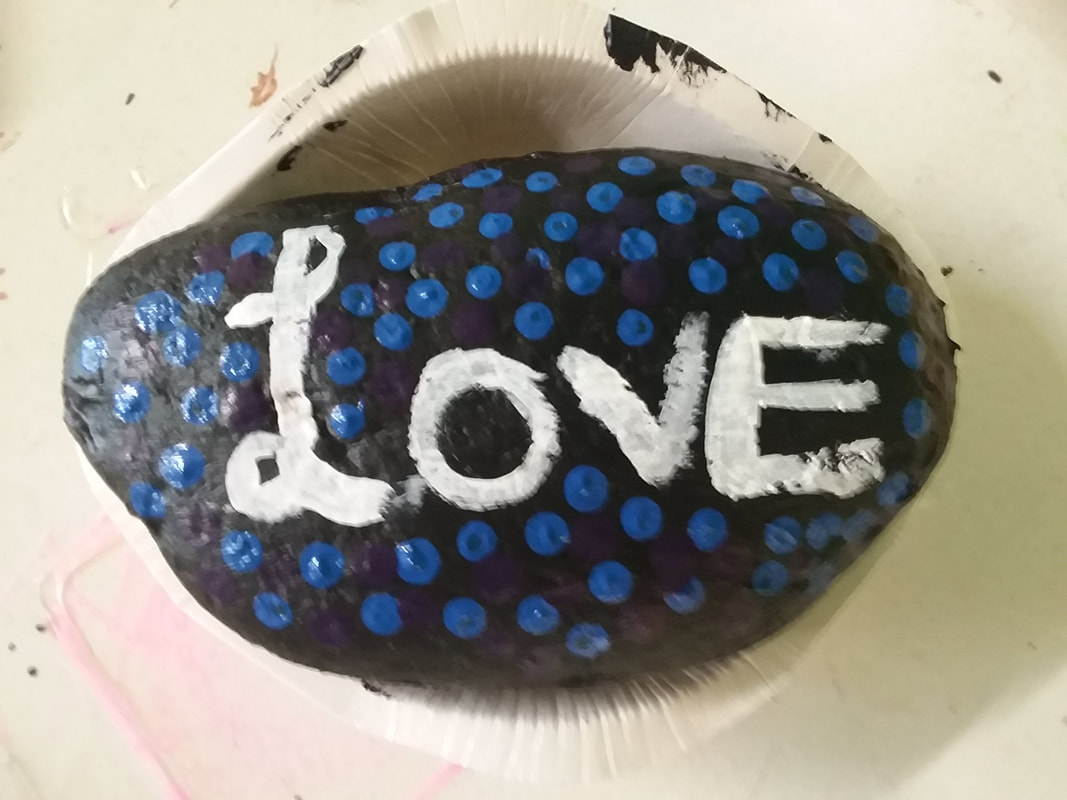
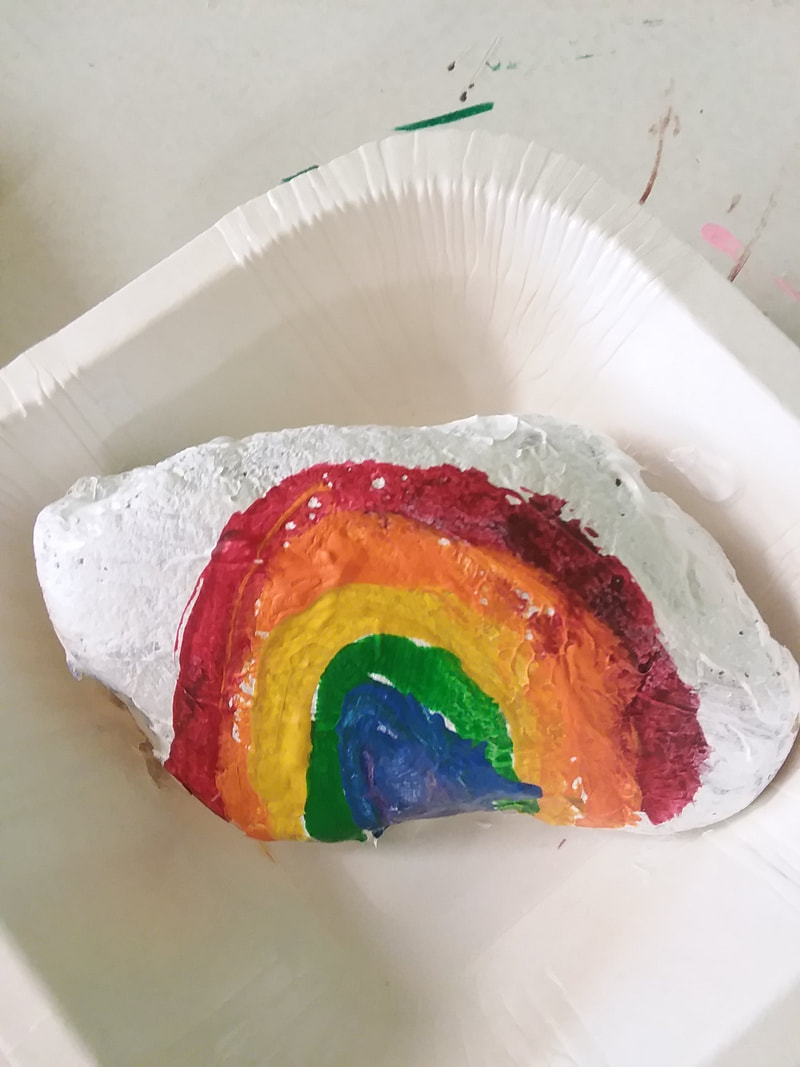
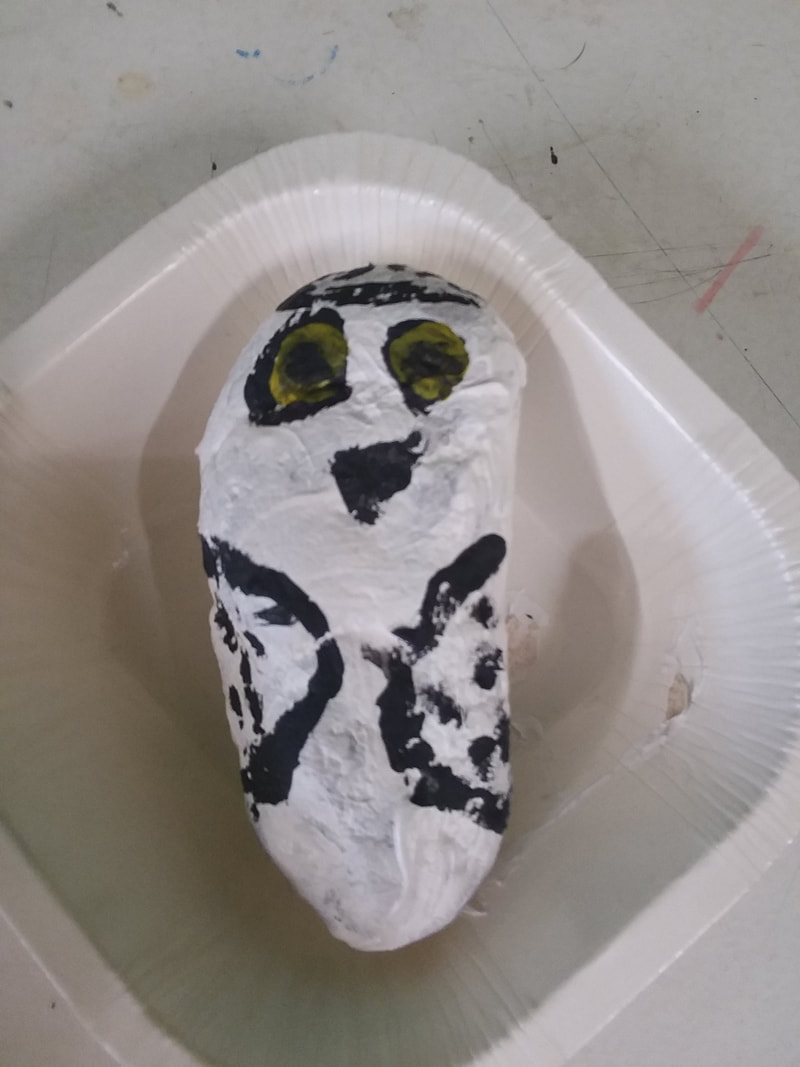
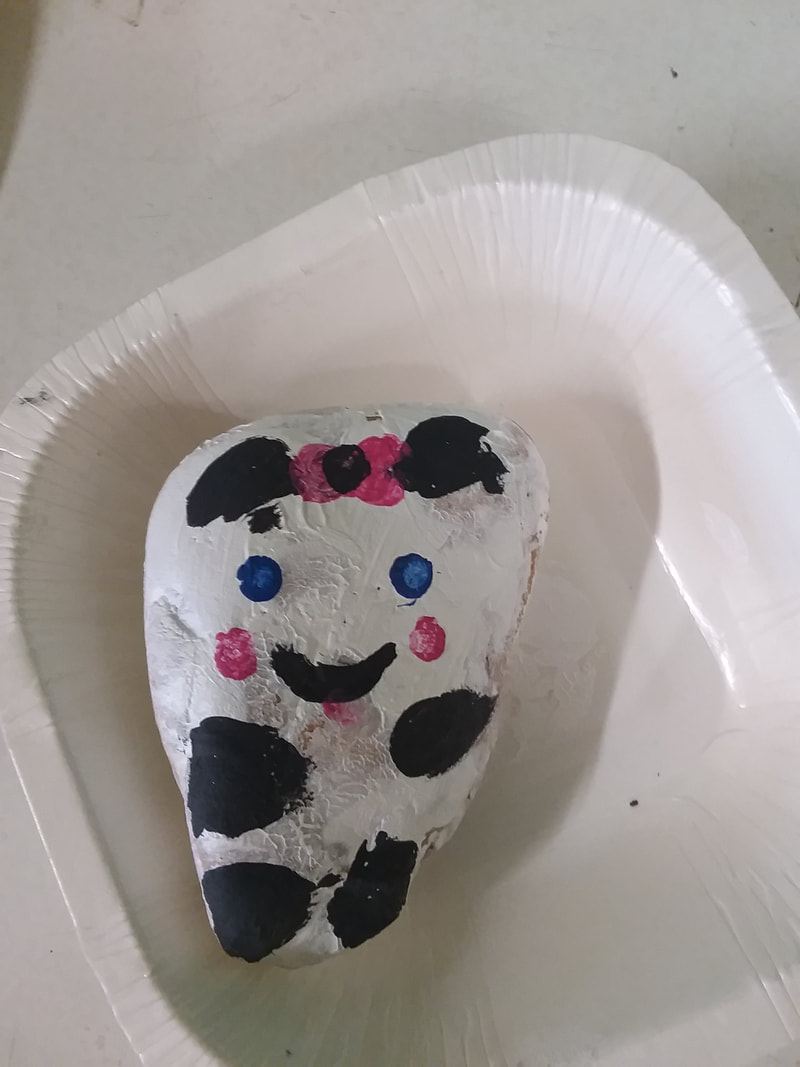
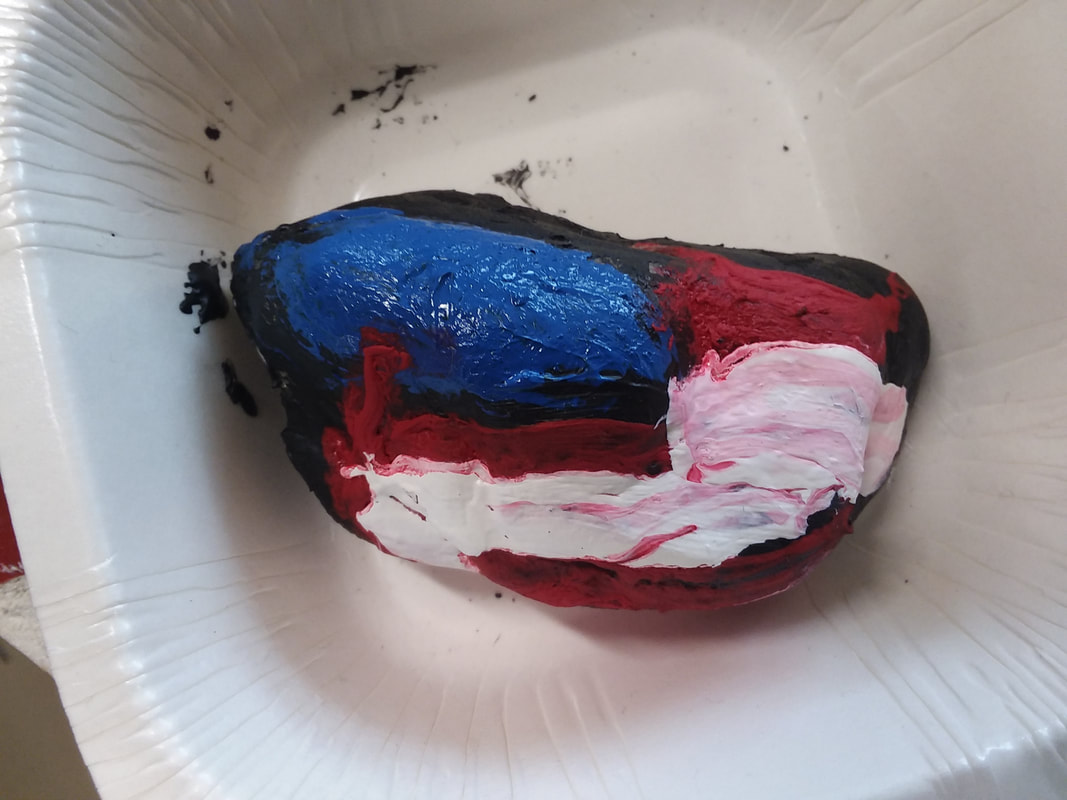
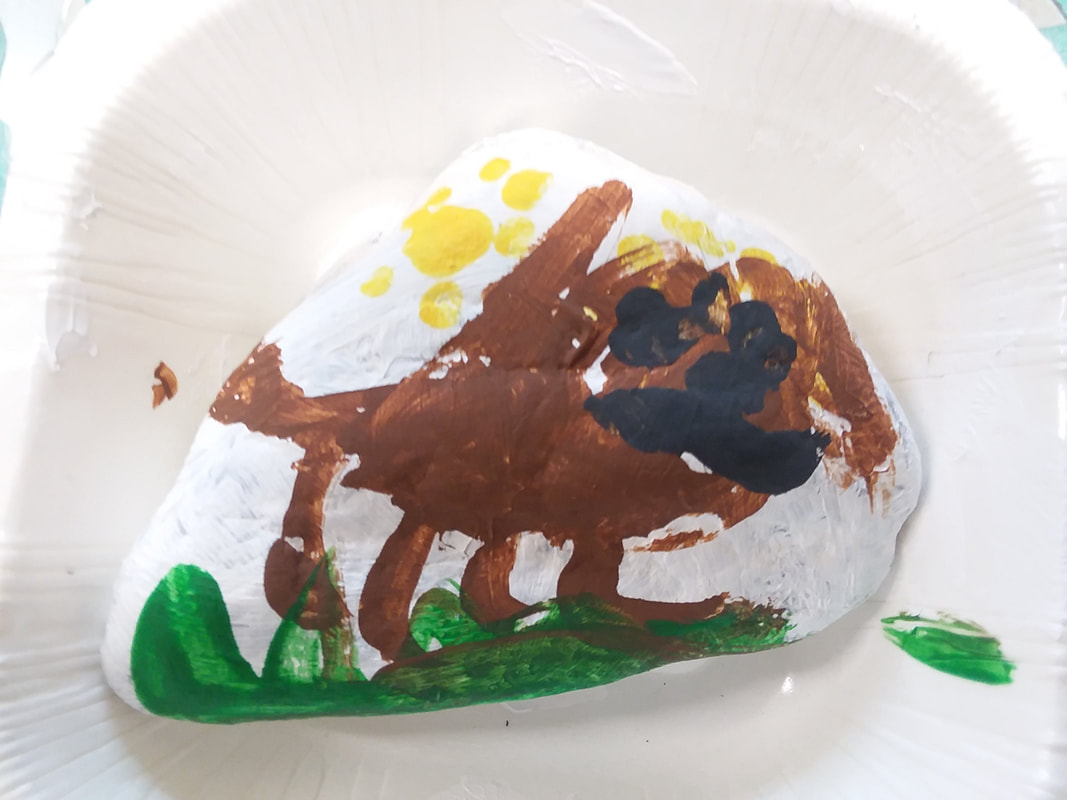
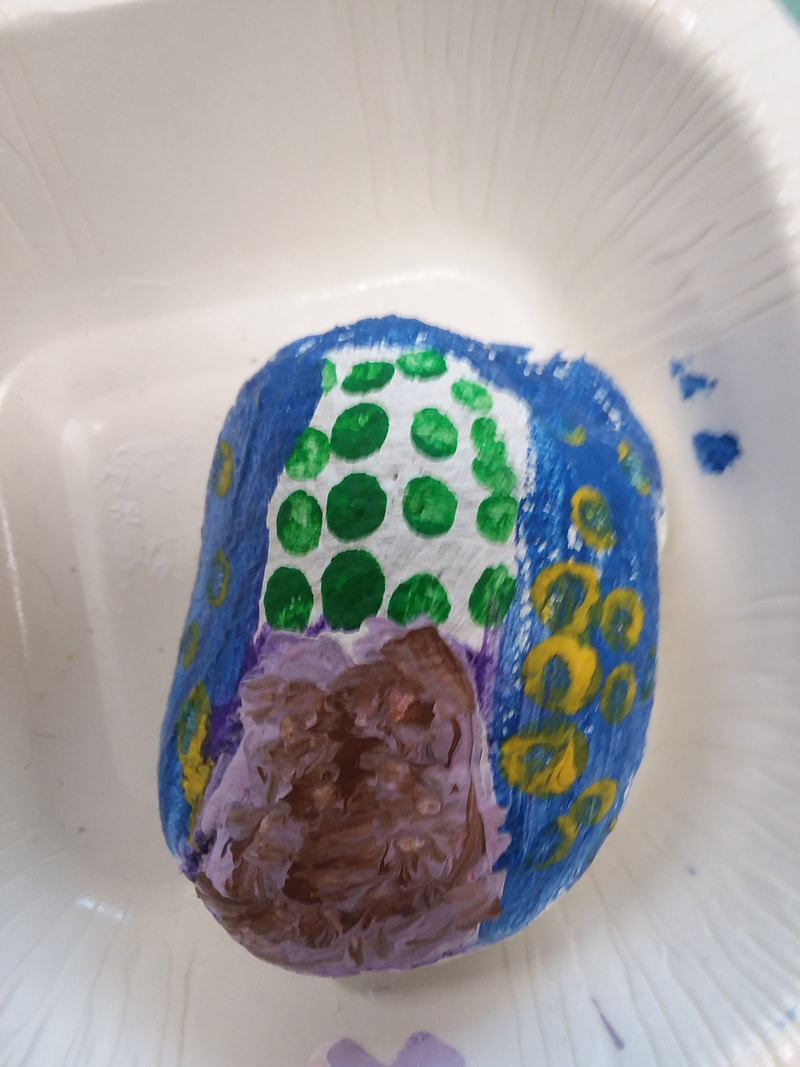
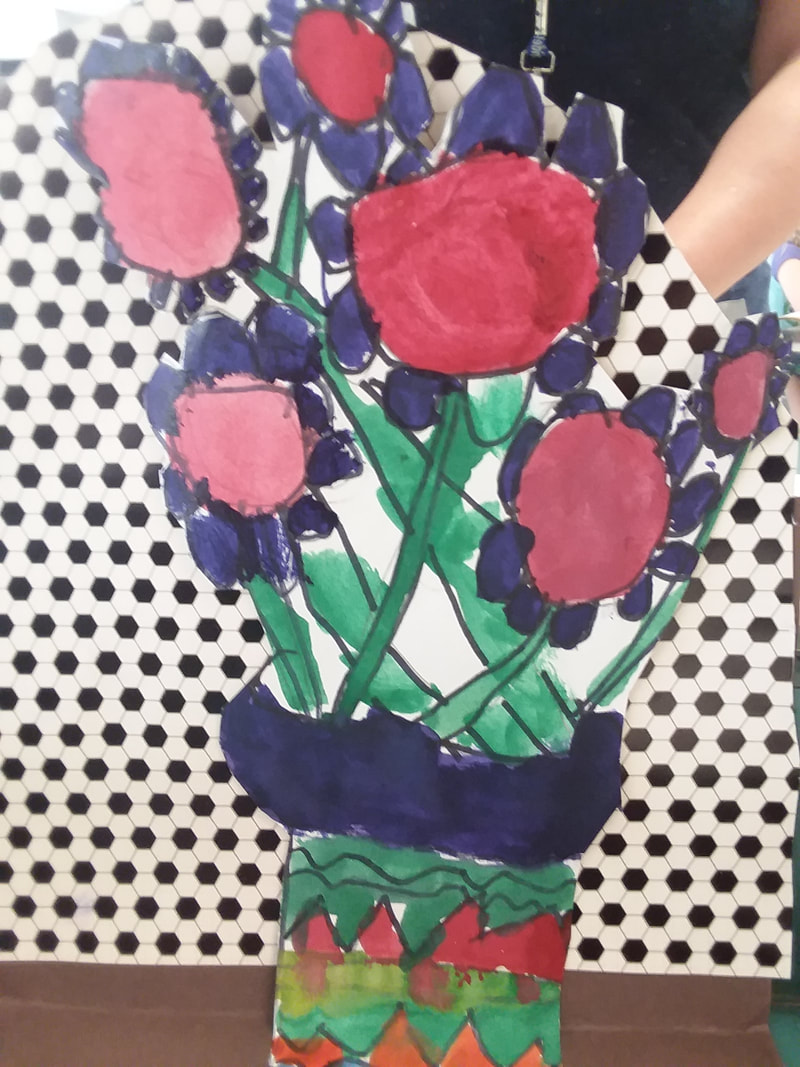
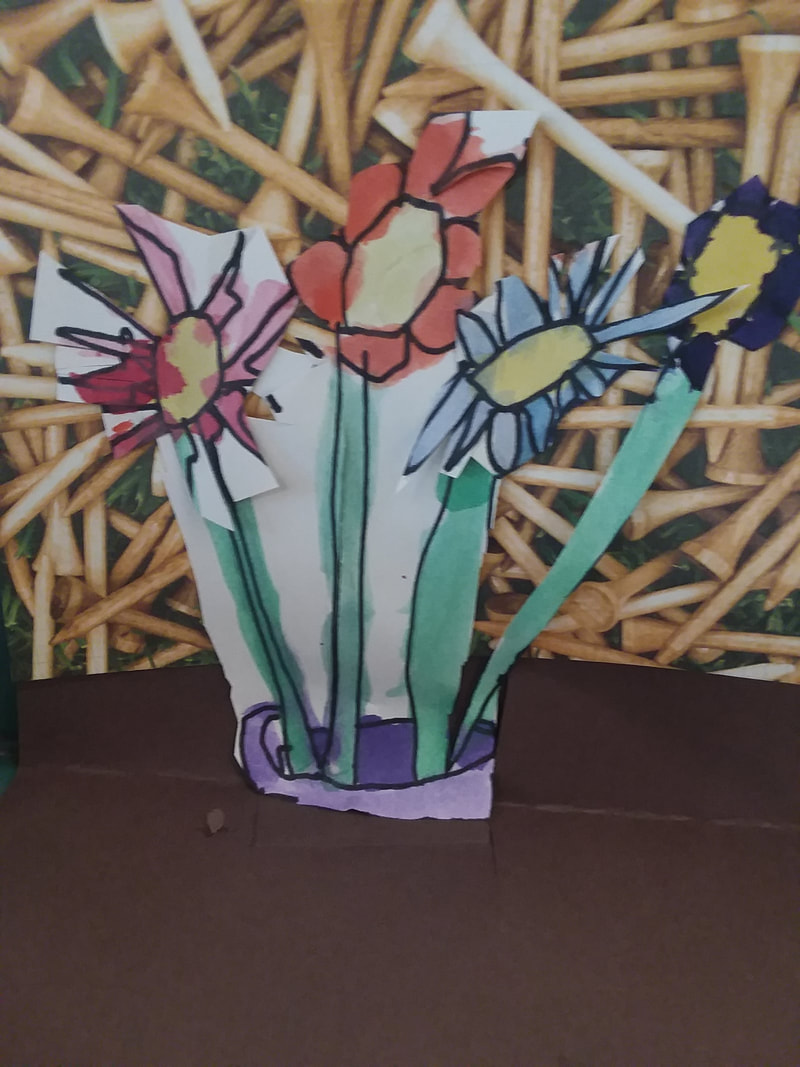
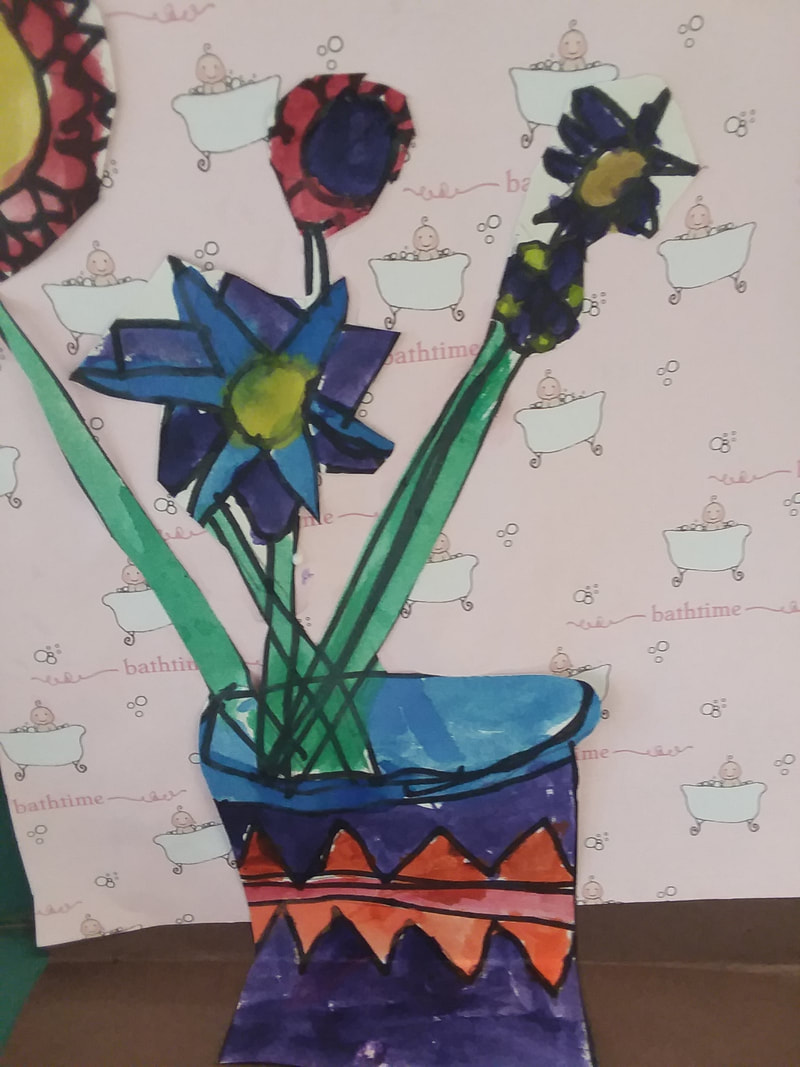
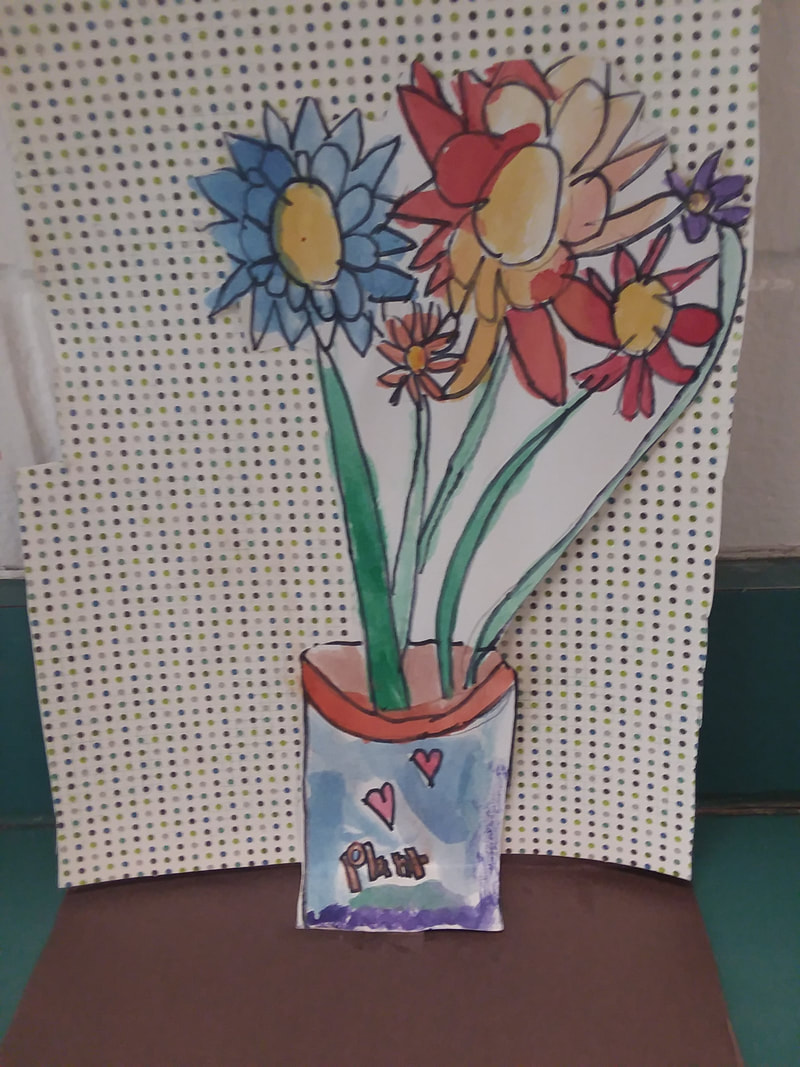
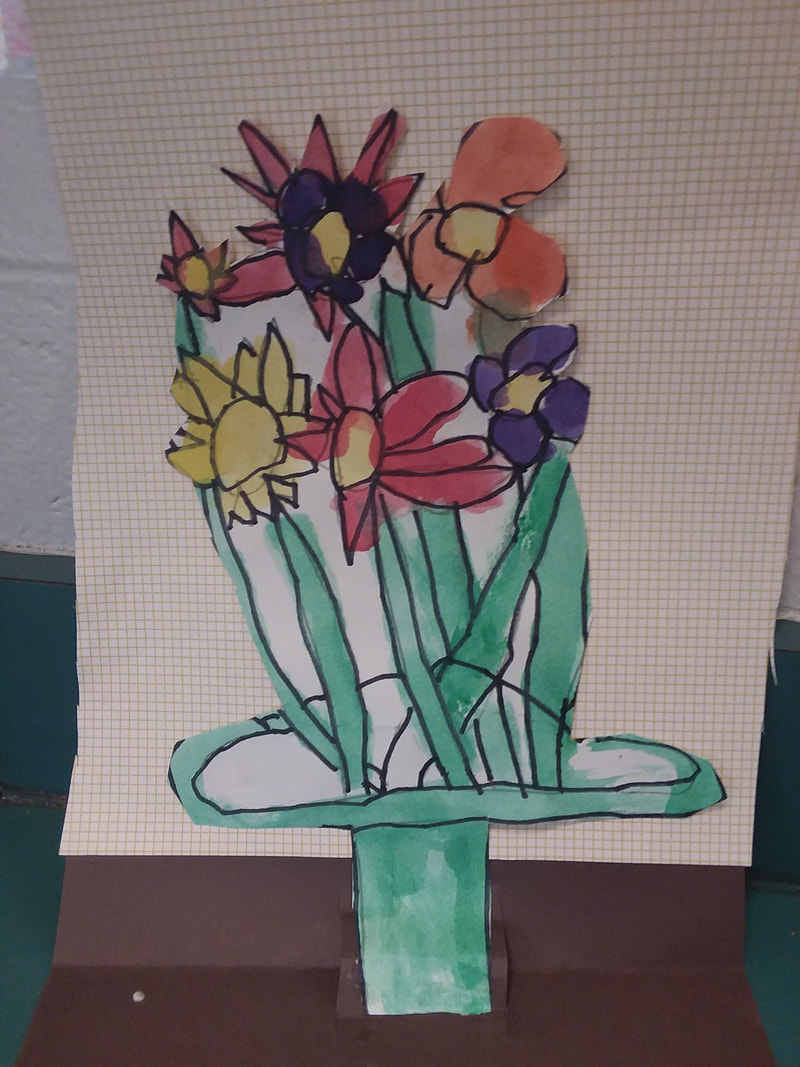
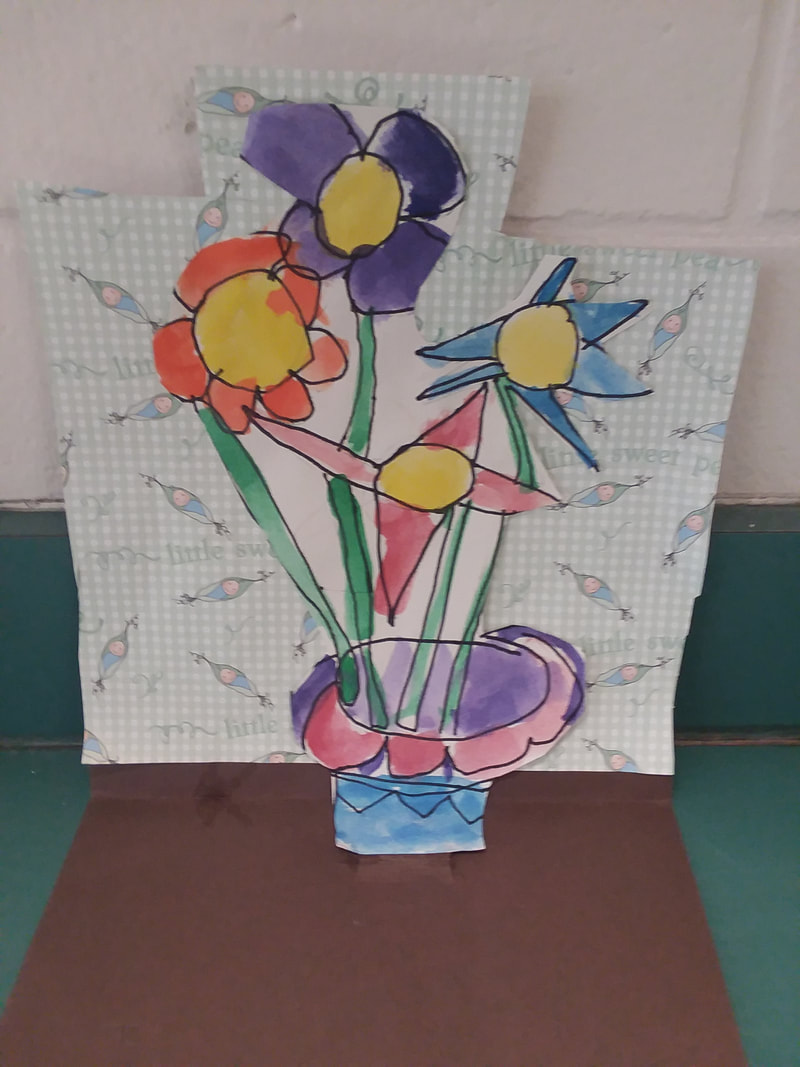
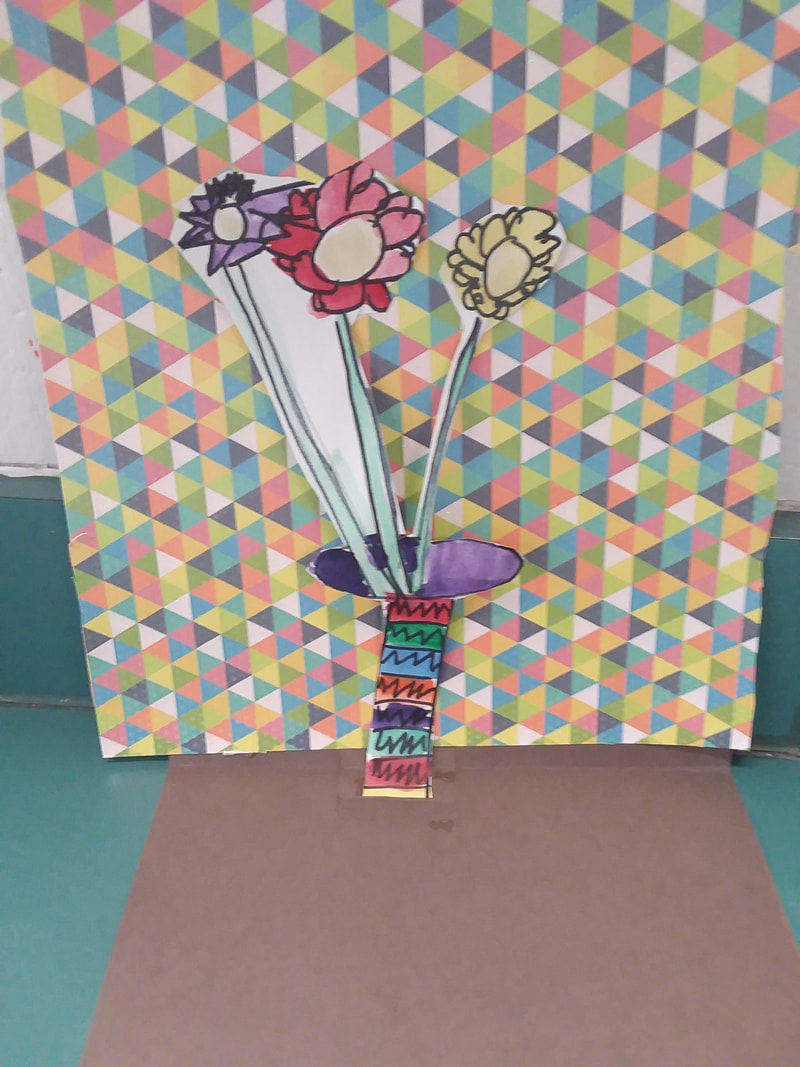
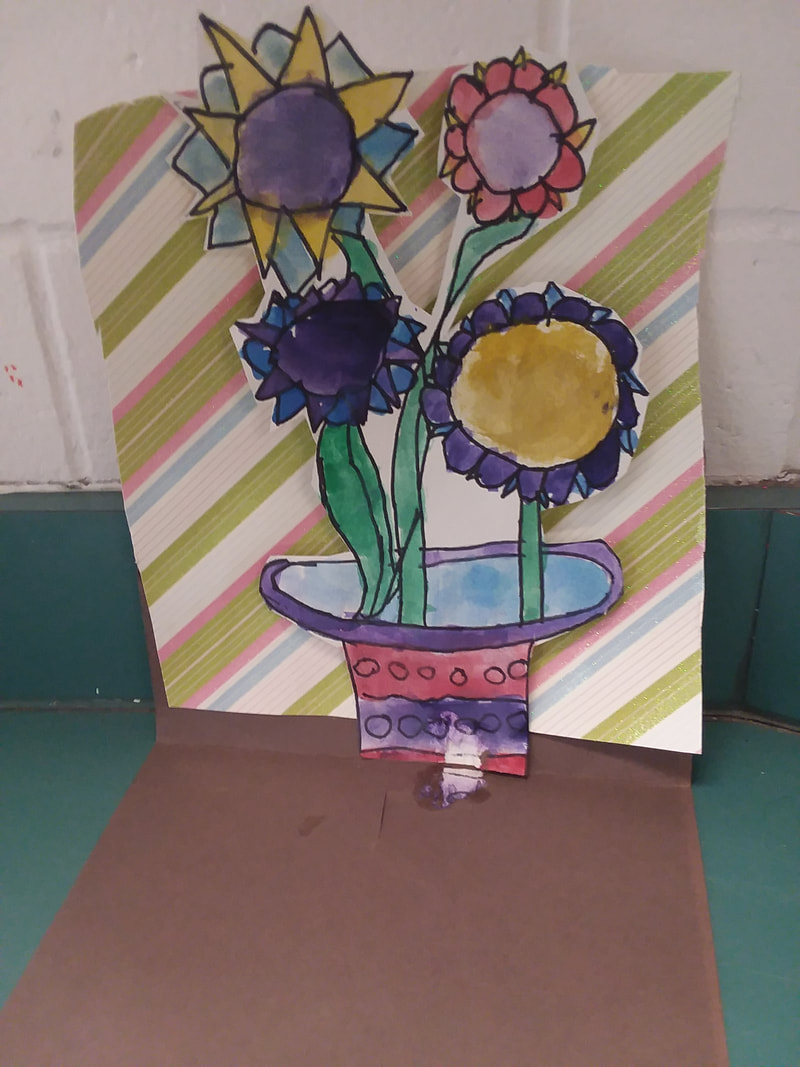
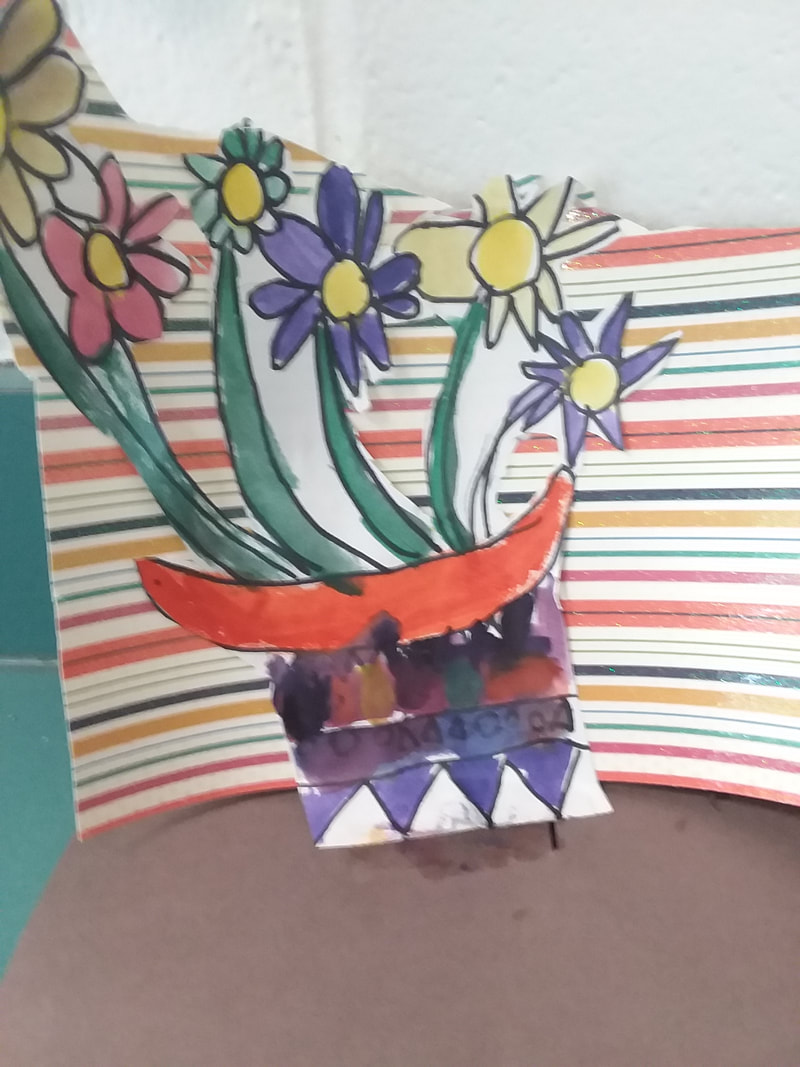
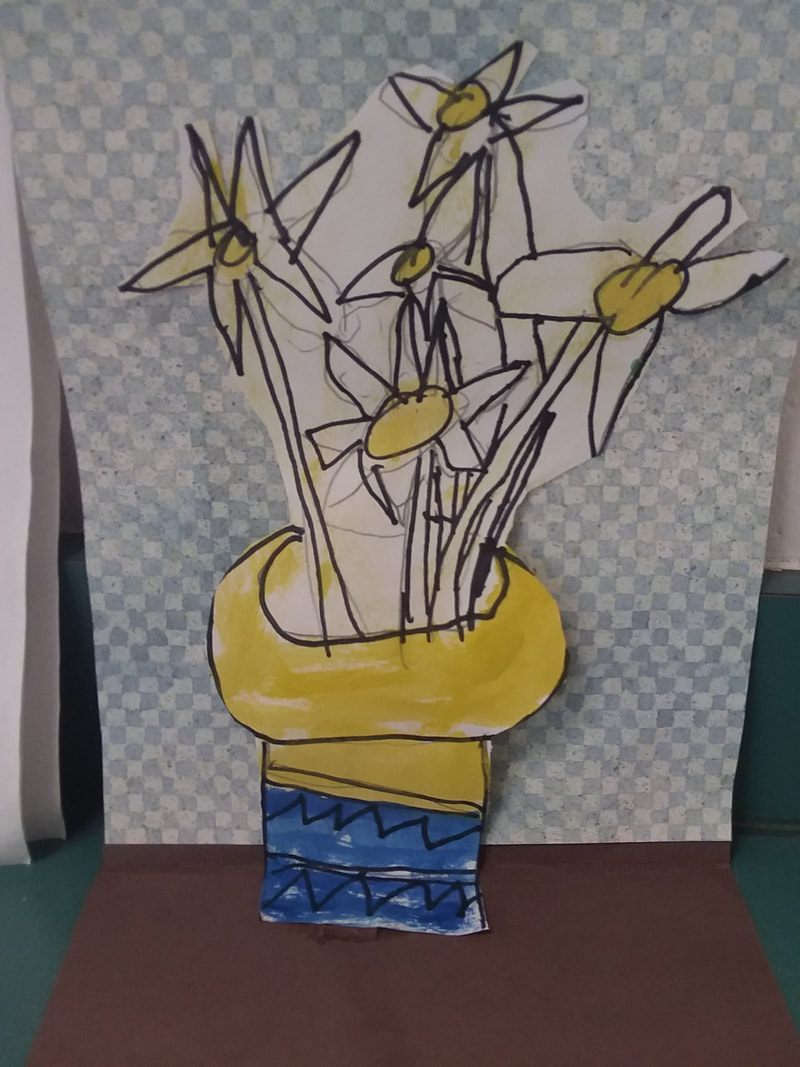
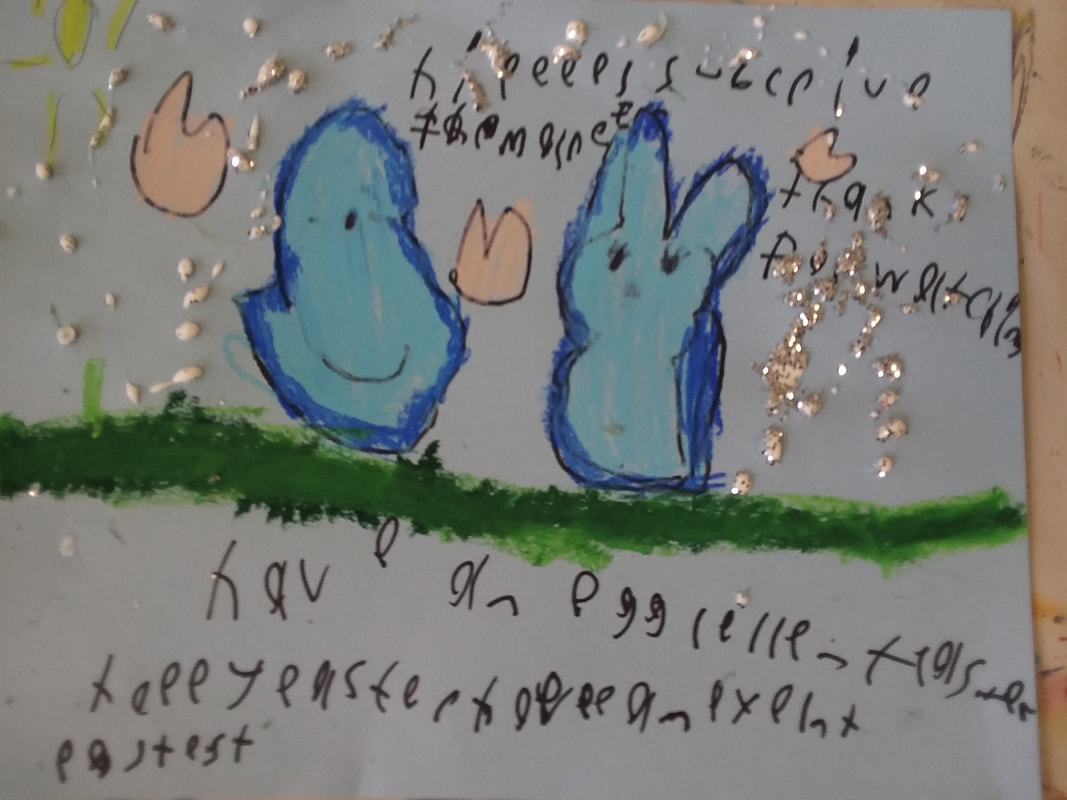
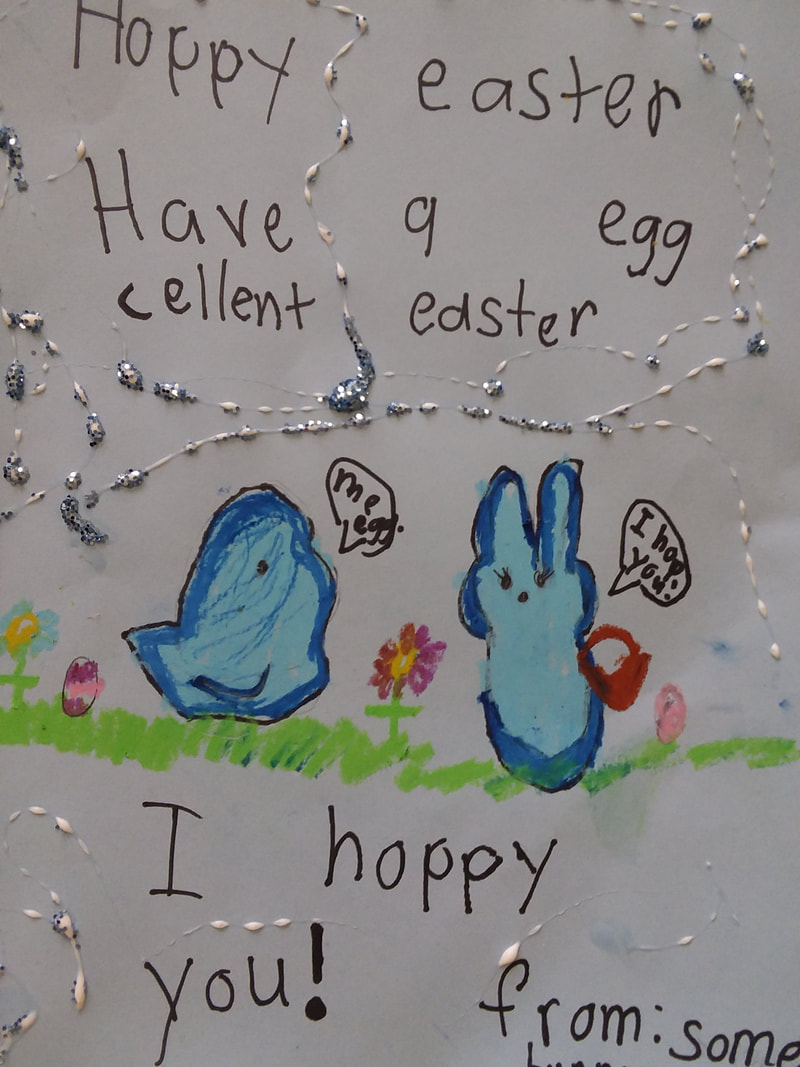
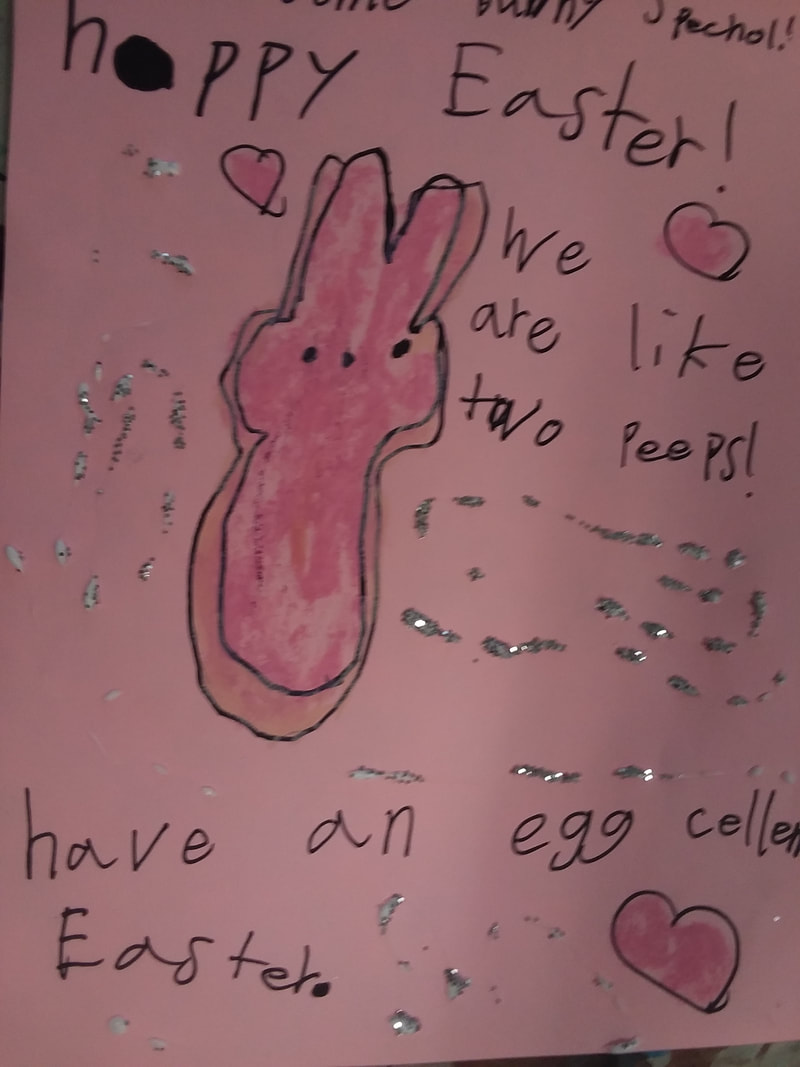
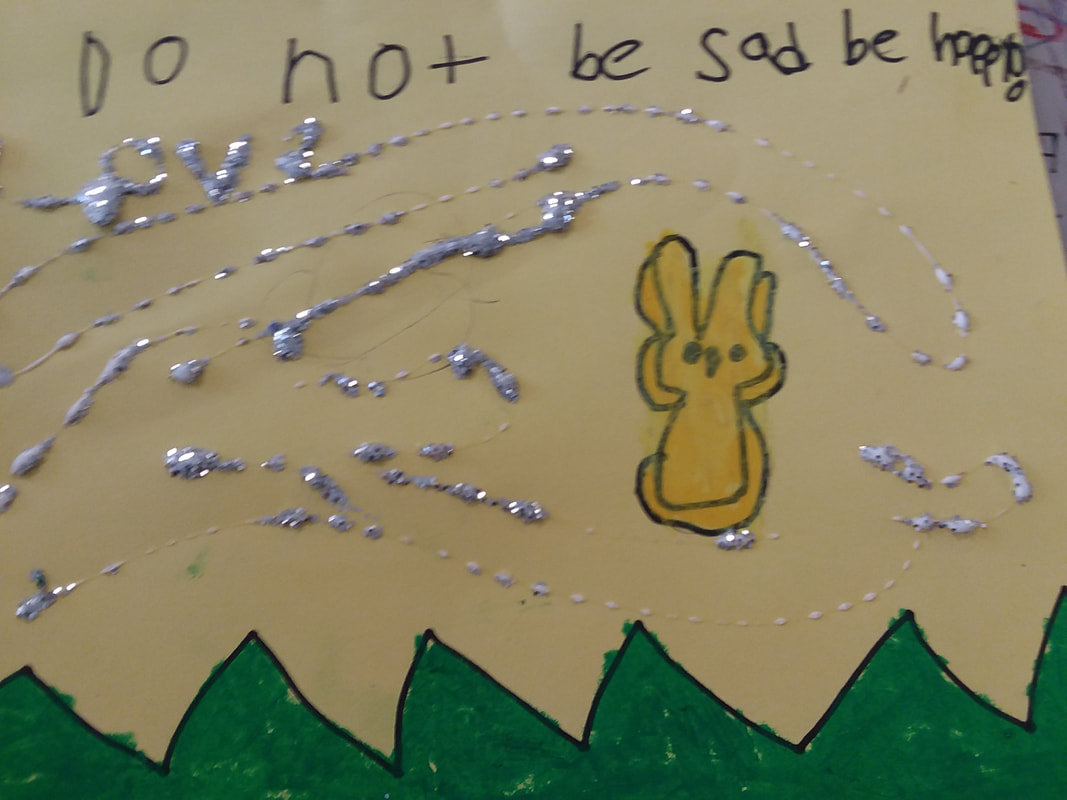
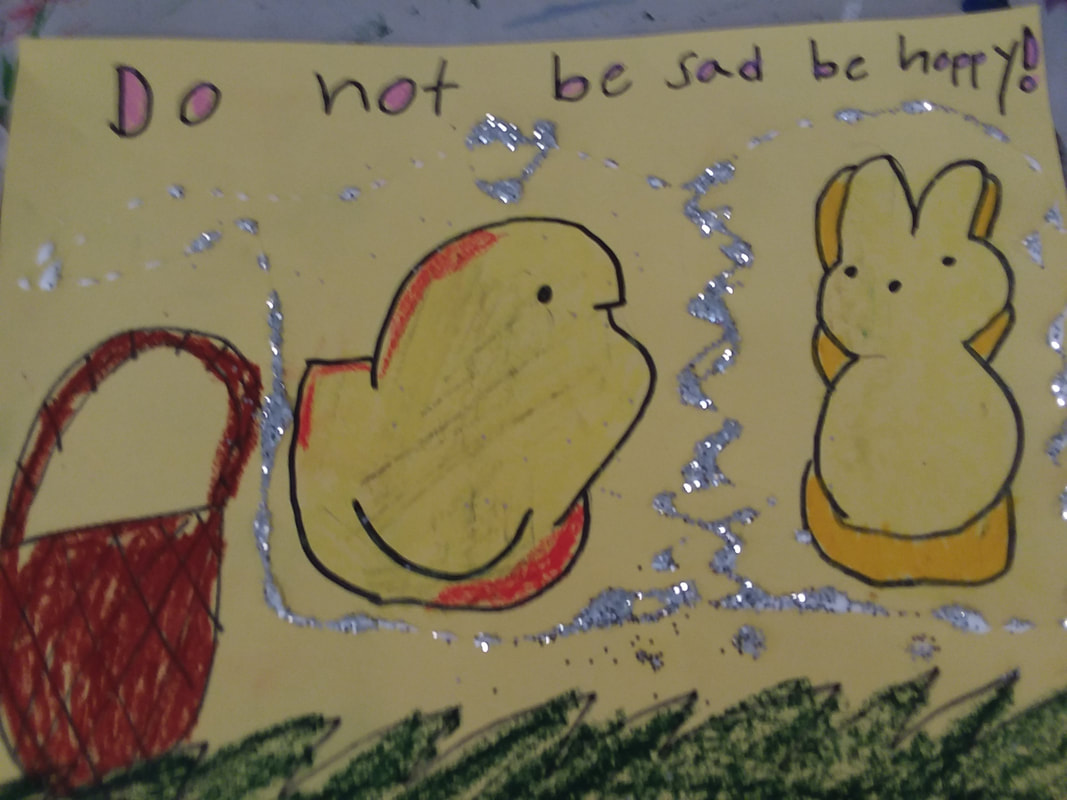
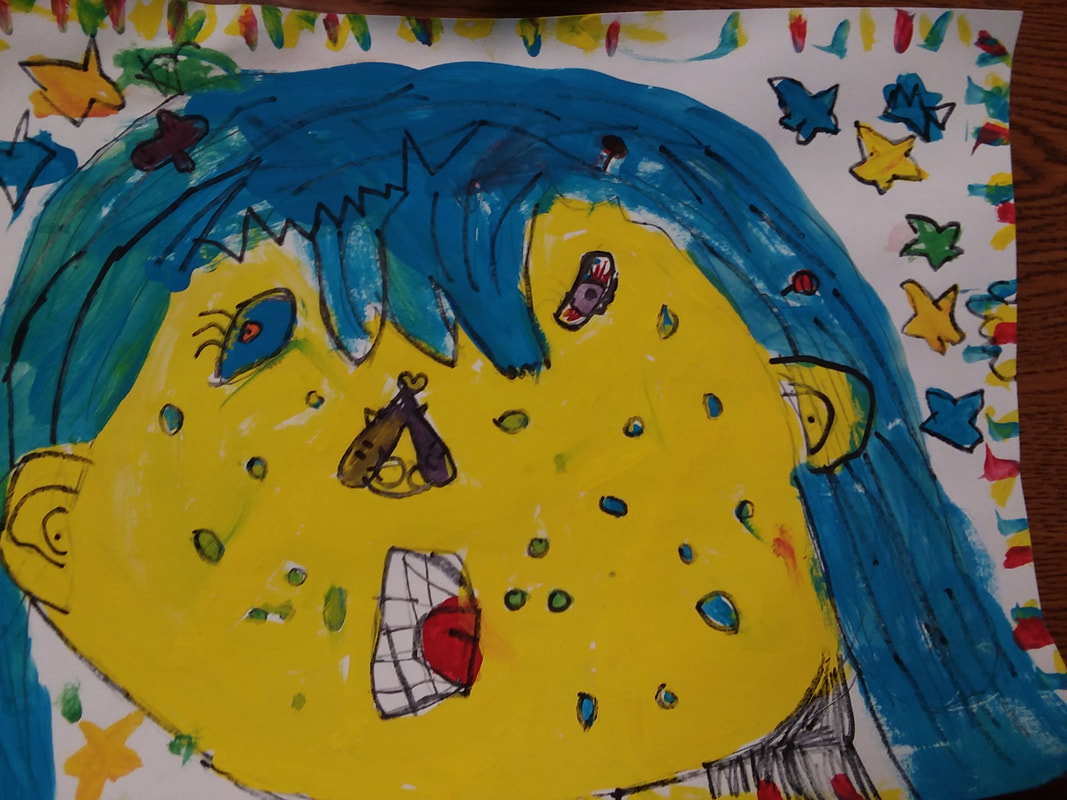
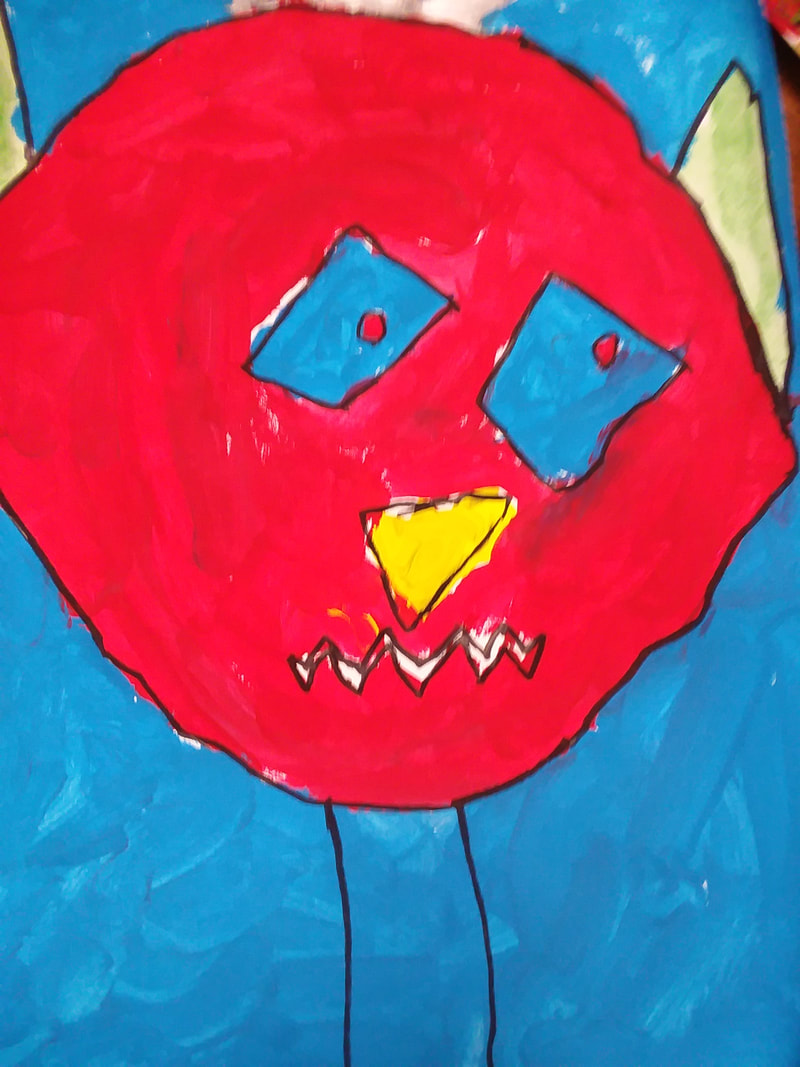
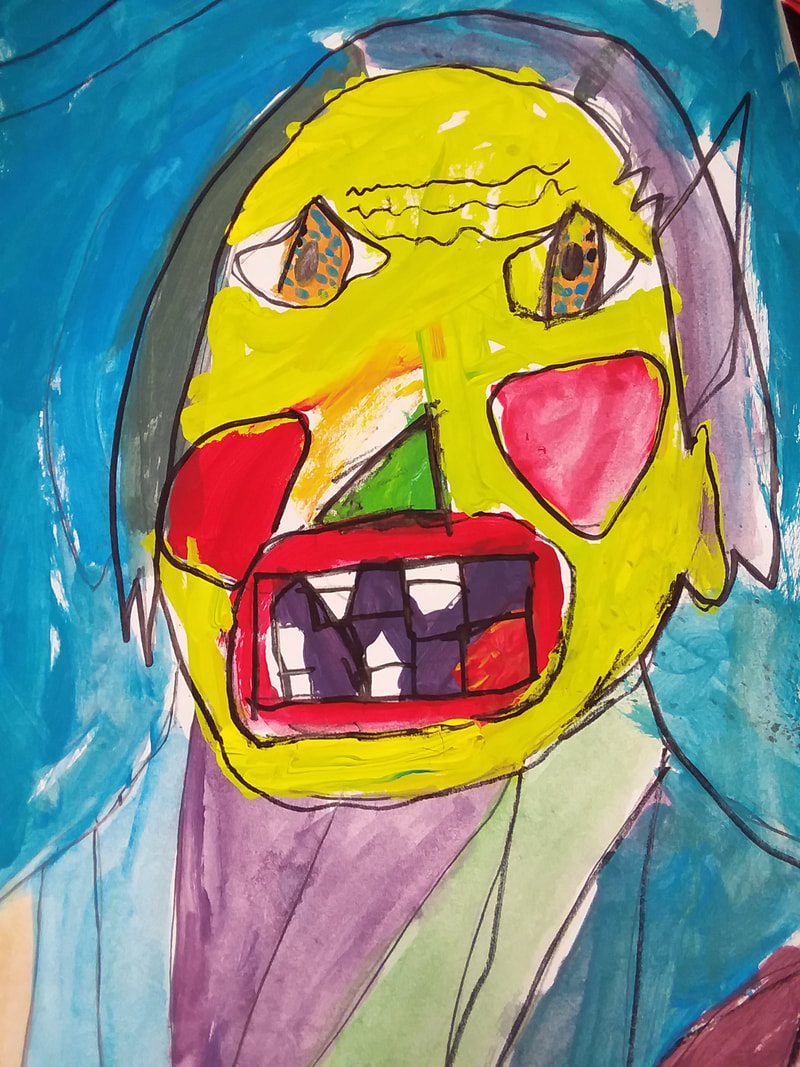
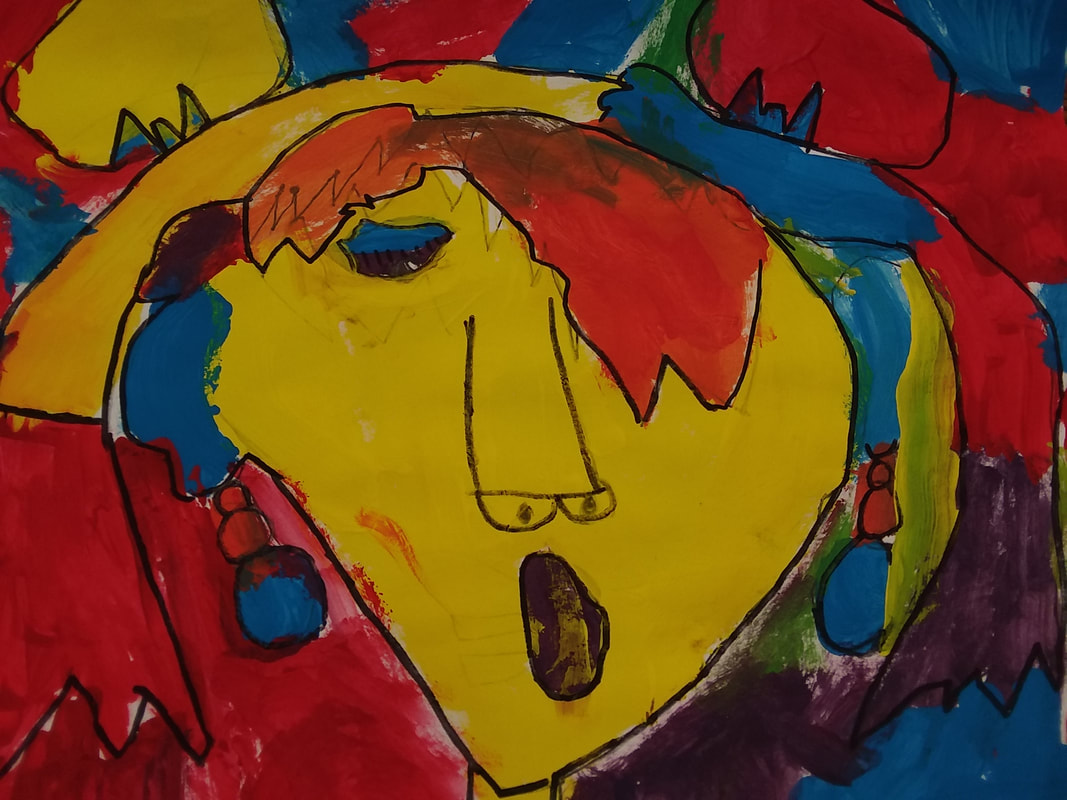
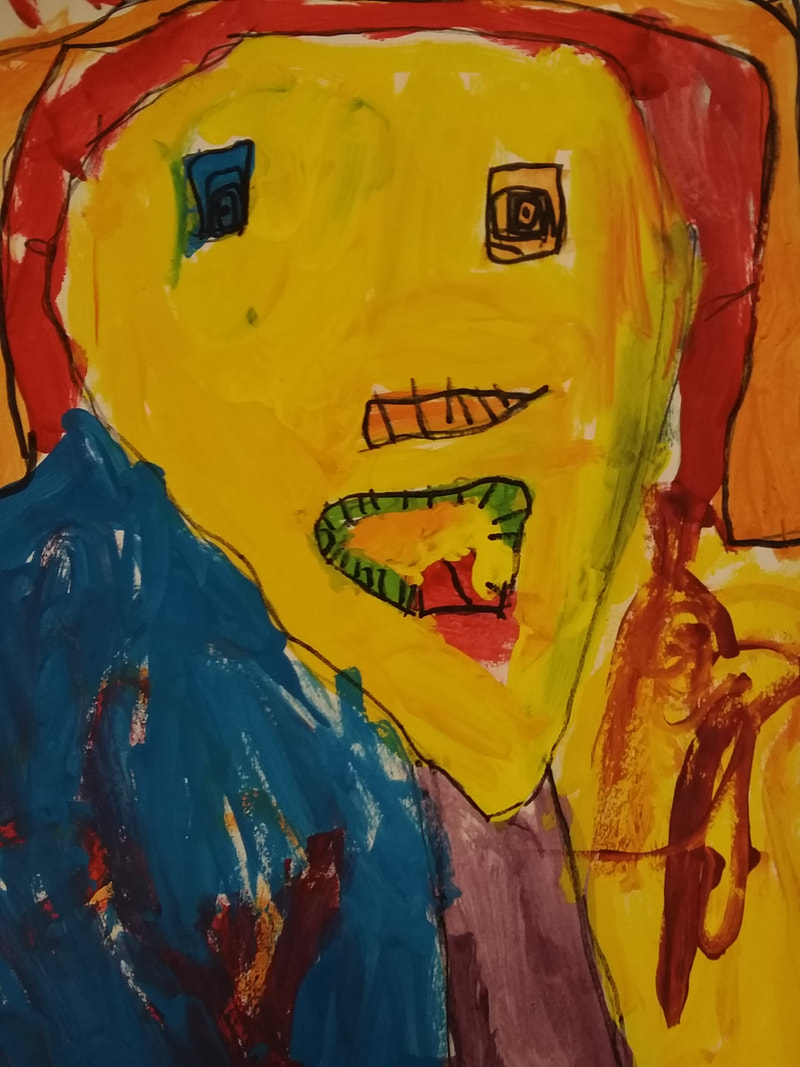
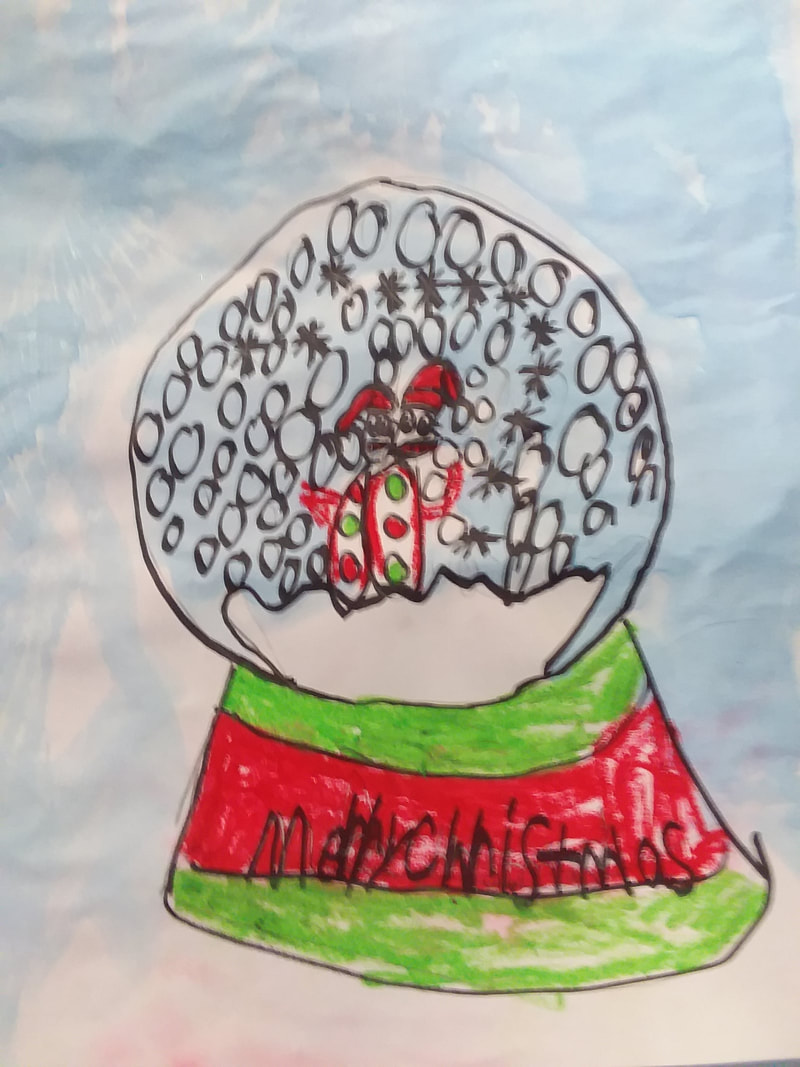
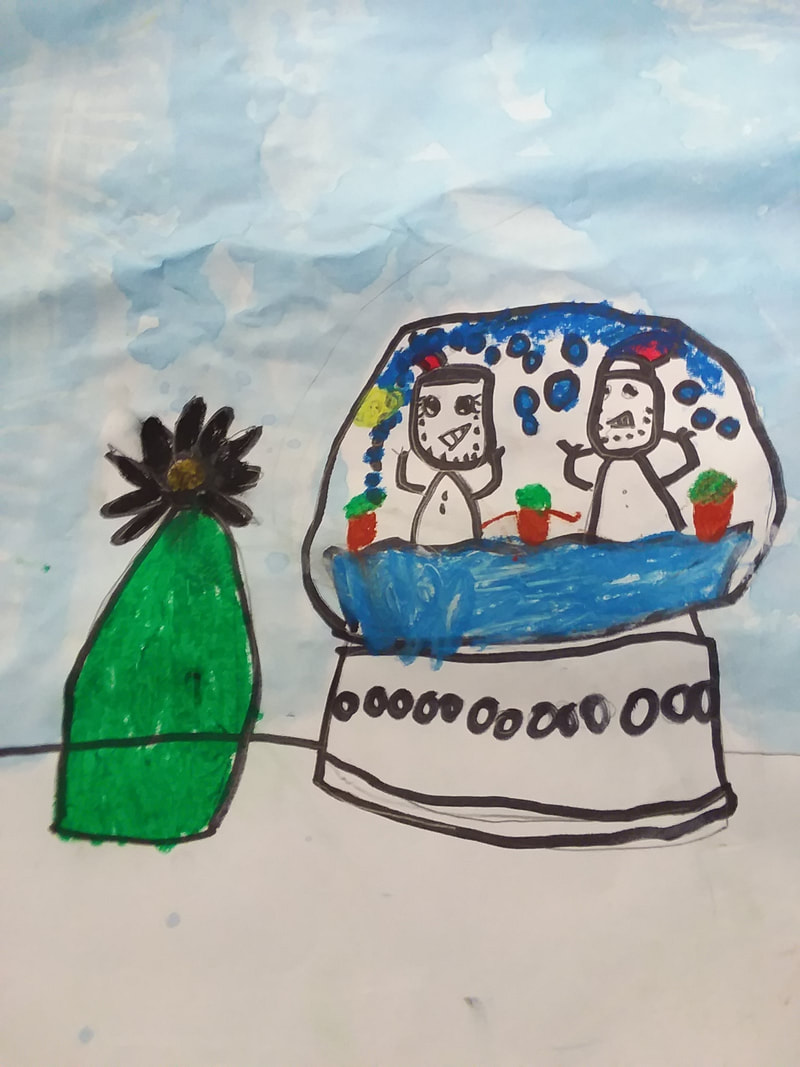
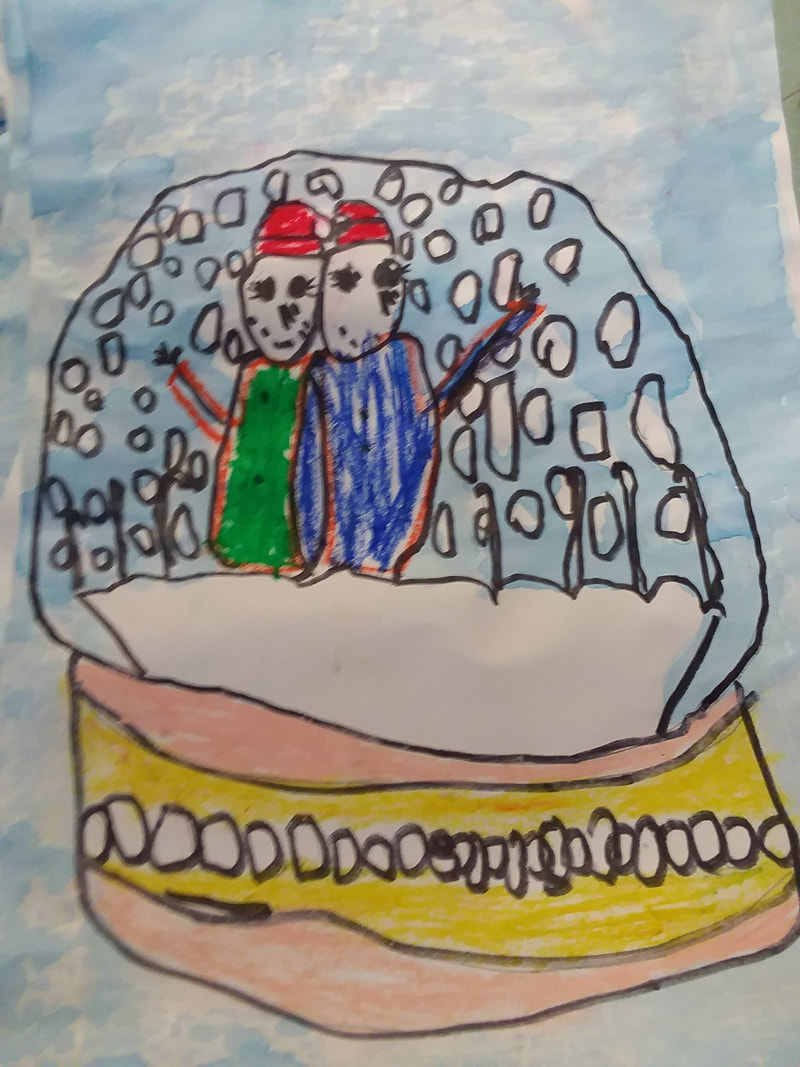
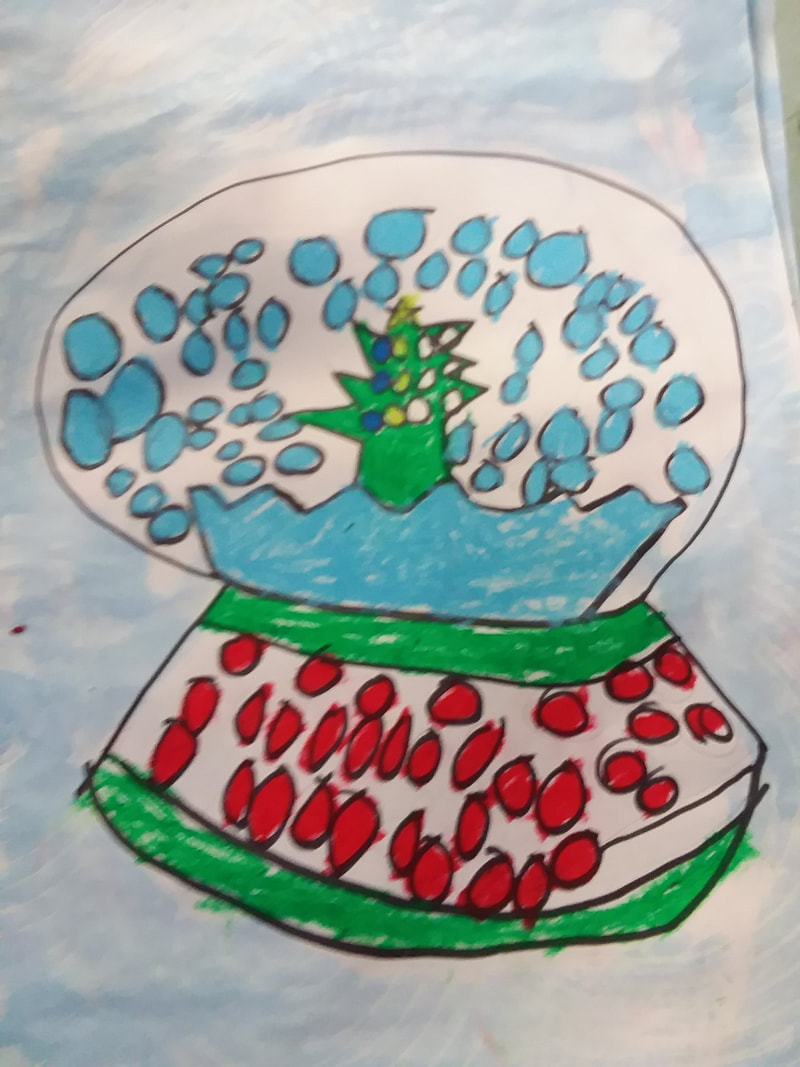
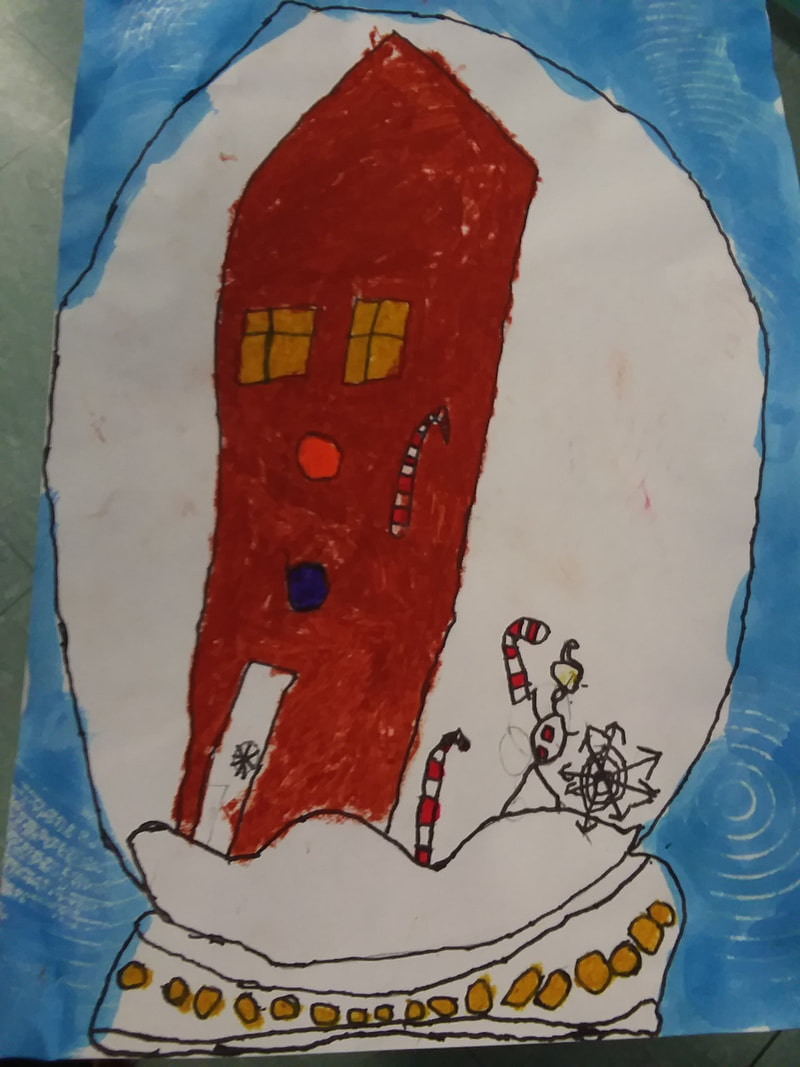
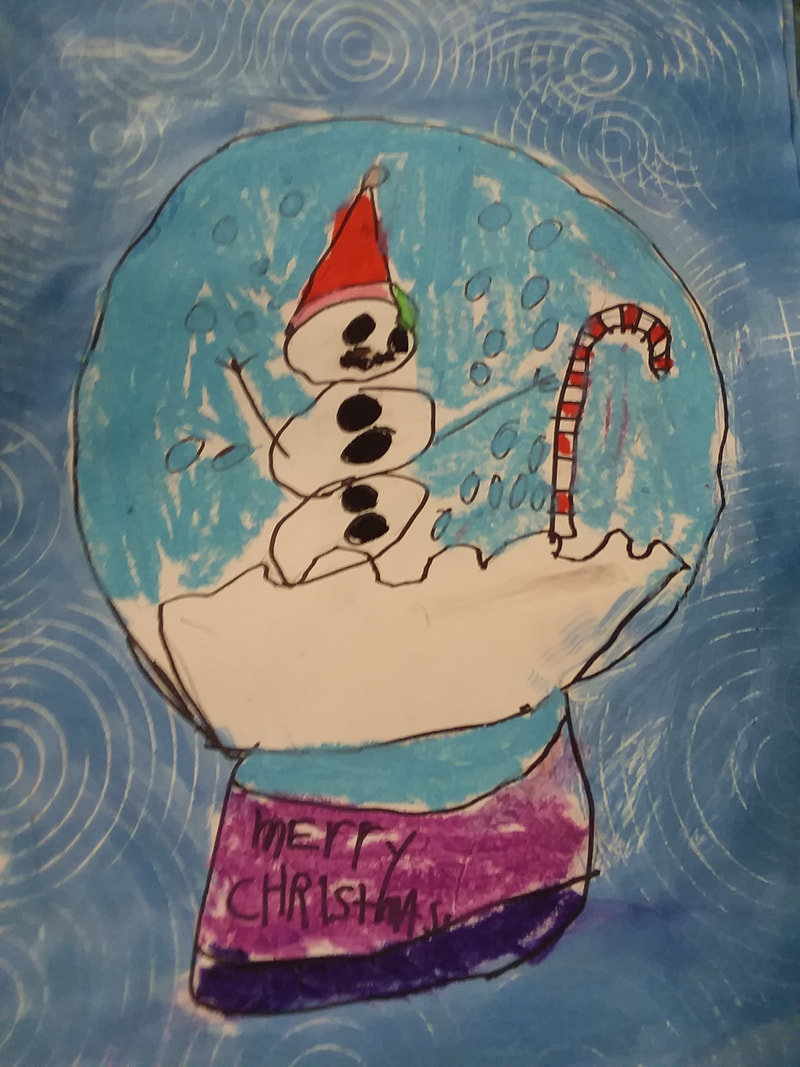
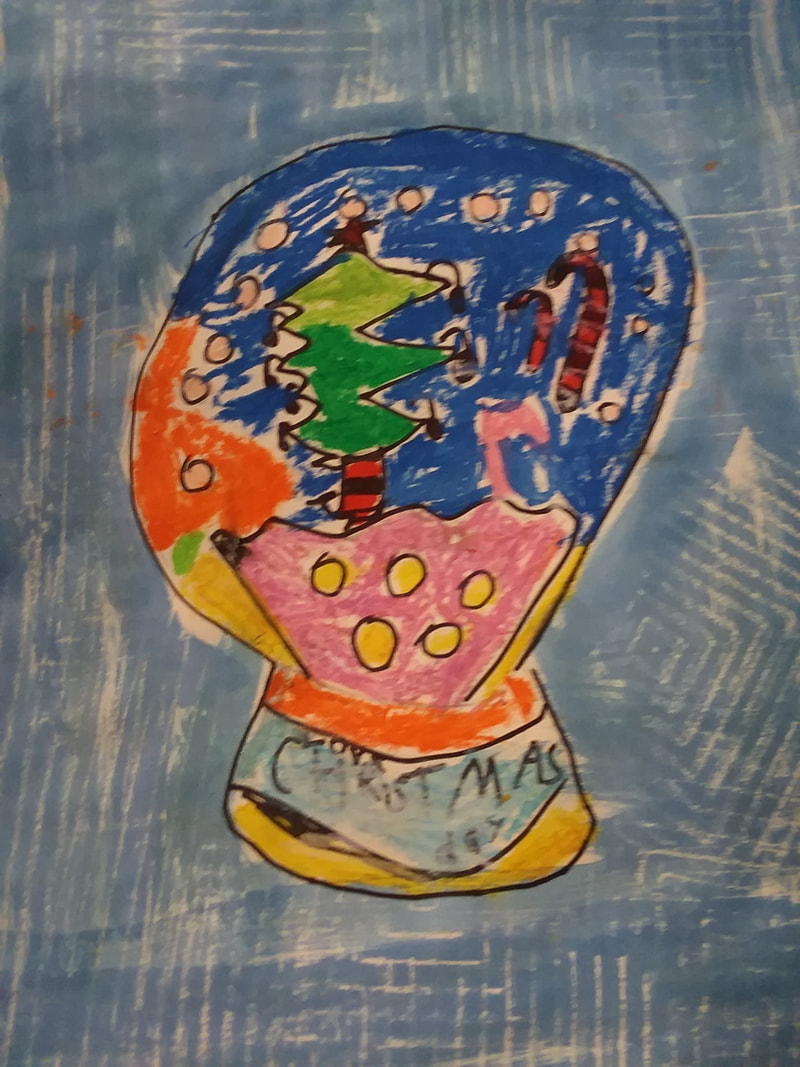
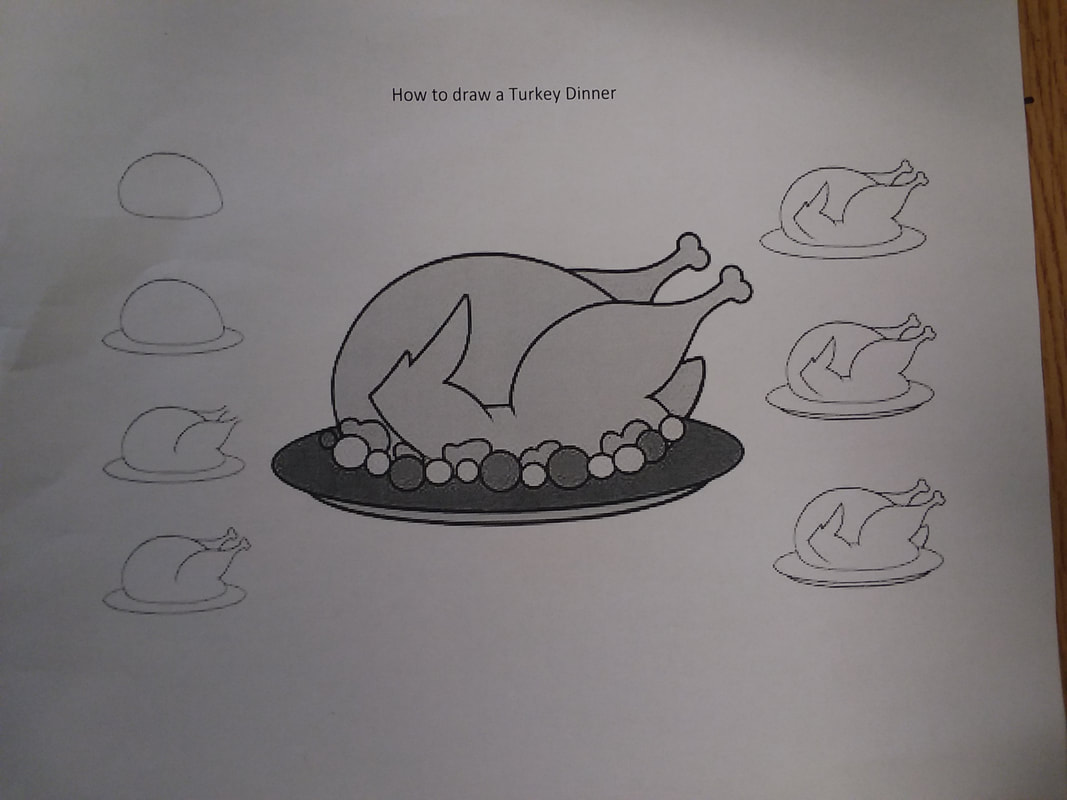
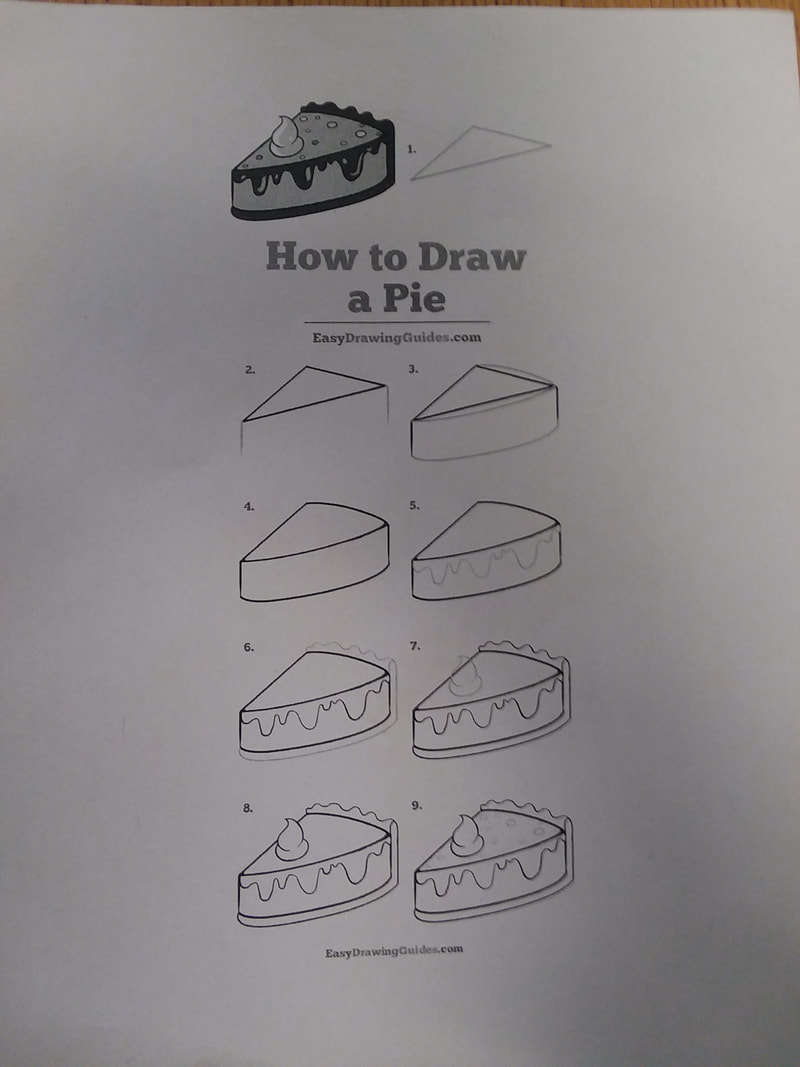
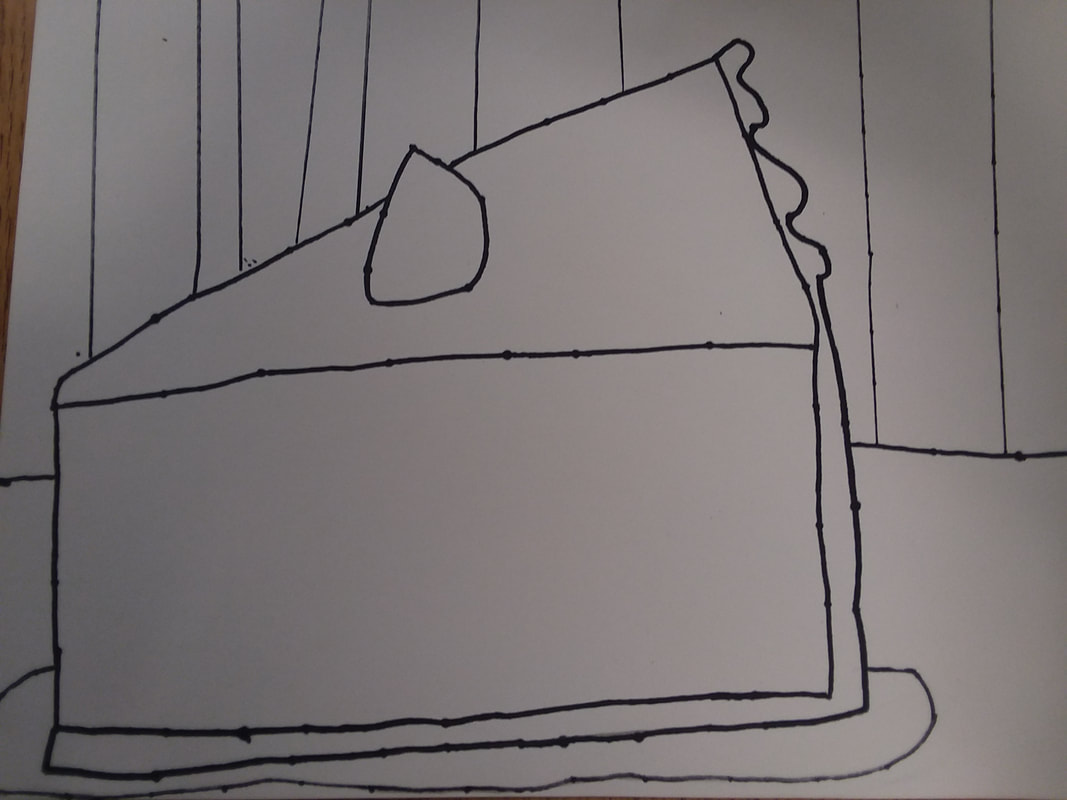
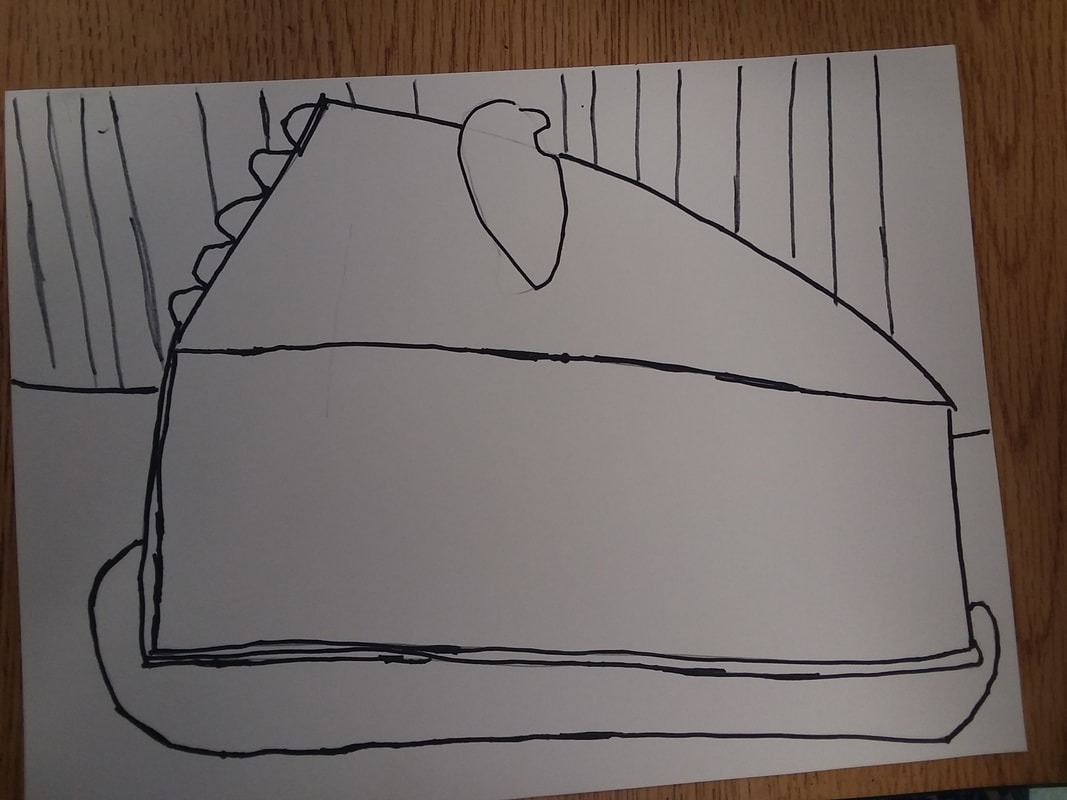
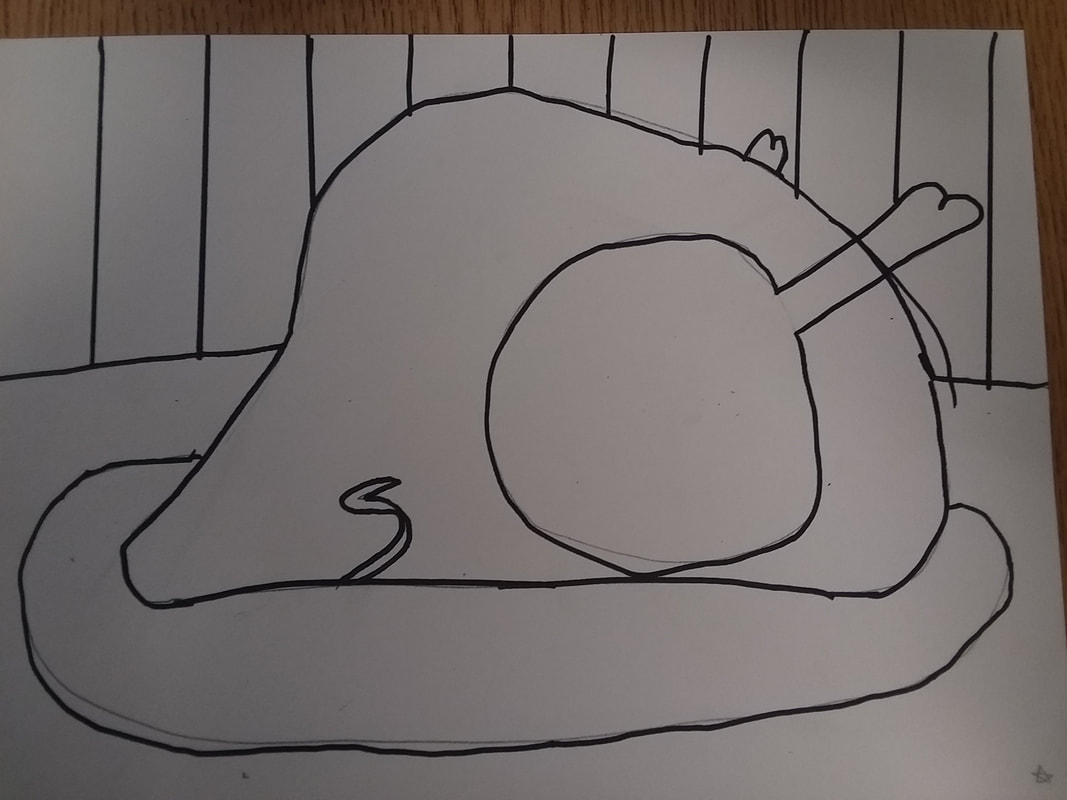
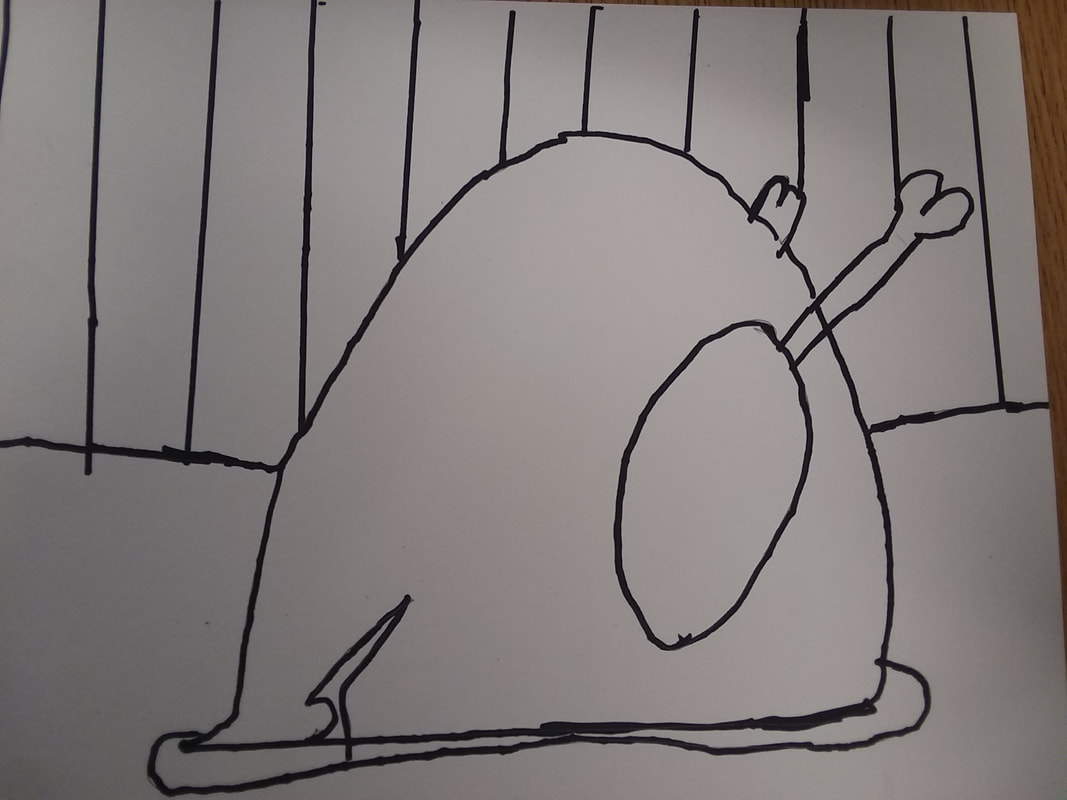
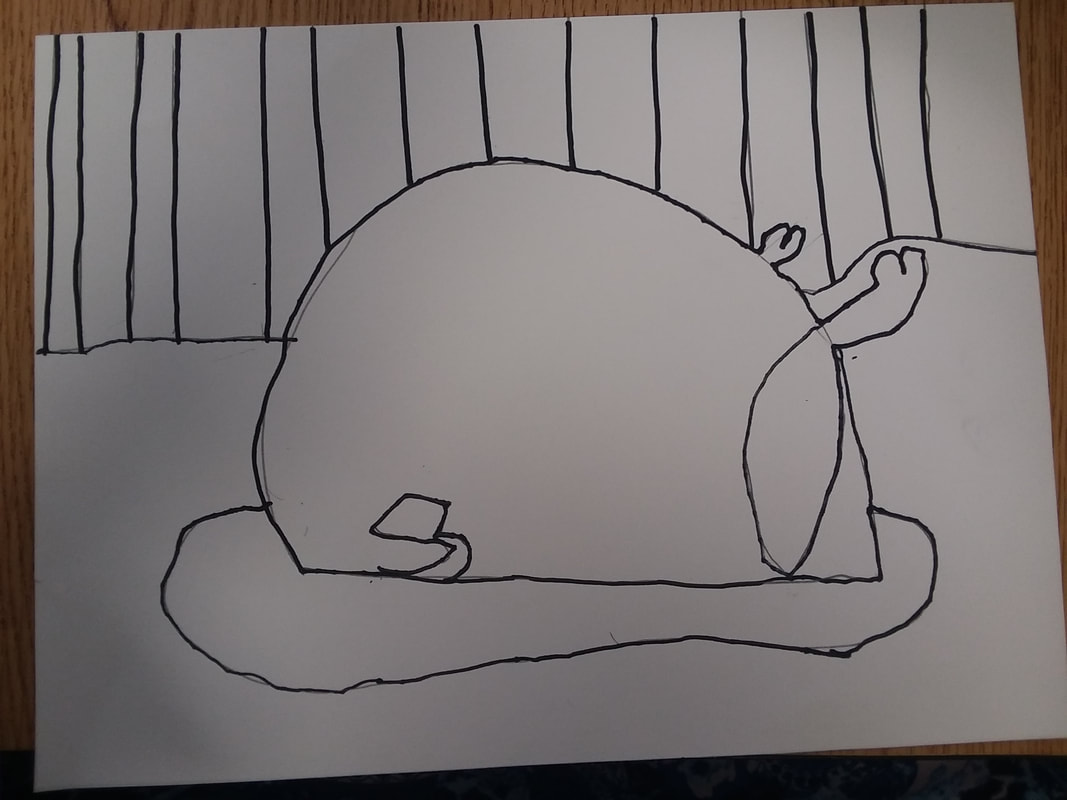
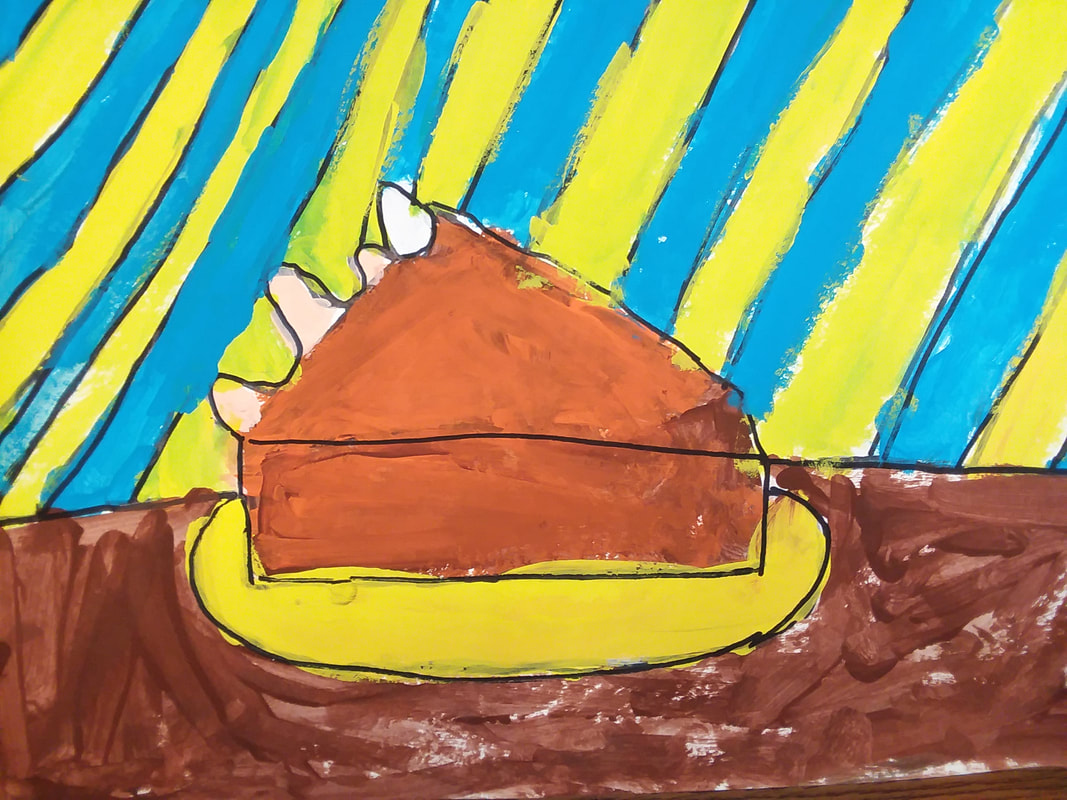
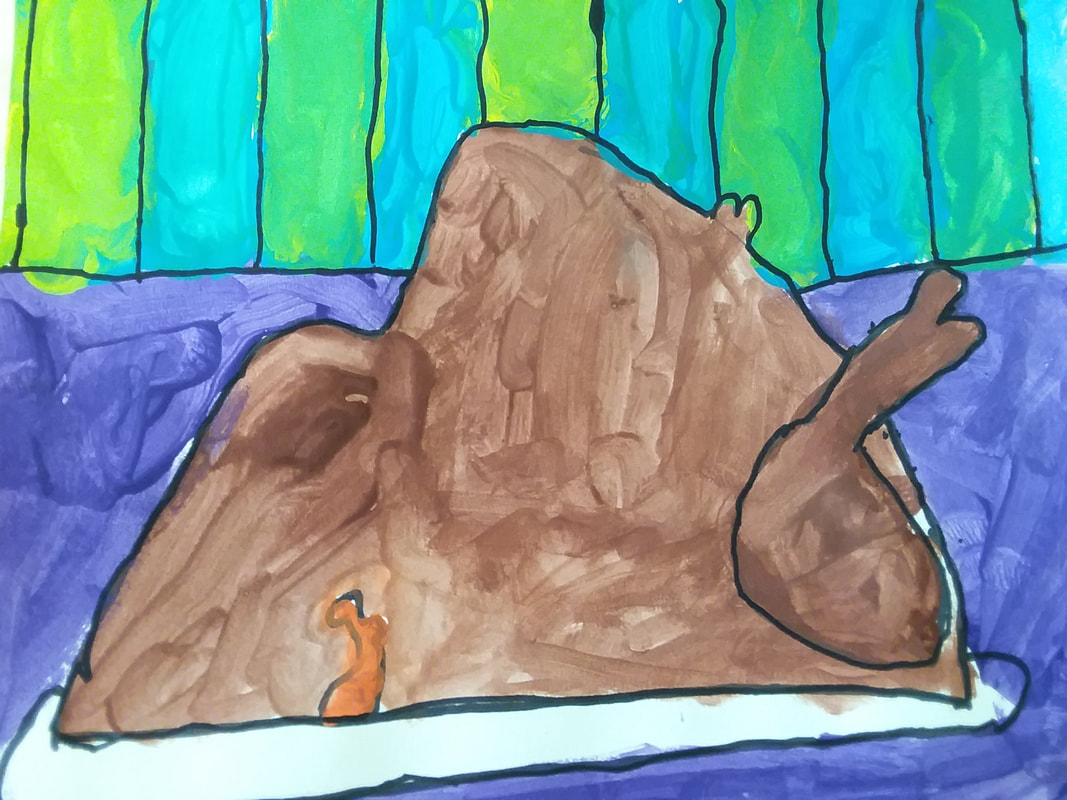
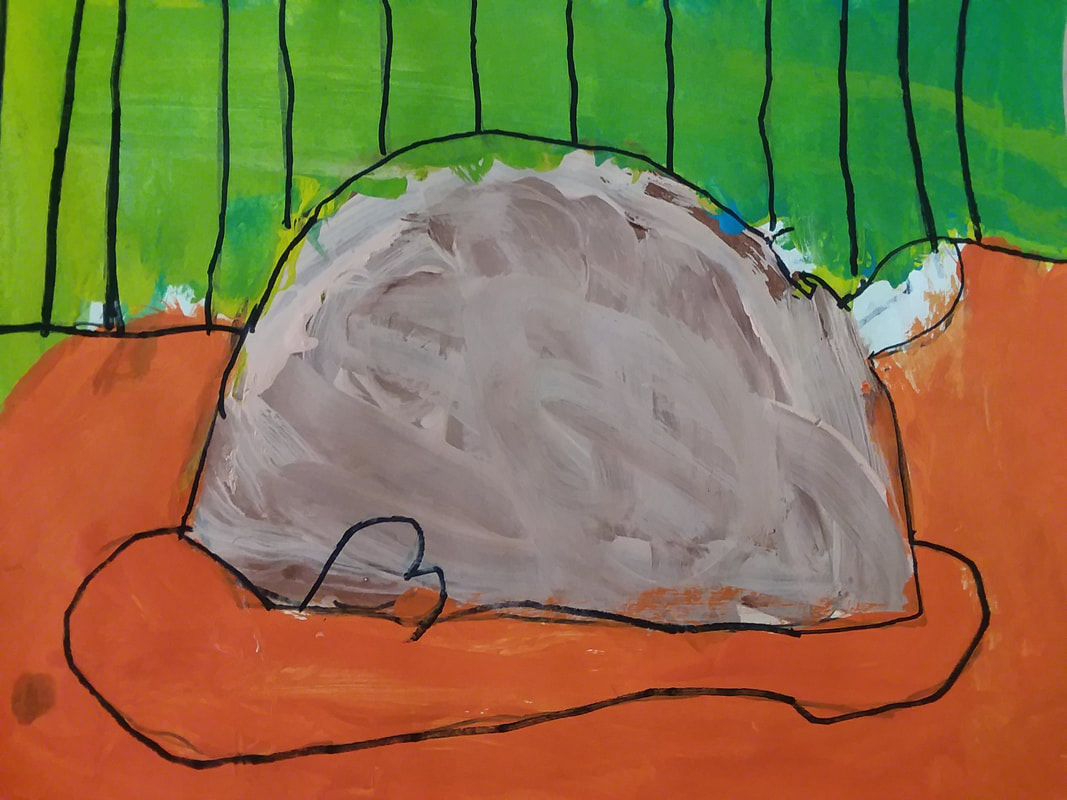
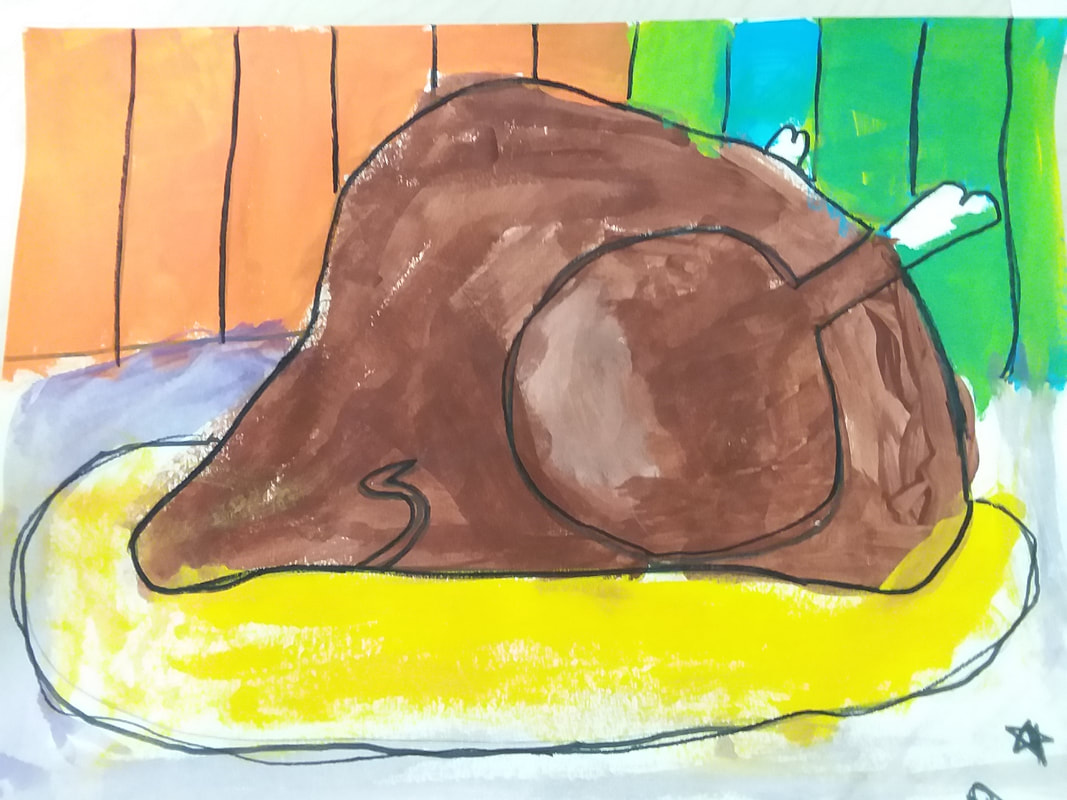
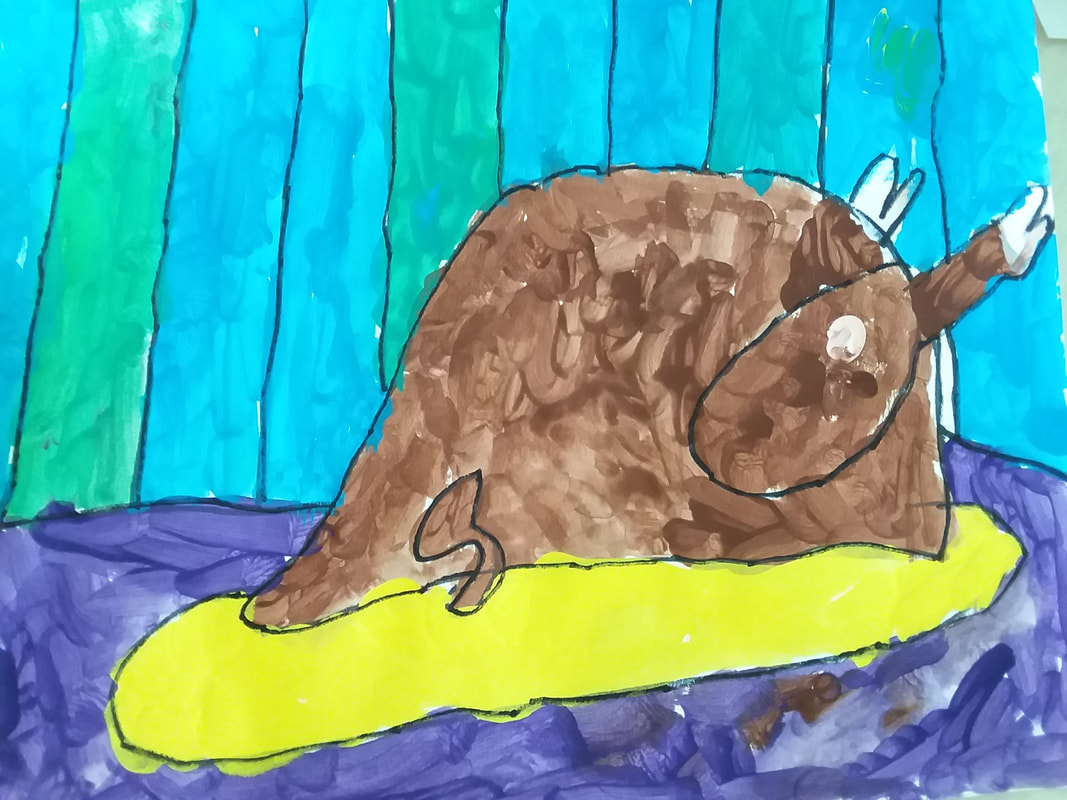
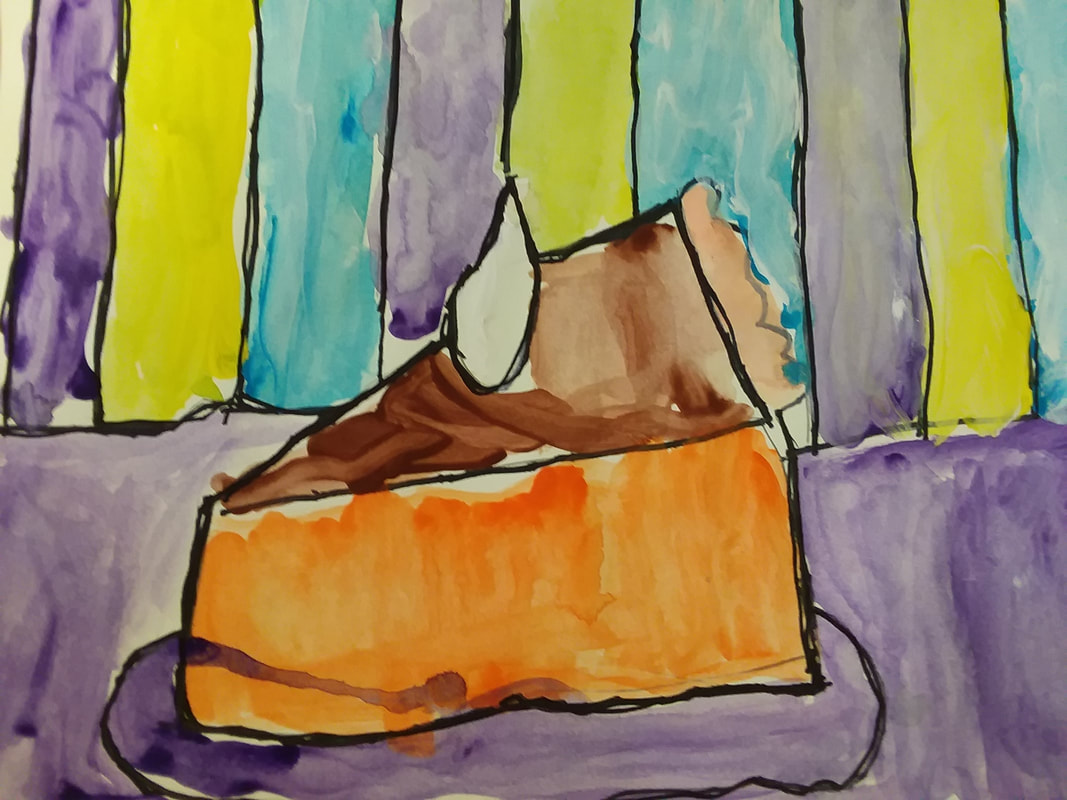
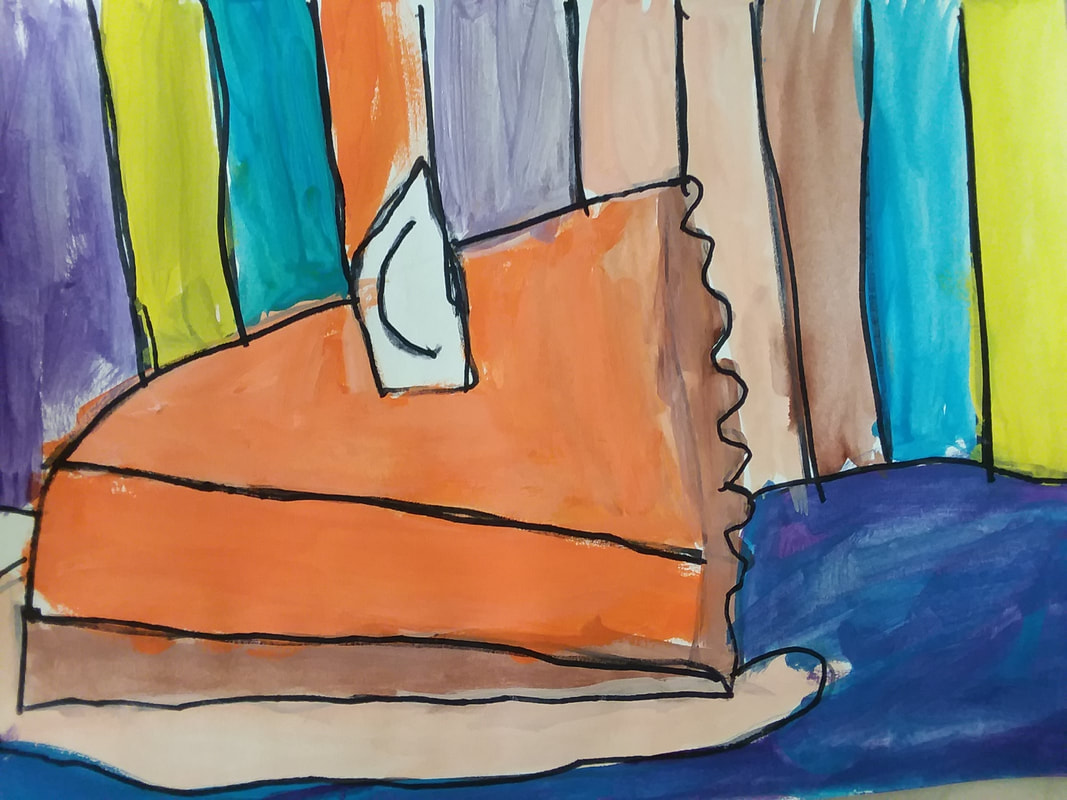
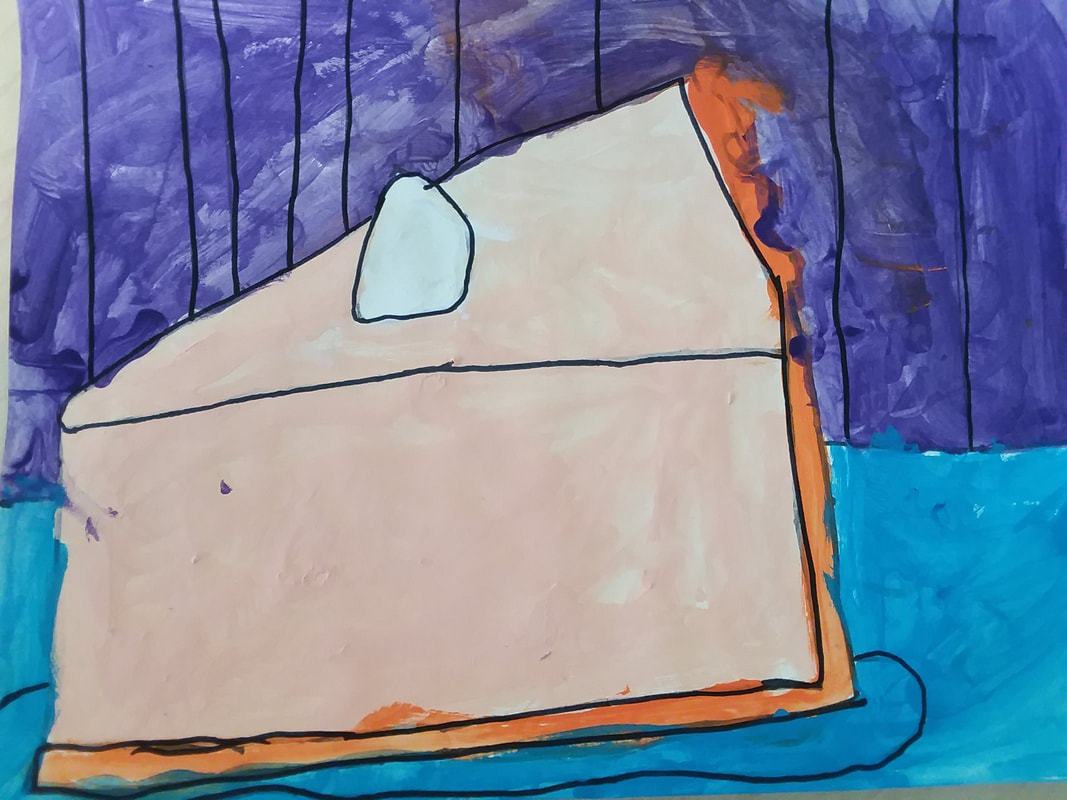
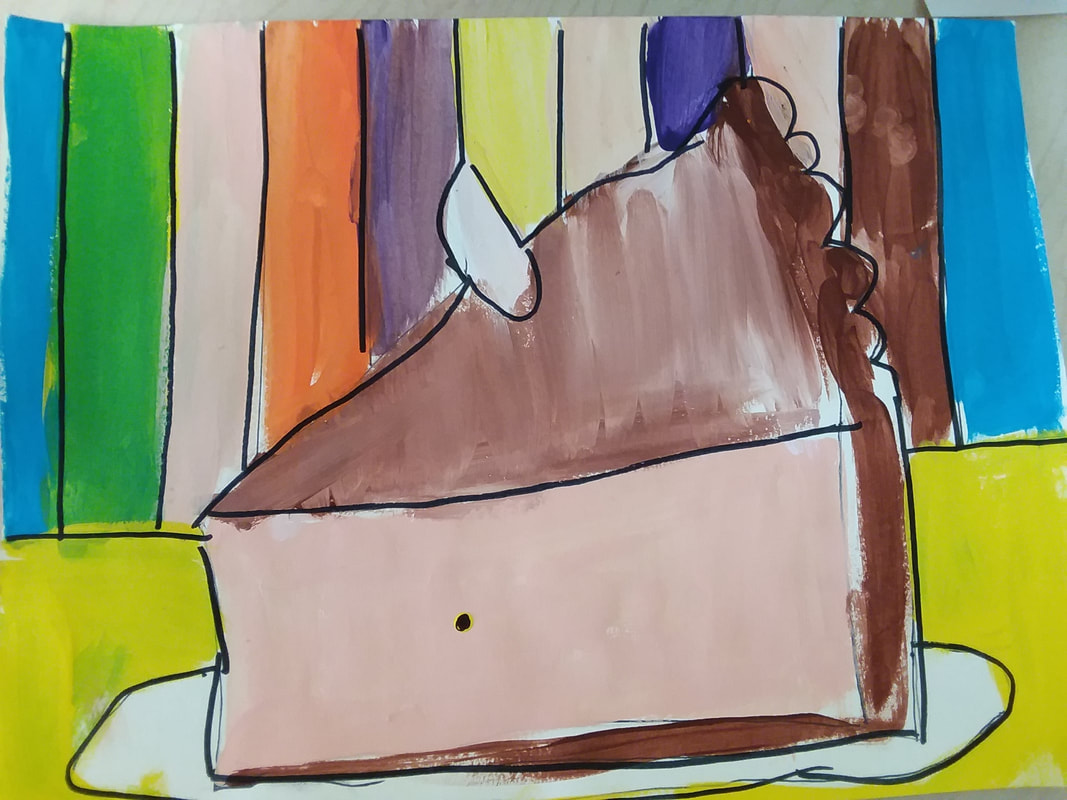
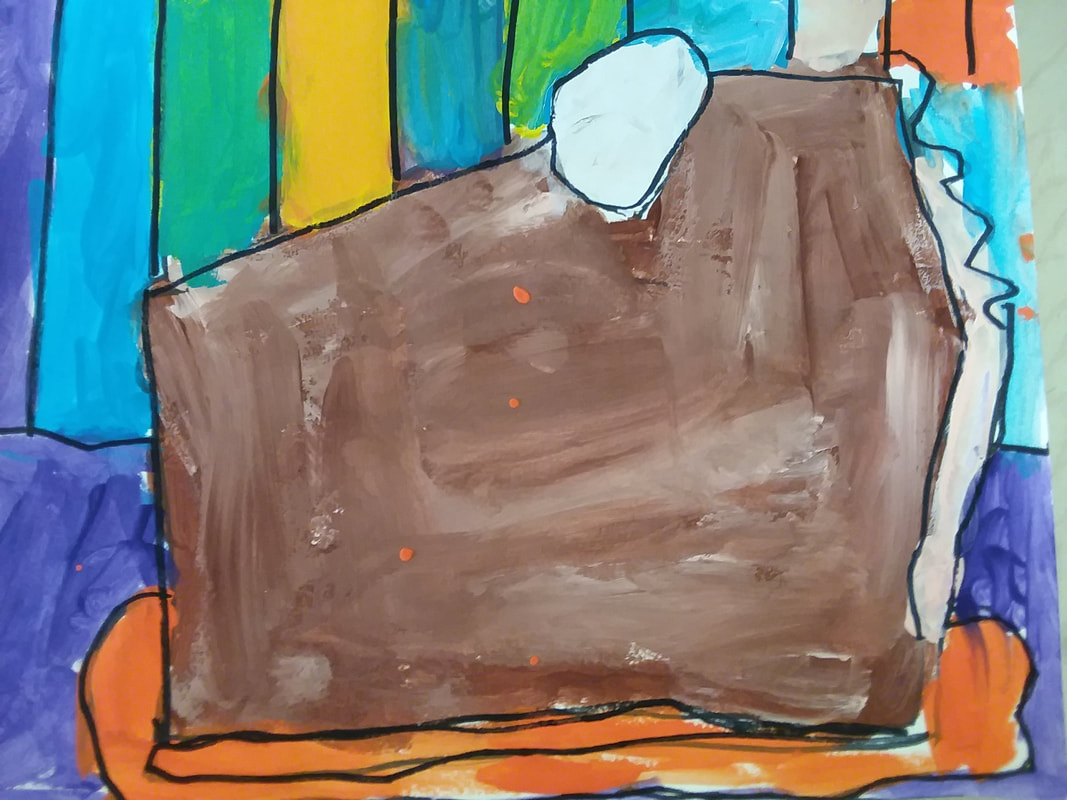
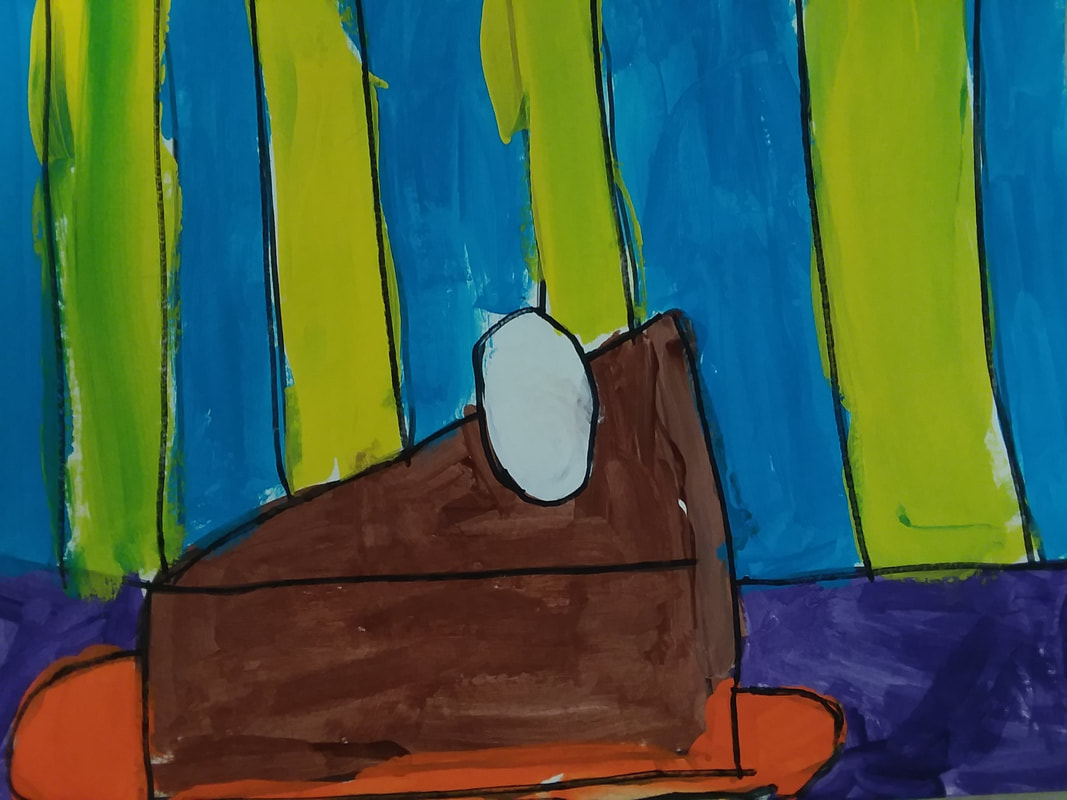
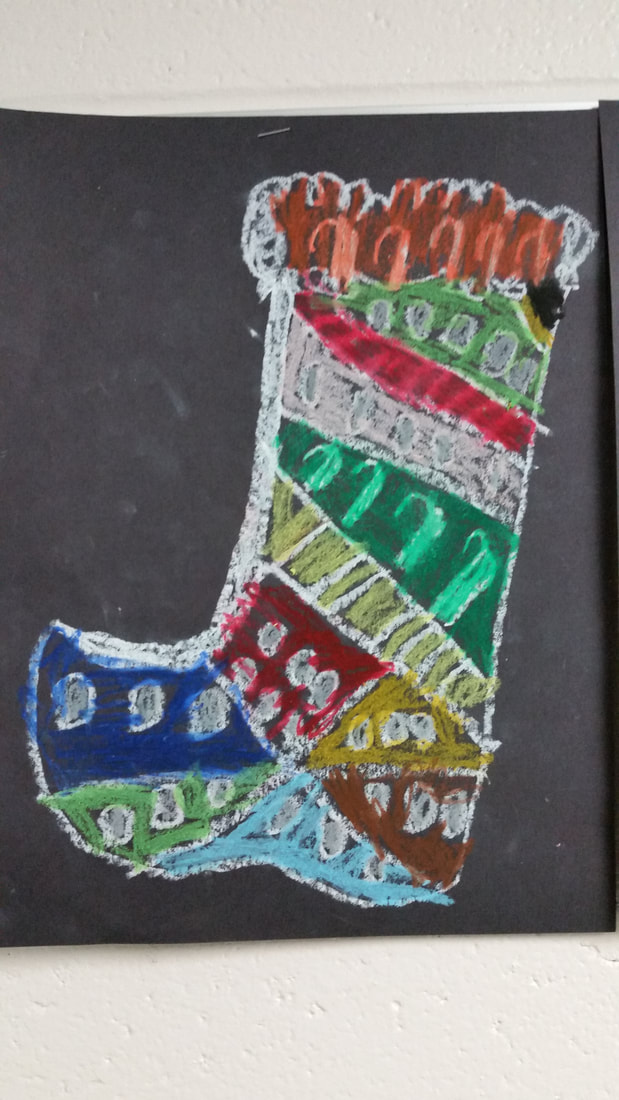
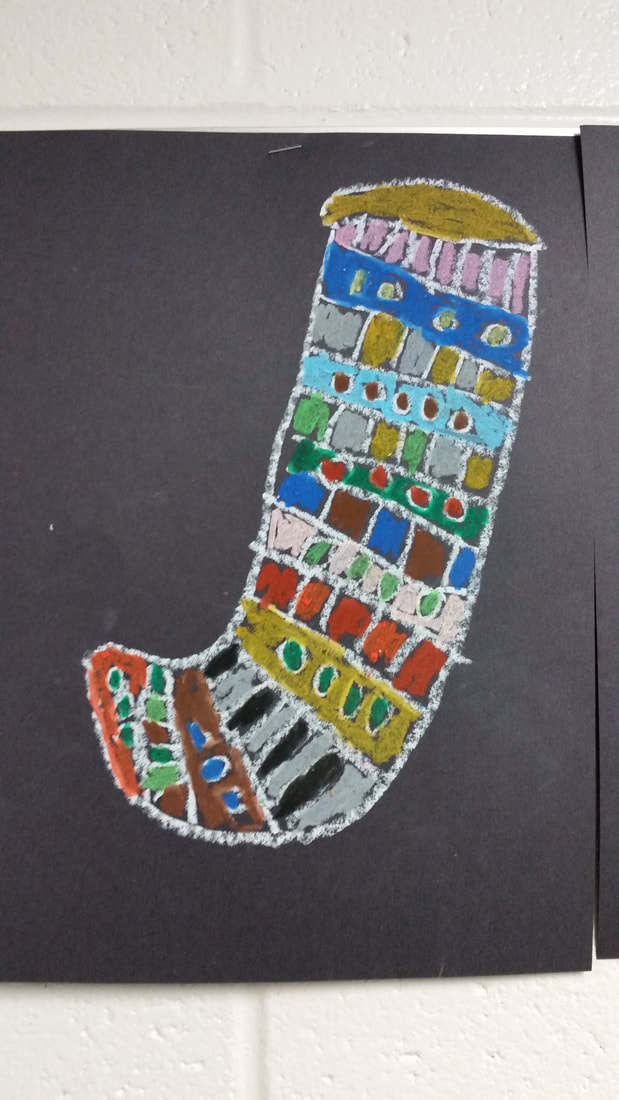
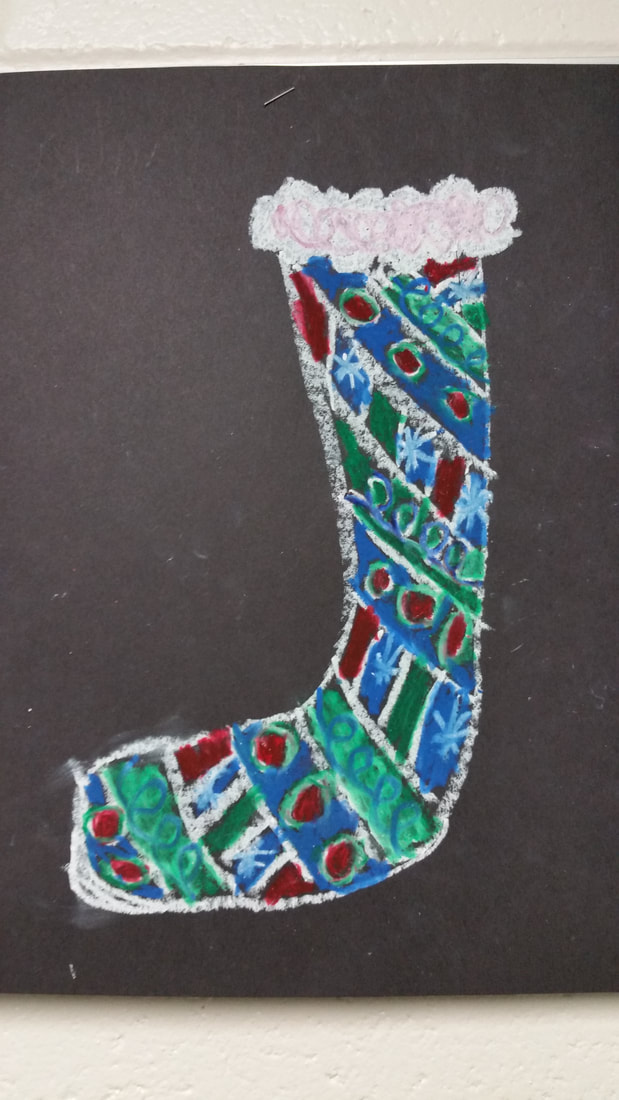
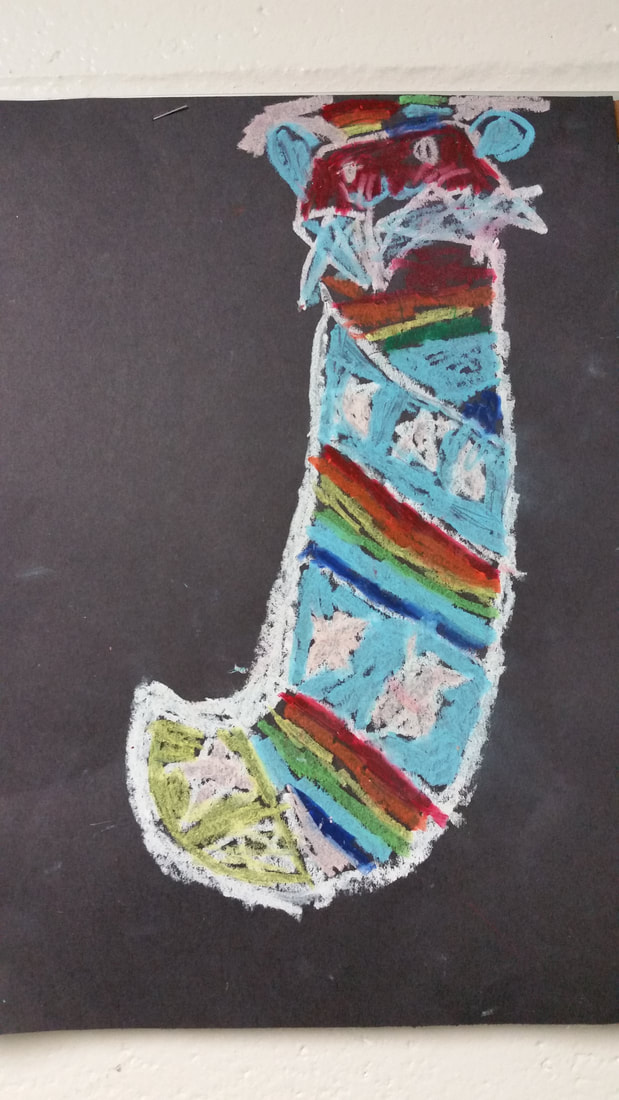
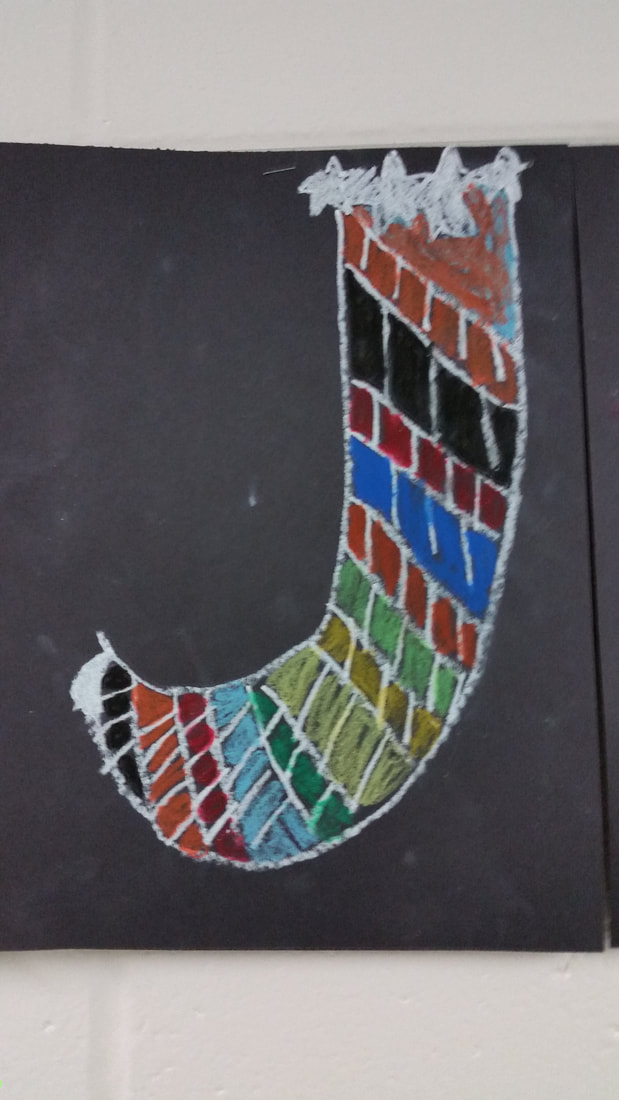
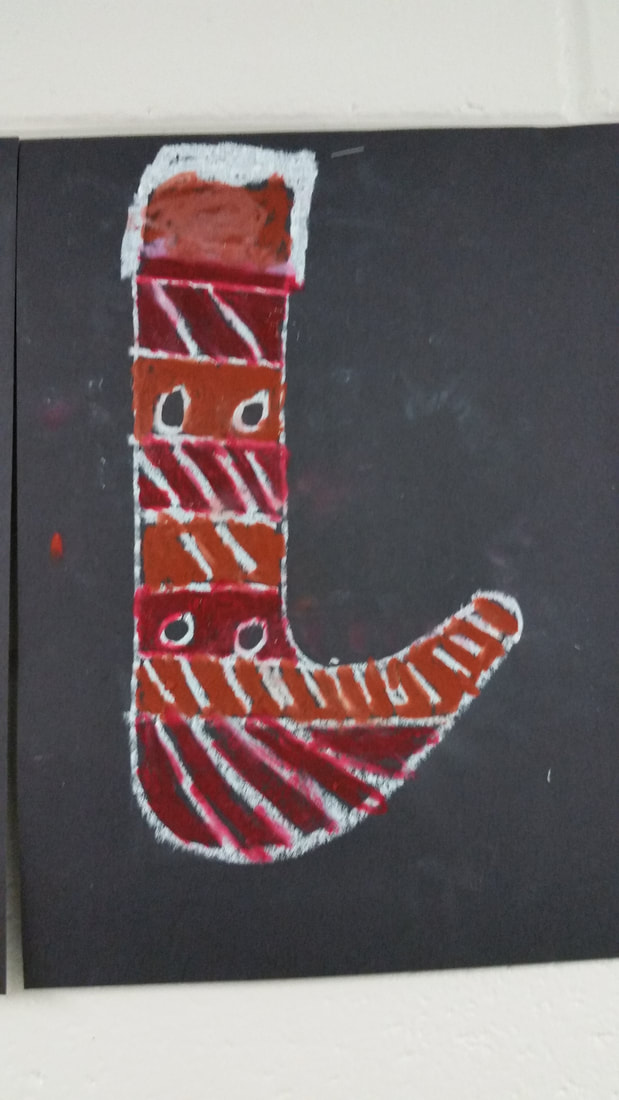
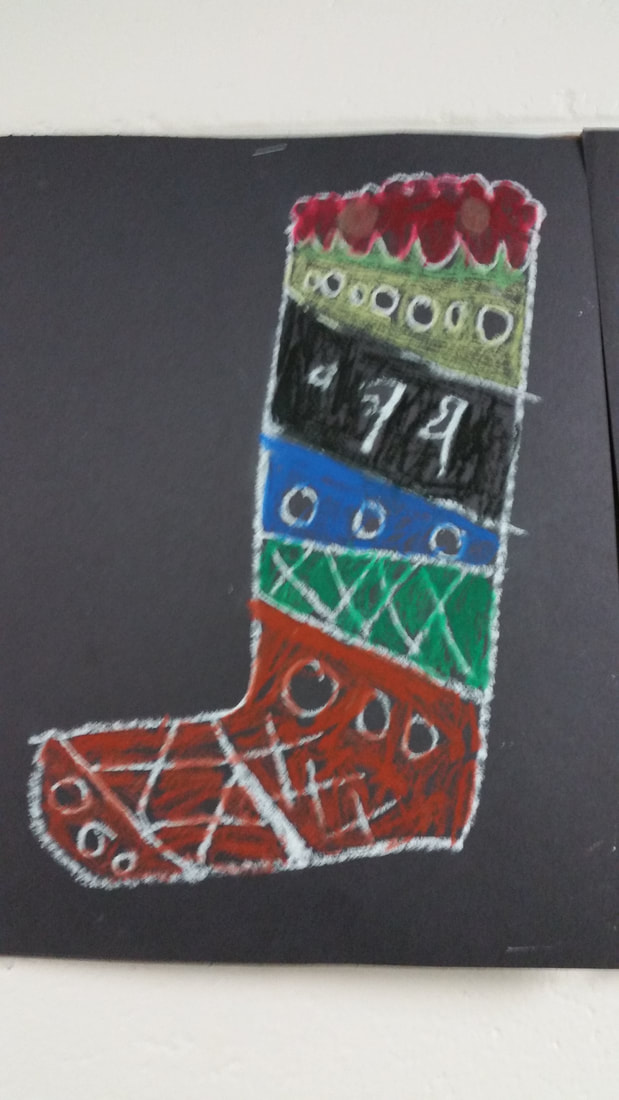
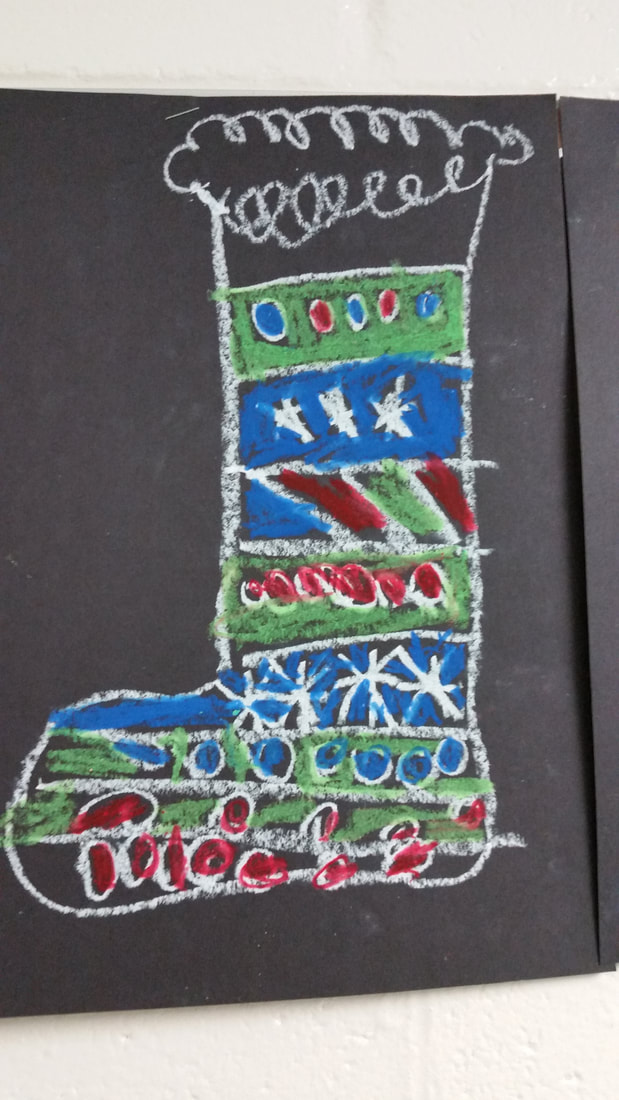
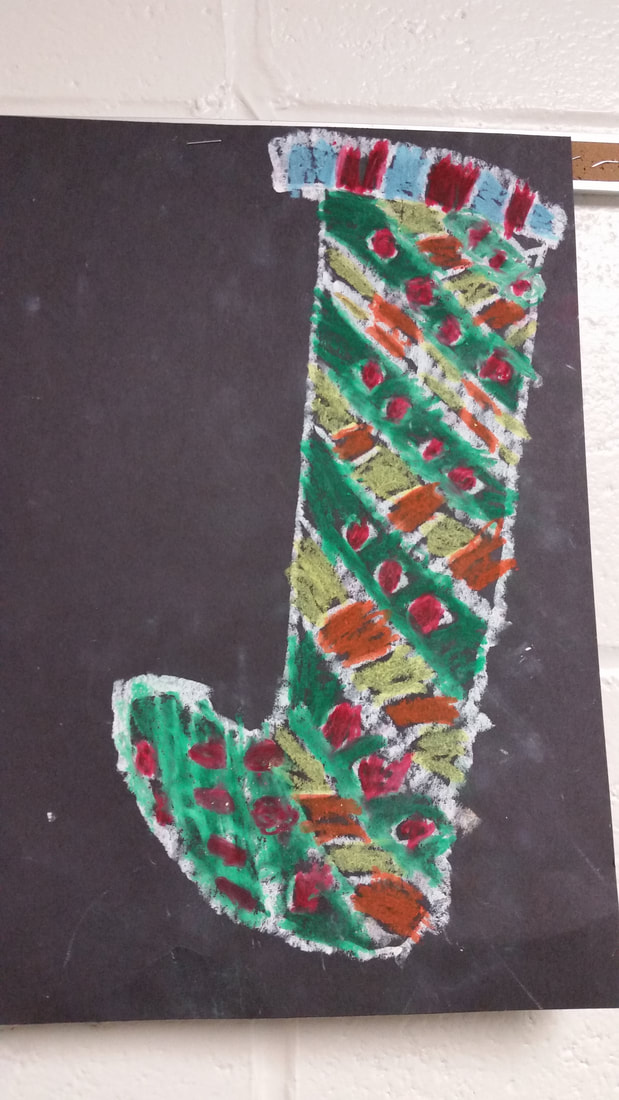
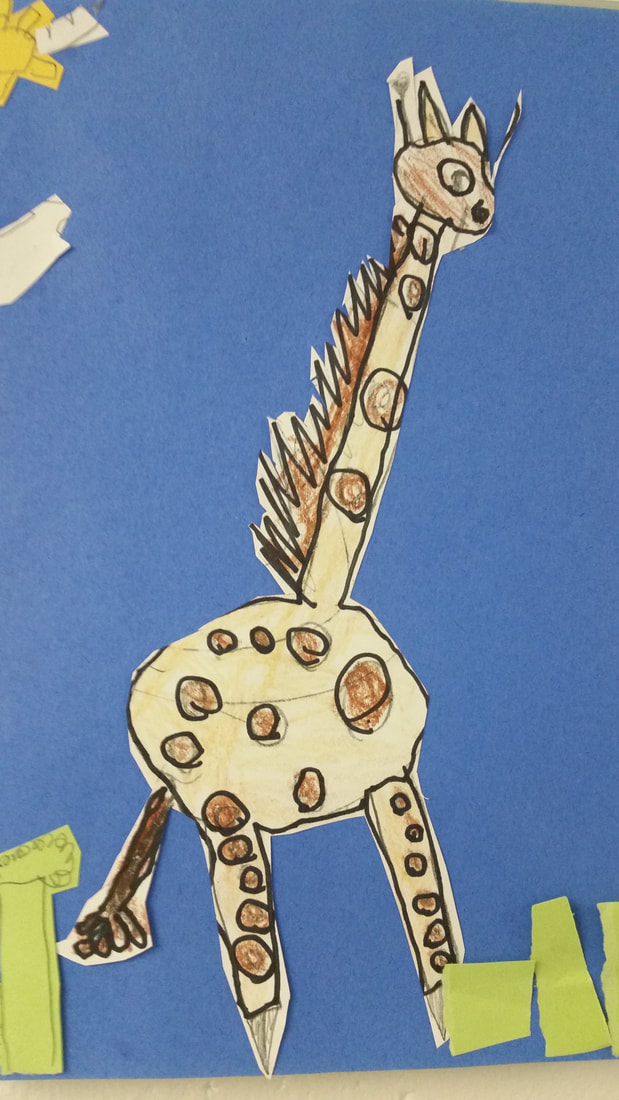
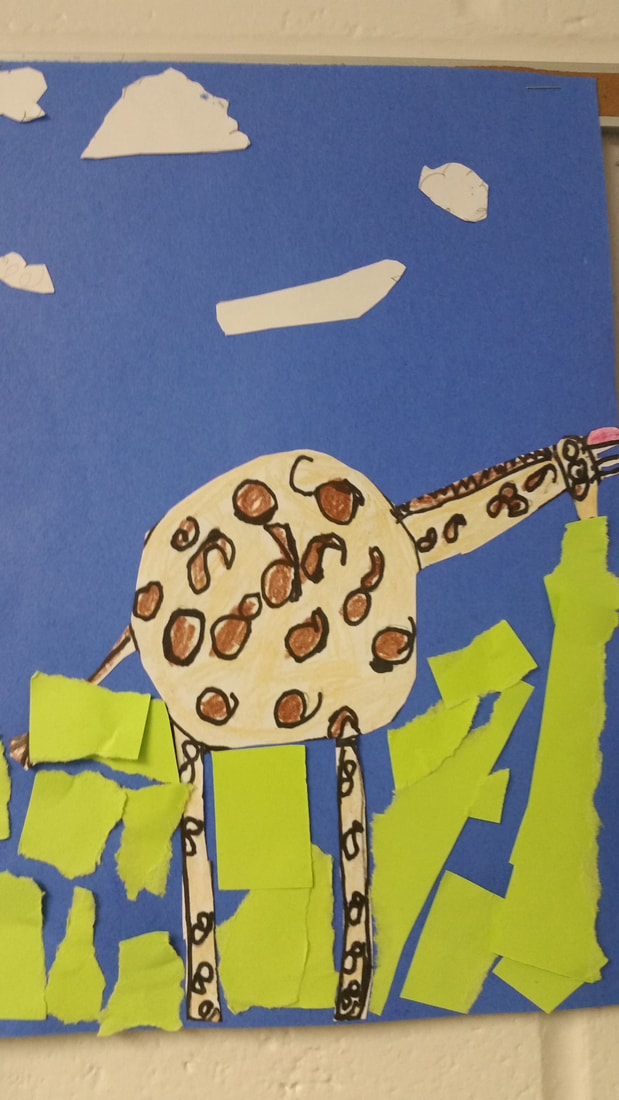
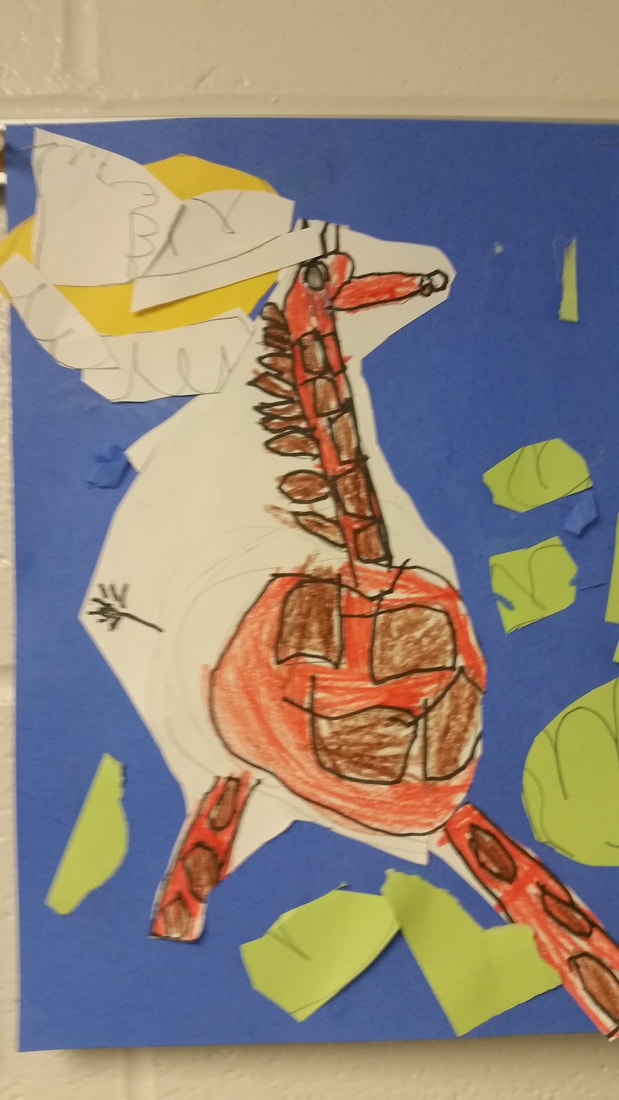
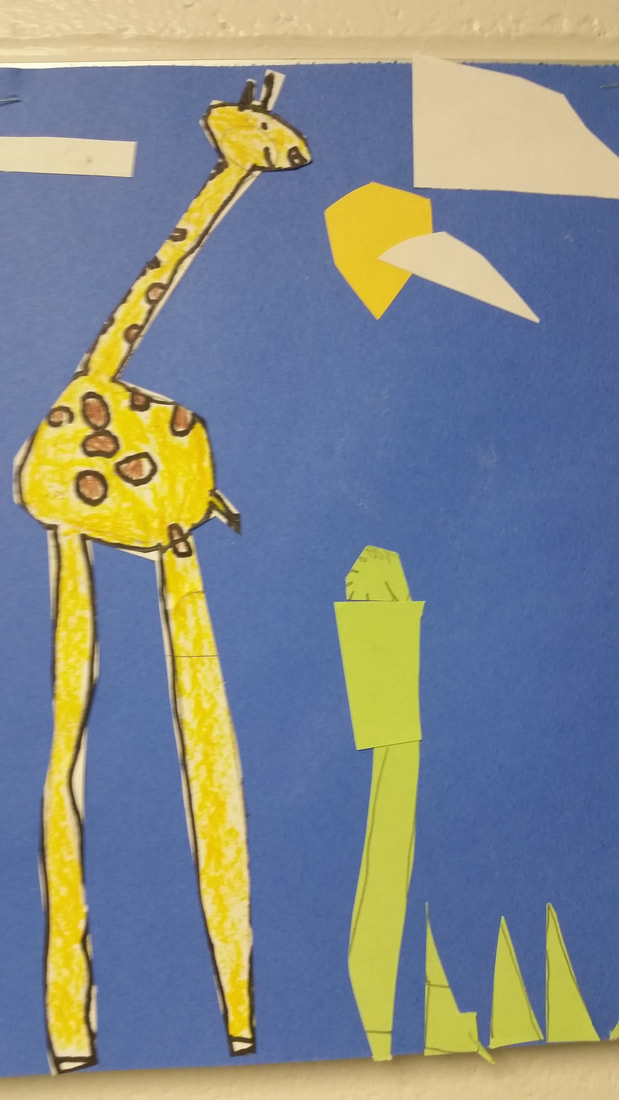
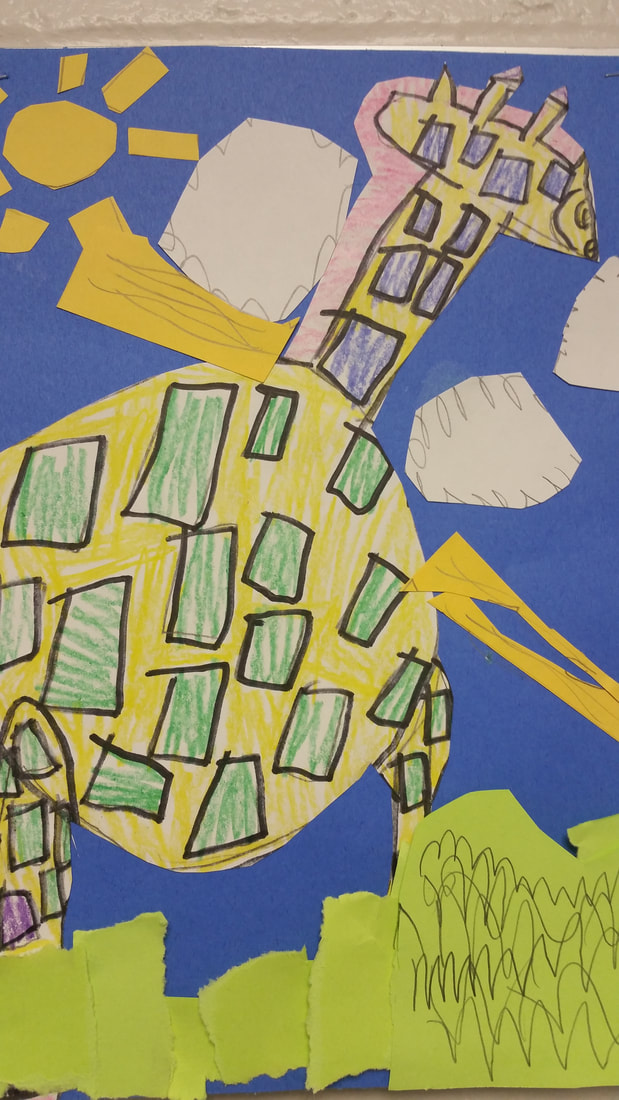
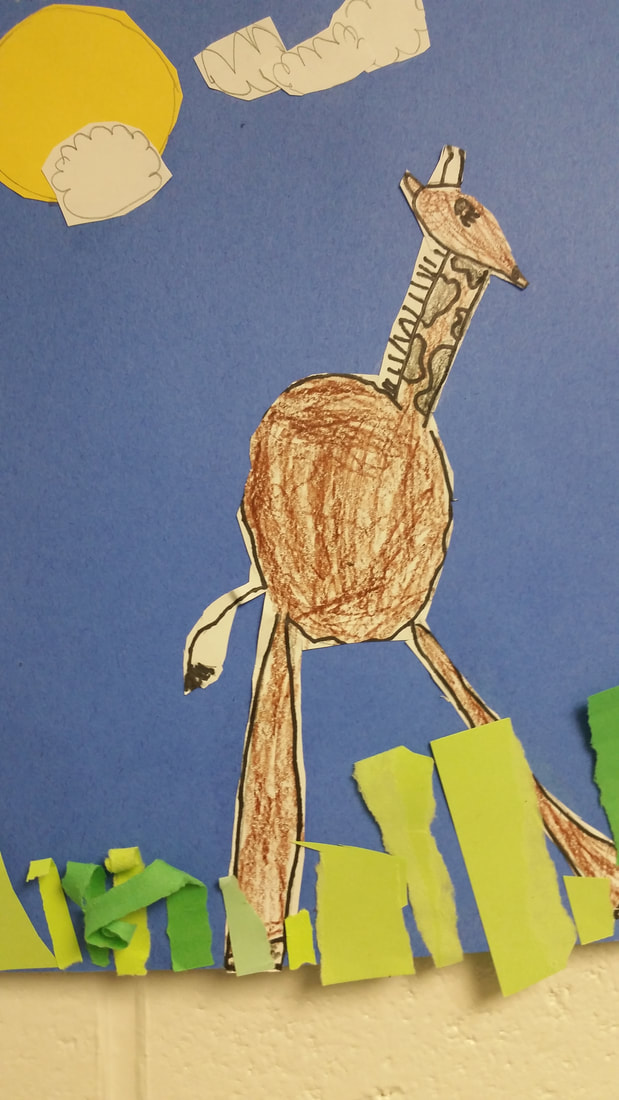
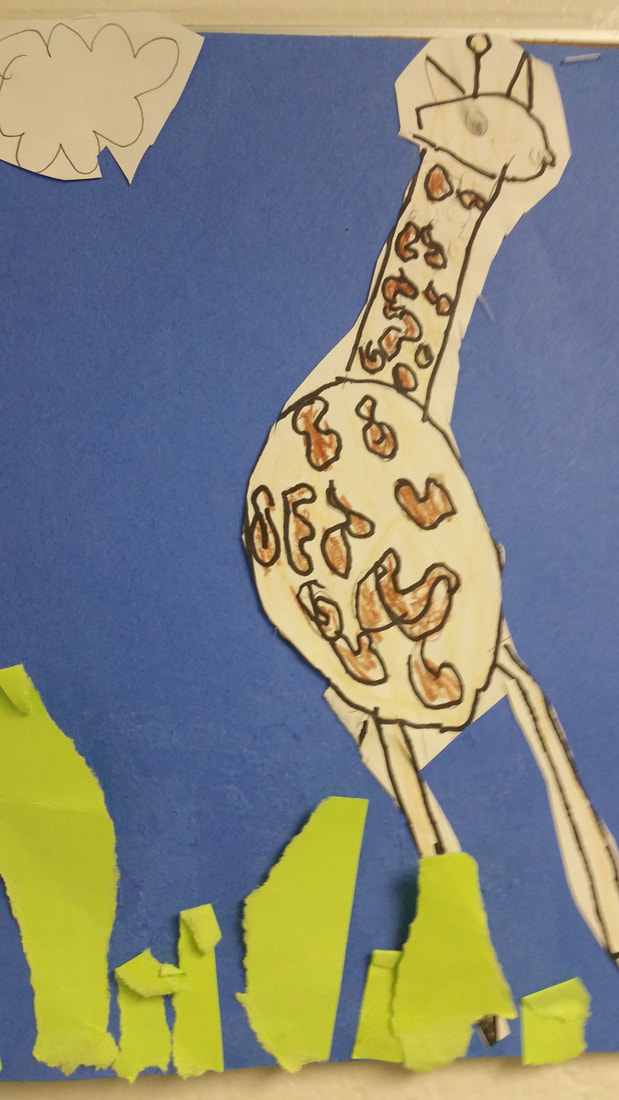
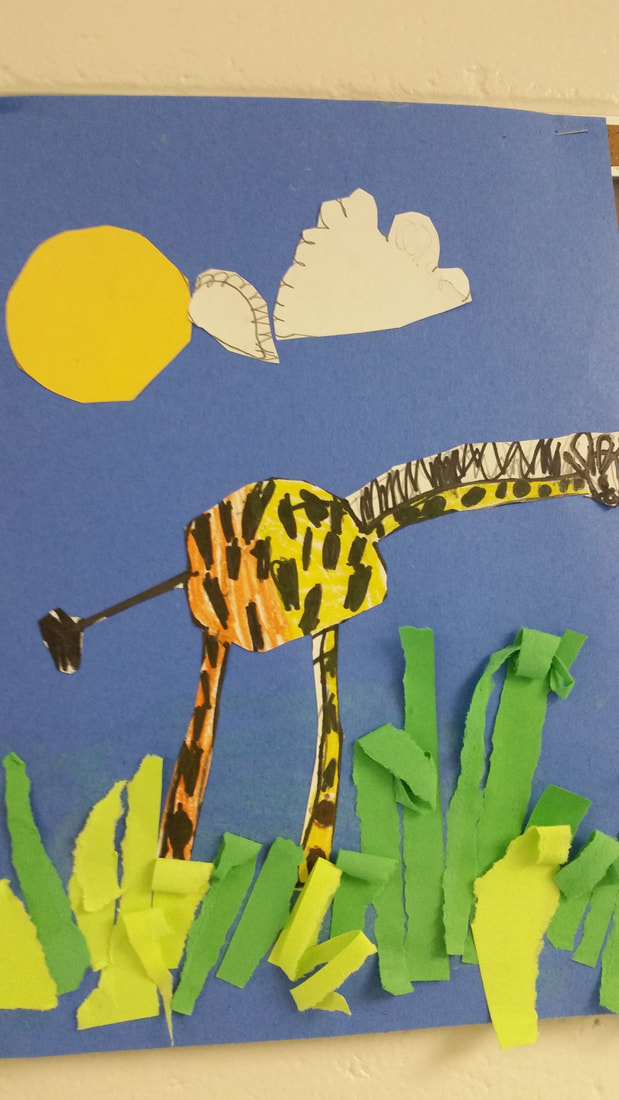
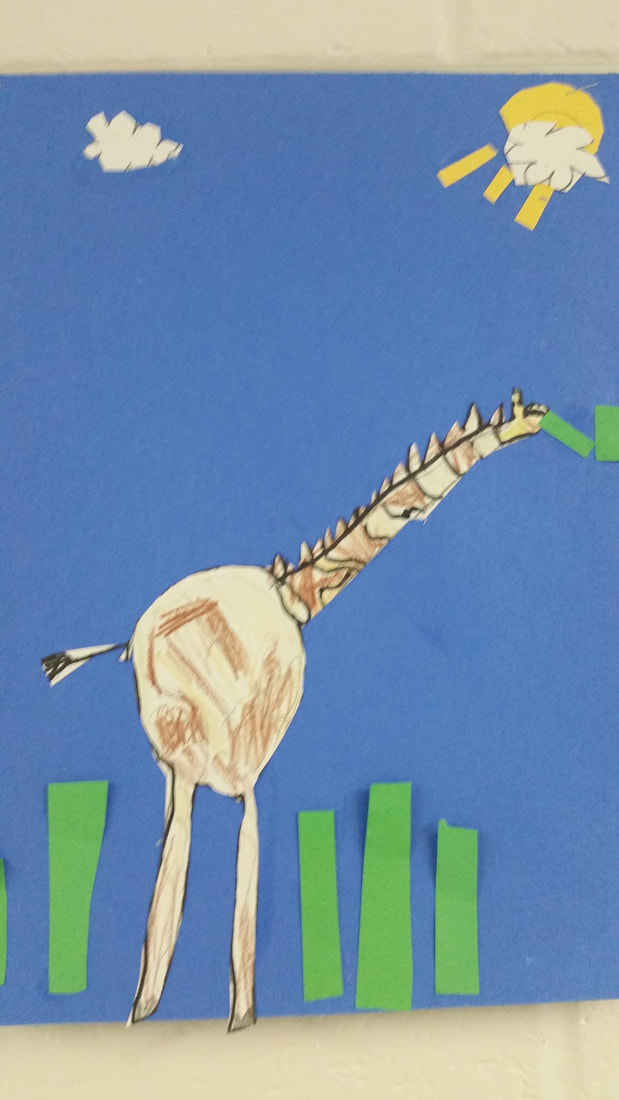
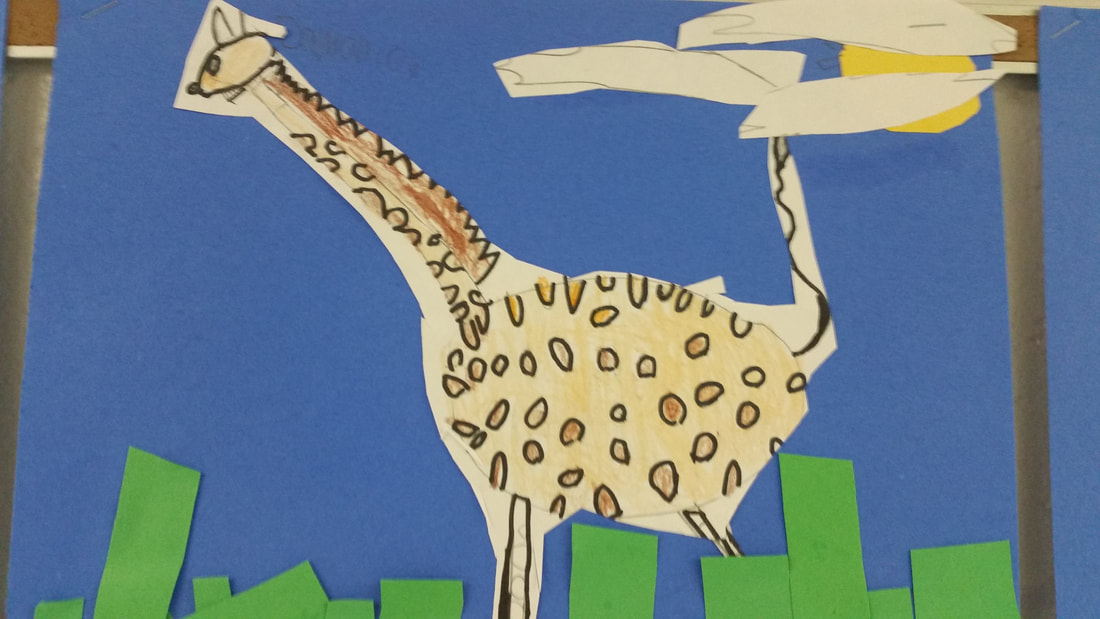
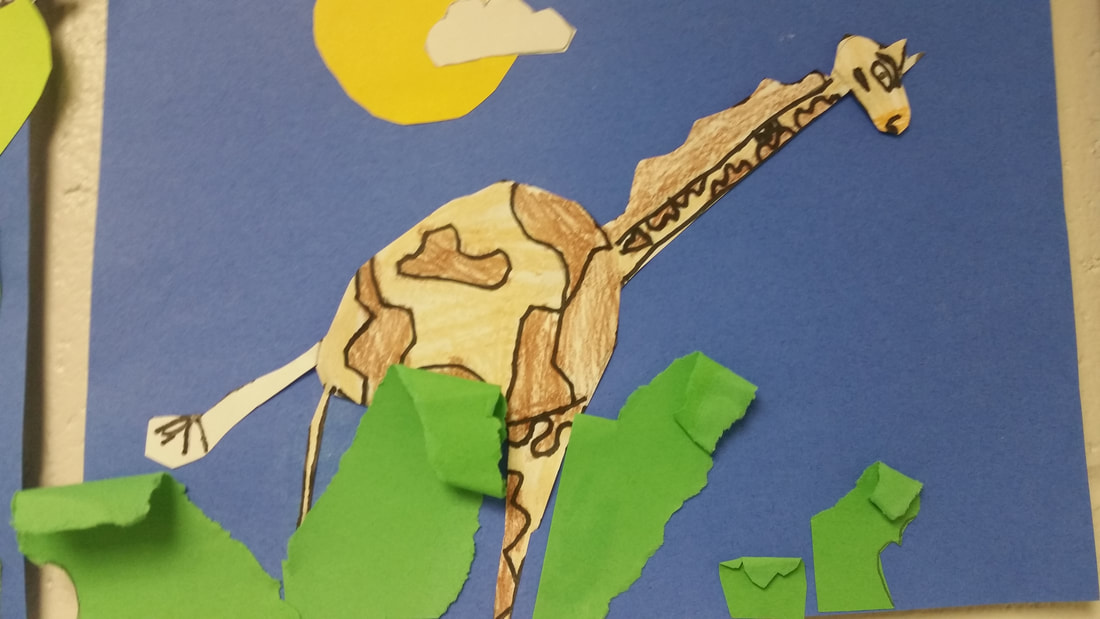
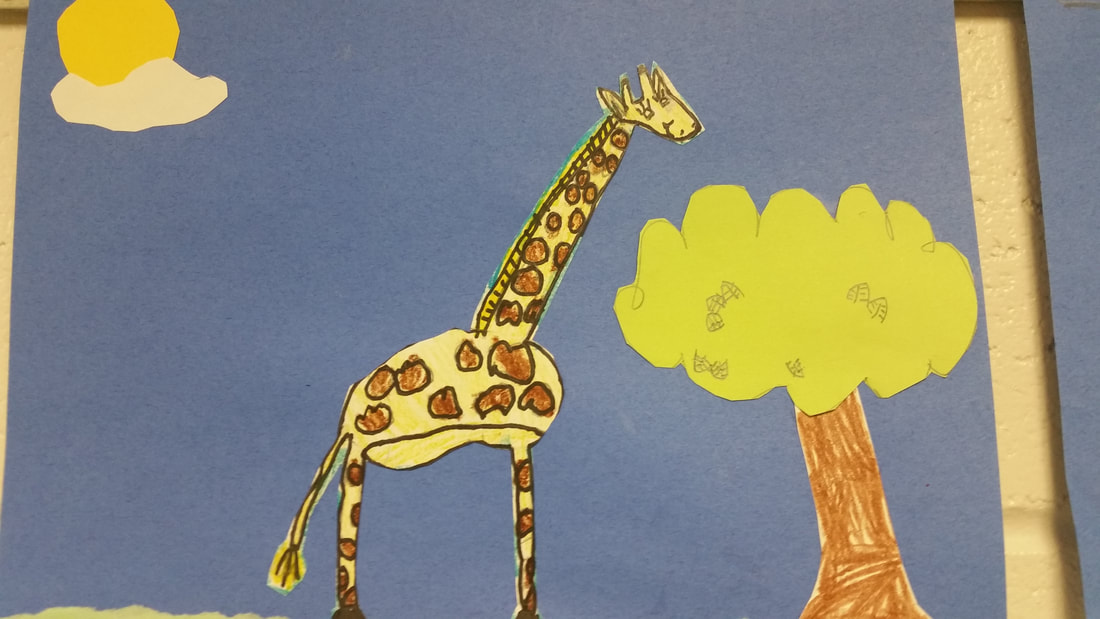
Unit Overview: Students learned about foreshortening by drawing close-ups of animal faces. Students colored their animal faces using oil pastel to show texture. Boop the snoot. Is basically means to poke the nose. Why? I don't know. I just teach here. I don't come up with this stuff. But booping snoots is popular in my school. I don't know why. But it reminded me of the stuffed animals that were so popular in the 2000s. "The Dog". Do you remember those large nosed, big headed dogs, like the pug, daschund, and german shepherd? I do. I think I may have even owned one of those stuffies. Thus was inspired this lesson. One of the concepts we covered is foreshortening. Foreshortening is when an object that close to you appears really large and then dramatically gets smaller. Like imagine someone with their hand blocking a picture being taken. Their hand will be HUGE. And then get small quickly. And then behind all that, the small face of the person trying to hide. That is foreshortening in a nutshell. And so, with first grade, we drew HUGE noses and little facial features, trying to capture foreshortening in art. We also discussed texture. We wanted to demonstrate the difference between an animals smooth nose and rough fur. So, we used our fingers to blend the oil pastel for thee smooth nose. We left choppy lines for the fur to show the rough texture of the fur. The students really enjoyed this, and so did I. Not bad for a bunch of nose pictures. Unit Overview: Students collected rocks in order to create a painted rock design using acrylic paint. I know, painted rocks. So cliché. However, there is an important artistic principle here: Shape is important. Seems simple, right? If only. I had students pick rocks and then develop their painted rock idea on the shape of their rock. Not all rocks are the same. Therefore, it is important to develop your artistic idea based on the shape, size, and weight of the rock. This is different from our typical standpoint of develop the idea first, then collect items. For our rocks, I had students paint a primer - a base coat of either black or white - on first. The reason why is to ensure more vivid colors for the final. Students who wanted lighter paints used a white primer - students who wanted dark paints used a black primer. Side note: Don't return painted rocks back to the environment. The paint can chip and flake and cause harm to wildlife. If you choose to do painted rocks, keep them in your own garden or flower pots. Or make yourself a rock garden. If you ever dispose of these rocks, put them in the trash. It is the only way to ensure that wildlife isn't harmed. Unit Overview: Students studied artist Vincent Van Gogh and created a sunflower artwork using paper, watercolors, and rulers in order to create a 3-D work of art. Is there anything more happy (or more sad) than sunflowers? Somehow, at least to me, they are both the happiest and saddest flower simultaneously. Kind of like Eeyore, with a cloud over his head, casting a half smile as he looks on a droopy daisy. Maybe it's just me. Nonetheless, I made these pop-up sunflower pictures with first grade. The lesson was broken down into three parts: 1. Make the sunflower and paint. 2. Make the checkerboard background. (Classes who were behind skipped this step) 3. Put it all together. Really focus on the checkboard background. The development of this helps students really understand the importance of rulers and how to make an even, straight line. Coloring the checkerboard is an equal challenge. Some students got it, some won't. It will take time, but introducing it early helps them to better understand pattern and design. Don't forget to teach pop-up tabs so that your sunflower pops out of the background! Unit Overview: Students create themed art using video references, oil pastel blending technique, and glitter. First grade smelled spring break in the air and caught spring fever. They were jumpy, and I was bored with typical art lesson. So, without further ado, the Easter Peep Poster project was born. We tied writing into the unit by having student write bunny and egg puns on their posters. For example: "Hoppy Easter", "Have an egg-cellent spring break", and "Don't worry, be hoppy". Finally, we get to discuss a sore subject of mine . . . glitter. I know most art teachers are all about the glitter. But not me. In fact, I can think of only one thing more aggravating than glitter . . . intense, blistering poison ivy covering the entire body. Nonetheless, I tried glitter, on this crazy day, for the first time in my entire teaching history. After a prayer for help from above, I set off, reminding the students that glitter was a privilege. And privileges are earned, not given. My advice for using glitter is to do it by a sink, or in a sink. Line the sink with large pieces of paper to prevent the majority of going down the drain. Then, apply the glitter to the wet glue and give it a super shake to remove any excess glitter. Also, be sparing with the glitter. This is one thing where "more IS NOT merrier". Also, when applying glitter, never use the same color glitter on the same paper. It blends in too much and doesn't look good. Glitter is meant to highlight, to sparkle! Use it with love and care, and sparingly. 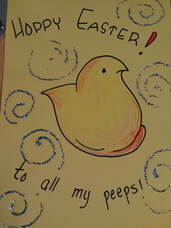 My teacher example Unit Overview: Students studied abstract portraiture using images of art by Pablo Picasso in order to create an abstract portrait painted using primary and secondary colors. I decided to have some fun with my first grade students. I introduced them to Pablo Picasso's portraits. They laughed at the funny faces, were shocked by the crazy skin colors, and were shocked with the long necks, strange eyes, and strange posture. Despite all the bizarre things Picasso added to his pictures, he still made his faces look like people. There were no floating heads, hairless people, or dismembered body parts. With this, students drew a face and facial features, first in pencil, then traced in sharpie. Next, we studied color. Students were given the primary colors, and were encouraged to experiment and create their own colors by mixing. However, students were warned that mixing complementary colors would result in strange looking browns and grays. Students were also given a palette to share. I find that doing this holds one student accountable to another for mixing carefully, and not blending the paints sloppily and ruining hues. With that, these are the results! (As always, I have students re-trace their work with sharpie to bring back out the dark lines in the painting). Unit Overview: Students designed snowglobes using video instruction in order to create a personalized snowglobe containing the student's favorite winter objects. It's that time of the year! We are trying to convince snow to come our way (Mother Nature got a hot-flash and changed all the snow that was predicted to hit into rain. Boo.) by drawing and painting snowglobes. We also did a little winter magic because . . . well, why not? I found an amazing snowglobe drawing lesson from Art for Kids Hub on Youtube. (Click here for the link) Follow the video, but don't color! The way I instructed the kids to color was by using oil pastels for the interior design of their snowglobe. They did not color around or the "air" inside their snowglobe. Then, we did a little winter magic by taking a white crayon and using texture plates to create "invisible texture". We revealed the texture by later painting our pictures using blue watercolor. Ta-da! Magic! The texture is revealed. The kids loved this little magic trick. It helped them to understand that even though they couldn't see the marks they had made, they were still there. A good life lesson, and art lesson. I love it when philosophy makes an appearance in my projects with kids. 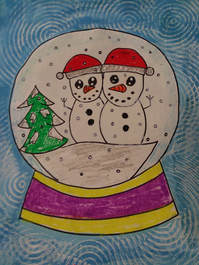 My teacher example - note the texture in the background Unit Overview: Students created food pictures of turkey or pie in the style of Wayne Thiebaud in order to depict a personal favorite food item at Thanksgiving. Students created art about food. My favorite subject. It is also a favorite subject of artist, Wayne Thiebaud. He is an American artist who most famously draws, paints, and sketches food items, especially desserts. Because we did these in the month of November (I'm about a week late in posting these), we focused on a foodie holiday, Thanksgiving. The first thing we did was practice drawing Thanksgiving food. I found two step-by-step hand outs that we used to help draw pie and turkey. We draw in pencil and sharpied first. To finish, we painted using tempera paints, and then re-sharpied our lines when the paint had dried completely. Unit Overview: Students used pattern and line with oil pastel in order to create Christmas stockings. Unit Overview: Students read the book "Giraffe's Can't Dance" in order to prepare to make a giraffe collage using cut and torn paper. |