|
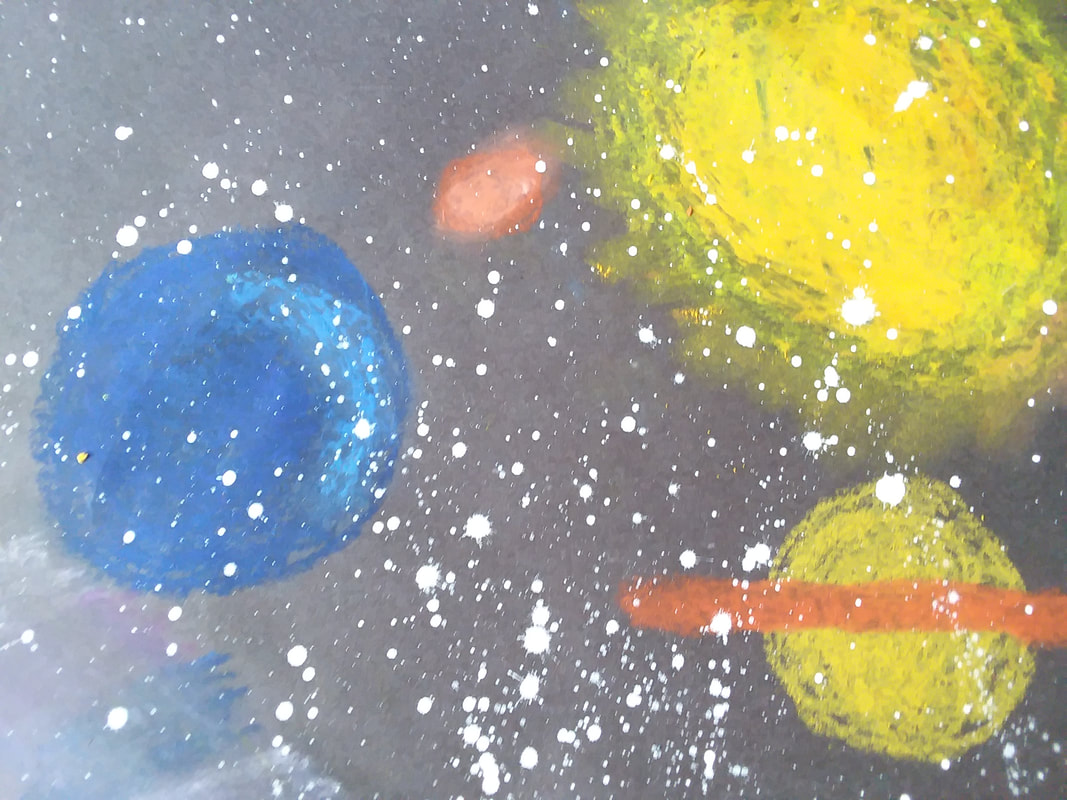
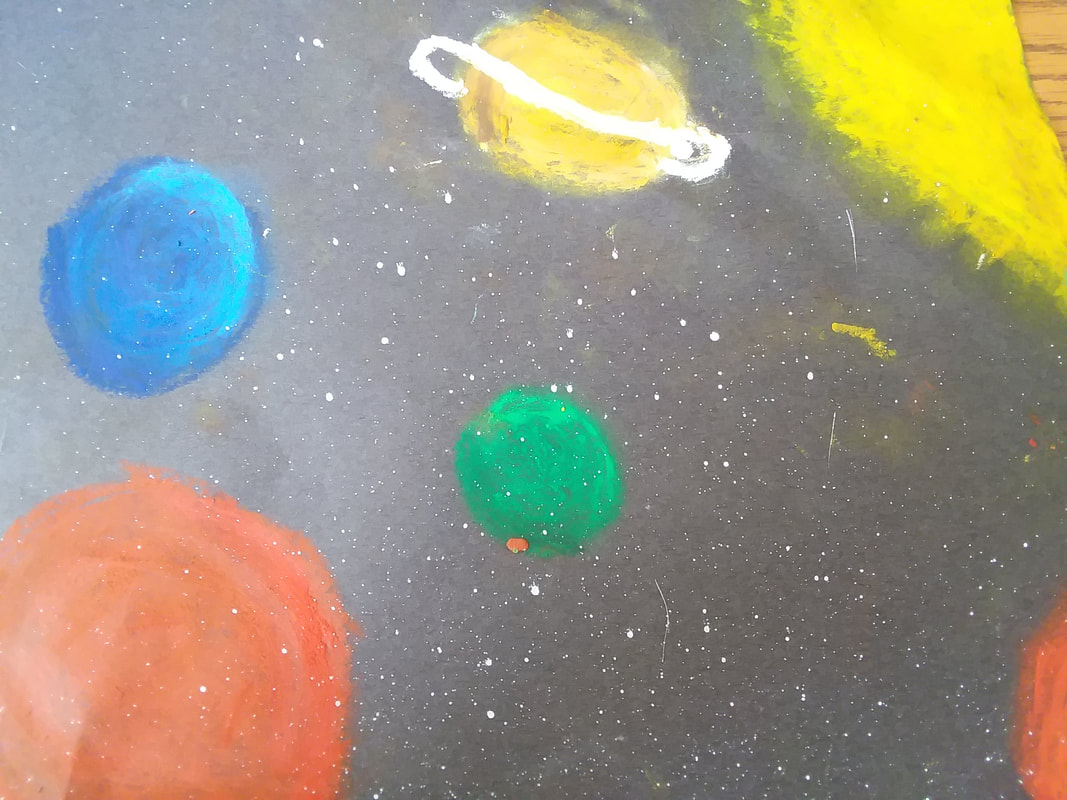
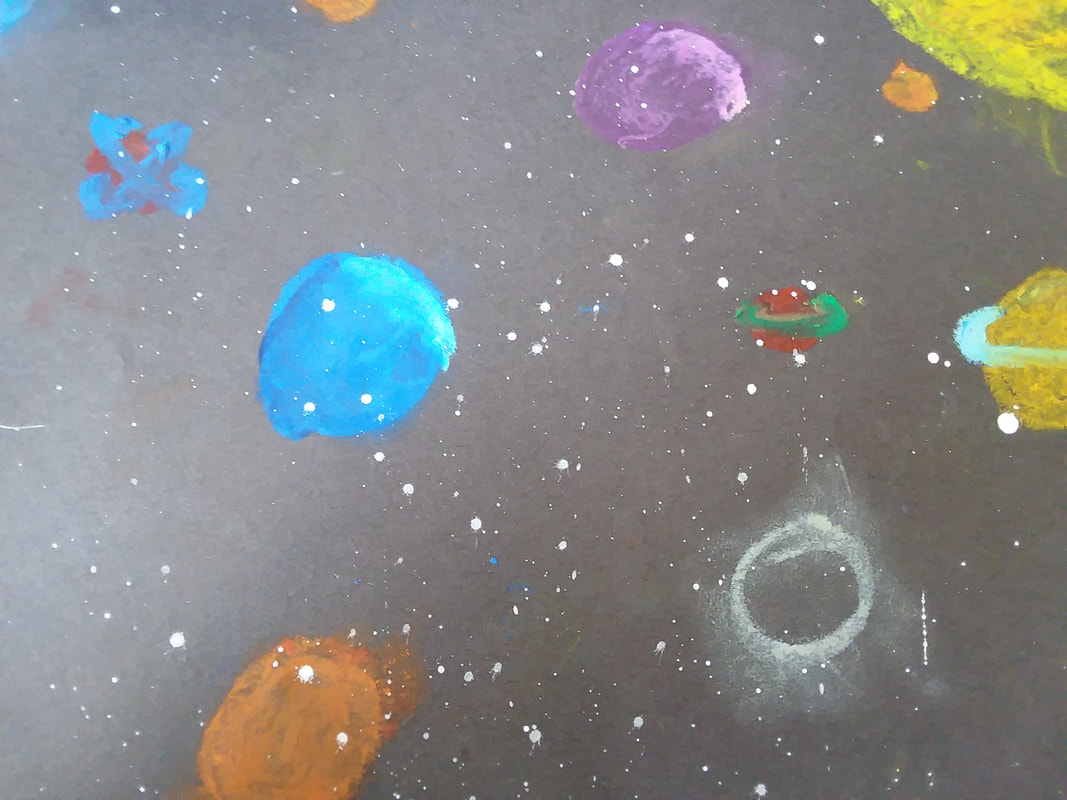
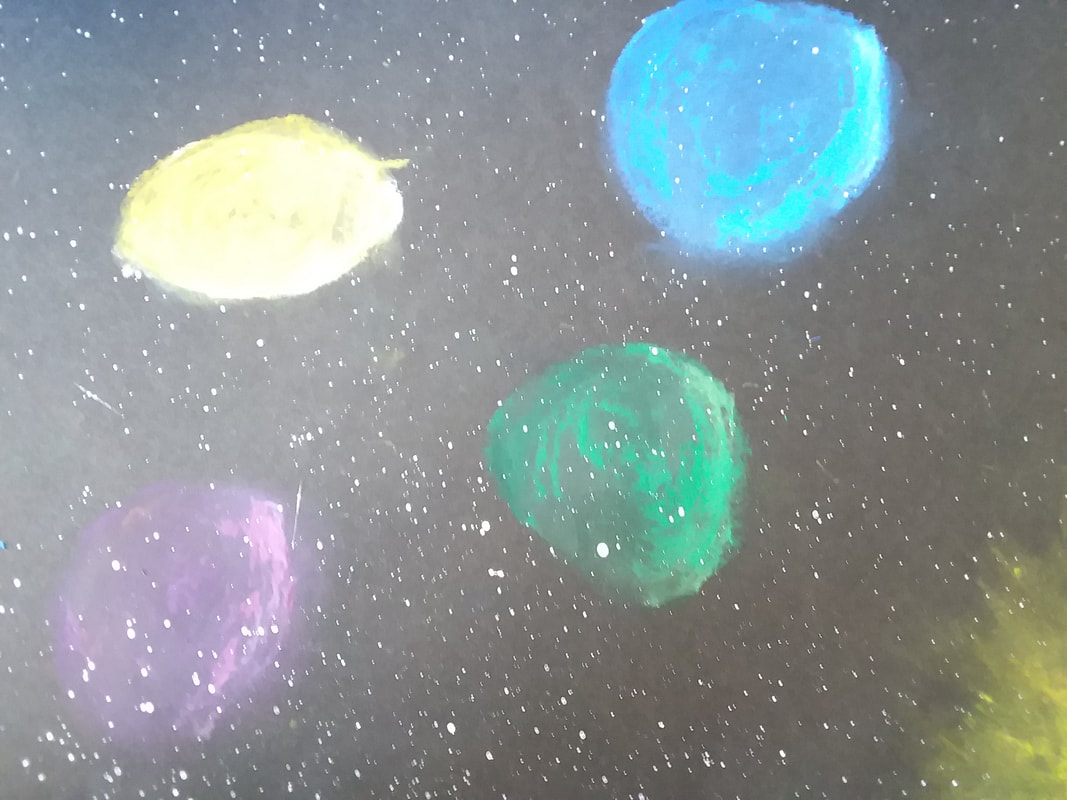
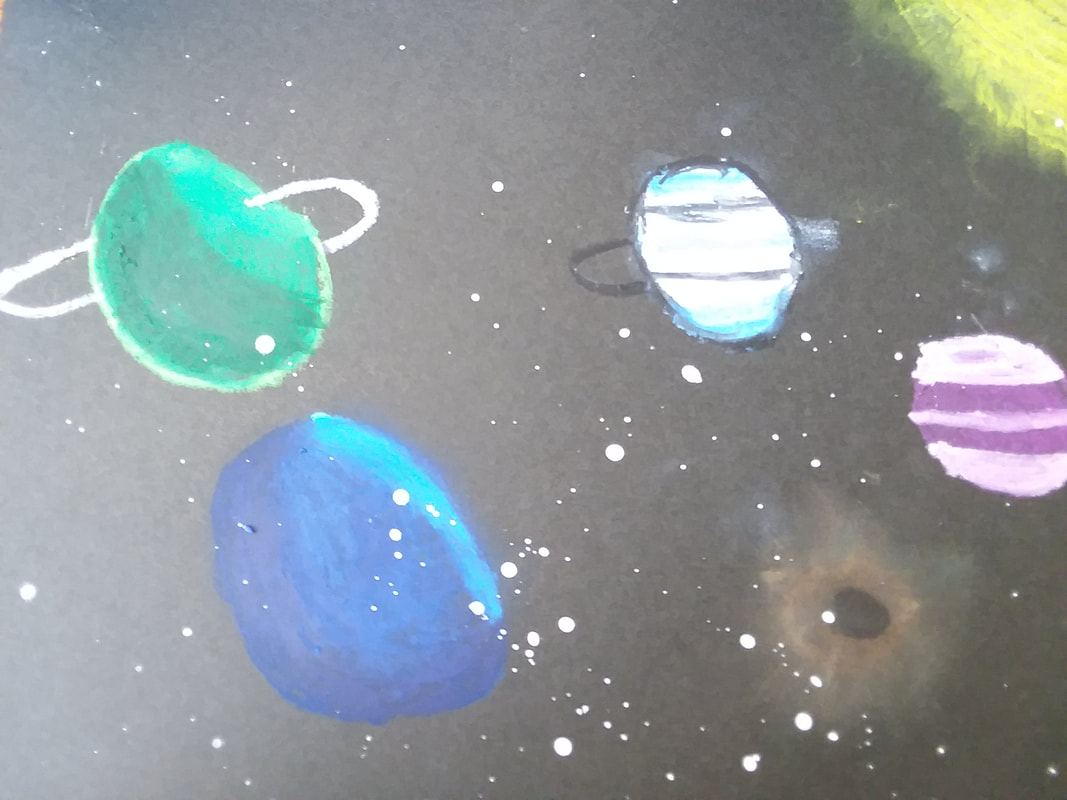
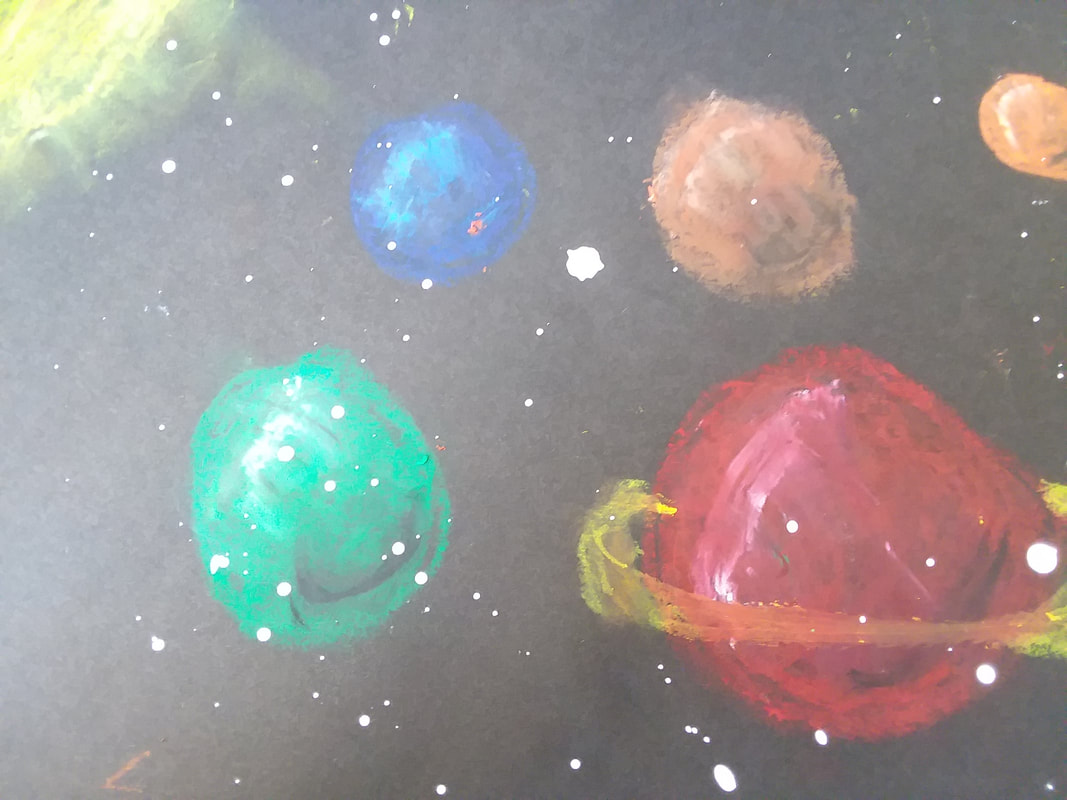
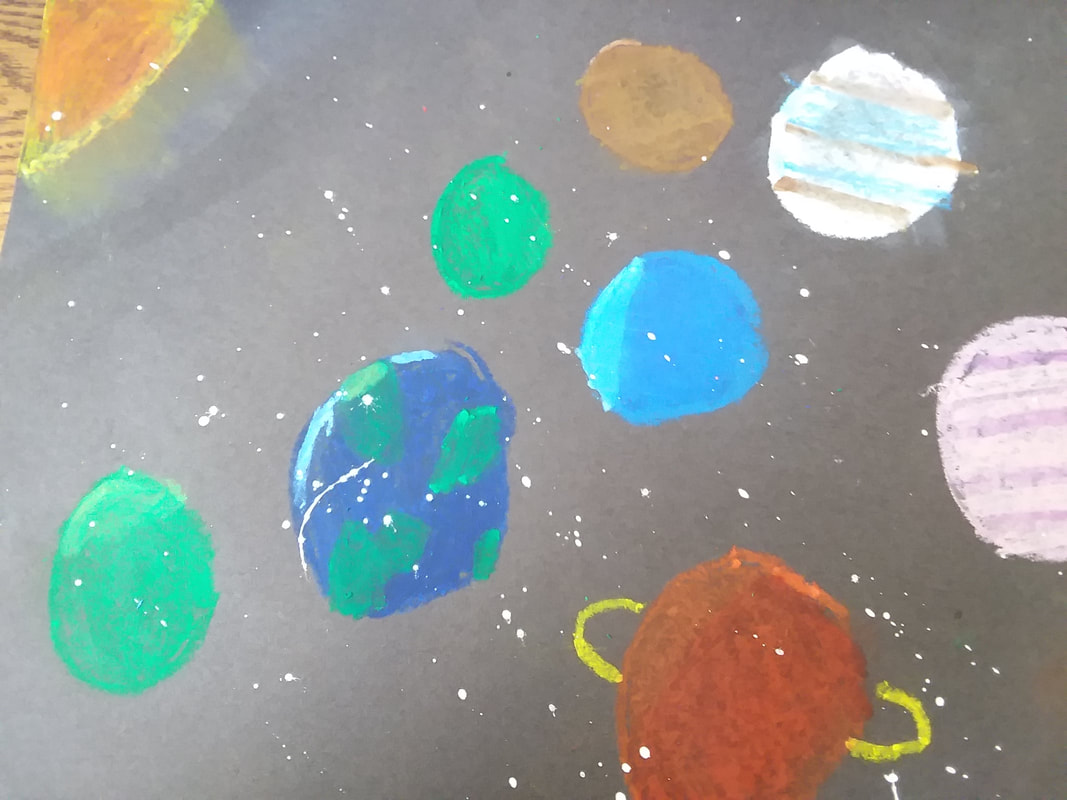
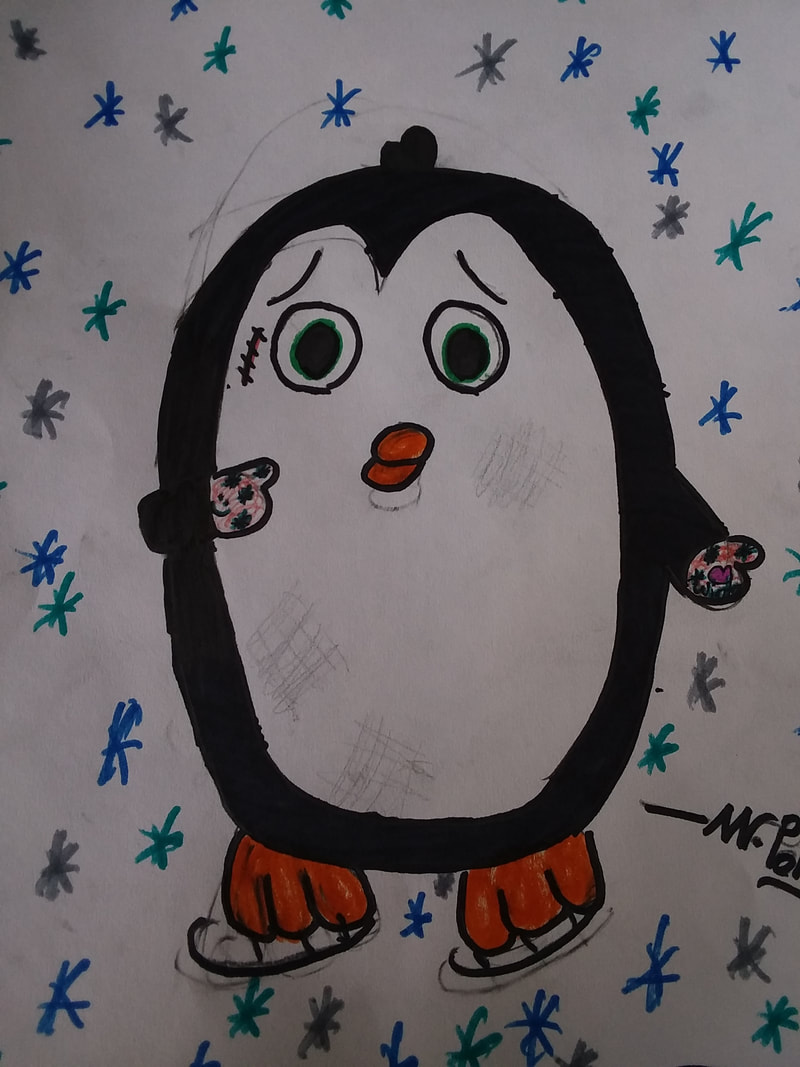
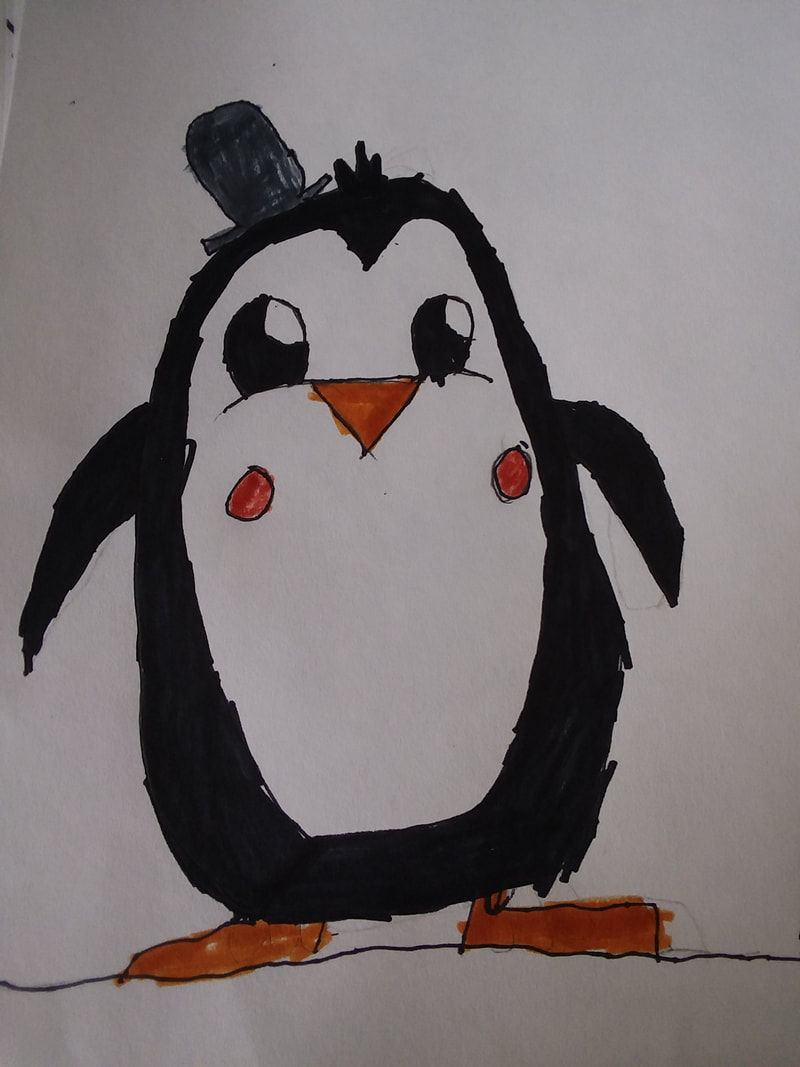
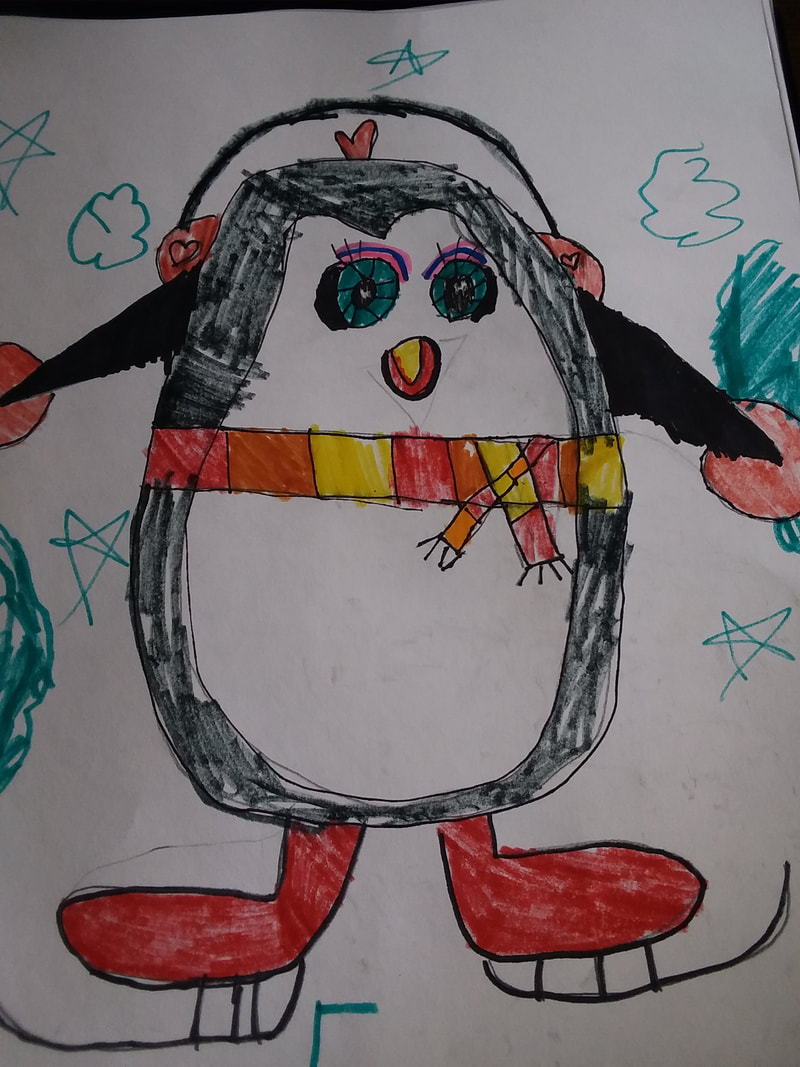
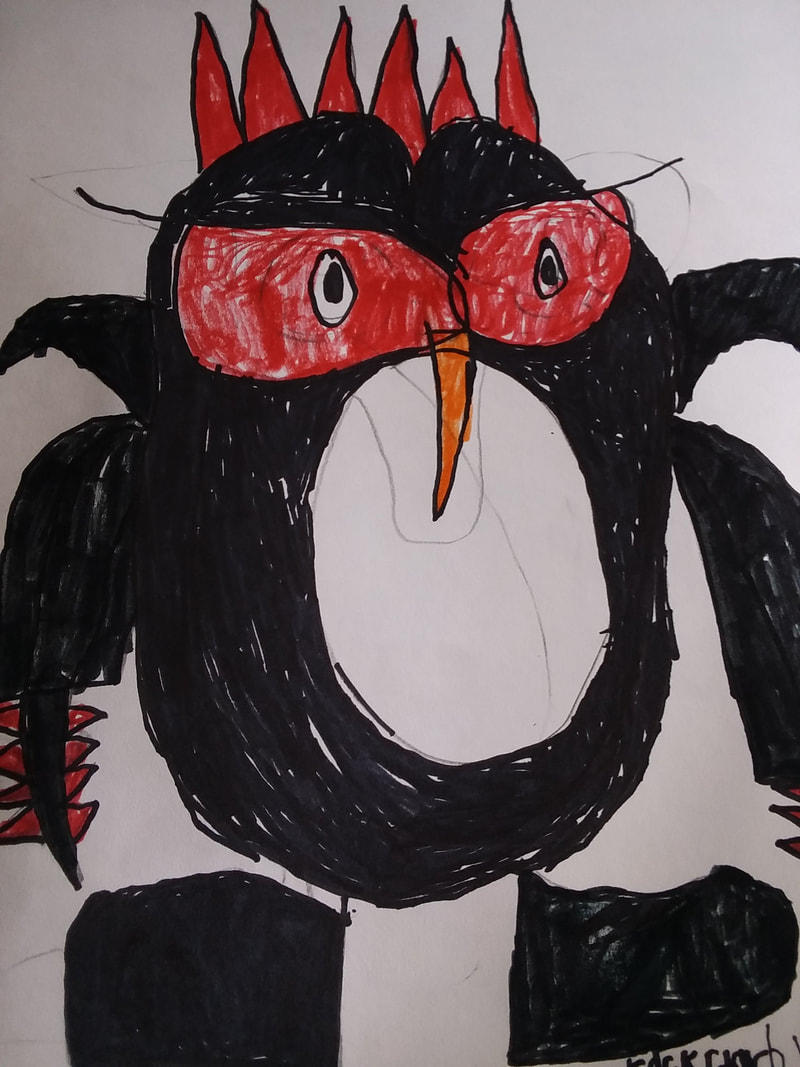
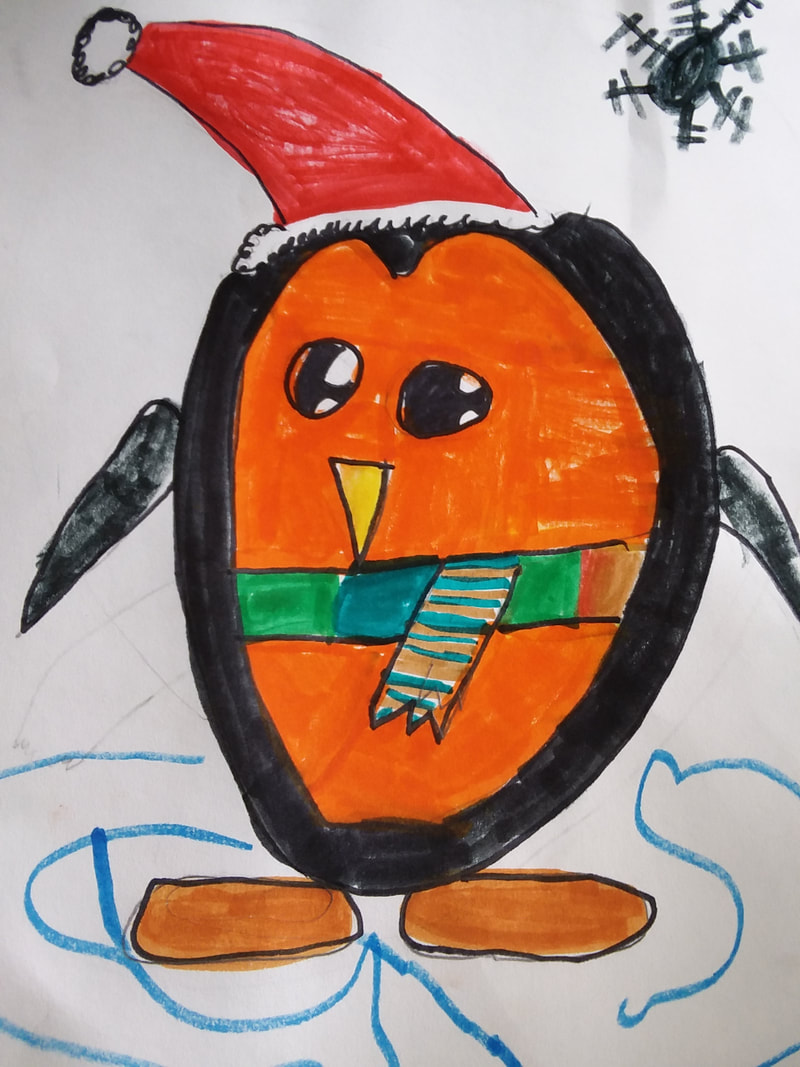
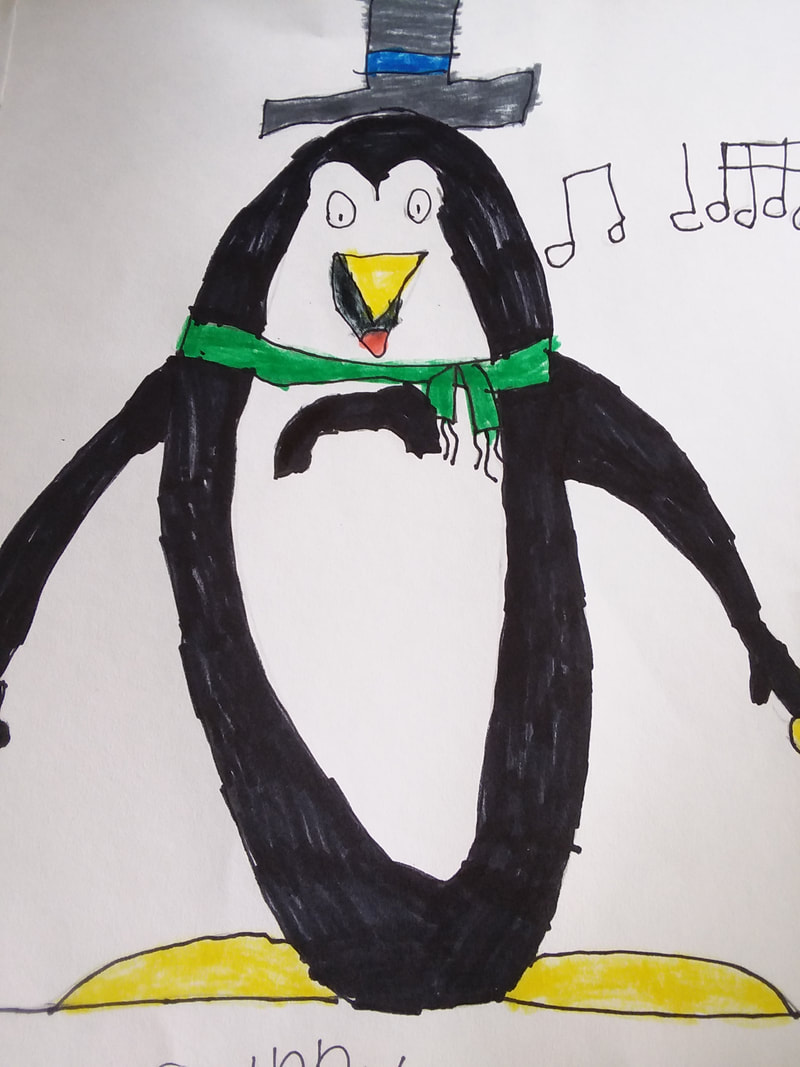
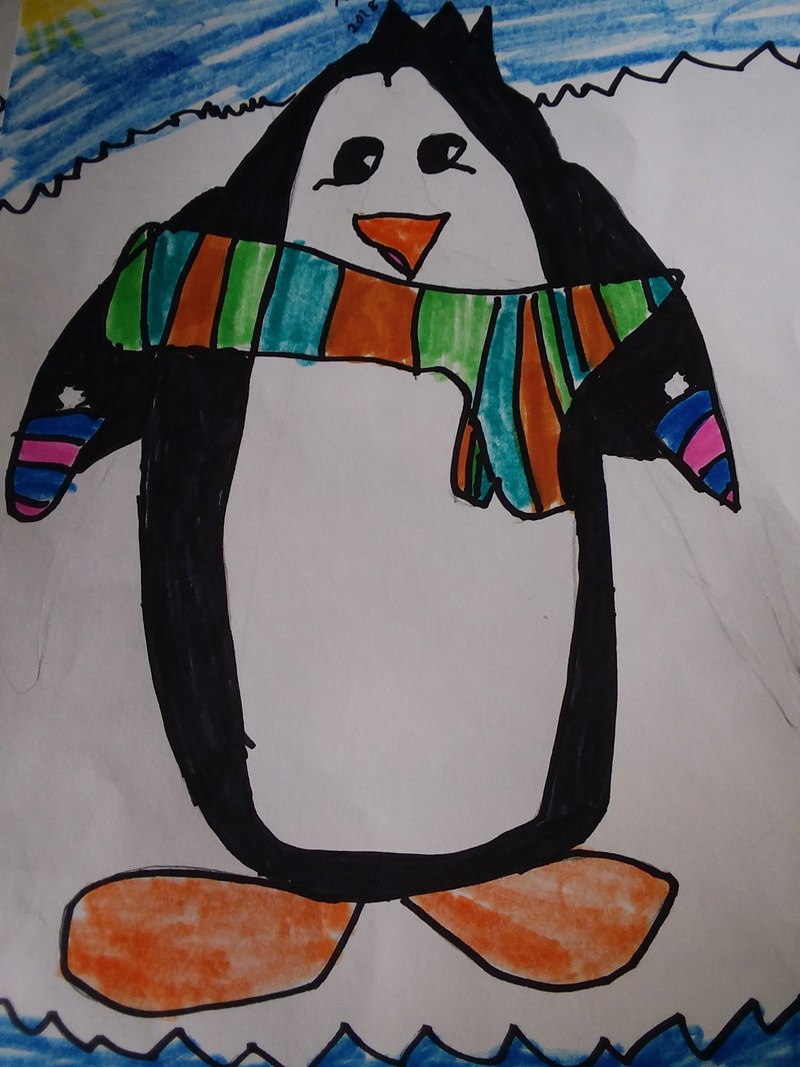
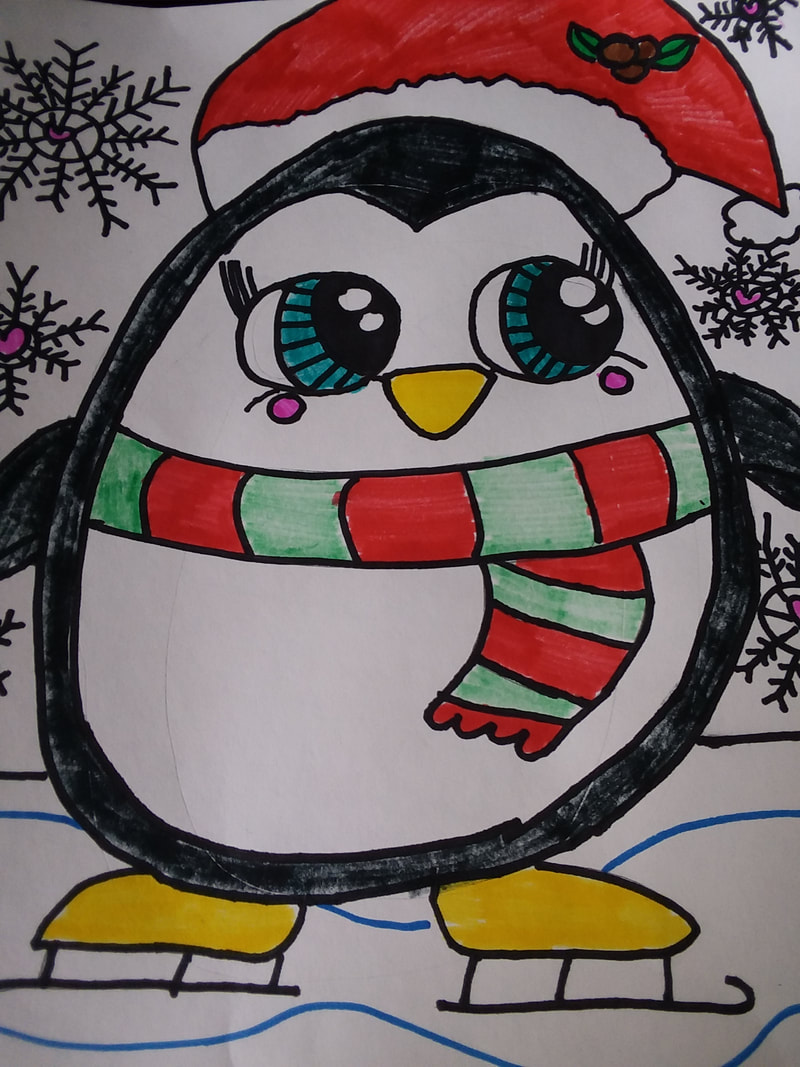
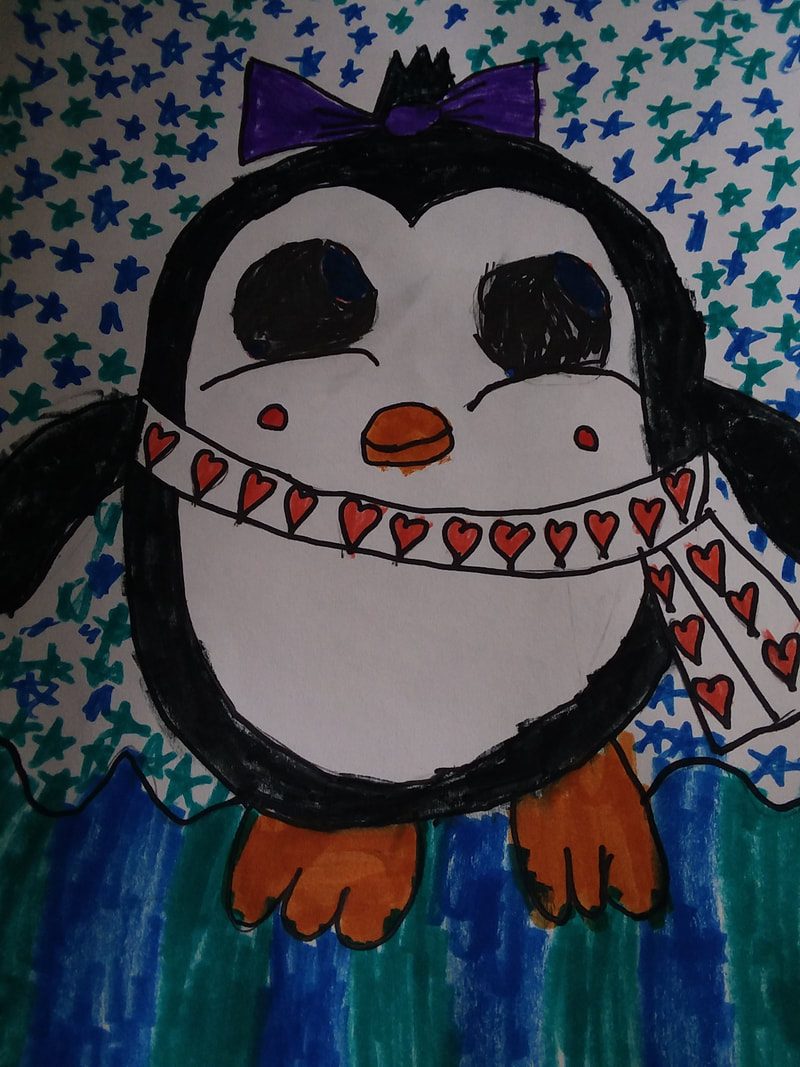
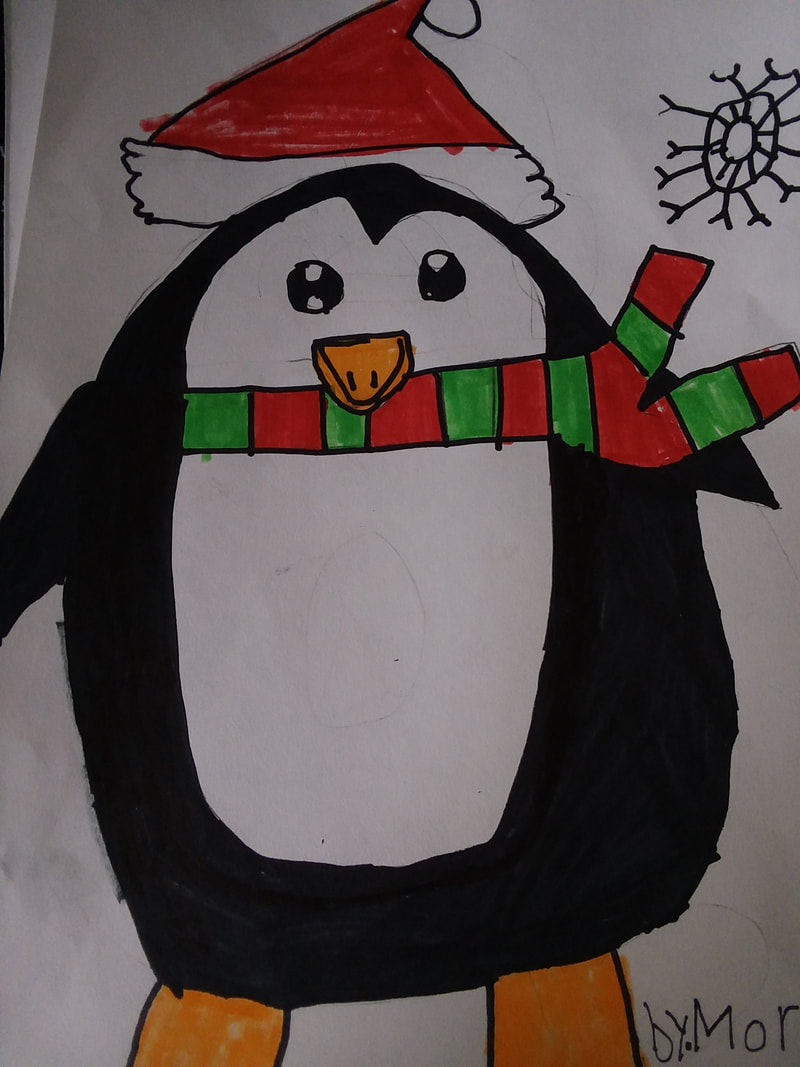
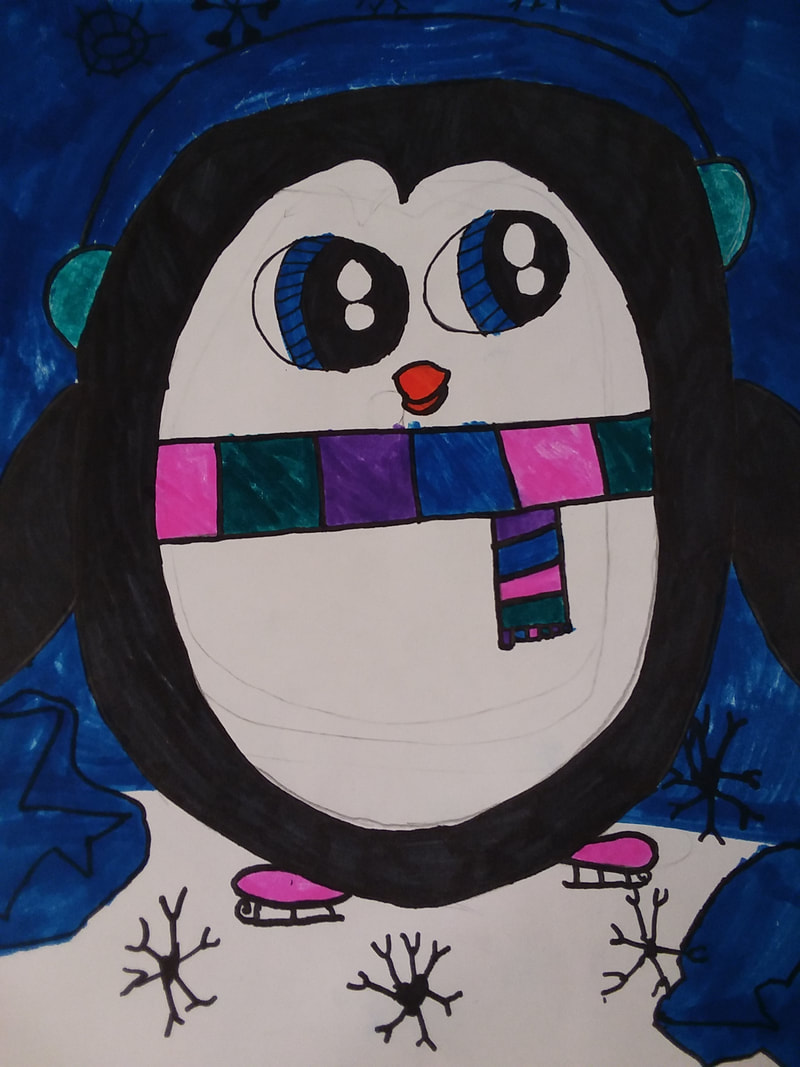
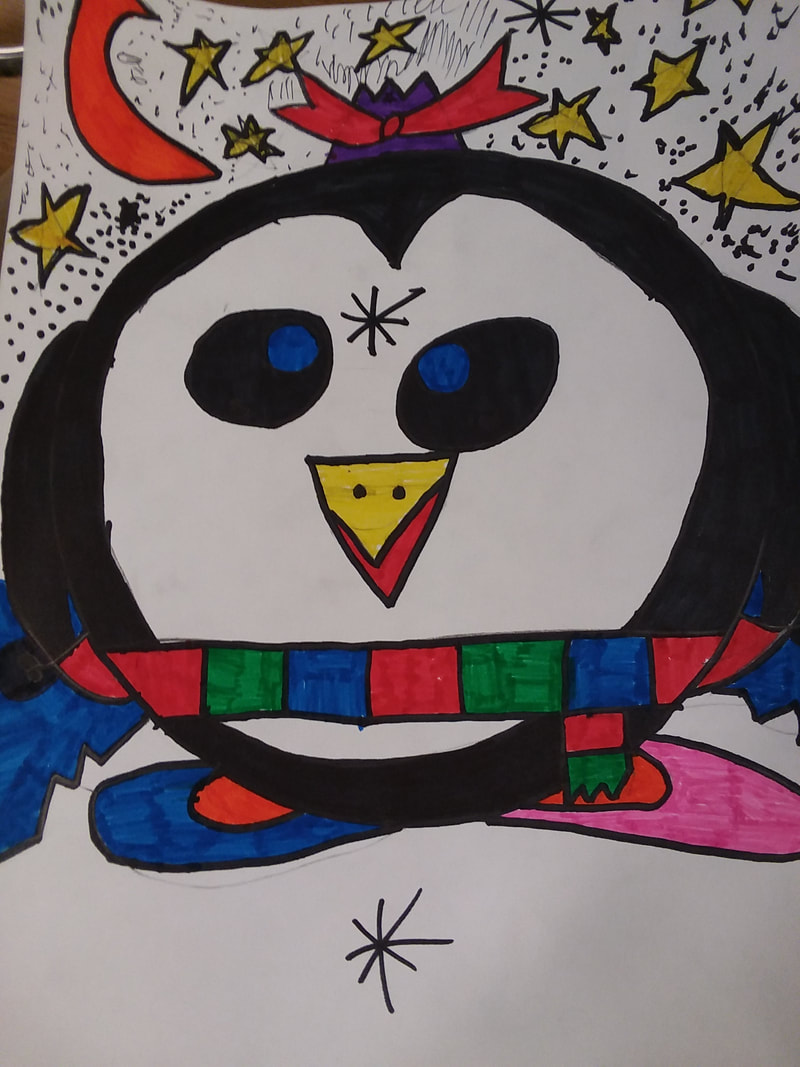
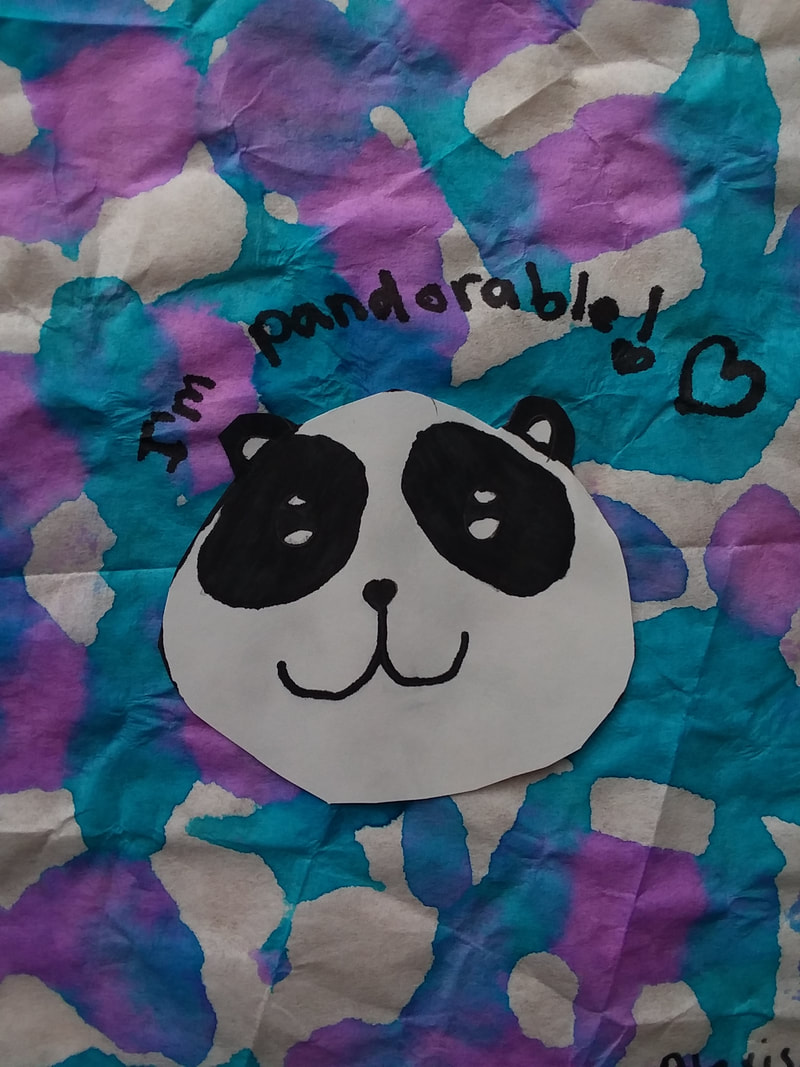
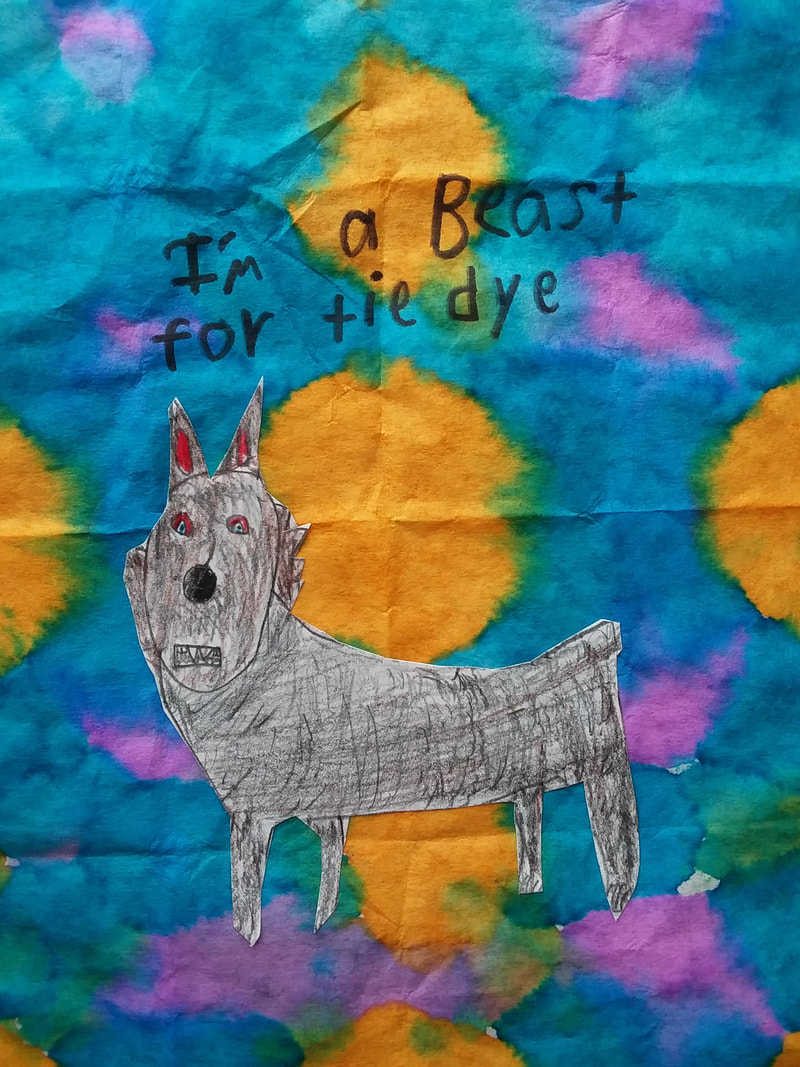
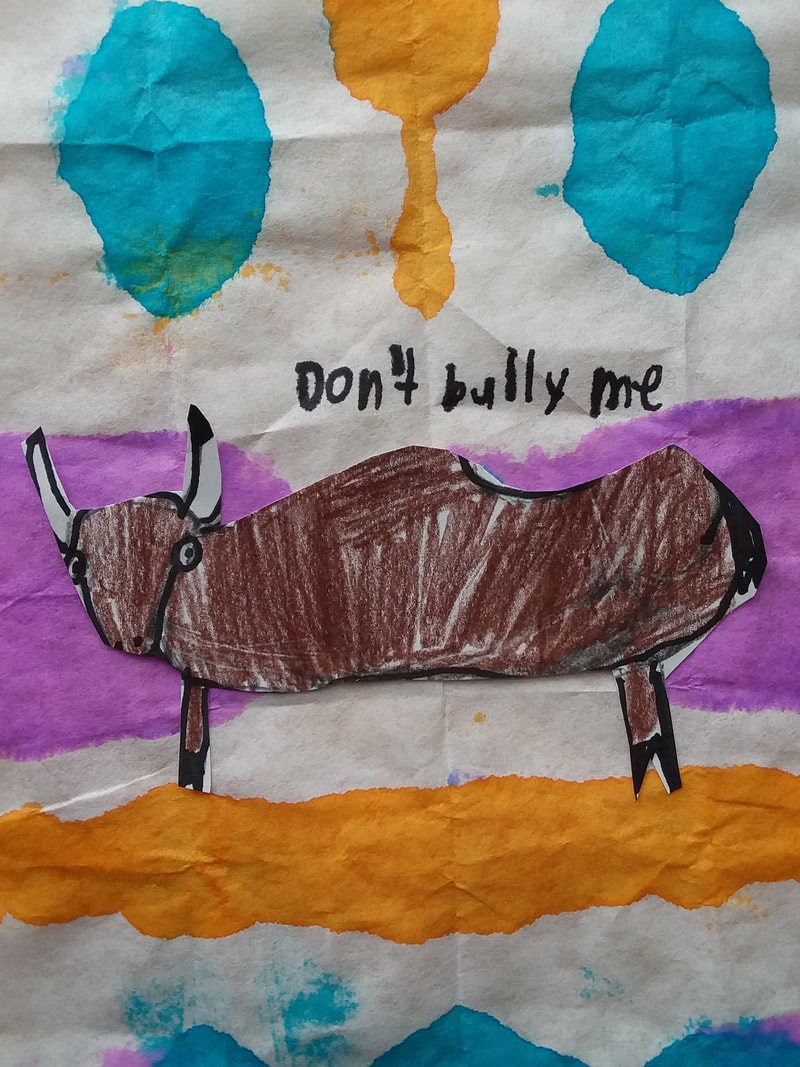
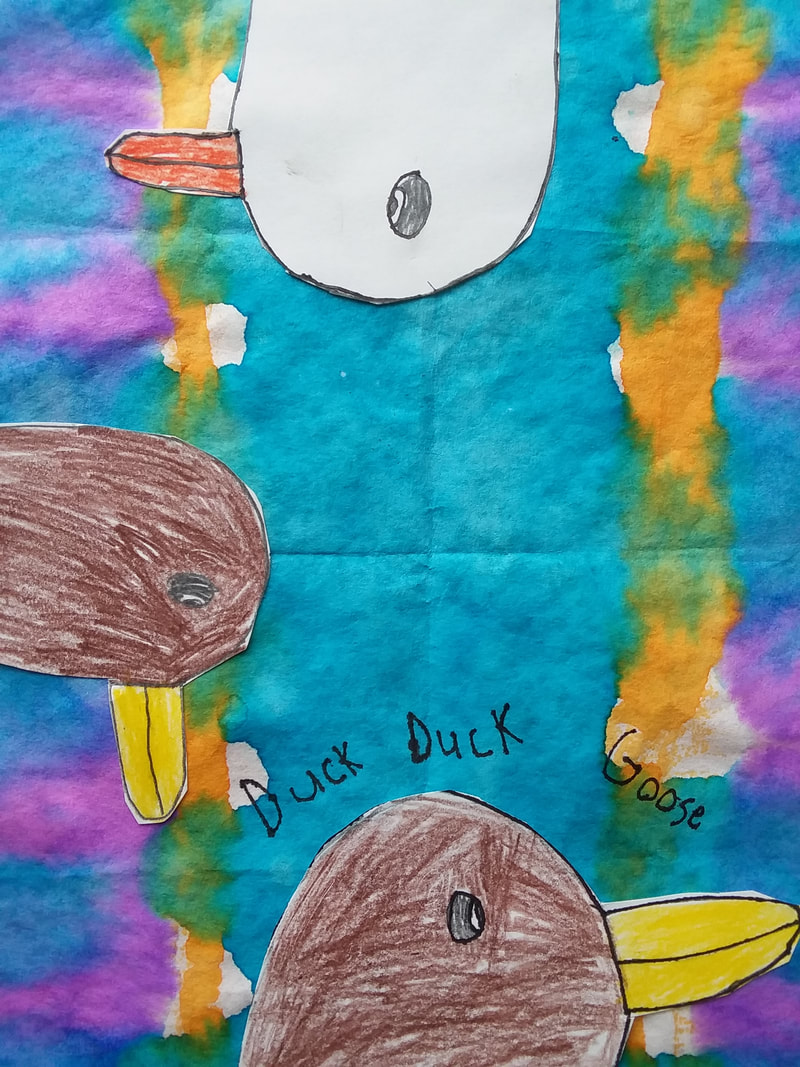
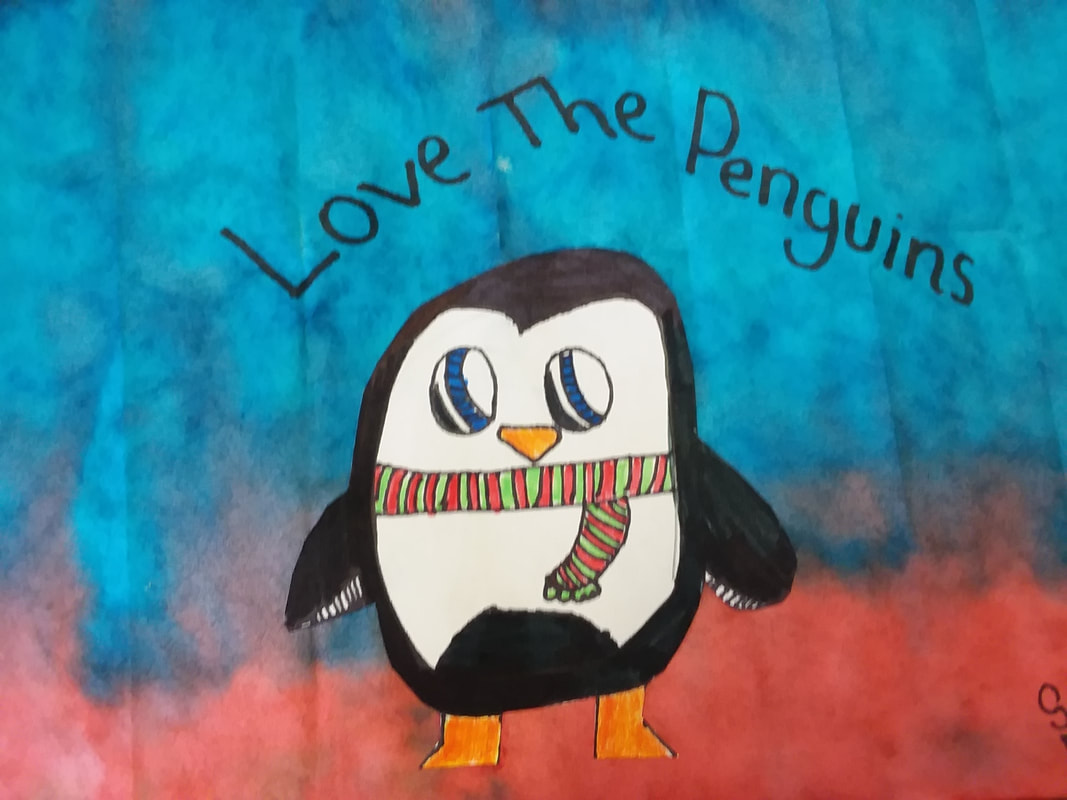
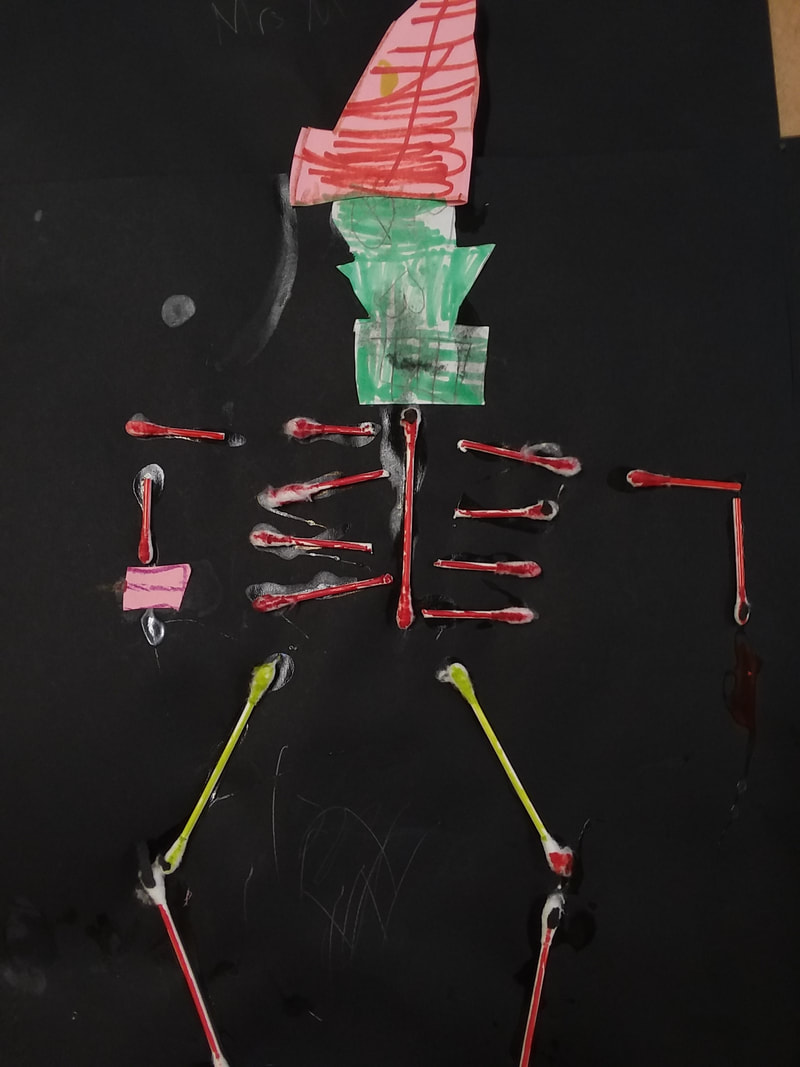
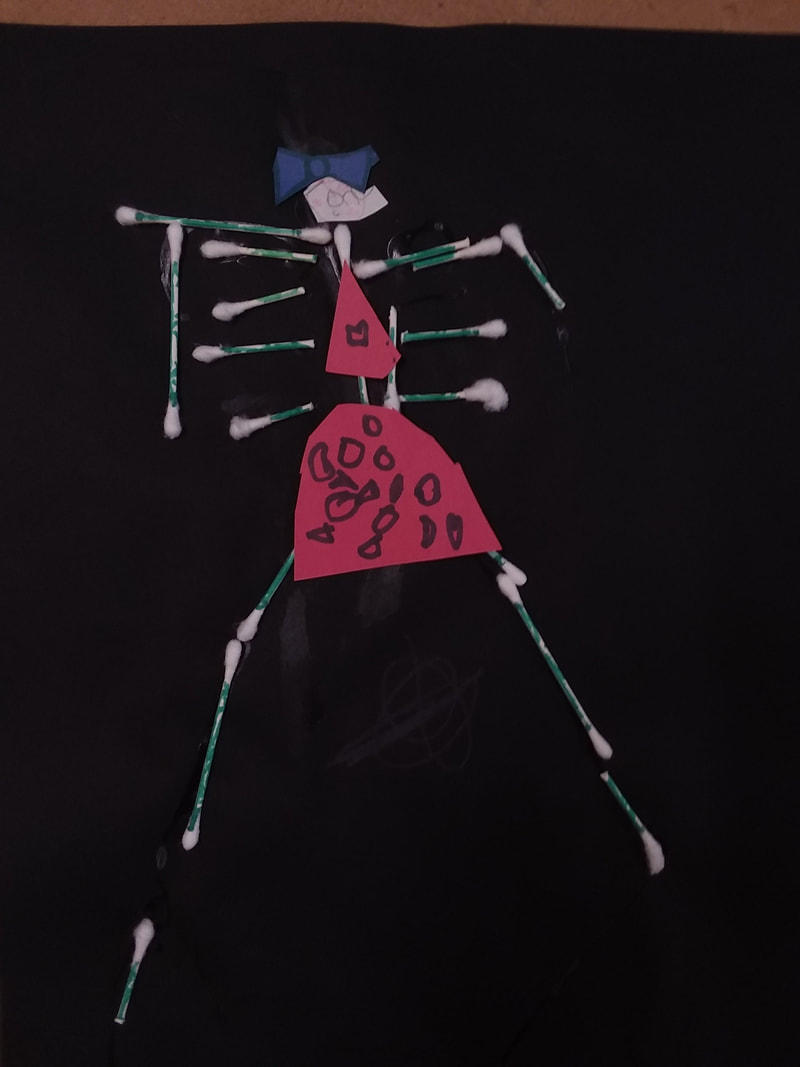
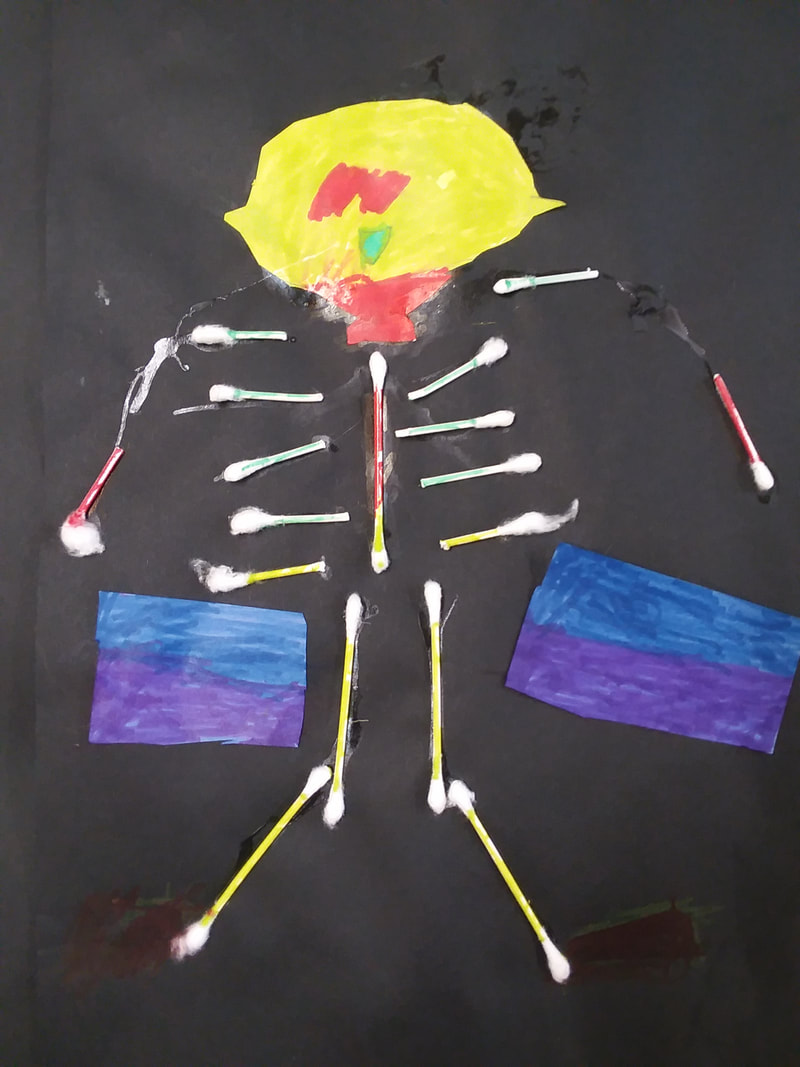
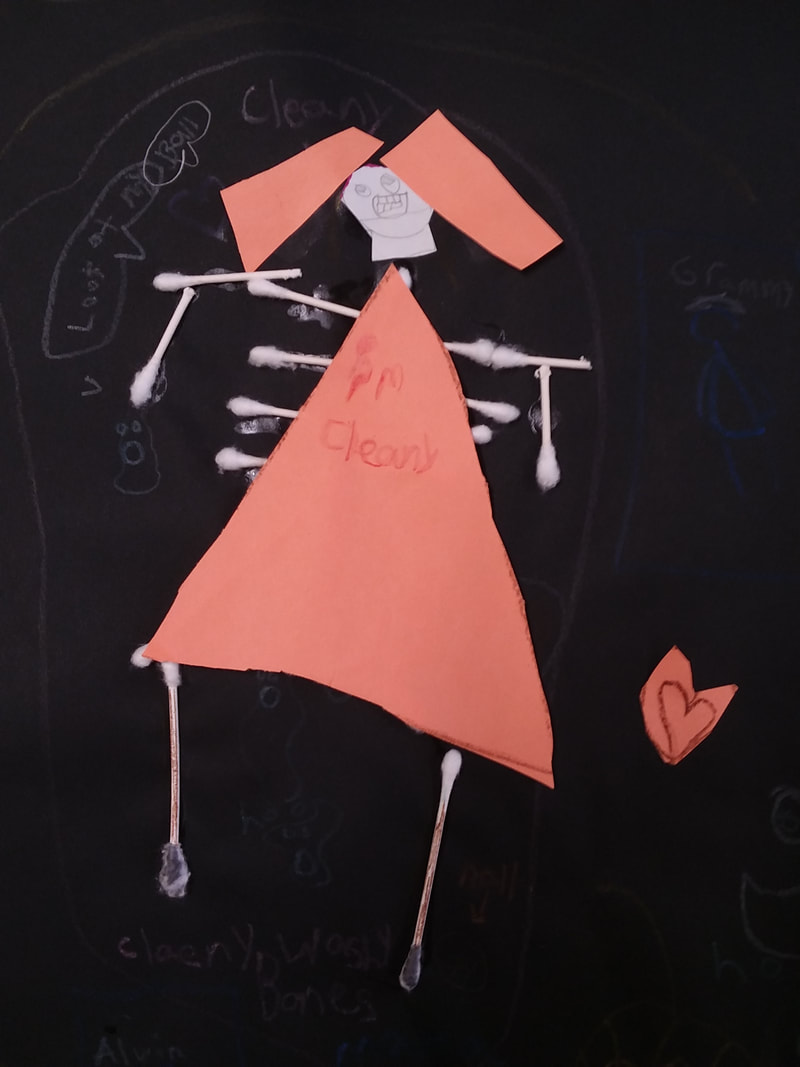
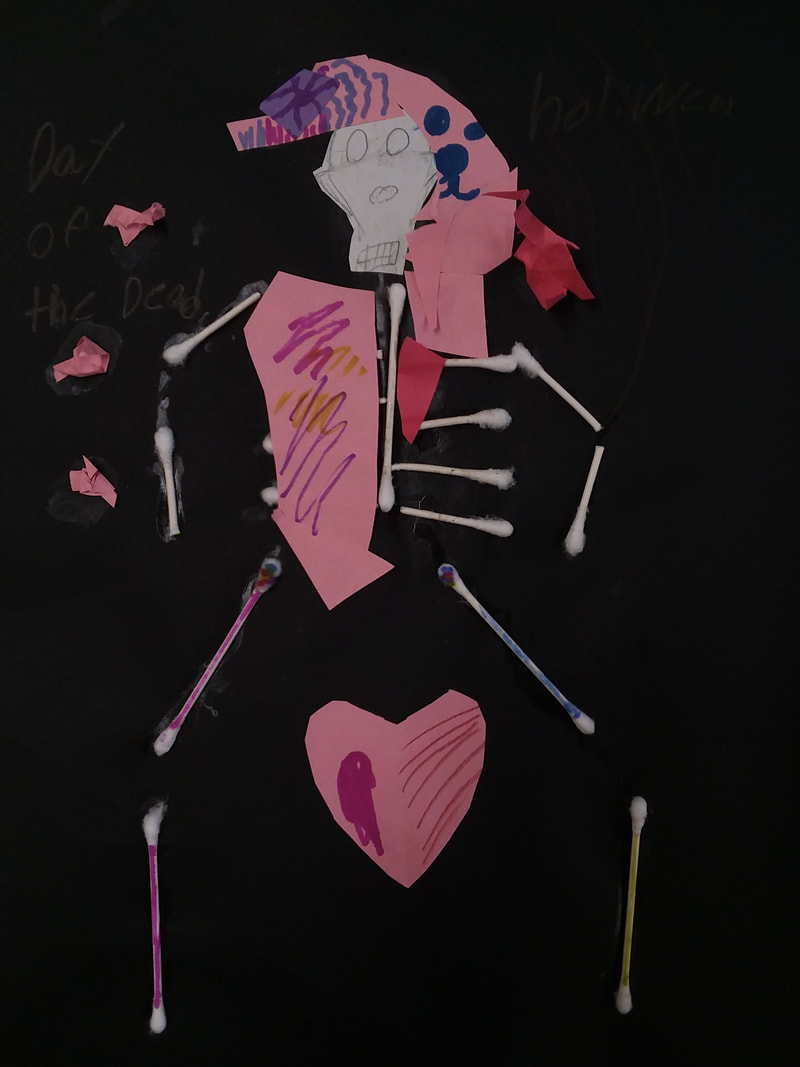
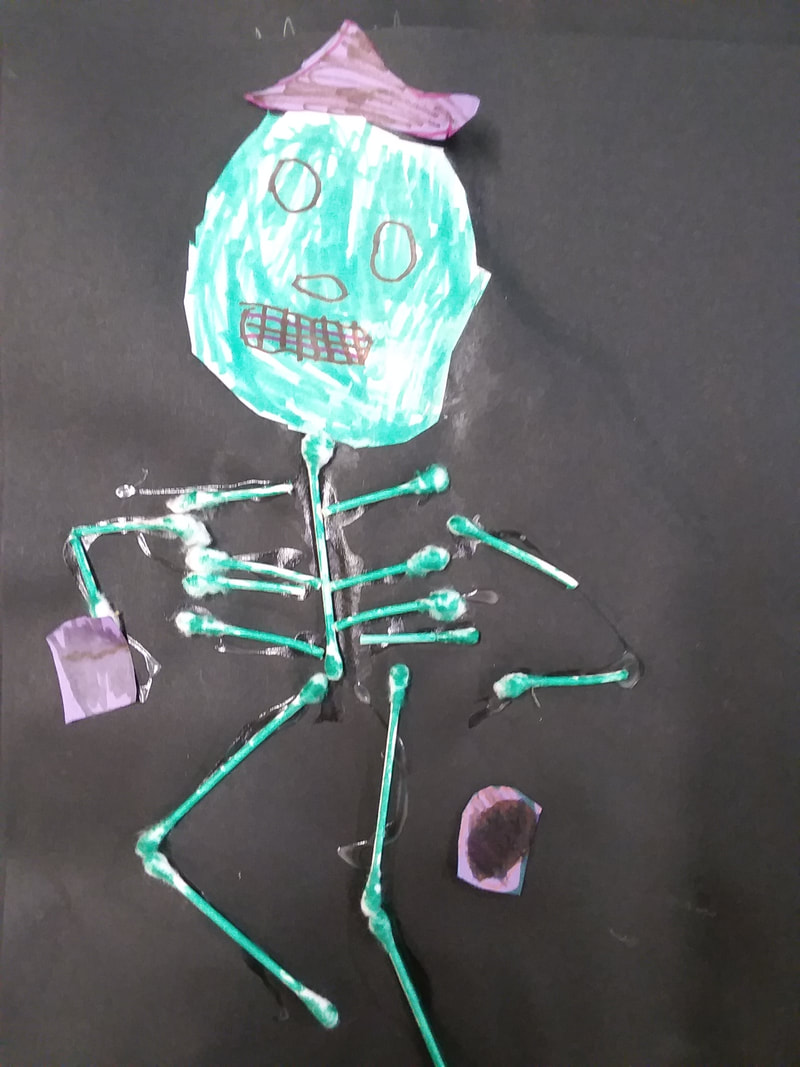
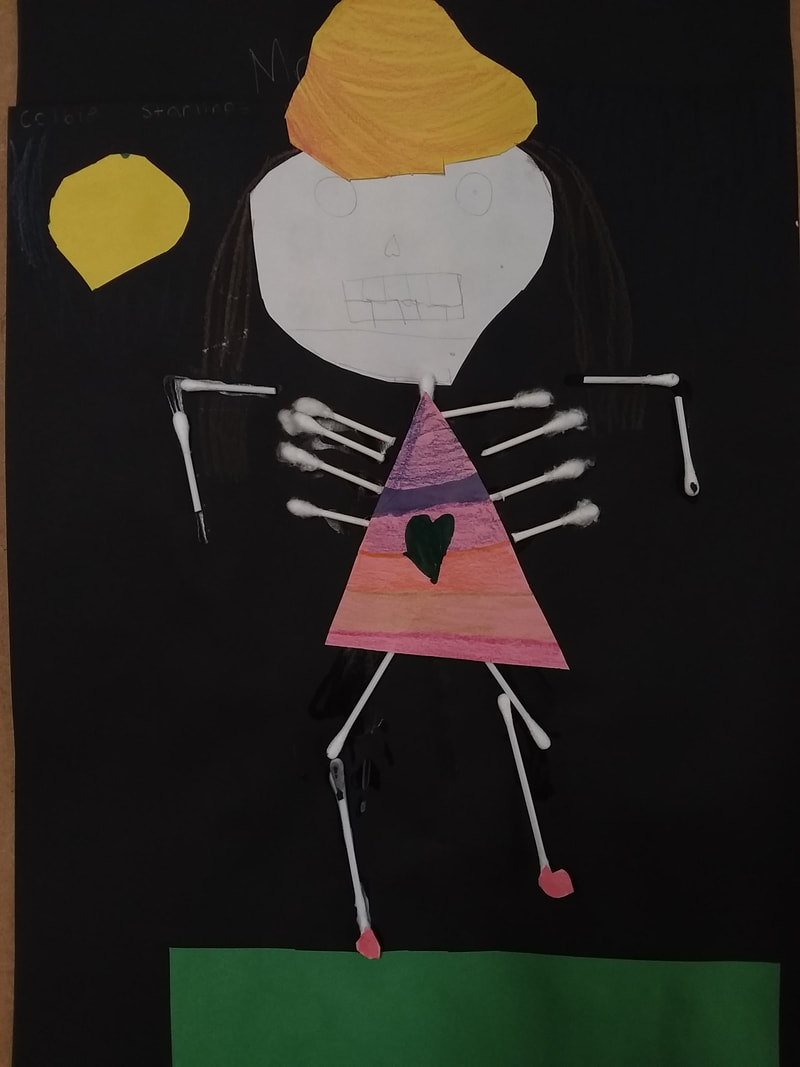
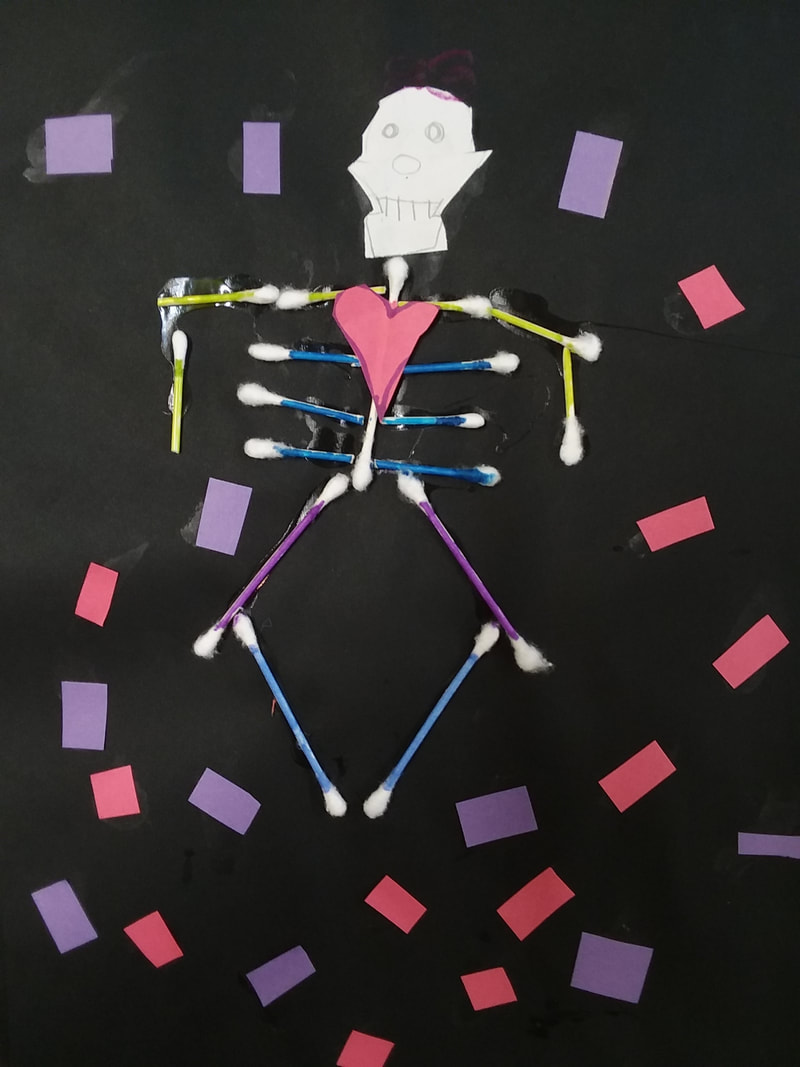
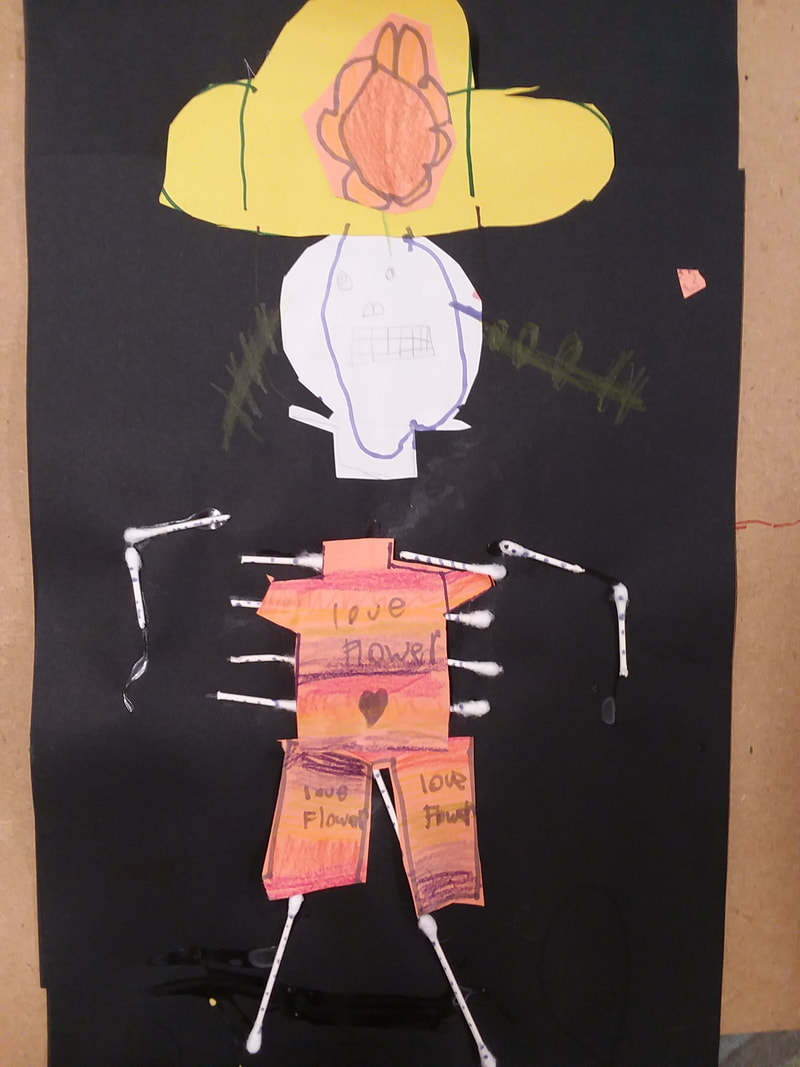
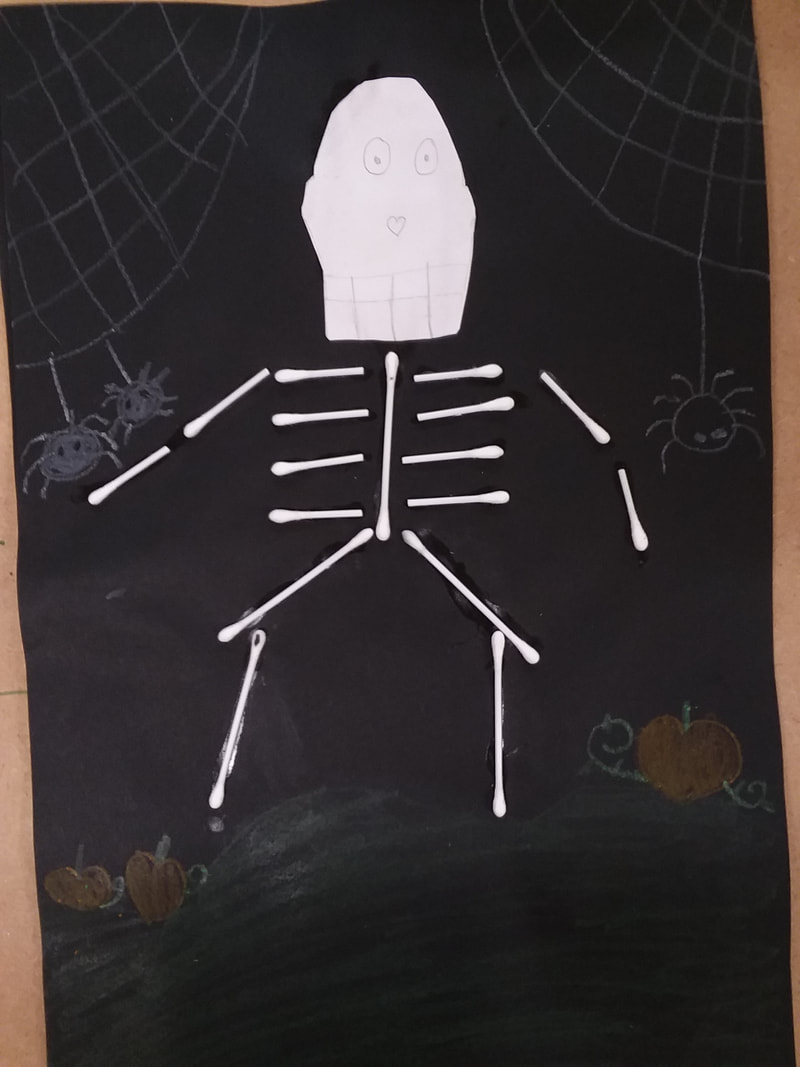
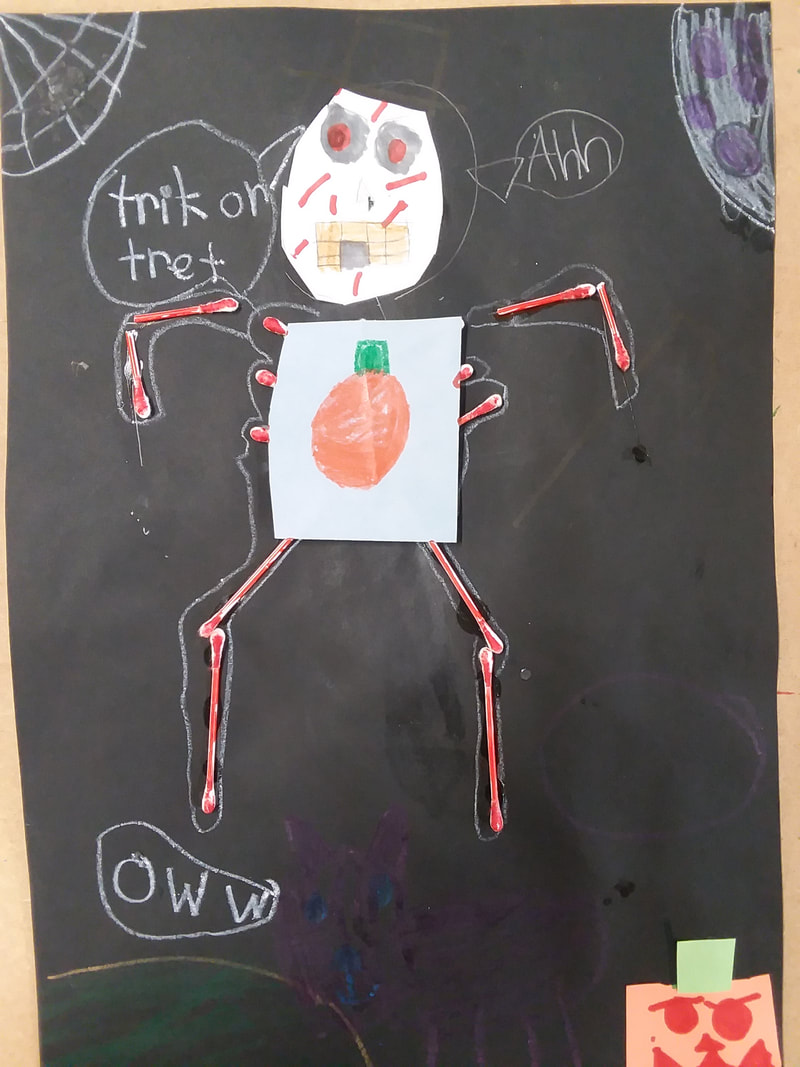
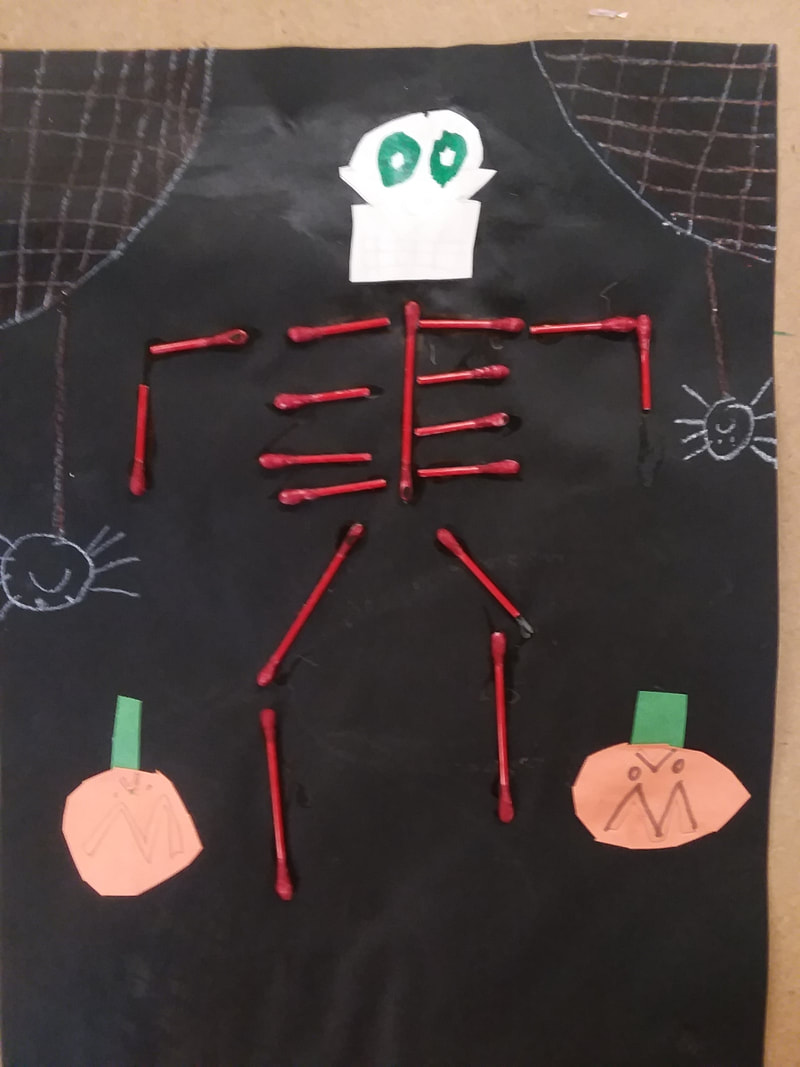
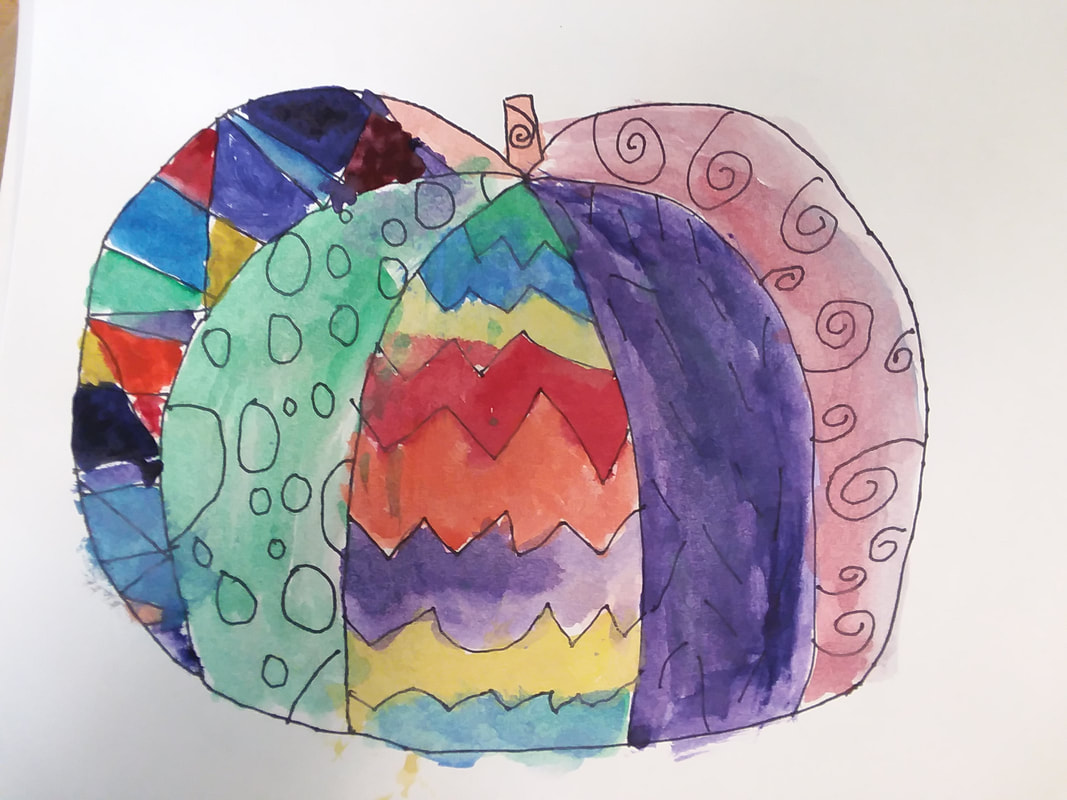
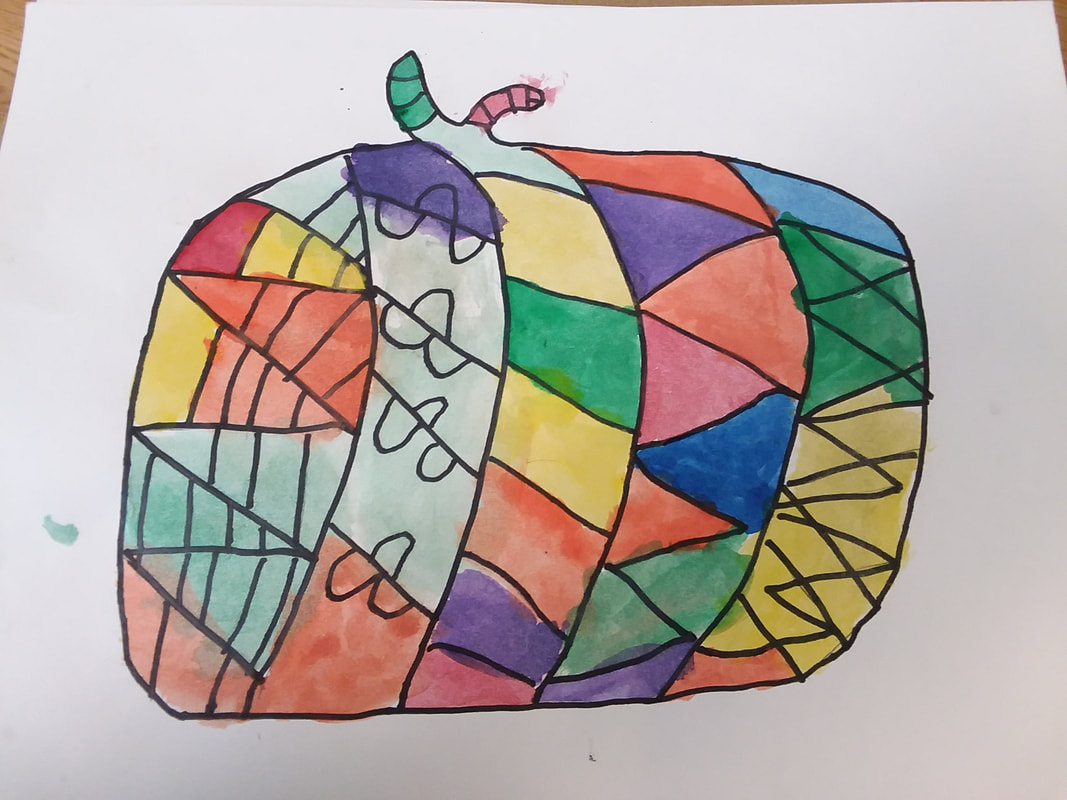
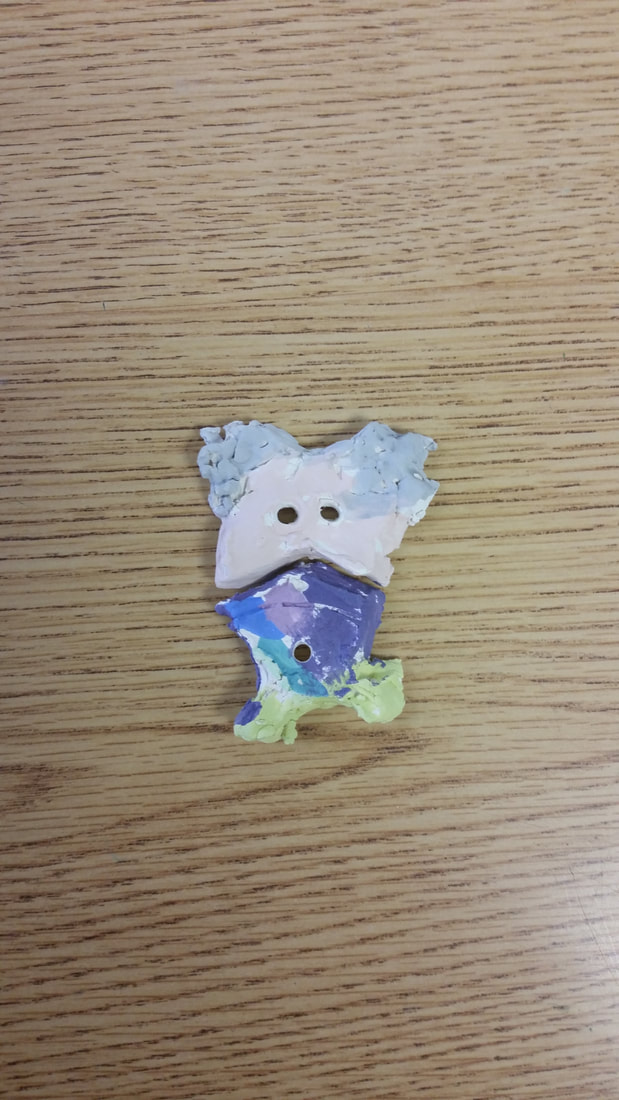
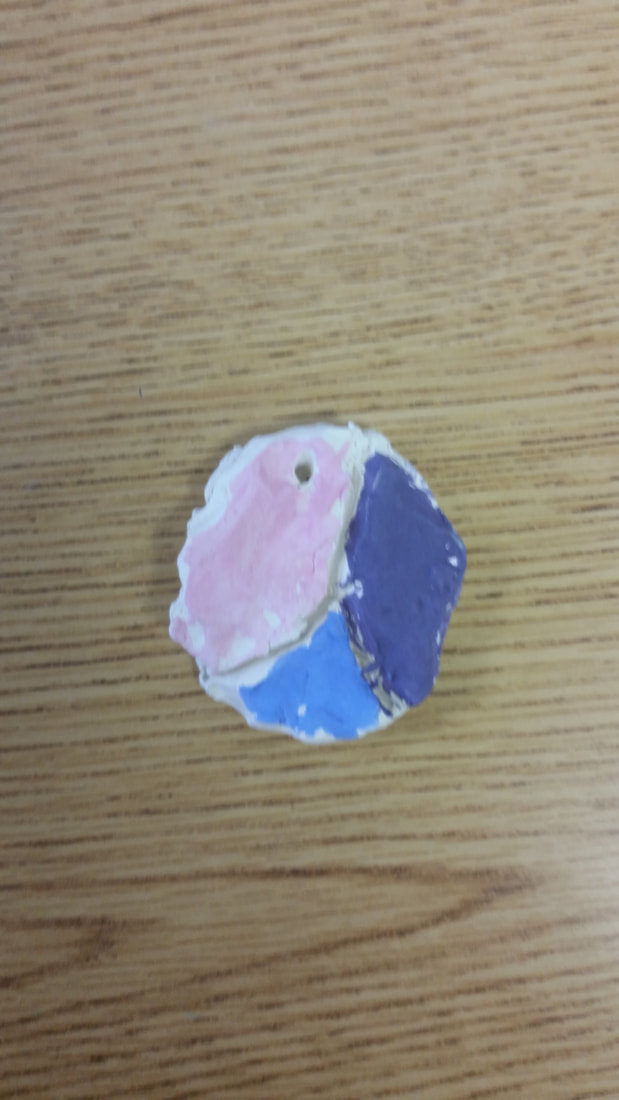
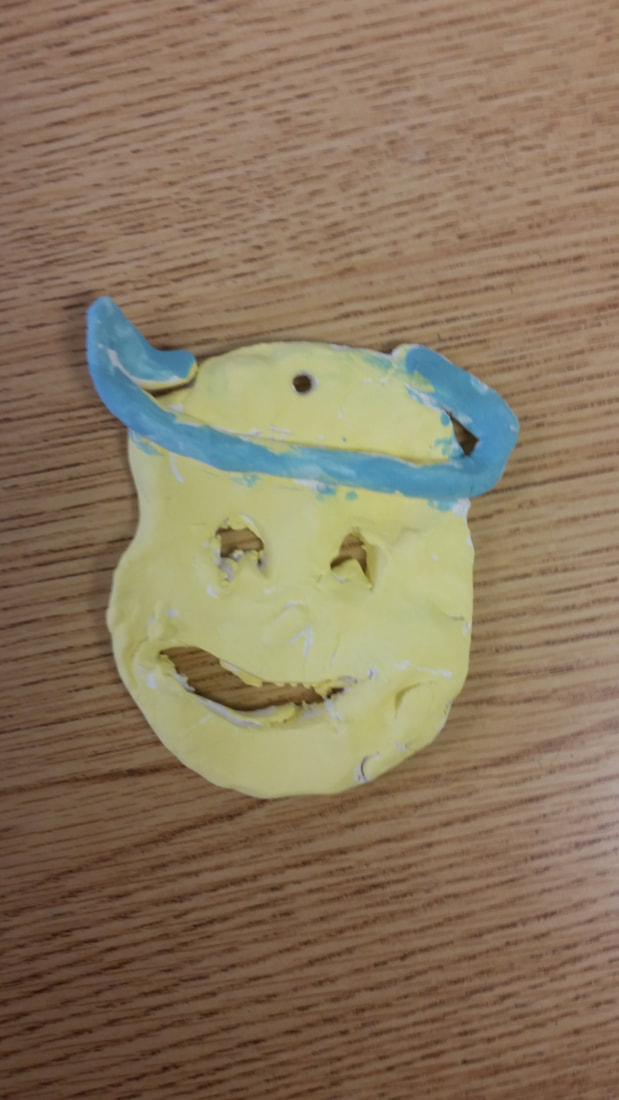
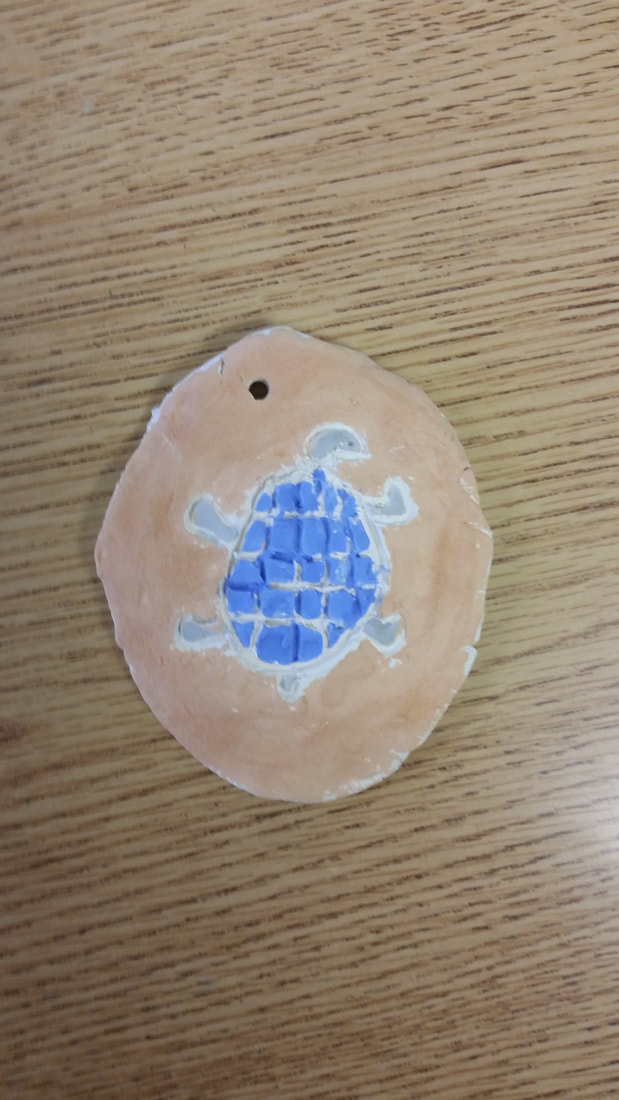
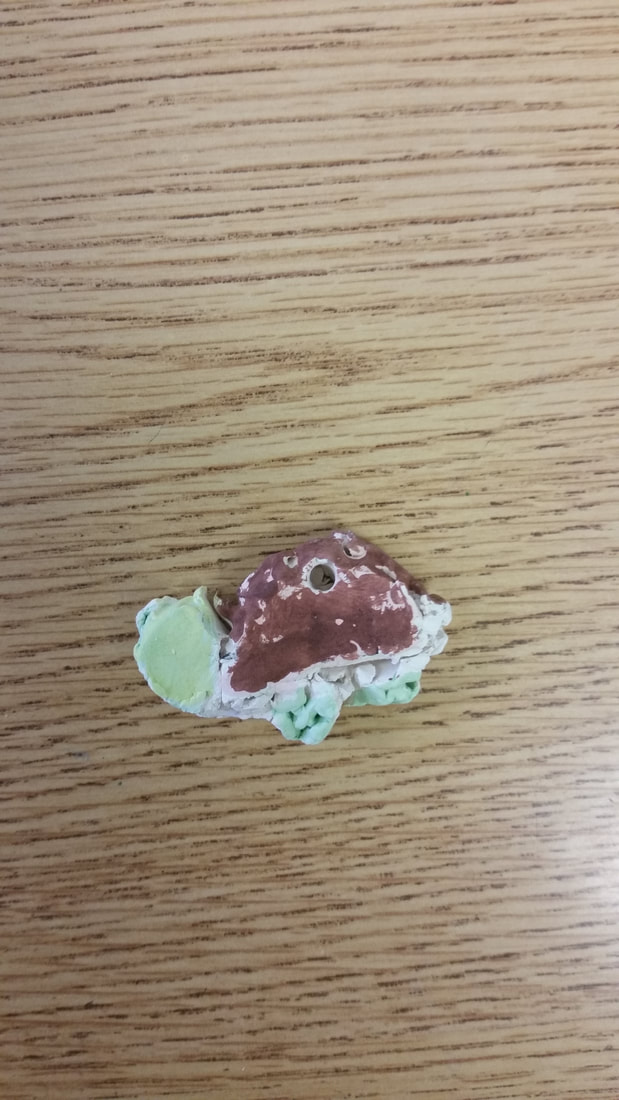
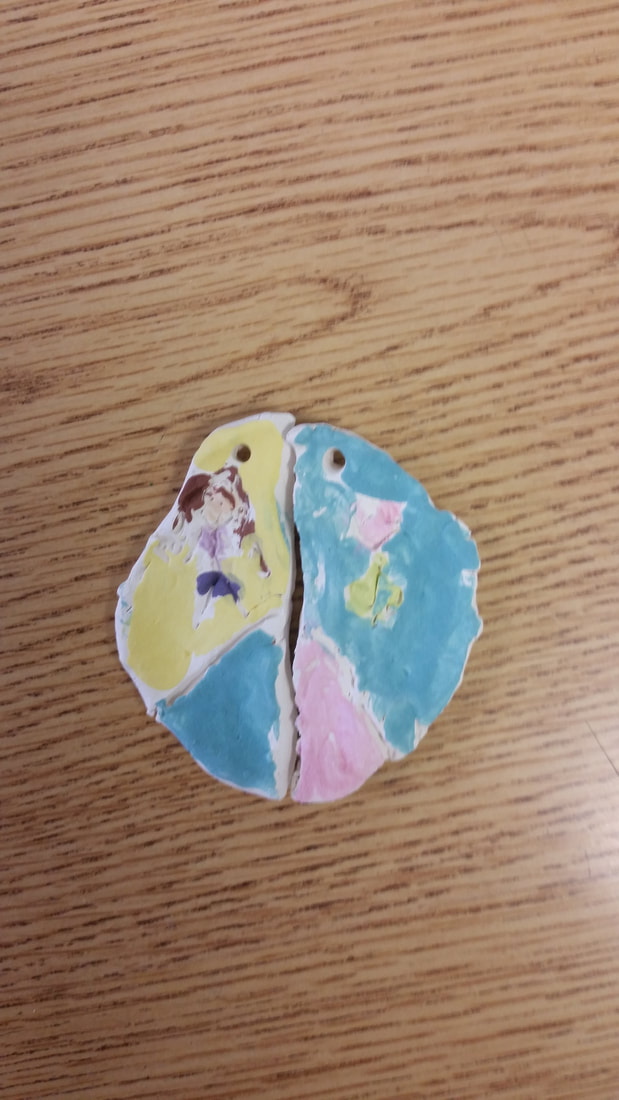
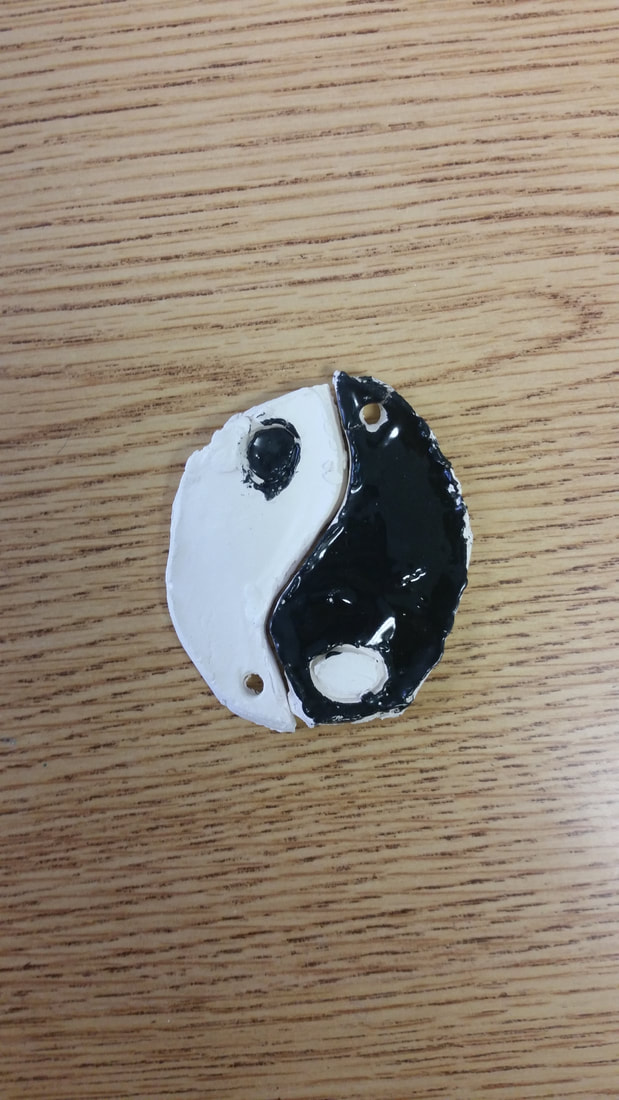
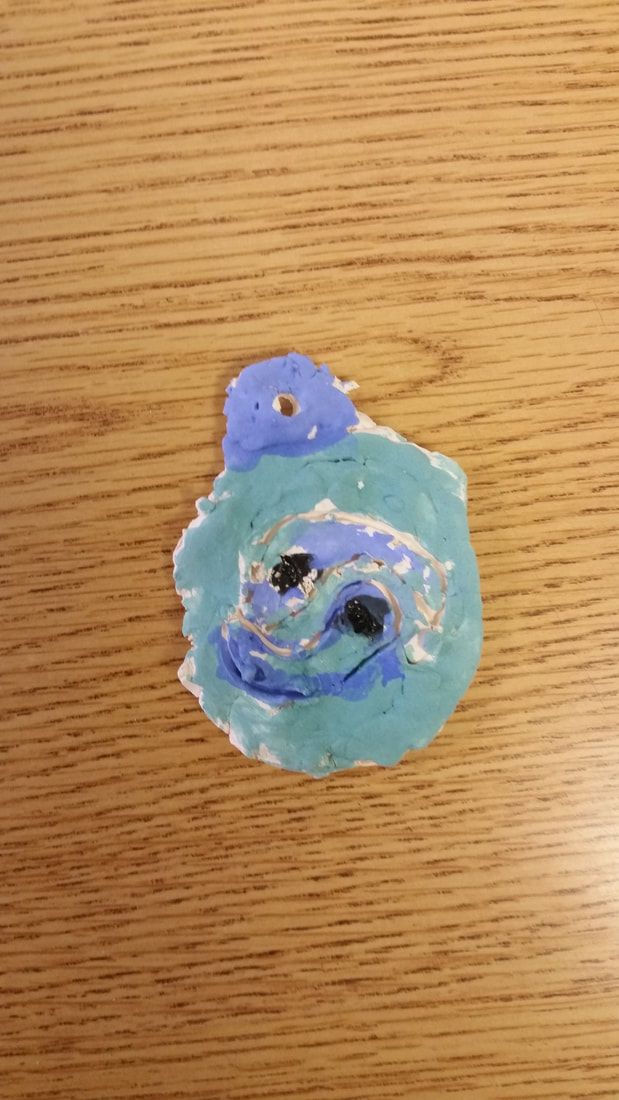
Unit Overview: Students observed images of space from the Hubble telescope in order to create a drawing of planets, stars, and other spacial anomalies using oil pastel, dark paper, and runny white paint. AND WE'RE BACK! Oftentimes, new artwork inspiration doesn't hit me til around October. The first couple of months back is often focused on making sure students recall art vocabulary and concepts so that we can more to more advanced projects. But this project I was inspired by came from the first picture ever taken of the black hole. Yeah, until recently, we had no photographic evidence of black holes. It was pretty amazing that we even got the picture we have. So third grade students observed images from the Hubble telescope and we discussed how planets look in space. I taught students how to use oil pastels to create spheres that showed light and dark. After drawing a series of planets, students flicked white paint over their paper to create a starry affect. It's a pretty simple lesson, but fun and effective.
0 Comments
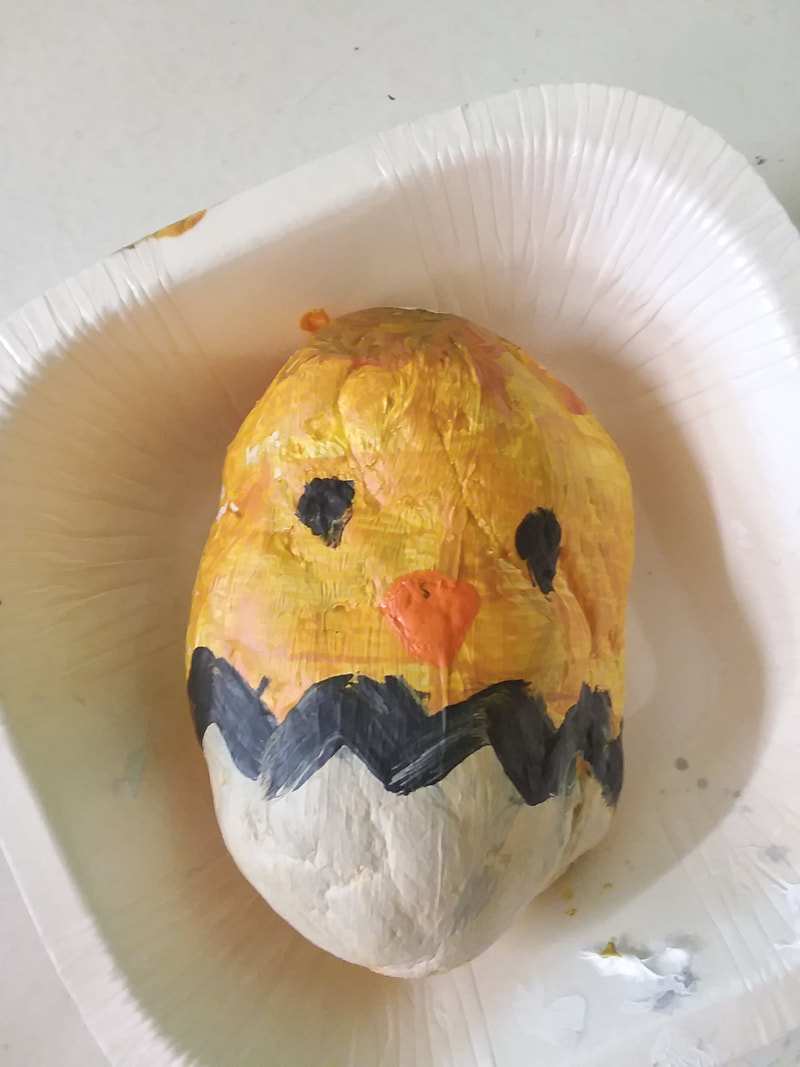
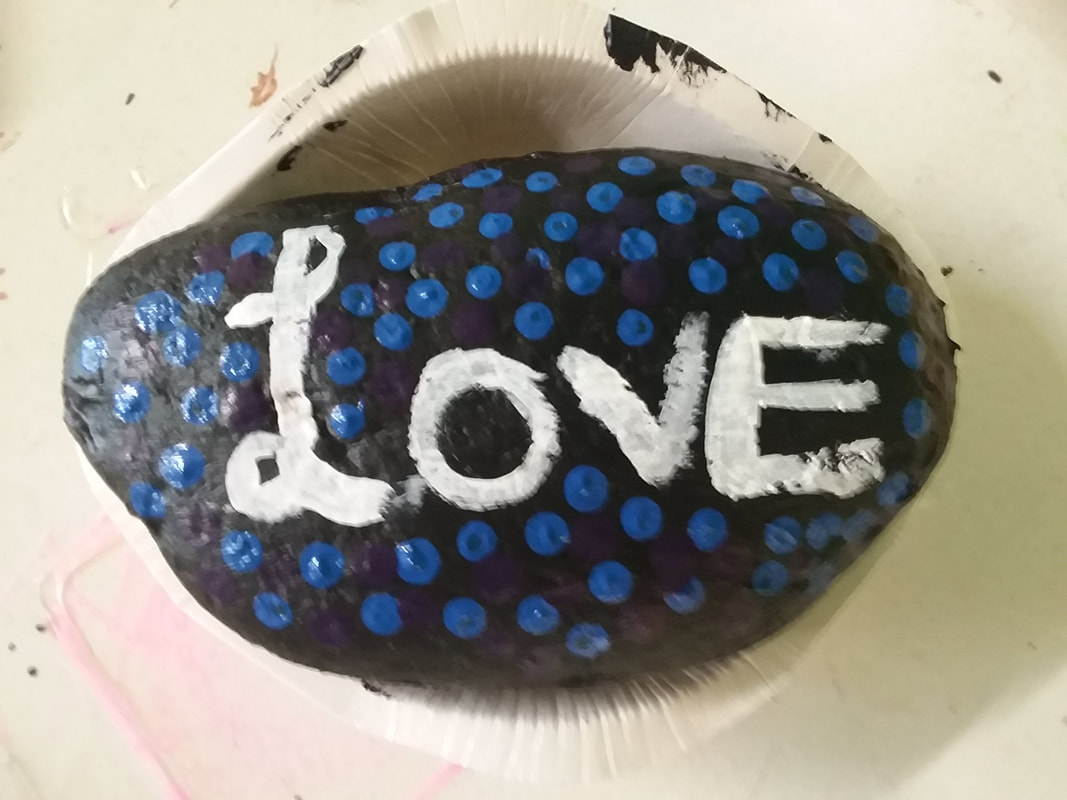
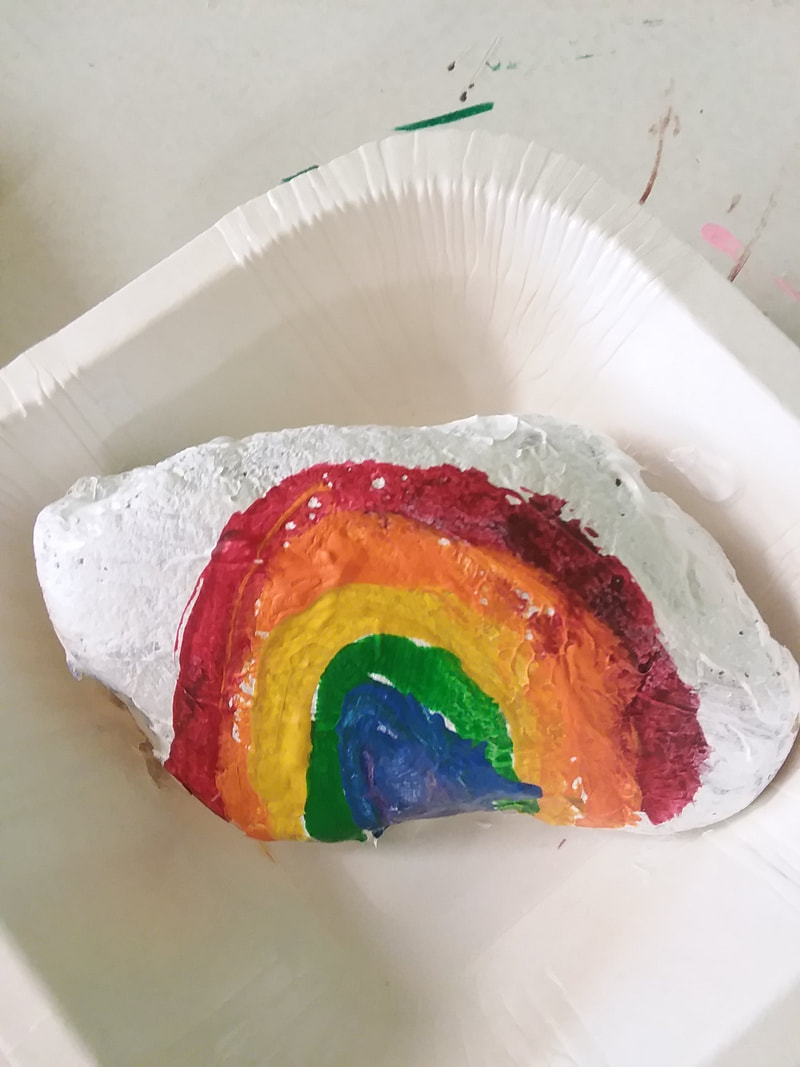
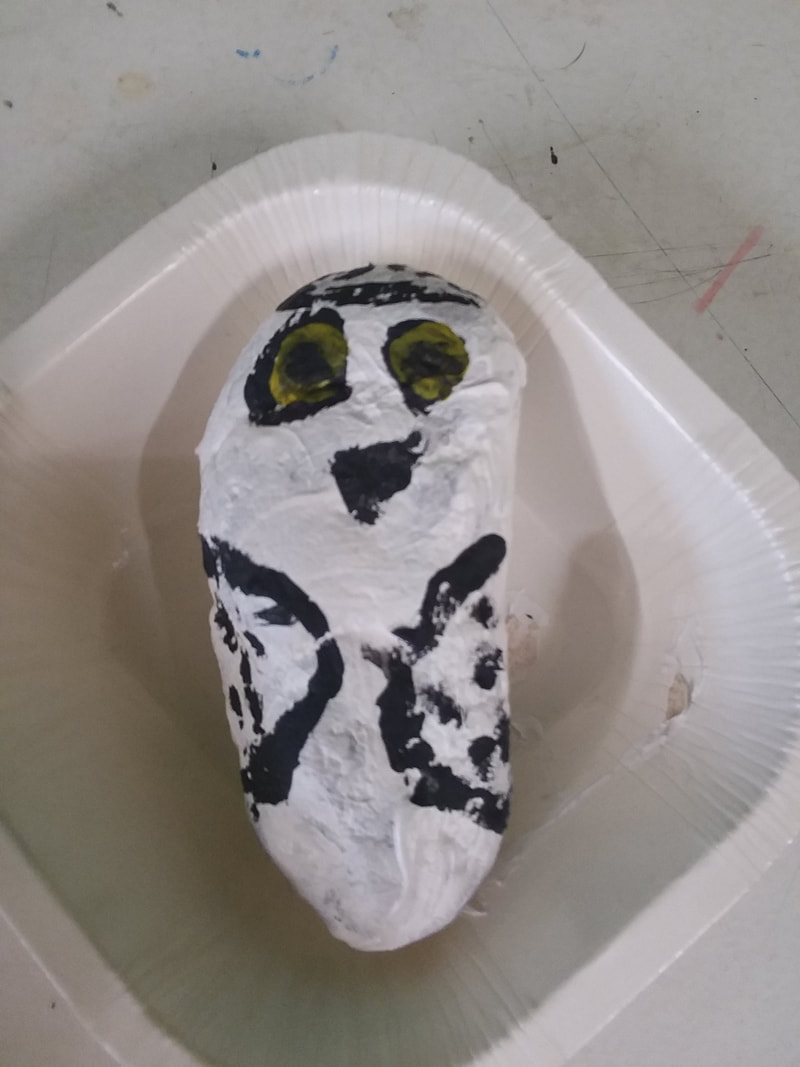
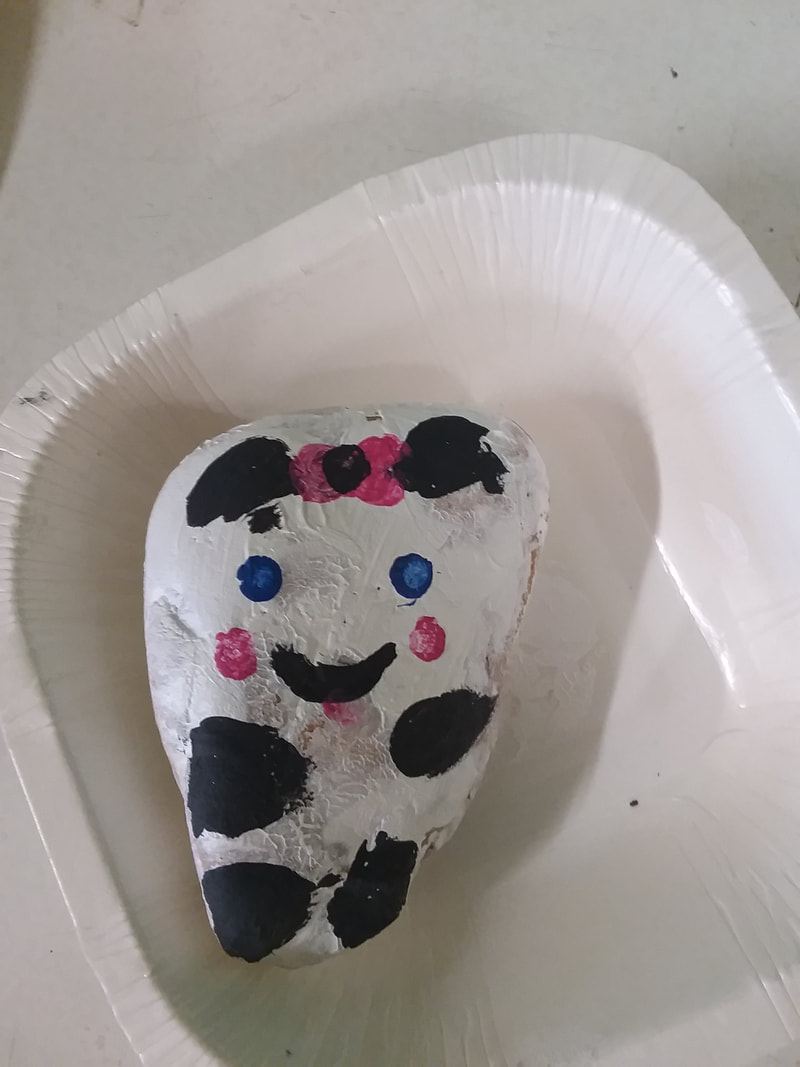
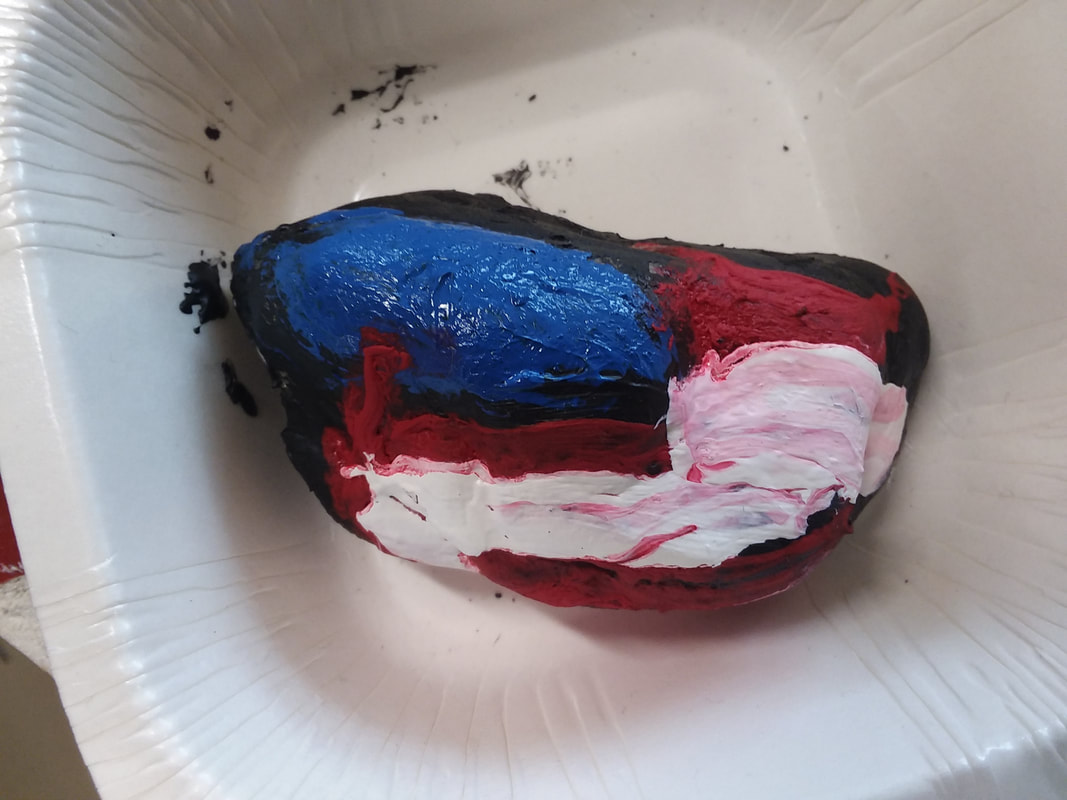
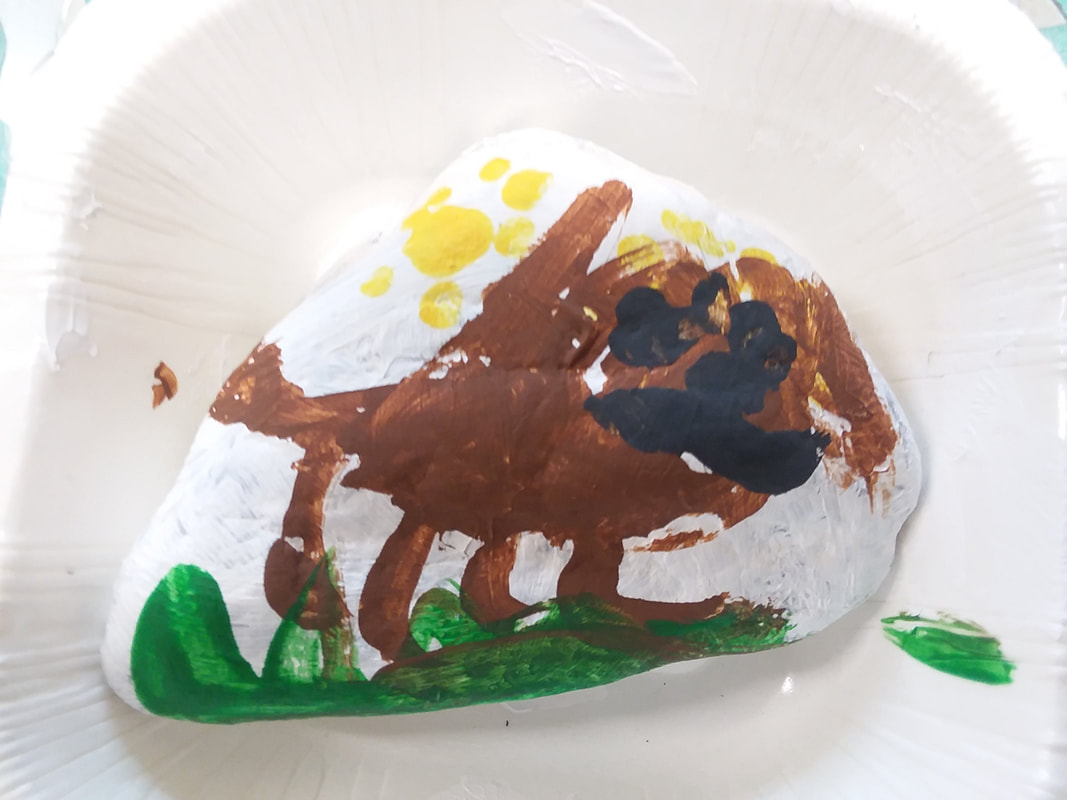
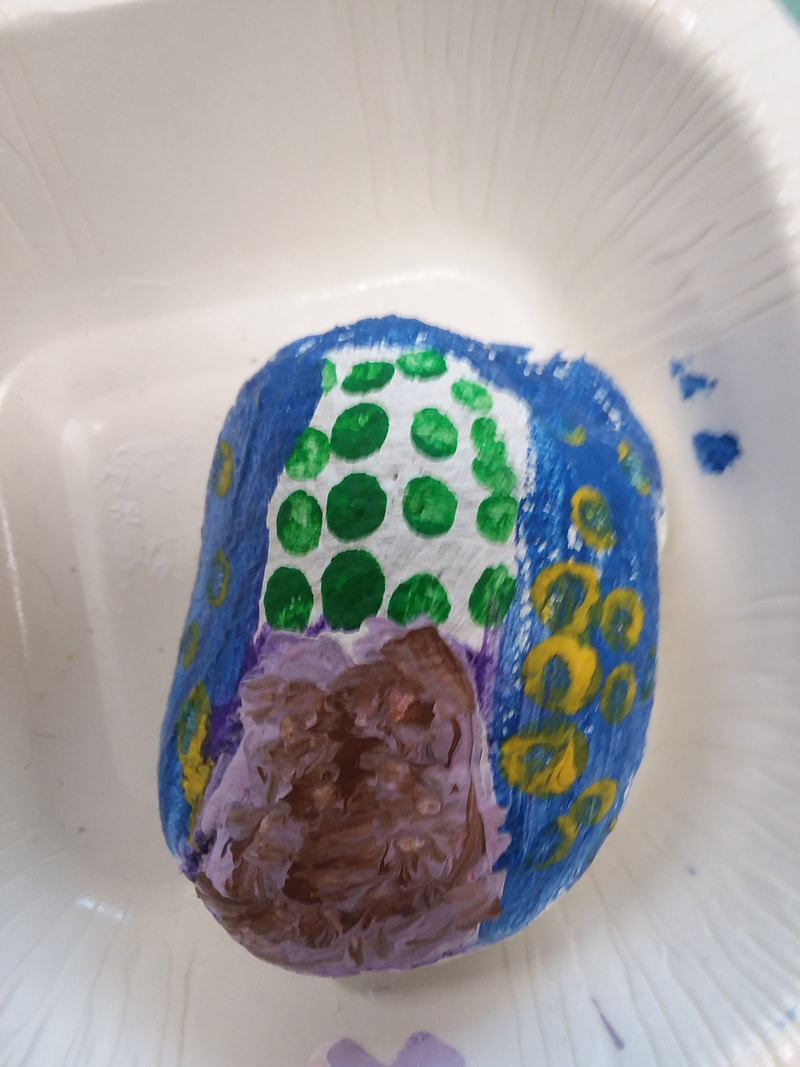
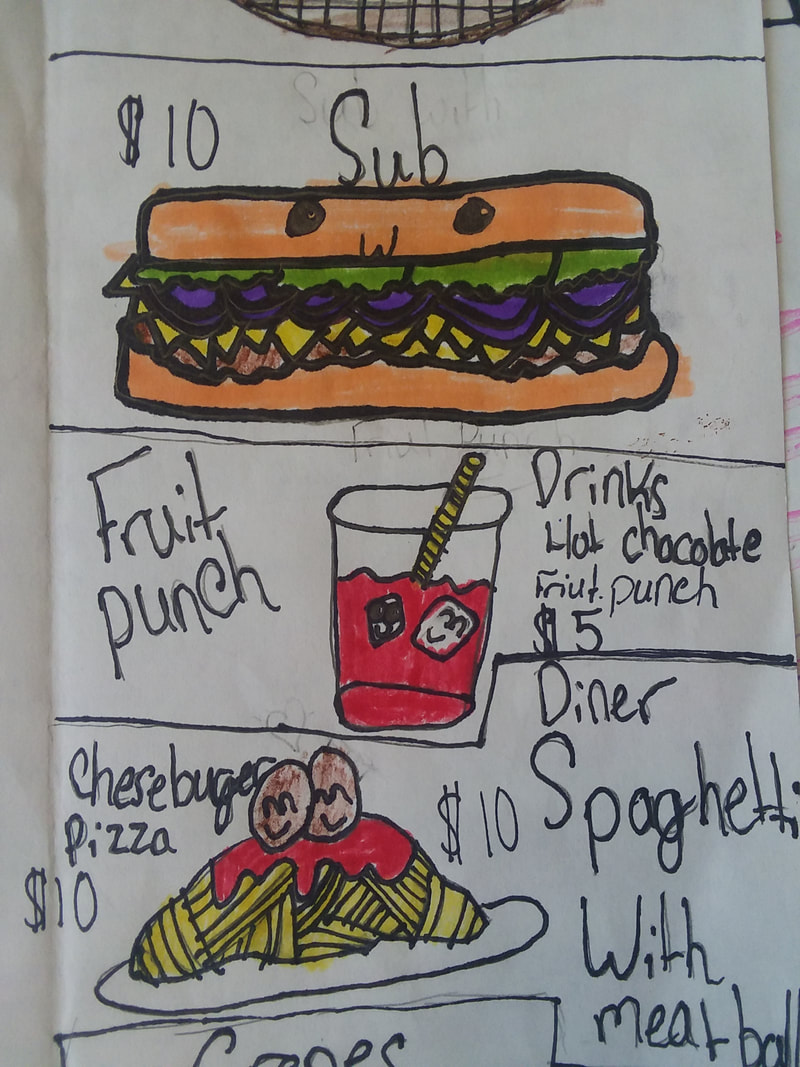
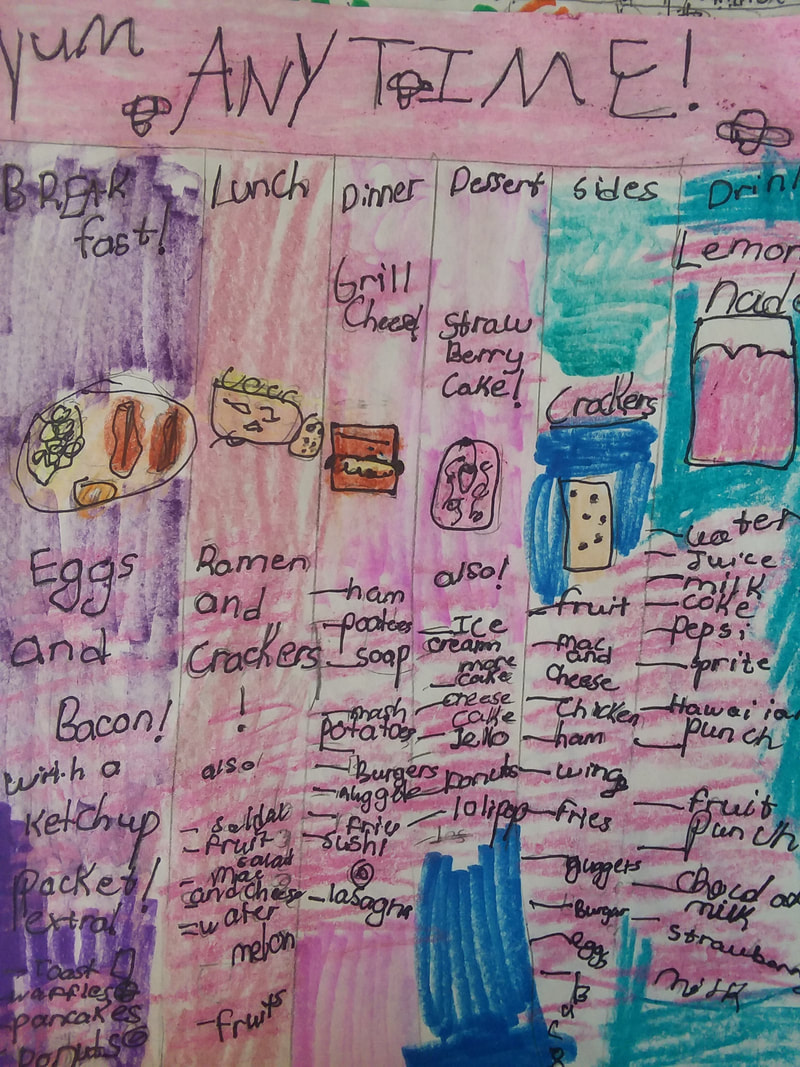
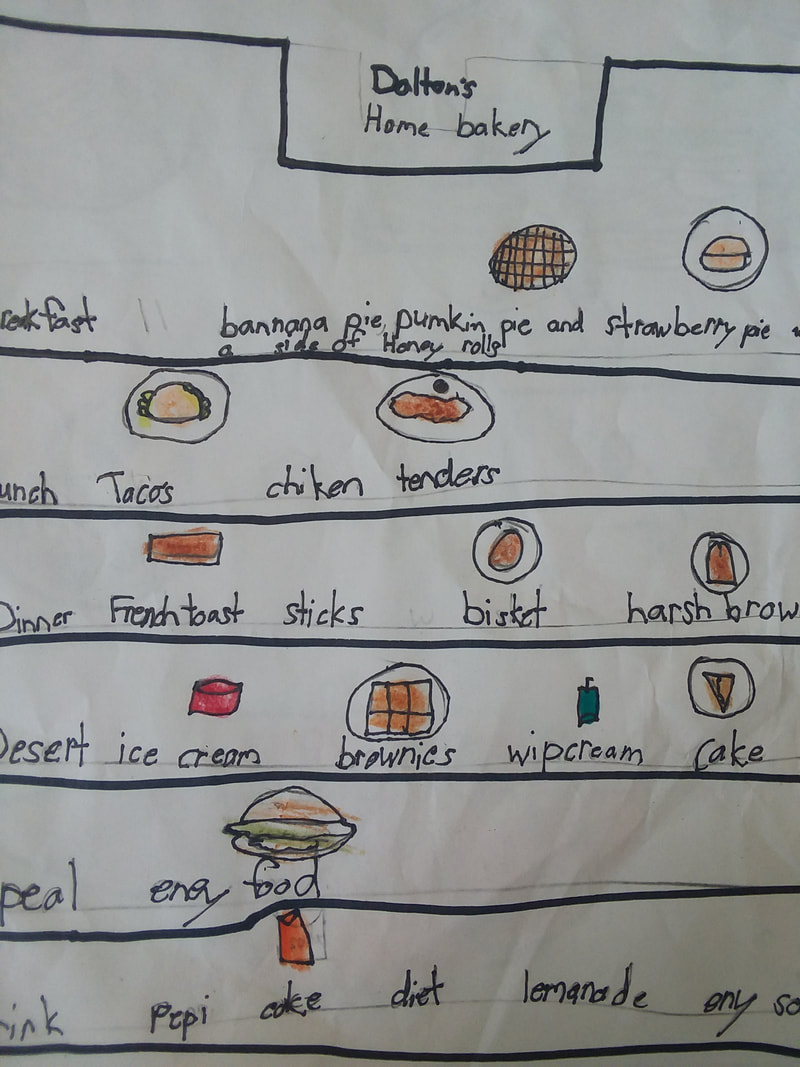
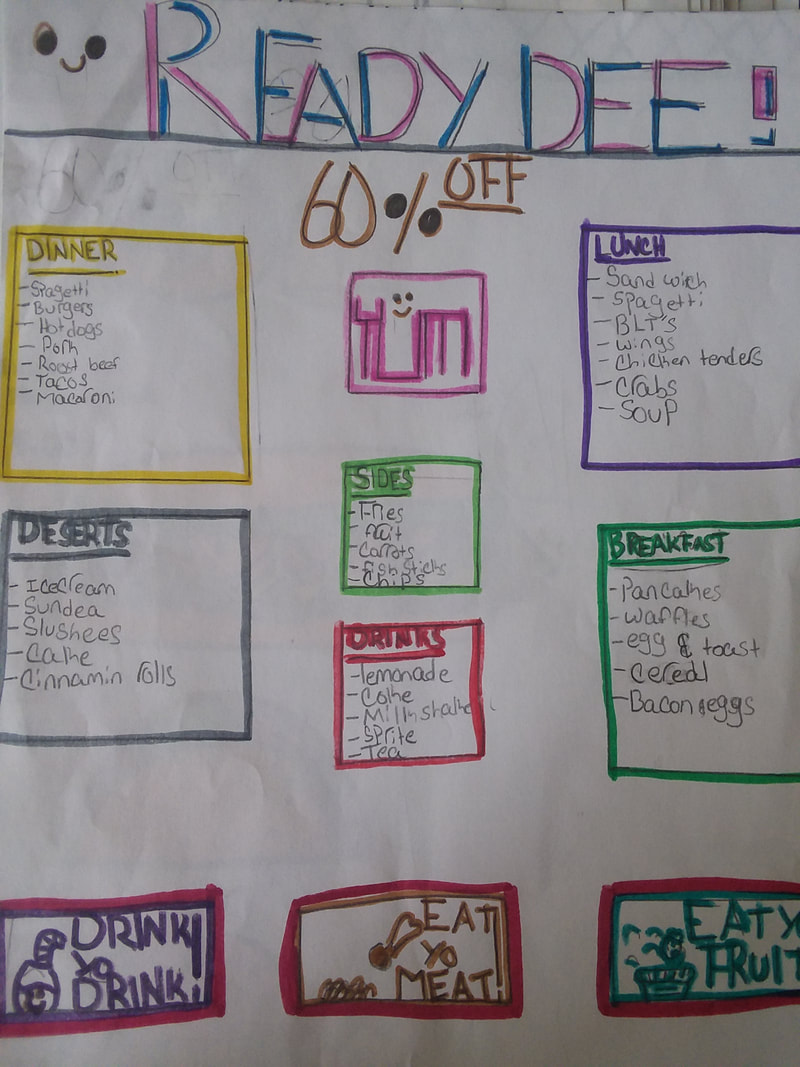
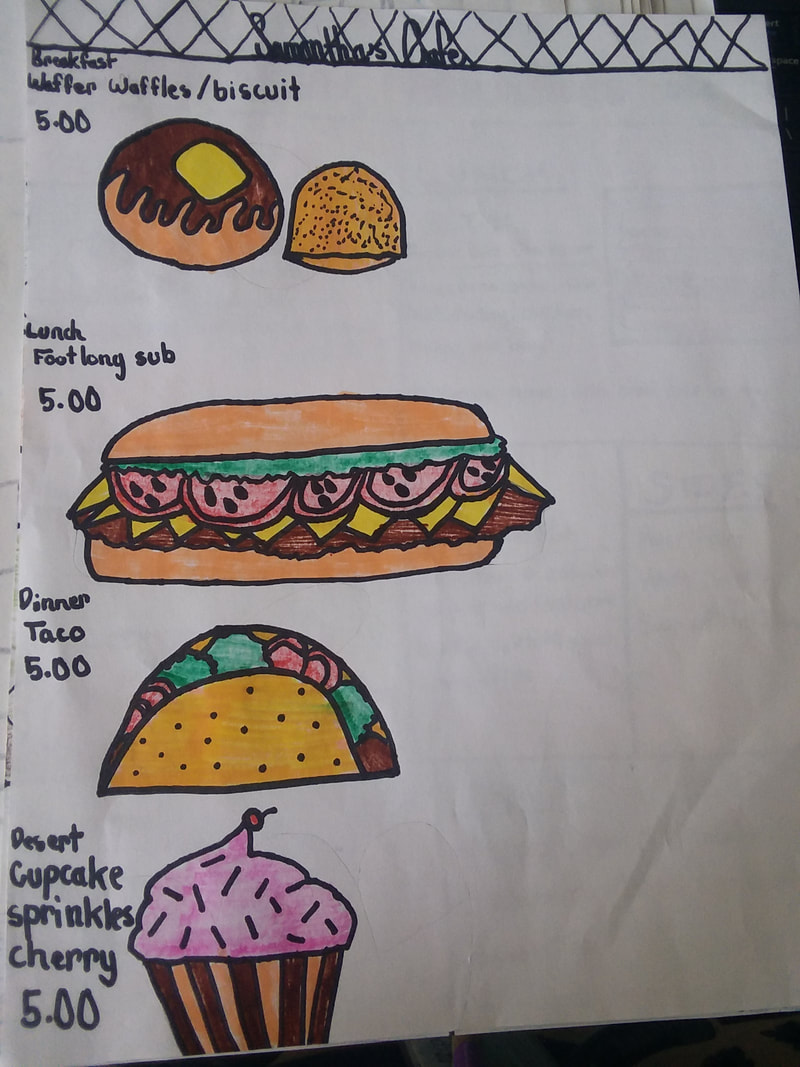
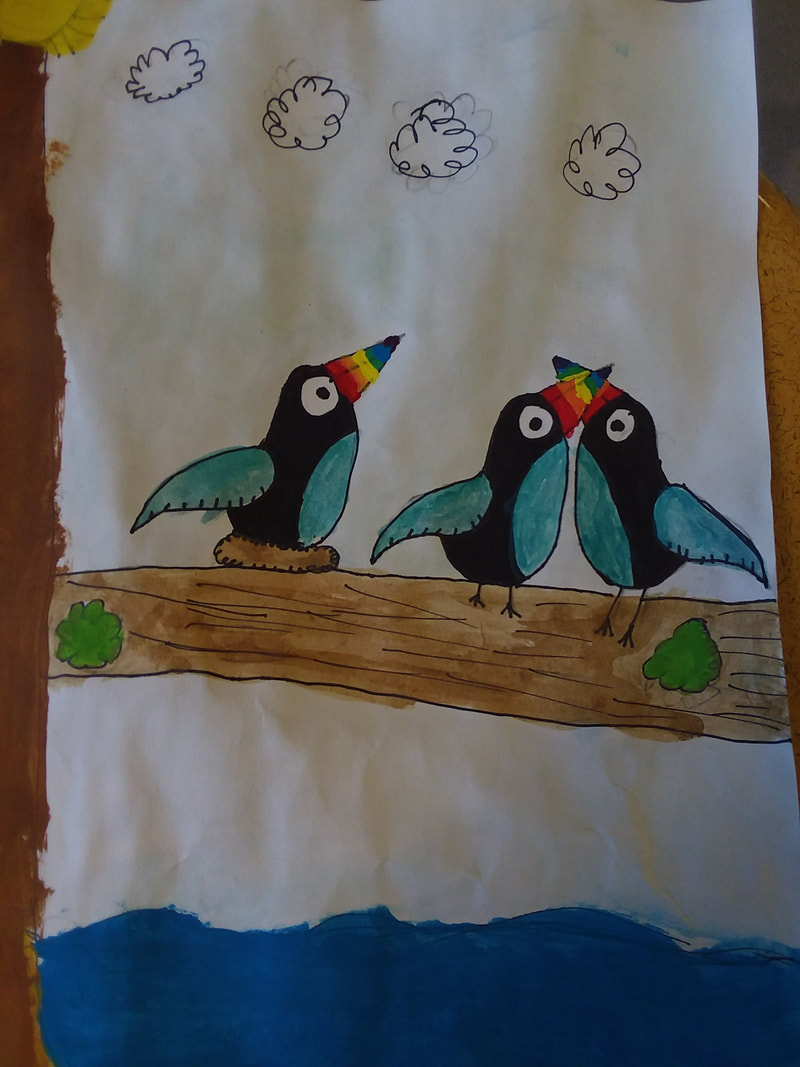
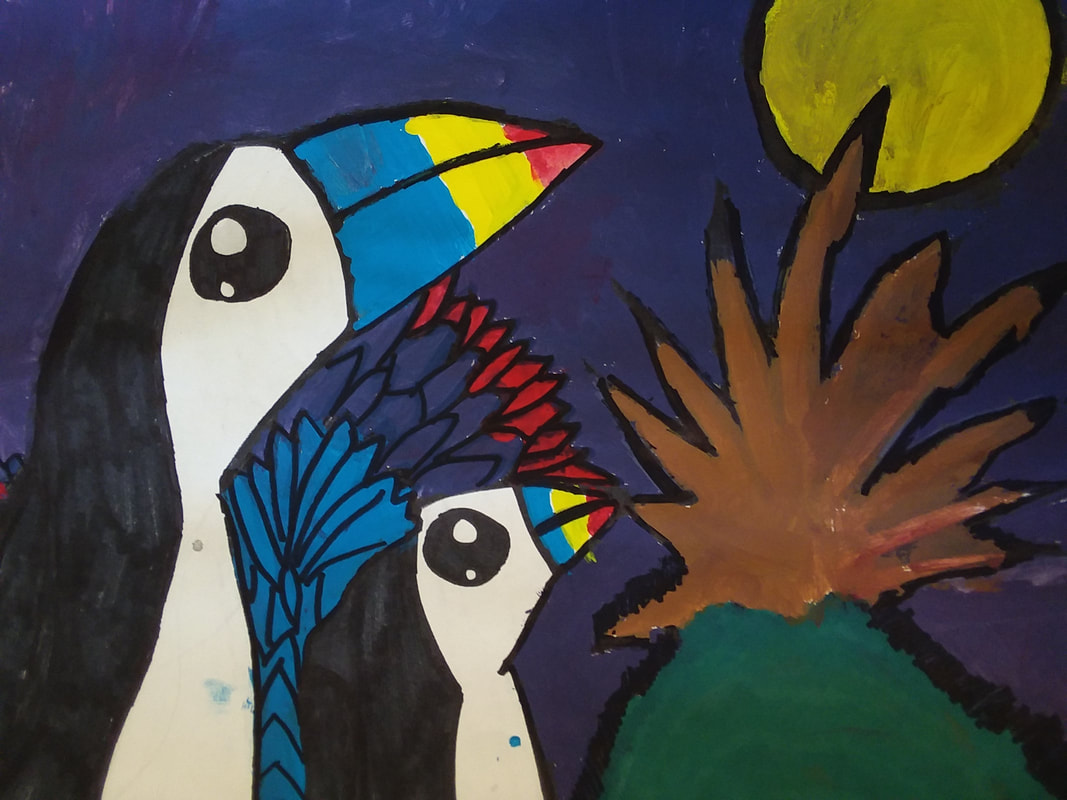
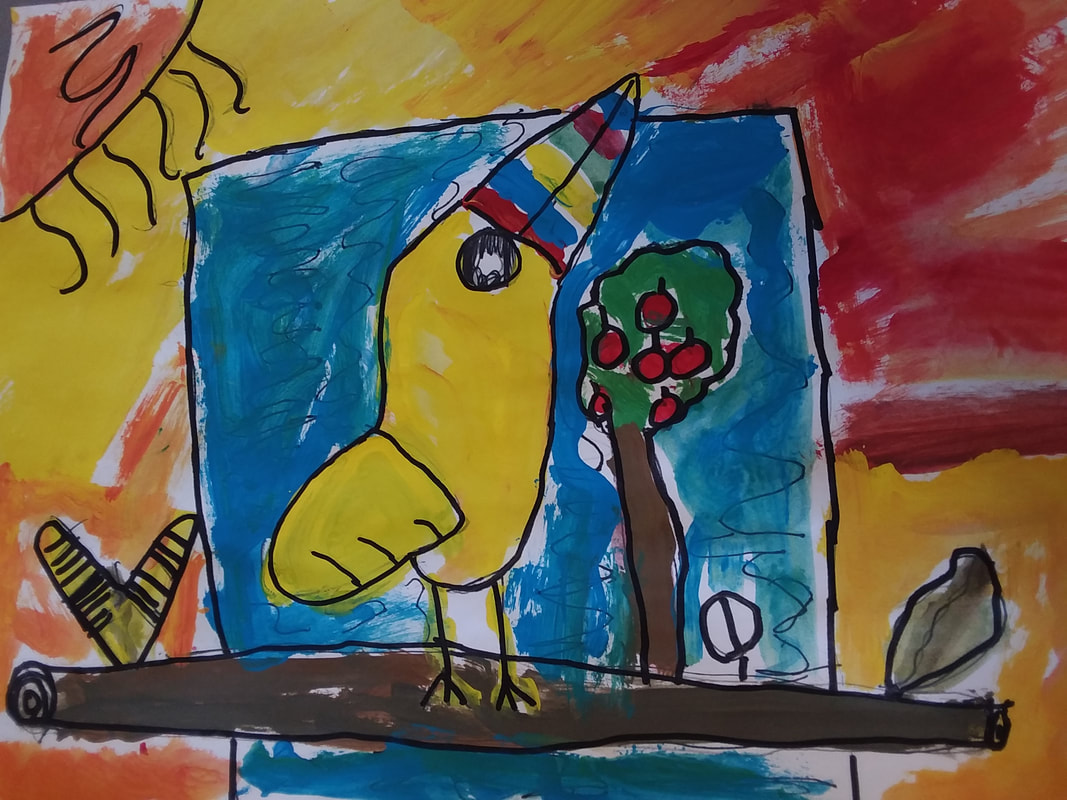
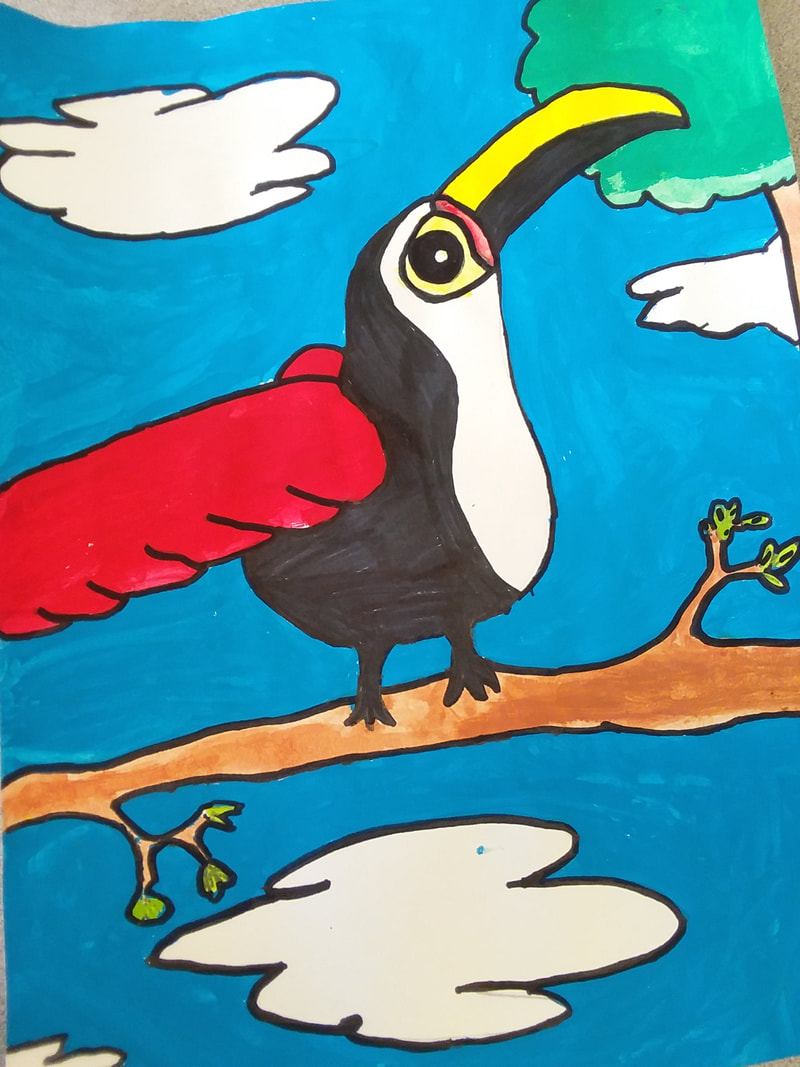
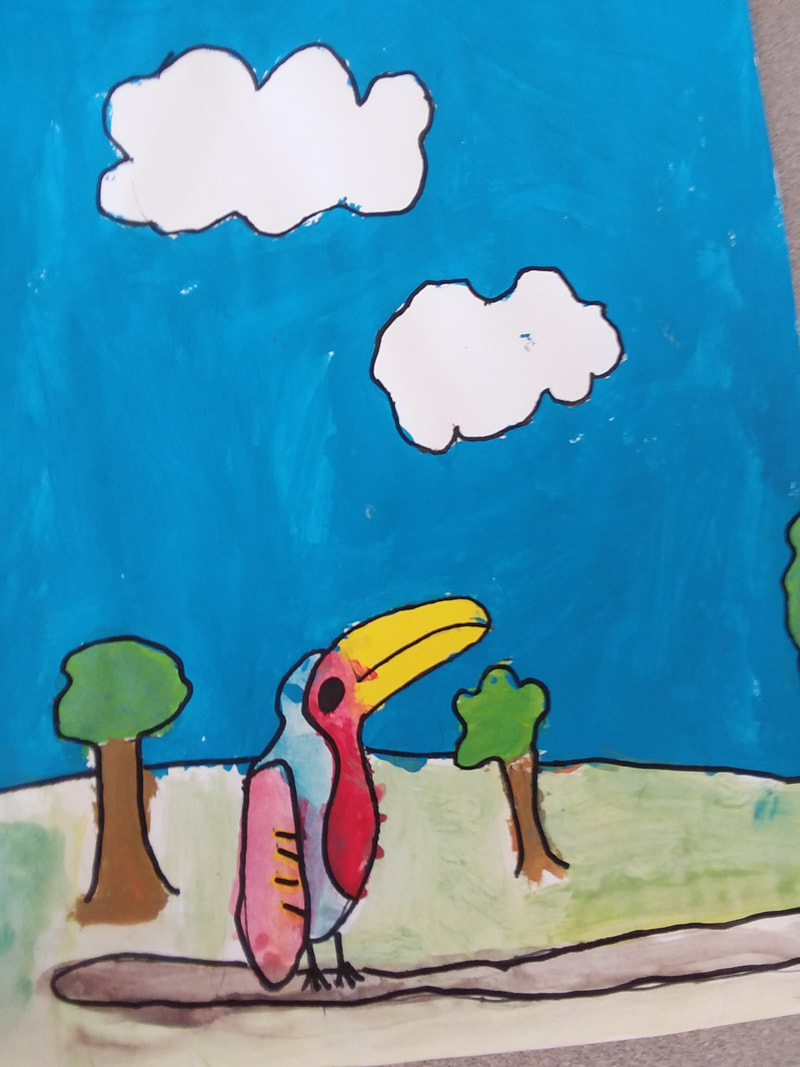
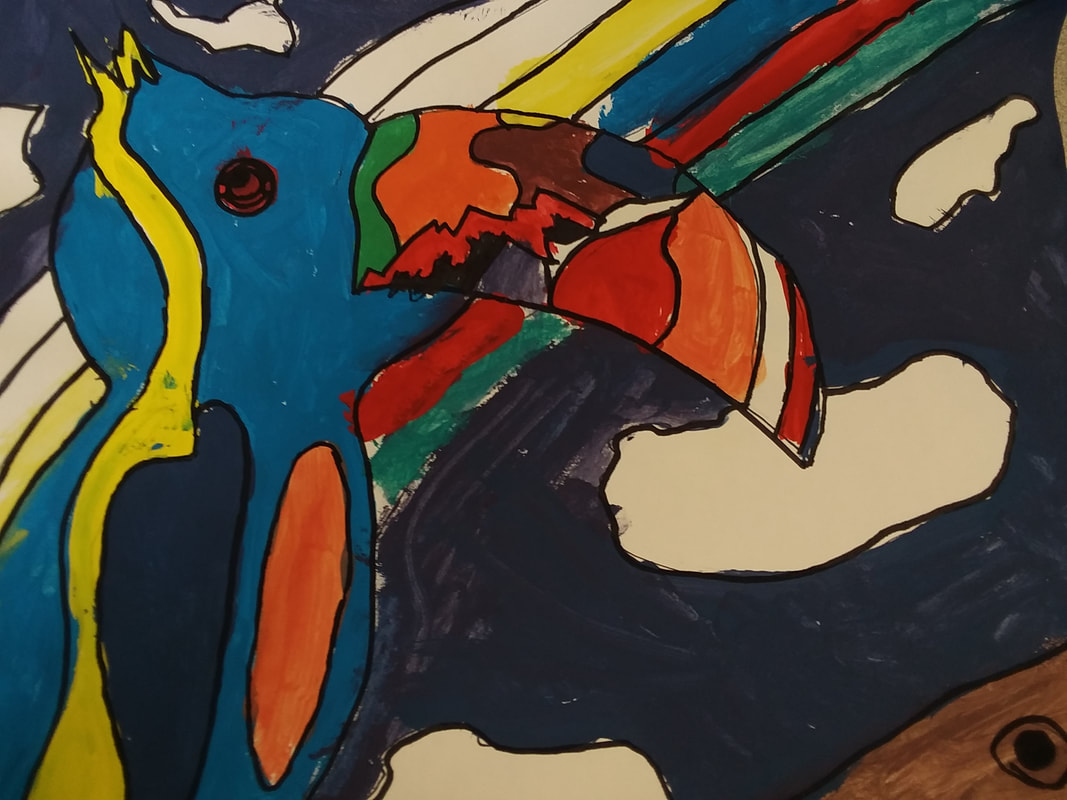
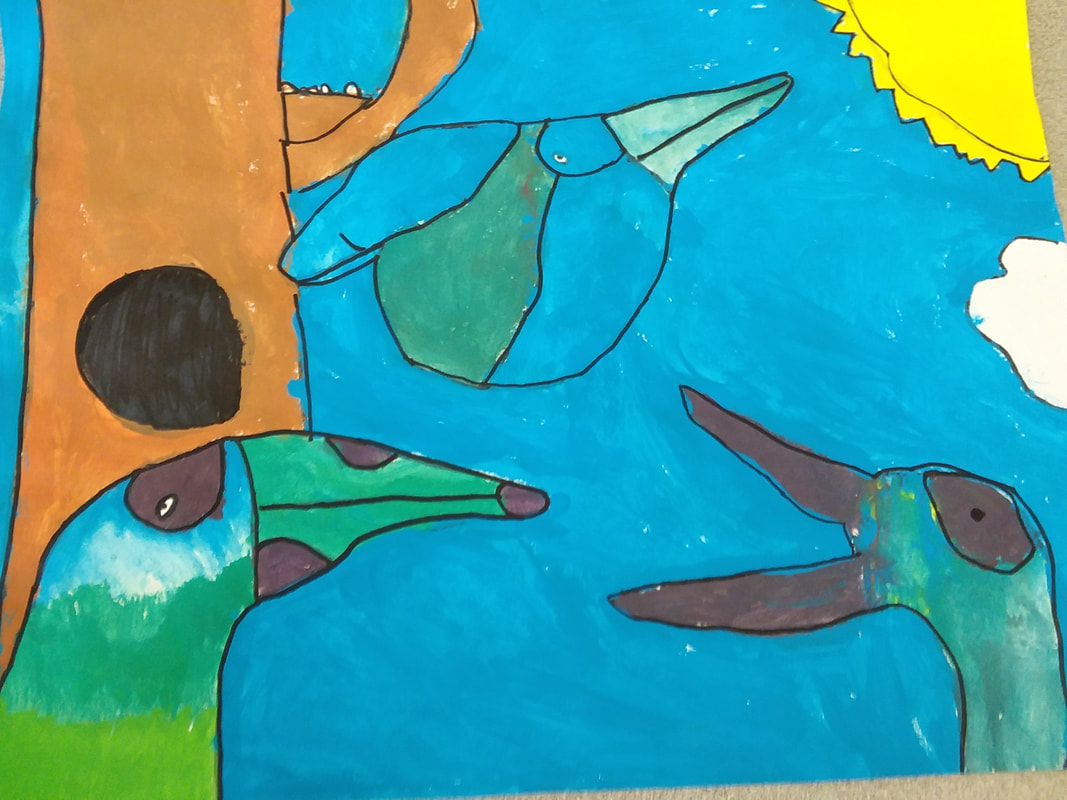
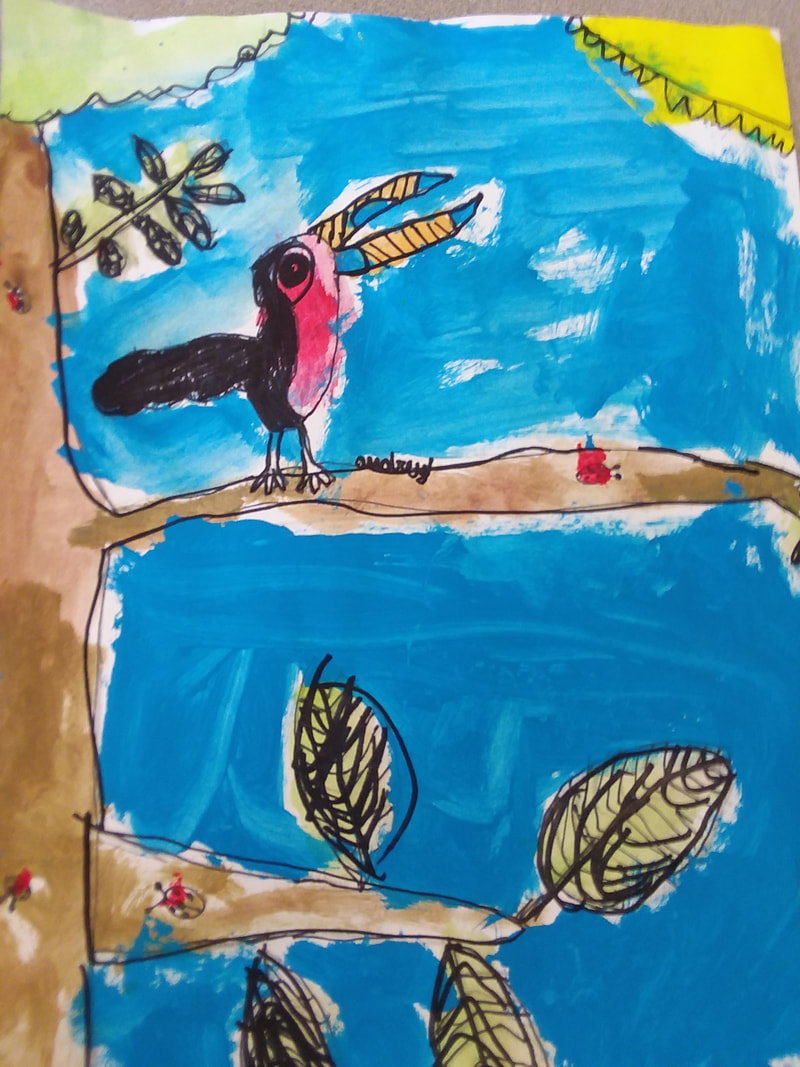
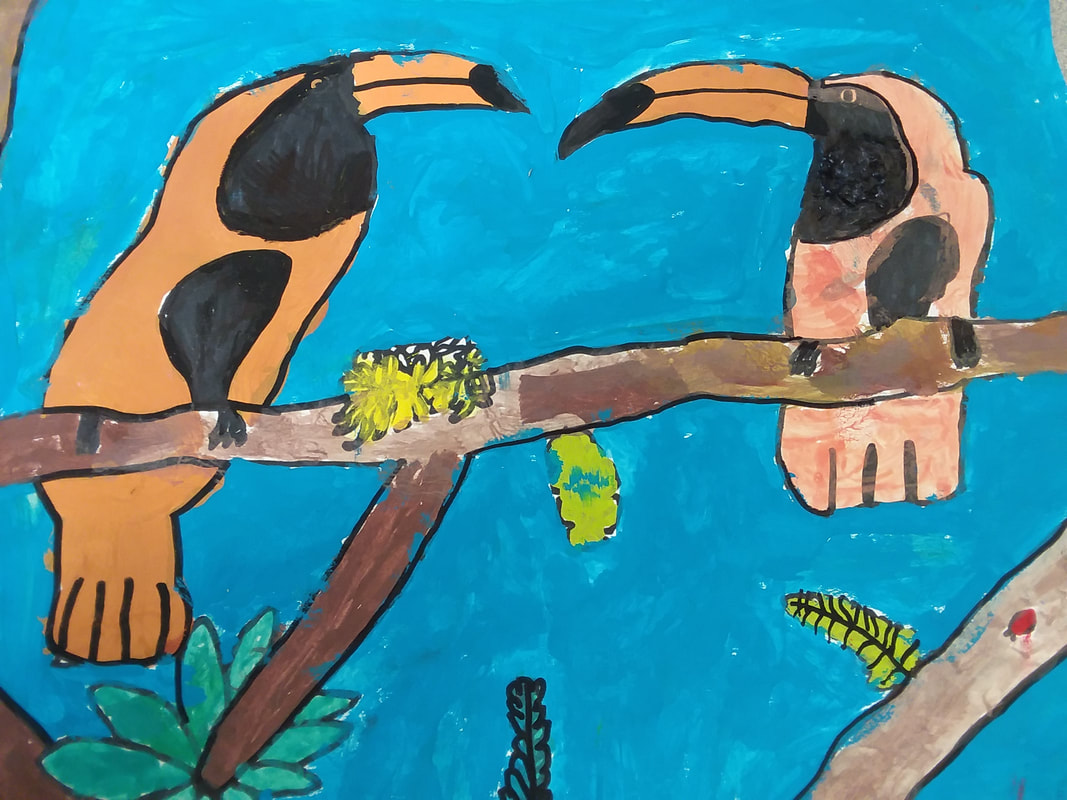
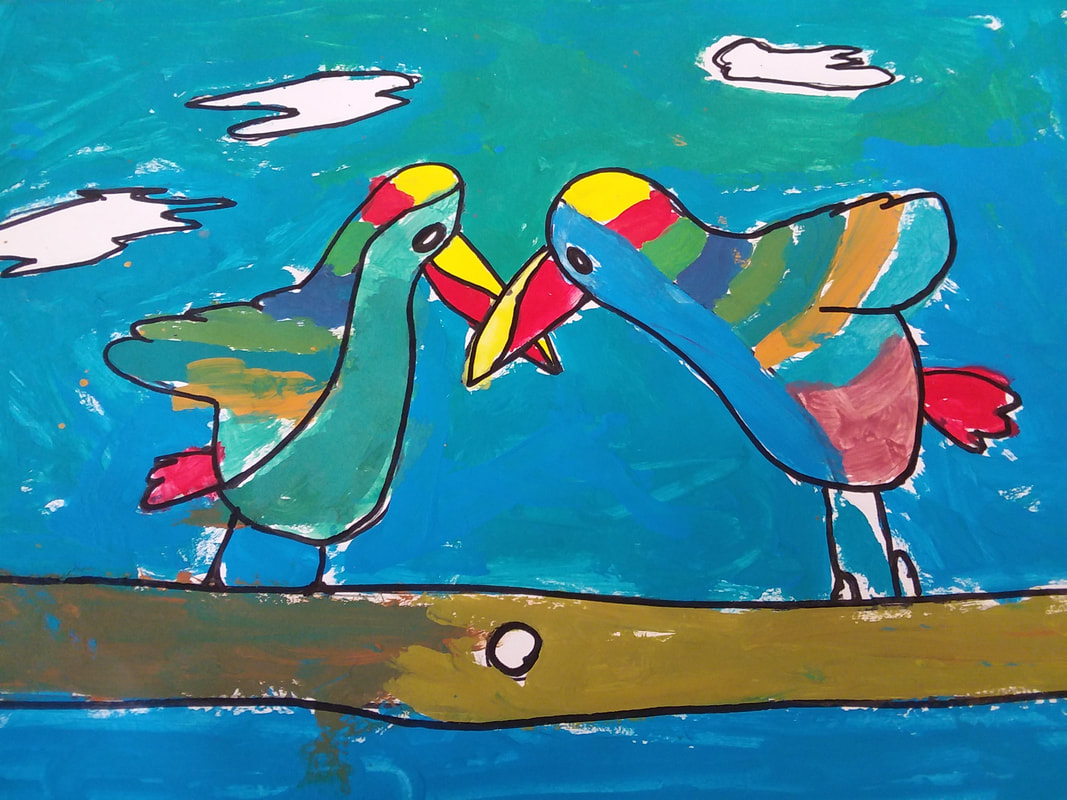
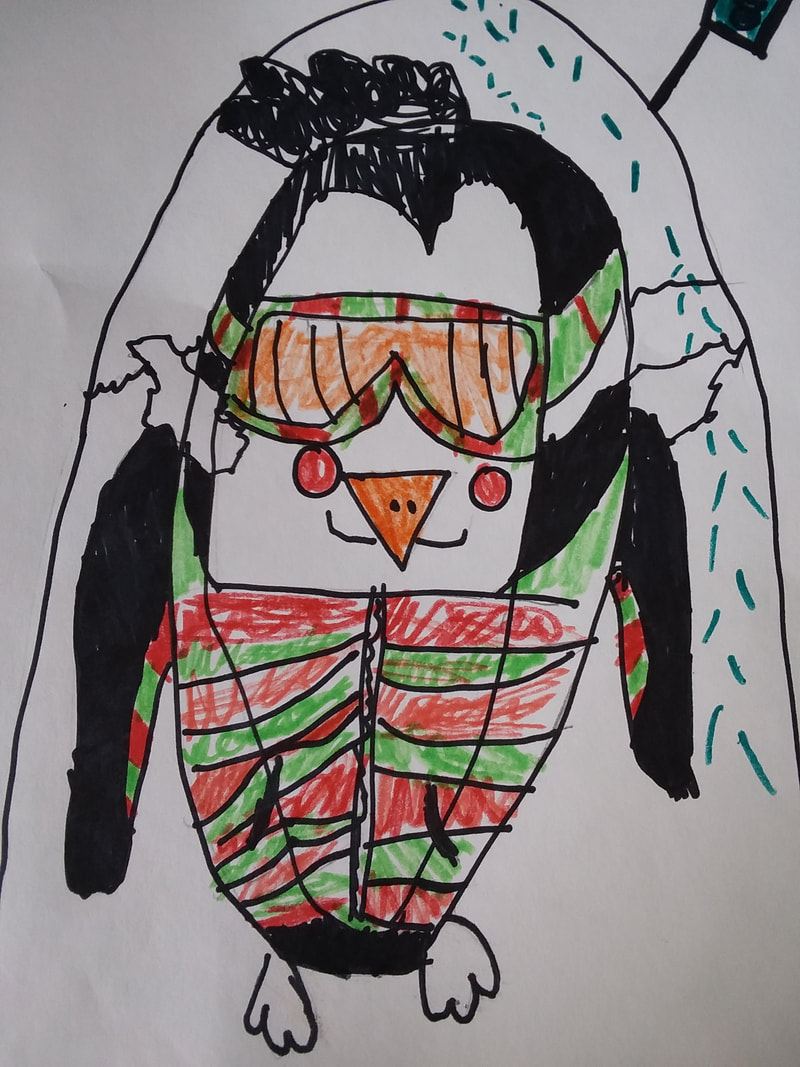
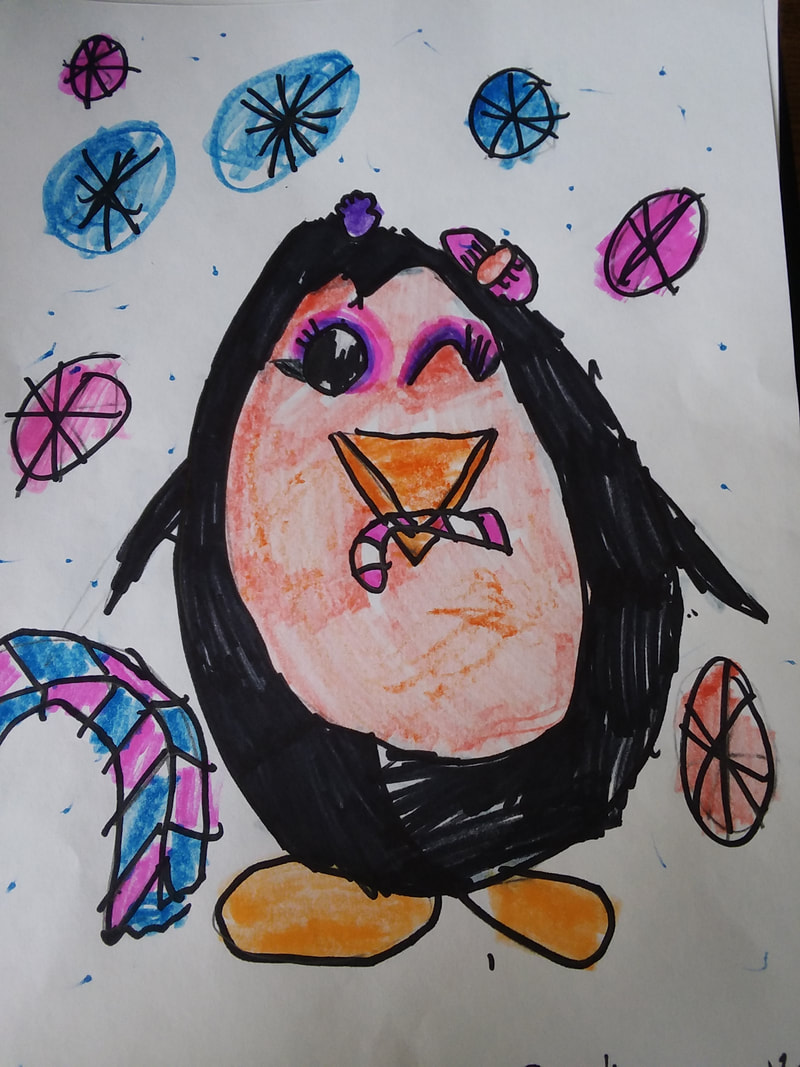
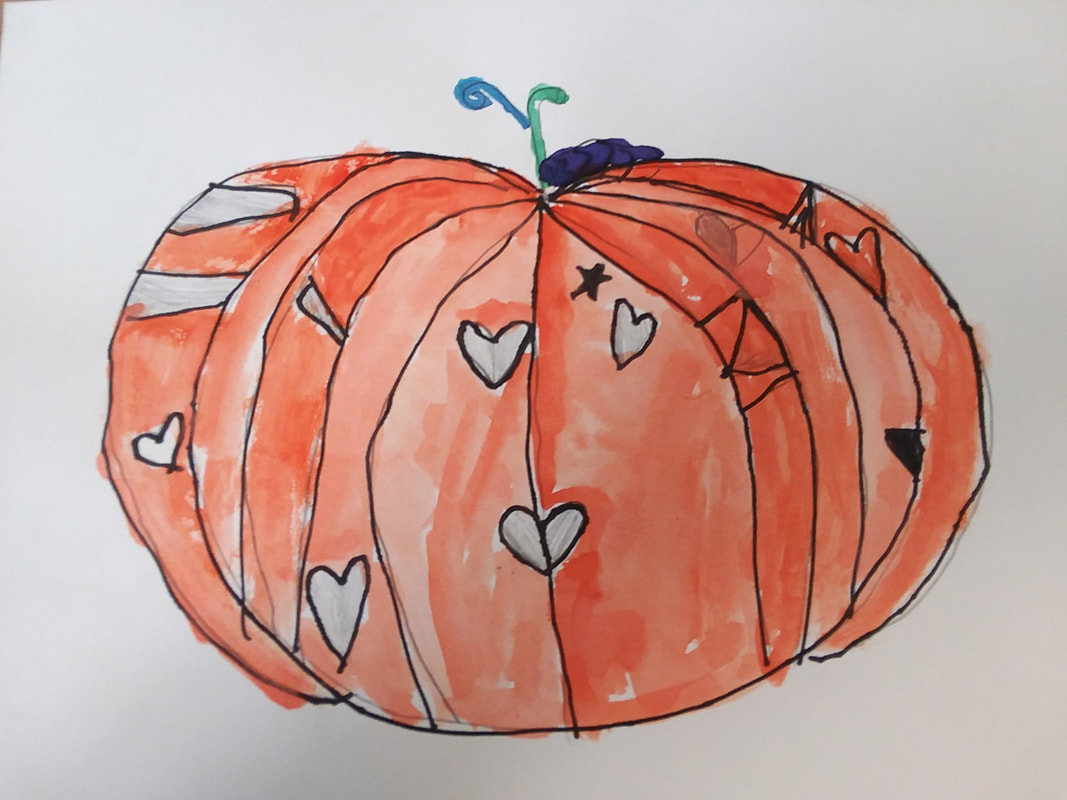
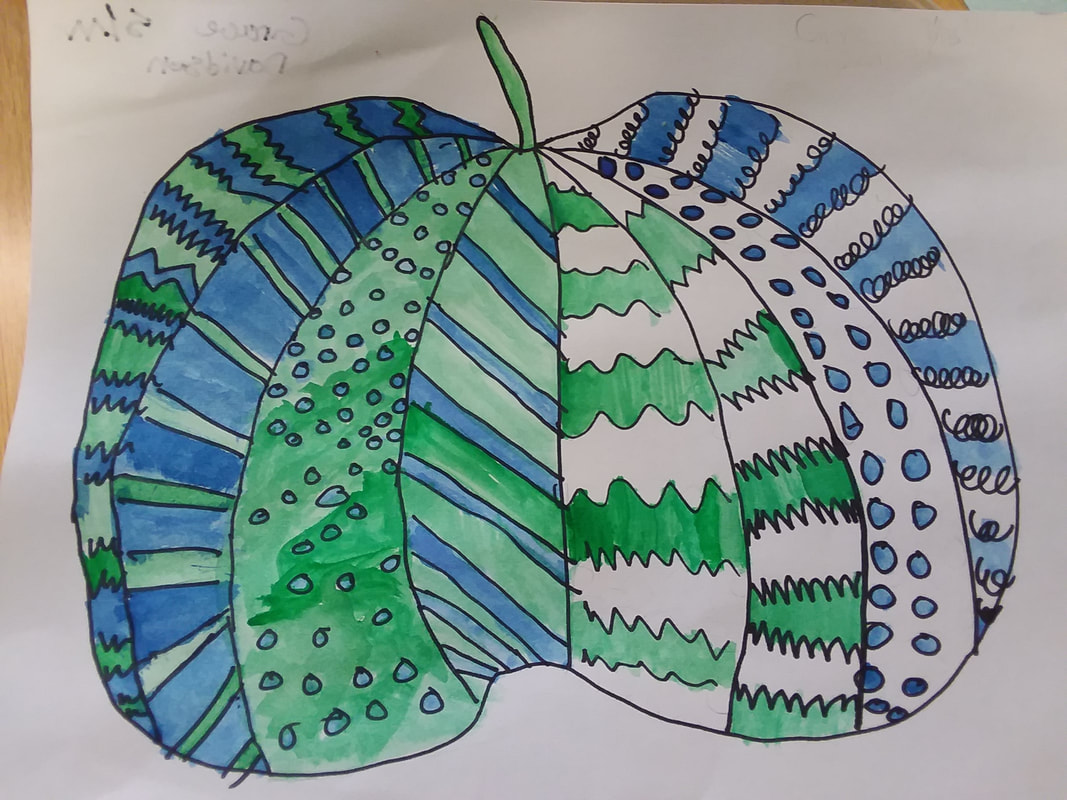
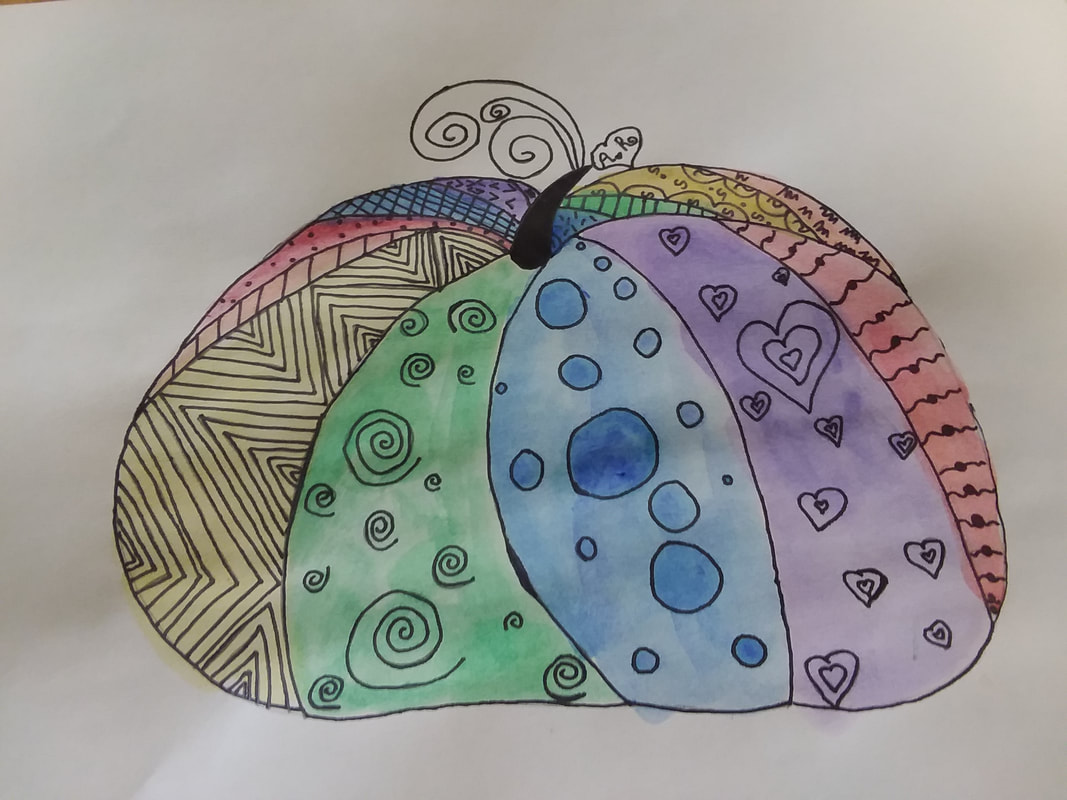
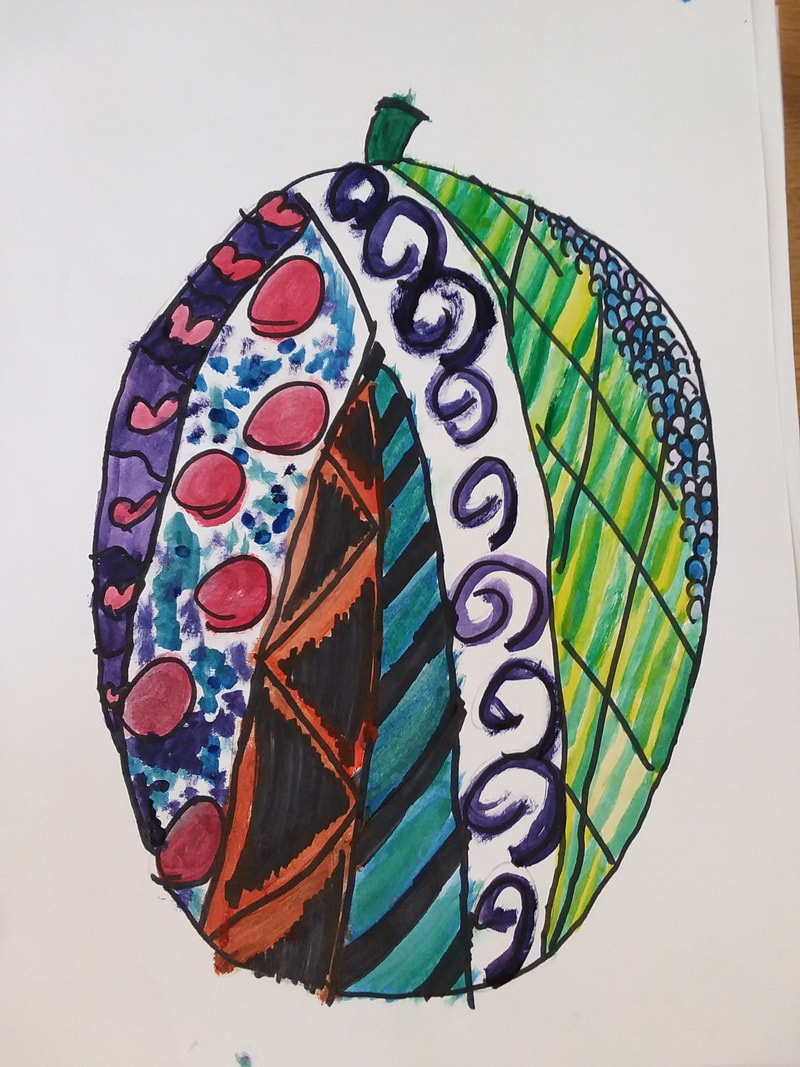
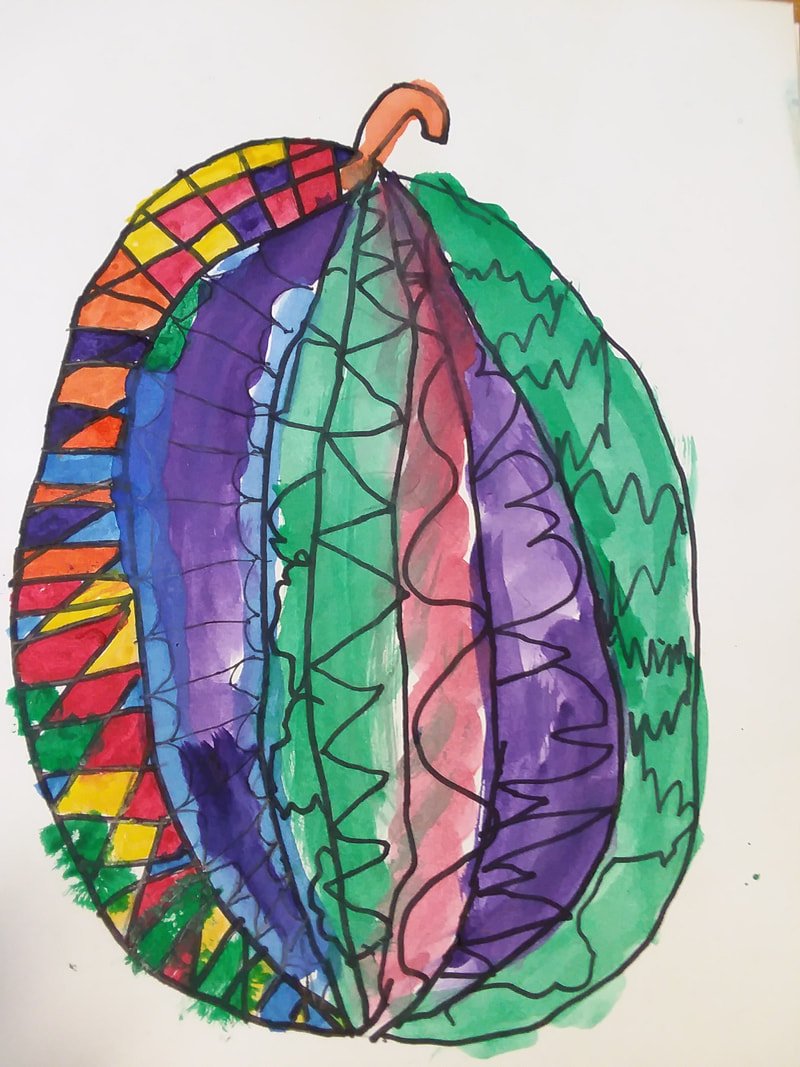
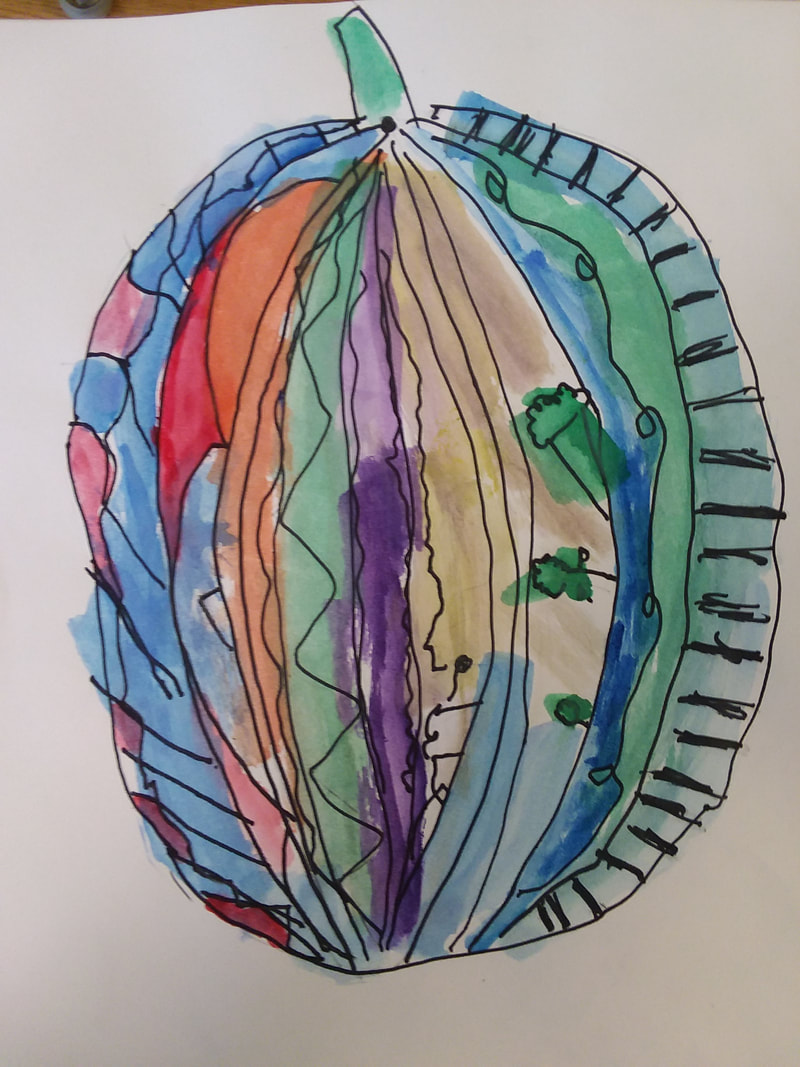
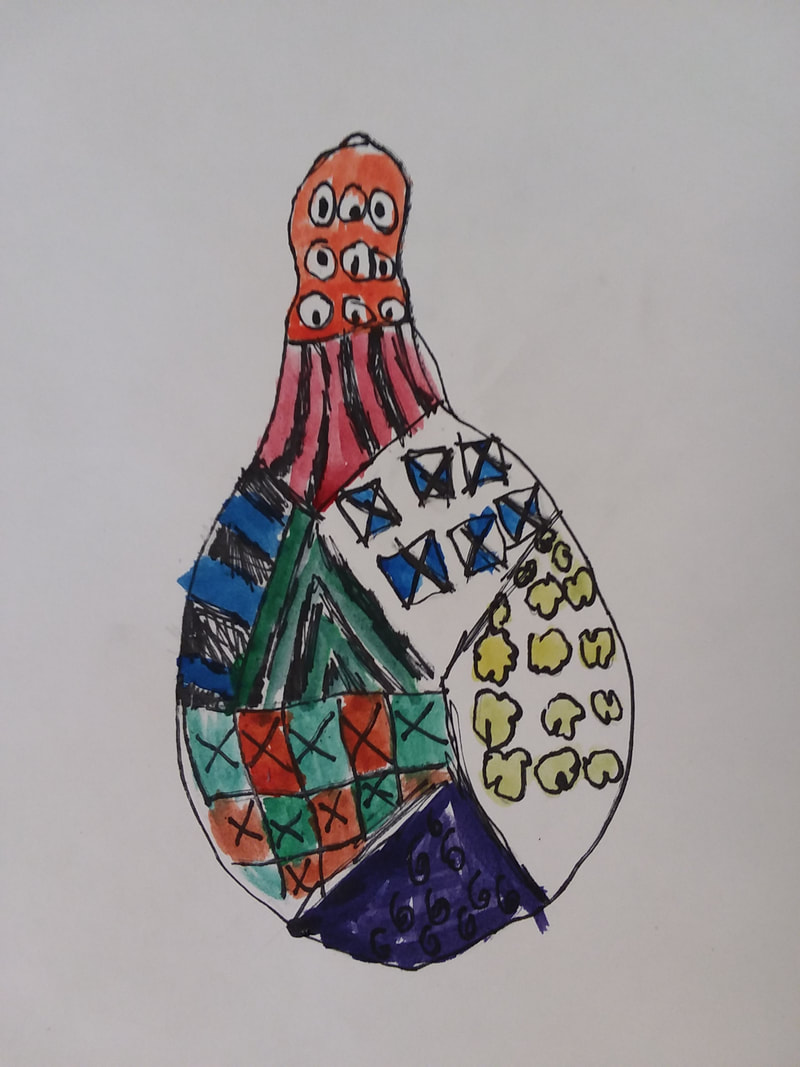
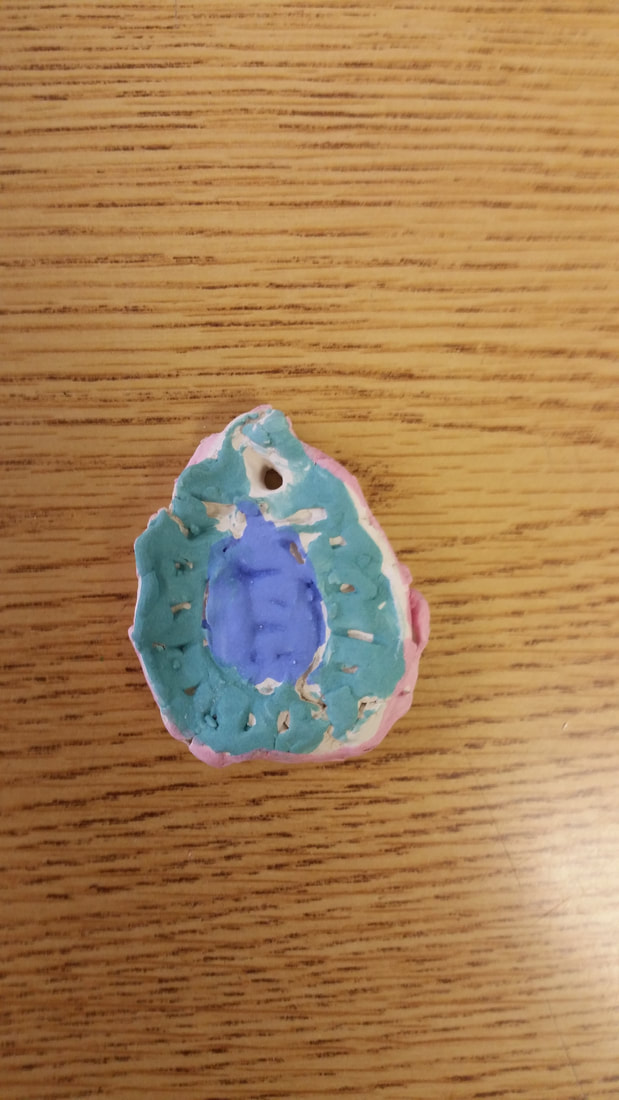
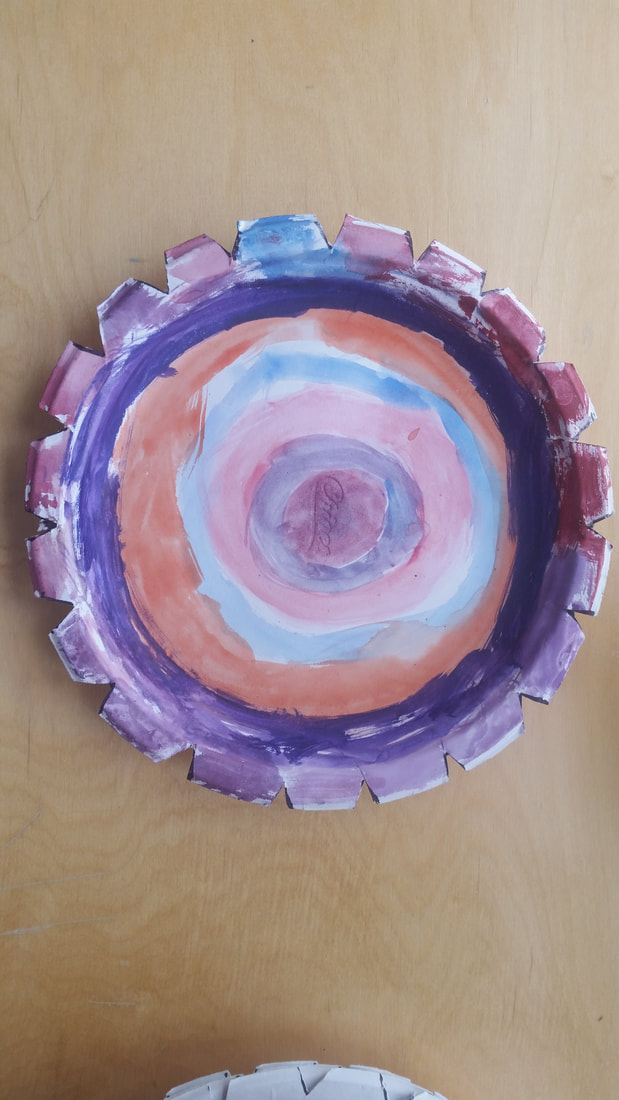
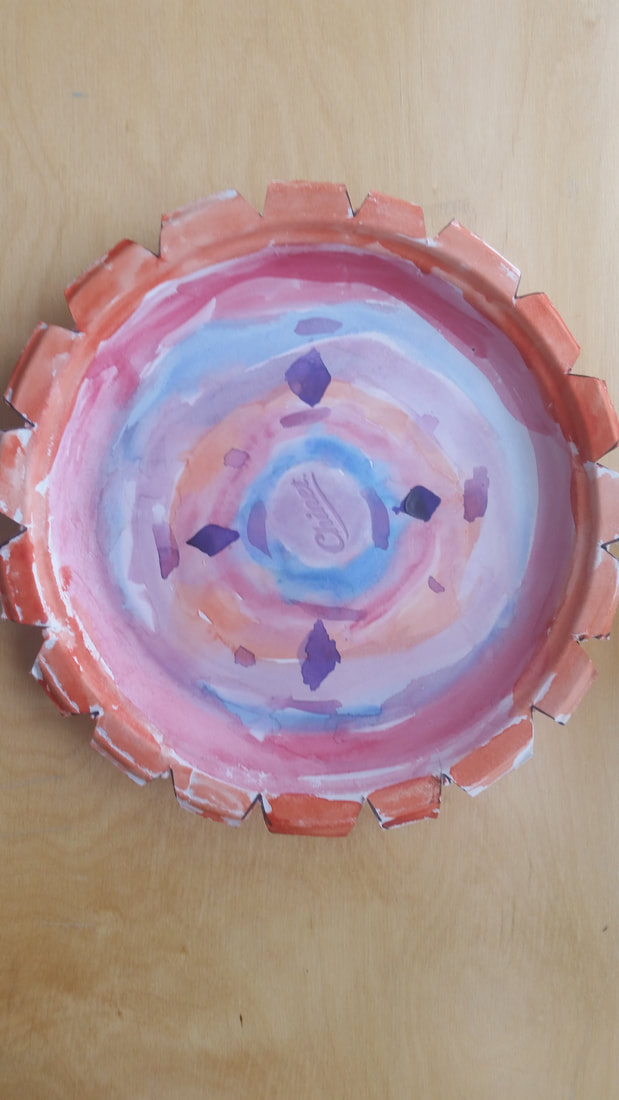
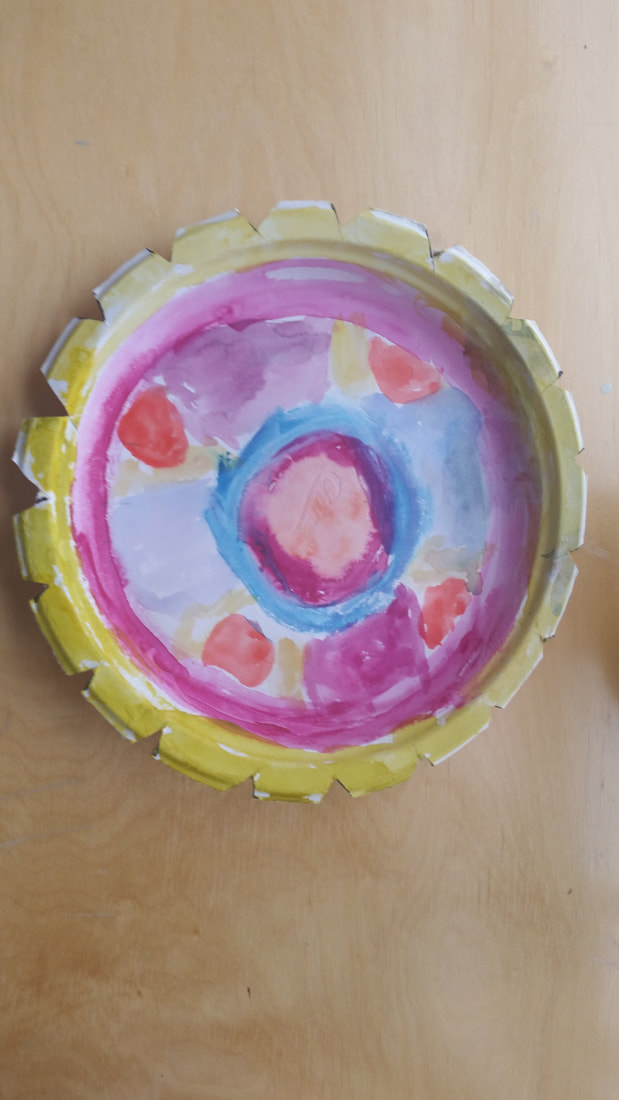
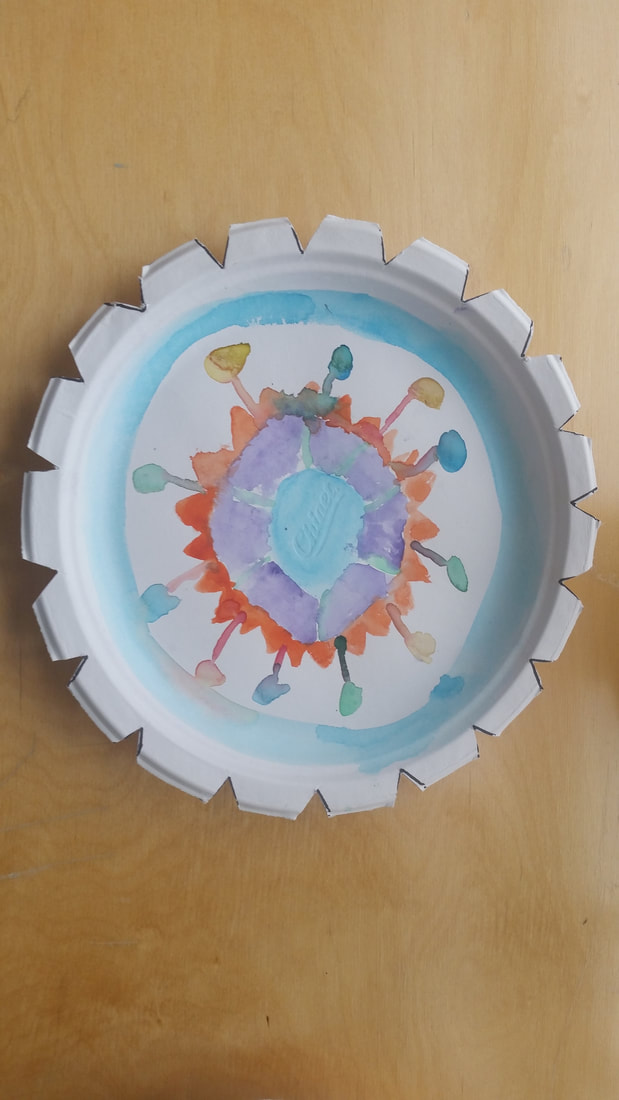
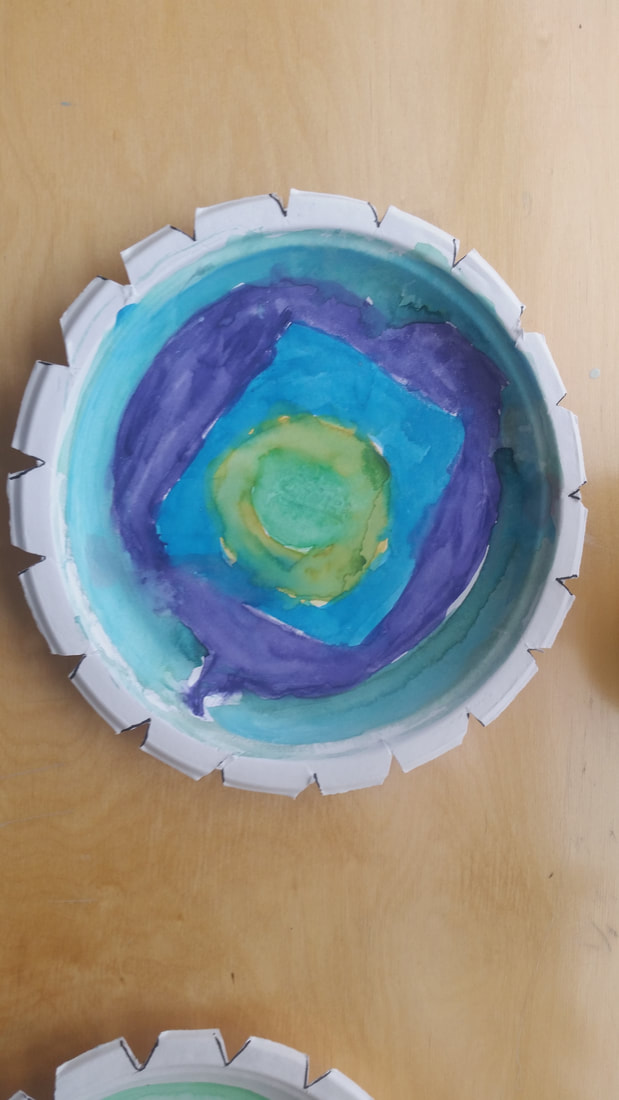
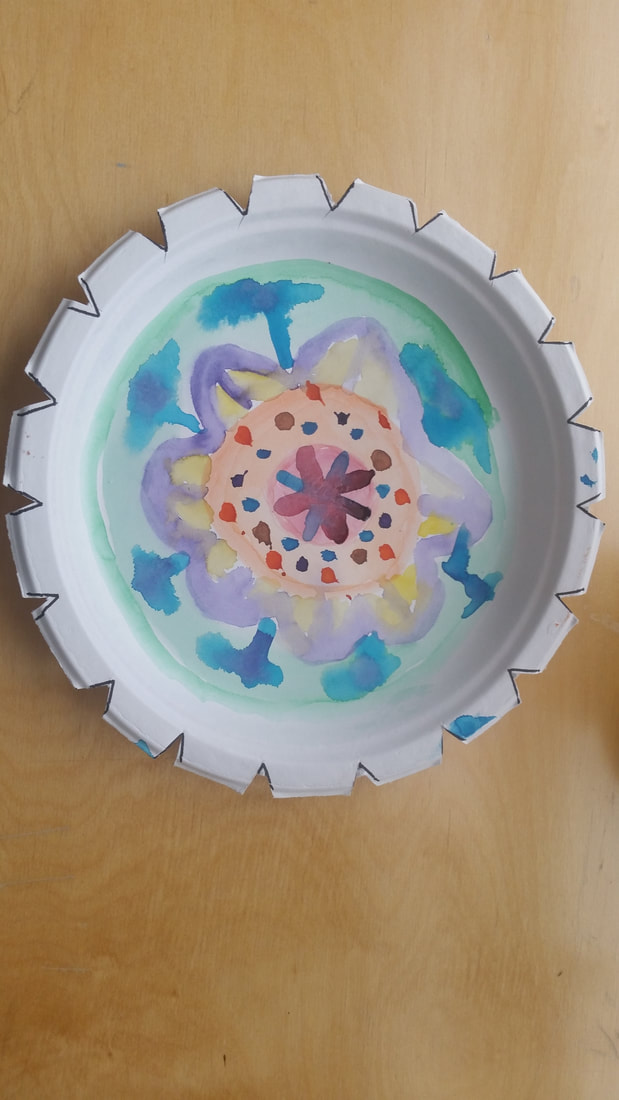
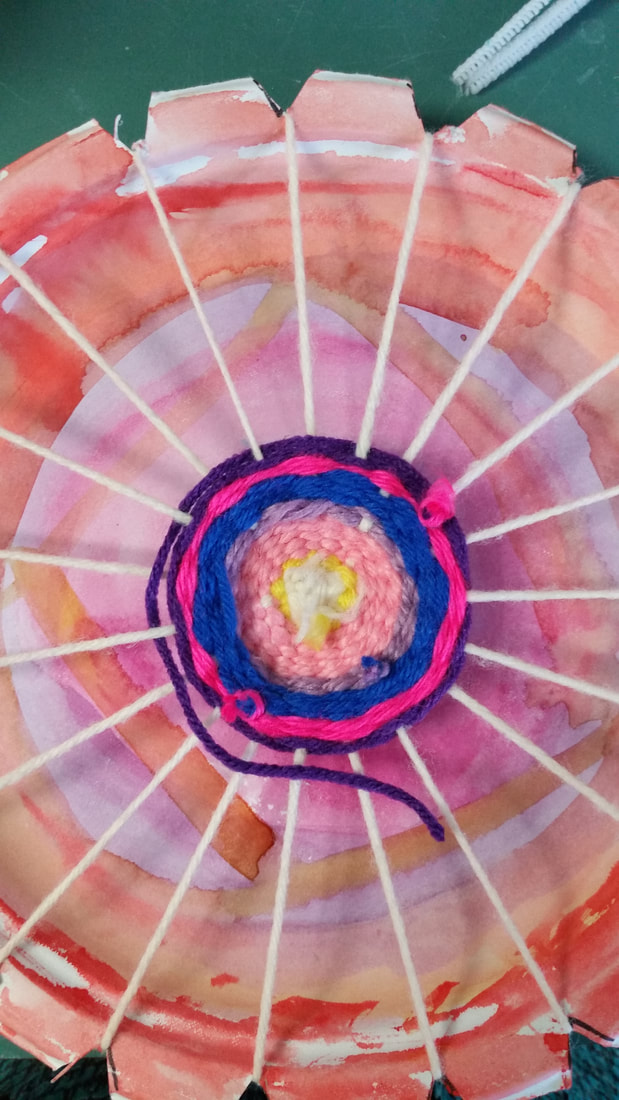
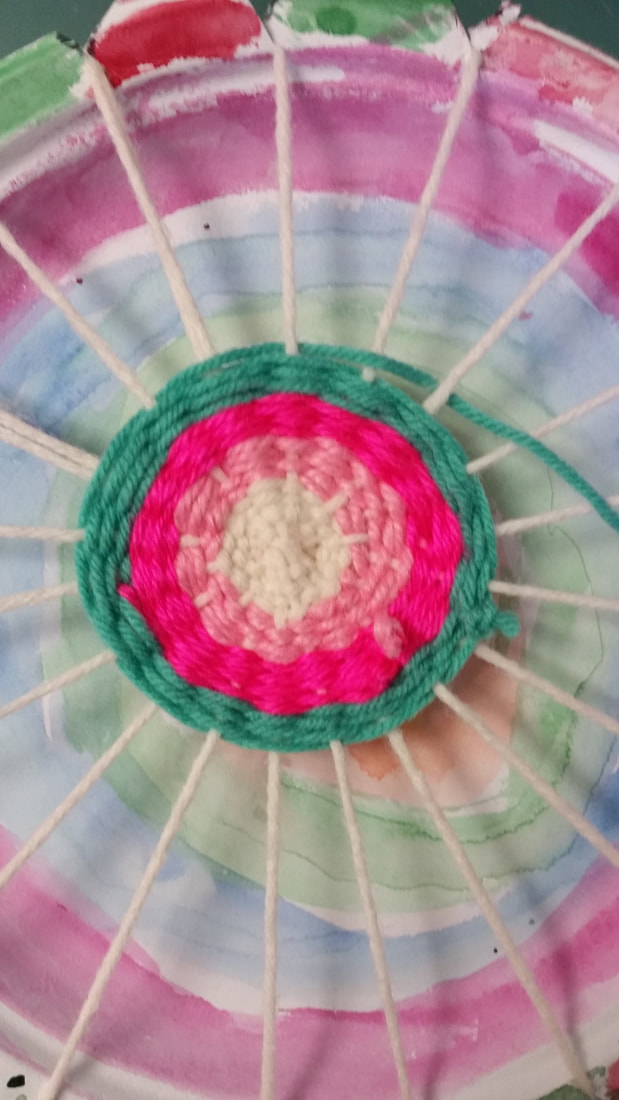
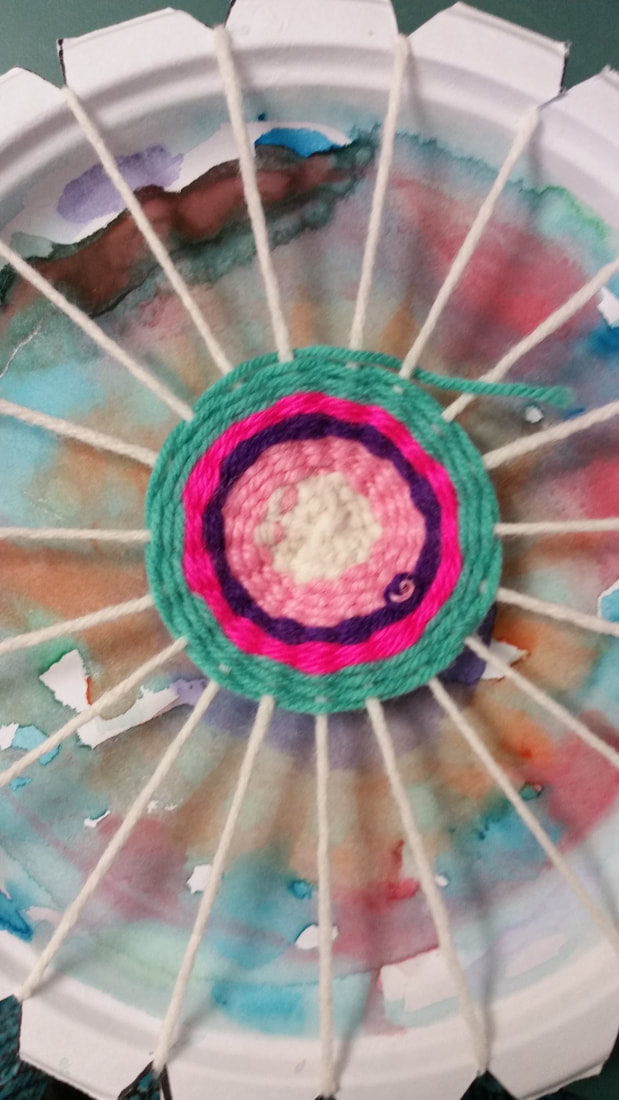
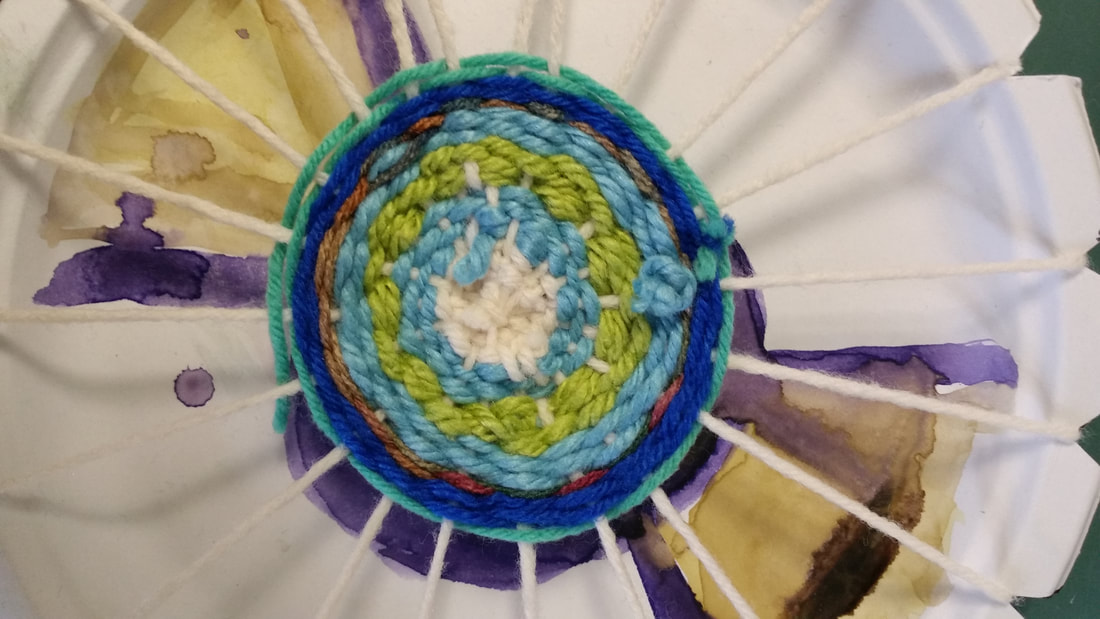
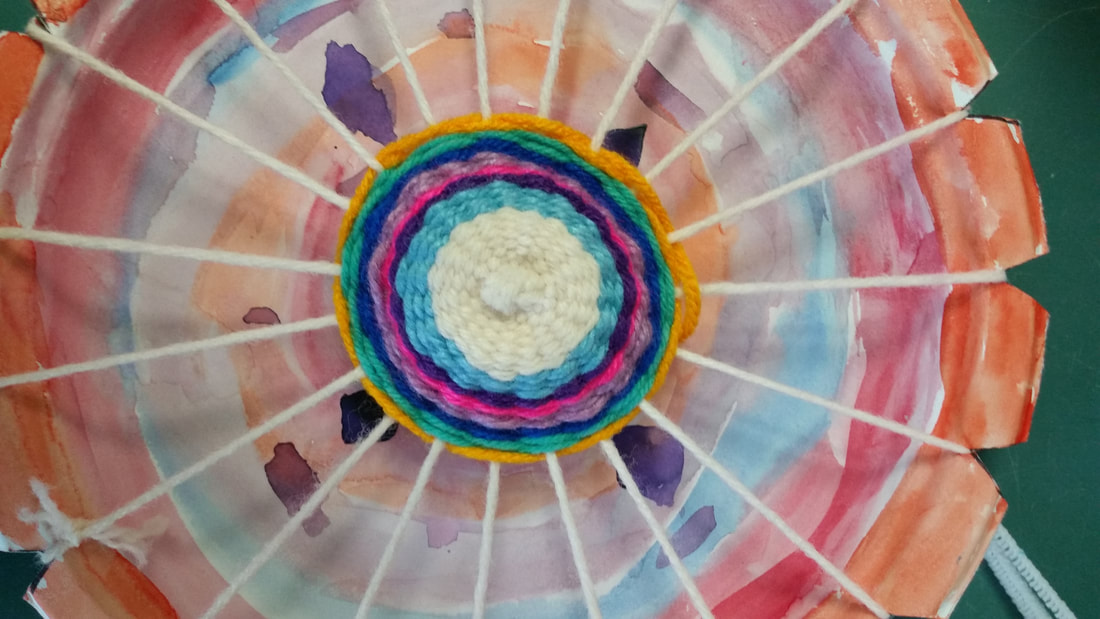
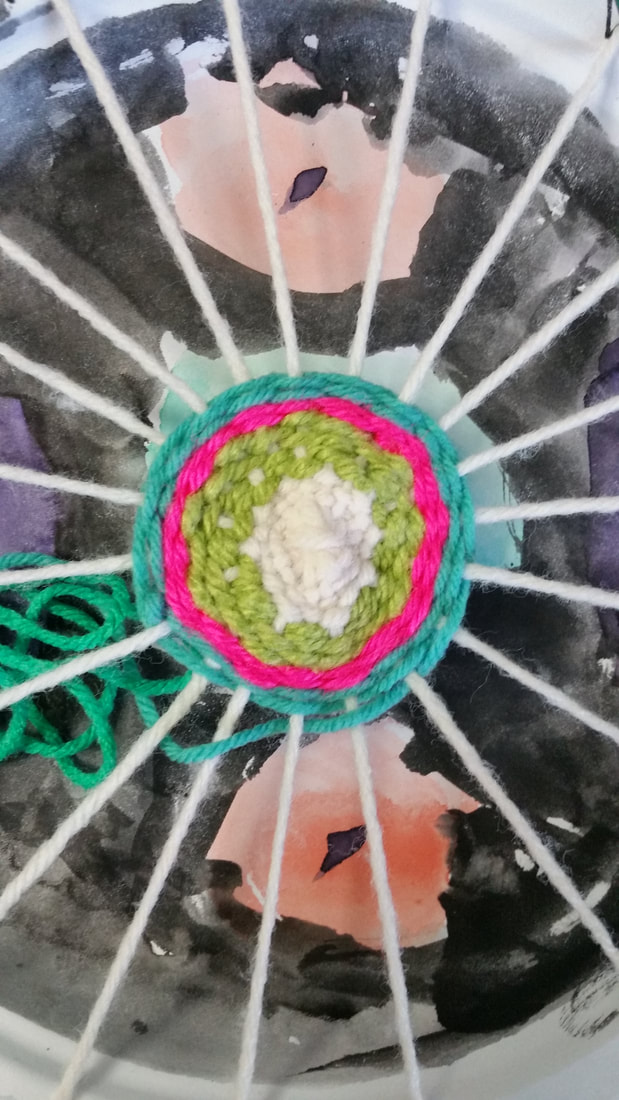
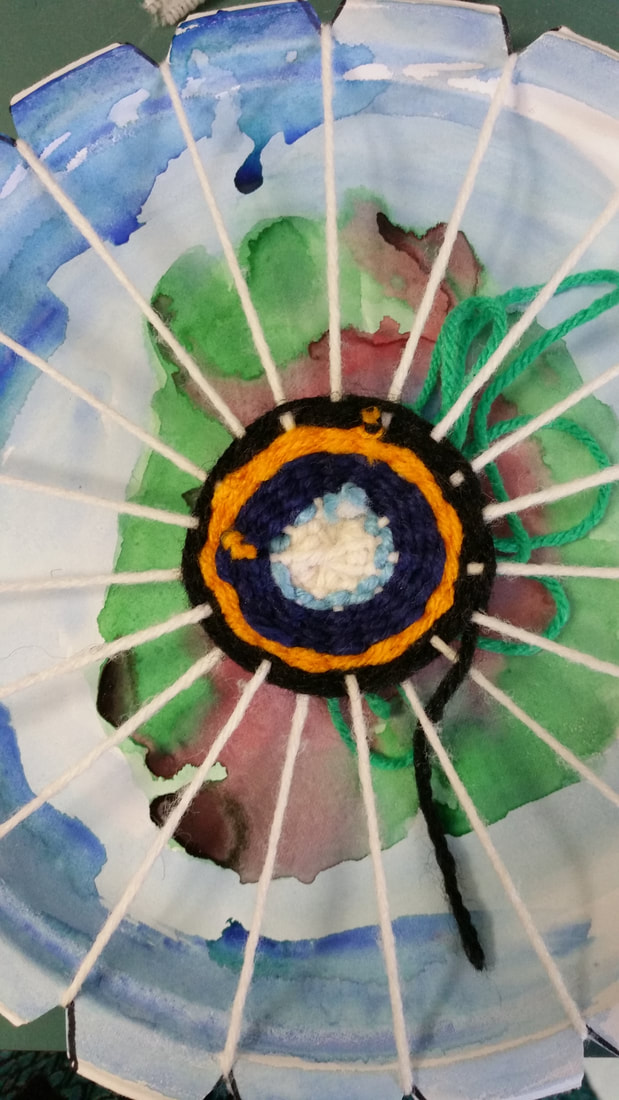
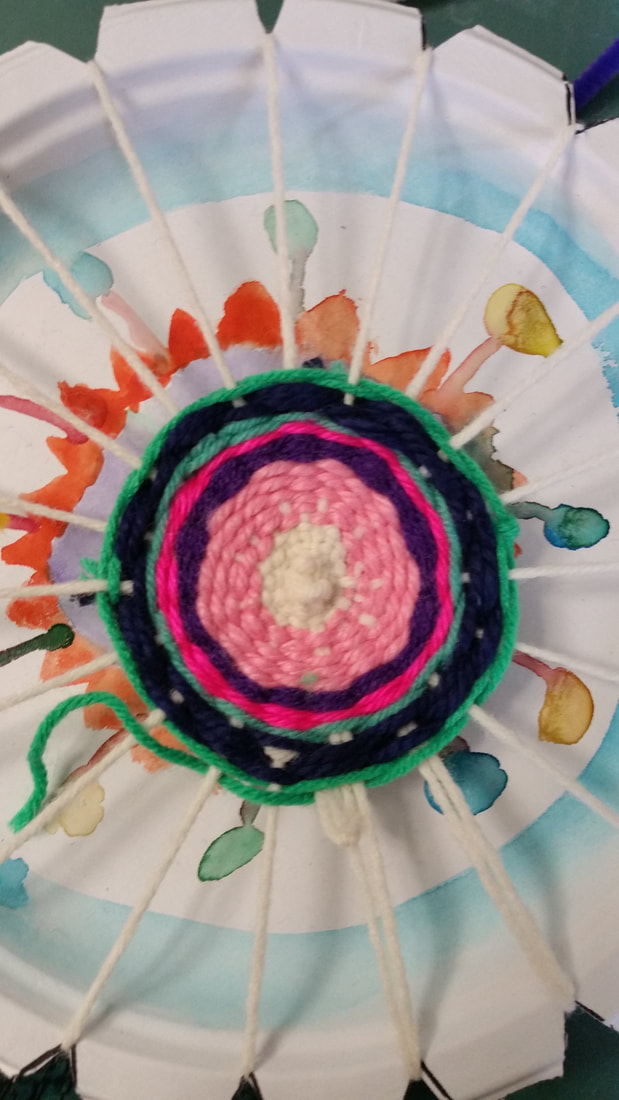
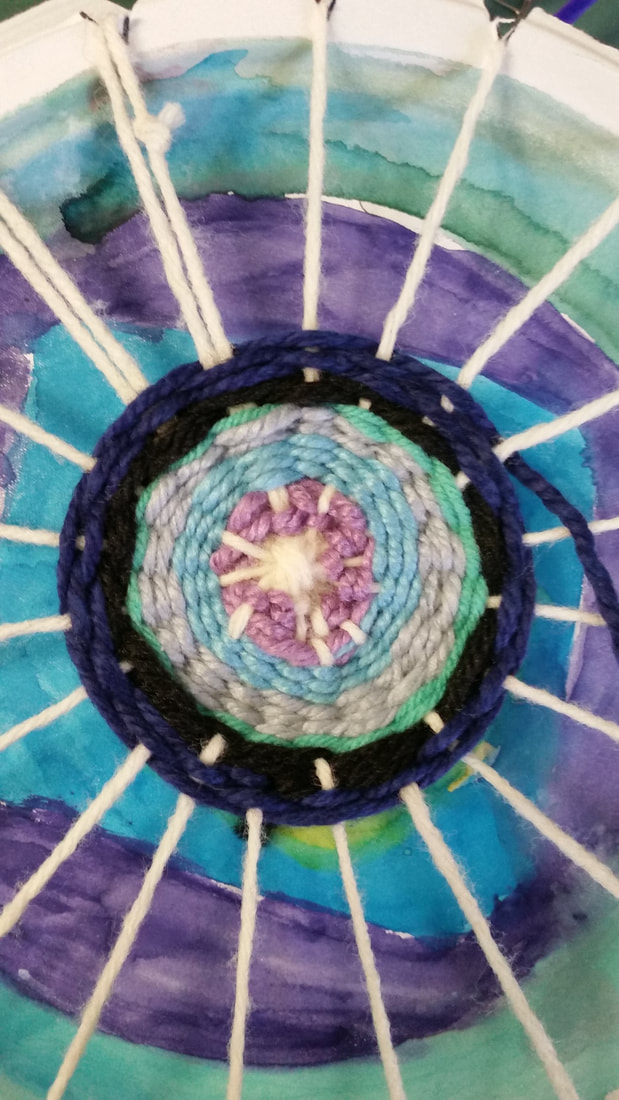
Unit Overview: Students collected rocks in order to create a painted rock design using acrylic paint. I know, painted rocks. So cliché. However, there is an important artistic principle here: Shape is important. Seems simple, right? If only. I had students pick rocks and then develop their painted rock idea on the shape of their rock. Not all rocks are the same. Therefore, it is important to develop your artistic idea based on the shape, size, and weight of the rock. This is different from our typical standpoint of develop the idea first, then collect items. For our rocks, I had students paint a primer - a base coat of either black or white - on first. The reason why is to ensure more vivid colors for the final. Students who wanted lighter paints used a white primer - students who wanted dark paints used a black primer. Side note: Don't return painted rocks back to the environment. The paint can chip and flake and cause harm to wildlife. If you choose to do painted rocks, keep them in your own garden or flower pots. Or make yourself a rock garden. If you ever dispose of these rocks, put them in the trash. It is the only way to ensure that wildlife isn't harmed. Unit Overview: Students created menus of their own design to demonstrate how to layer image and text. Students were required to create a menu with breakfast, lunch, and dinner and draw images of at least 3 food items on the menu. I was sick. Snow days and school events had thrown off my scheduling. What to do with a class that is so ahead? Menus! Because food is life. For this lesson, I utilized YouTube videos from Art for Kids Hub. They have a whole category on food. Check it out! I developed my menu and listed the following criteria for their menus: 1. Restaurant title 2. Three categories ( Breakfast, Lunch, and Dinner) (Anything else they added was additional work on their part) 3. Three drawings of food (Because this is art class, after all) 4. Menu must be readable  My teacher example Unit Overview: Students experimented with color mixing using the primary colors in order to create a painted picture of a toucan(s). Toucans . . . because they're tropical and colorful. I was feeling some cold weather blues and was looking for something bright and colorful. Toucans fit the bill (ha! get it?). With third grade, I wanted them to review primary and secondary colors. We did so in this project by only using primary colors. Students made all their secondary colors. This was also a good review in keeping a paint palette organized (if you mix the colors messy, you will end up with icky colors). I didn't give the students white or black paint because I wanted the colors to be as crisp as possible. Often, I find that white and black paint takes over a painting instead of adding to it. The toucans were colored in dark with the sharpie if they wanted them to be black. 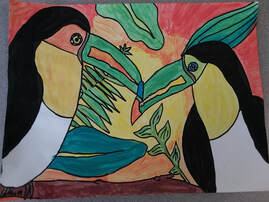 My toucan example Unit Overview: Students created winter themed penguins using pencil, sharpie, and marker in order to decorate the school for the Winter Concert. I love it when we have time to create art for school events and activities. It builds a sense of community and engagement. So, my co-teacher had fourth grade make some present pictures to decorate the stage for the Winter Concert. It only made sense then to continue with the theme alliteratively and have third grade make some penguins (Presents and Penguins, get it?). I posted a photo of how to create a penguin and had the student add details that reflected their personal art style. The only requirement was to make penguins that looked like they were in the winter season (no penguins sunbathing on a beach). 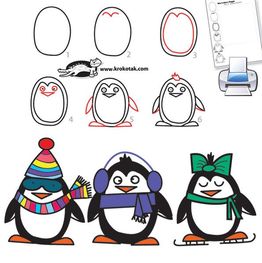 The picture I posted for them to look at. Unit Overview: Students designed dippity-dye artworks using paper, pencils, watercolors, and sharpies in order to create an animal artwork that represented themselves for Art to Remember. This is a fundraiser project through a company called "Art to Remember". This is a great way to raise funds for art clubs, groups, schools, organizations, etc. I did a similar project with third grade a few years ago where we tie-dyed paper using tissue paper. (See unit here.) The difference between that project and this one is the paper. There is special absorbent paper called dippity-dye paper. It is thin like tissue paper and absorbs ink quickly. You can buy the expensive dyes from the company. However, I find that concentrated watercolor paint (the stuff in bottles) works just as well. Students folded the paper into various shapes (we discussed the difference between folding and just crumpling paper) and then dunked their papers into prepared cups of watercolor paint. The paper, when unfolded, gives a tie-dye affect. We then chose animals that we felt represent us. I chose a pangolin (yes, it's an animal) because pangolins are obscure, loners, not exactly attractive, and yet extremely rare and unique. I asked the students to identify the same way with animals. They did a great job. Finally, I permitted students with good handwriting to write a phrase on their paper (permitting they practice good hand-lettering and let me spell-check first). I always enjoy Art to Remember projects, because the students tend to be more invest in something they want printed on a cup or ruler. I always feel that these artworks turn out so cool! 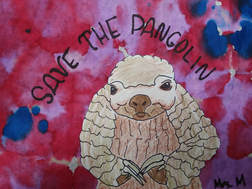 My teacher example Unit Overview: Students learned about the bones in the human body by discussing what bones do, why they are important, and watching "Them Dry Bones" from School House Rock. Students created skeleton designs using paper, cotton swabs, and glue in order to demonstrate an understanding of the skeletal structure. Any time I can incorporate an old educational video, I do it. School House Rock has to be one of my favorites! It covers tons of topics - from ELA, to science, to math, to political science. The videos are catchy and funny. My kids were laughing hysterically when the skeleton jumps out of the person and their body falls into a squishy pile (see "Them Dry Bones"). But these types of videos aren't just fun, they're informative and educational. After watching that video, we had a discussion about bones. I explained facts about bones, the importance of students being wary of breaking bones, and how to keep bones healthy. Finally, we built our skeletons. We also decorated them (because Halloween/Day of the Dead is close) to make them look festive. Unit Overview: Students created pumpkin zentangles using watercolor paint and sharpie in order to review line, shape, form and pattern. In order to help students review good craftsmanship, detail, and artistic creativity, I had students start off the year with a simple project. We drew pumpkins from observation and talked about how the lines of a pumpkin go from its stem to its bottom. This makes the lines look curved when drawn. Students then added pattern to create a zentangle. For painting, students were given the colors on a color wheel. No black, no brown. I have noticed that students who aren't confident in their work tend to smear black or brown paint over their patterns to cover it up. Therefore, those colors were not available to them. Unit Overview: Students studied artist Indigo Turtle Ceramics in order to learn about the process of making pendants. Students used ceramic tools, underglaze, and clay to create aromatherapy pendants. Students were inspired to make their designs based on an emotion/feeling that could be influenced by aromatherapy oils. Indigo Turtle Ceramics - http://www.indigoturtleart.com/gallery/welcome-our-studio-studio-process Unit Overview: Students made a radial weaving using yarn and a radial loom in order to demonstrate an understanding of weaving and the way to create radial design. Students learned about what radial means and how it applies to art. Students created radial looms for their weavings and painted them using a symmetrical design. The painted looms are important in case a student does not finish his/her weaving. The painted loom will give the weaving a finished look. Radial looms painted with a symmetrical design Radial weavings using the painted looms |