|
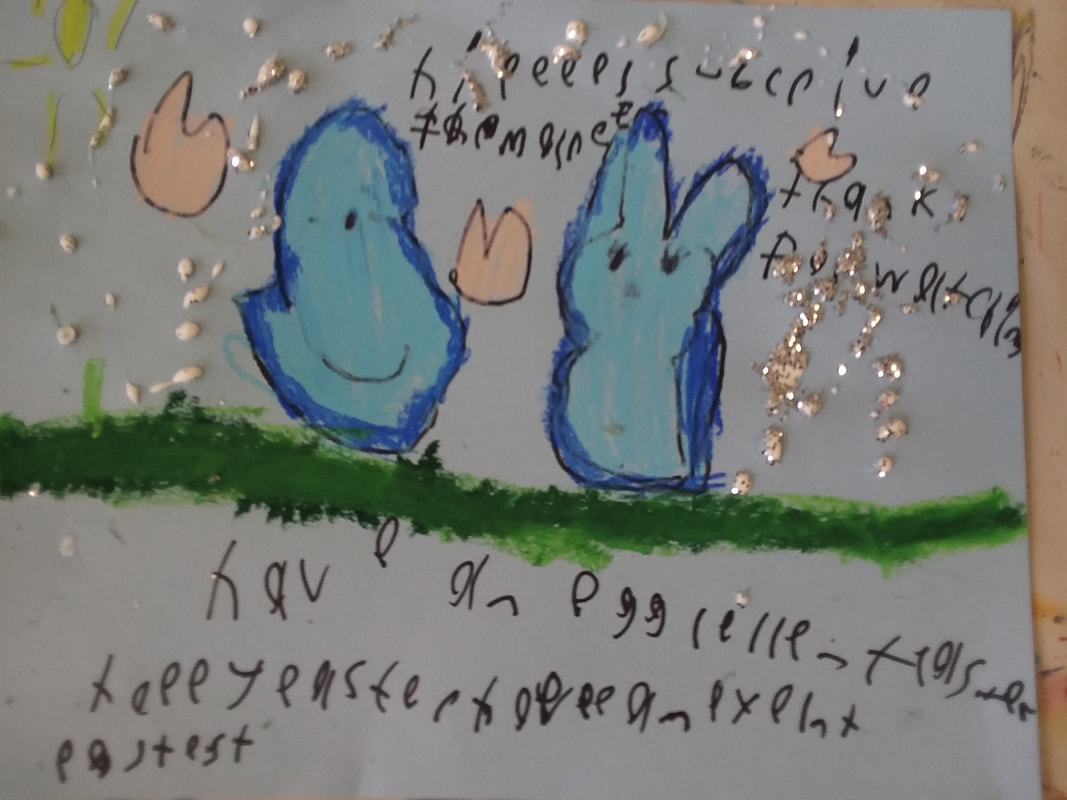
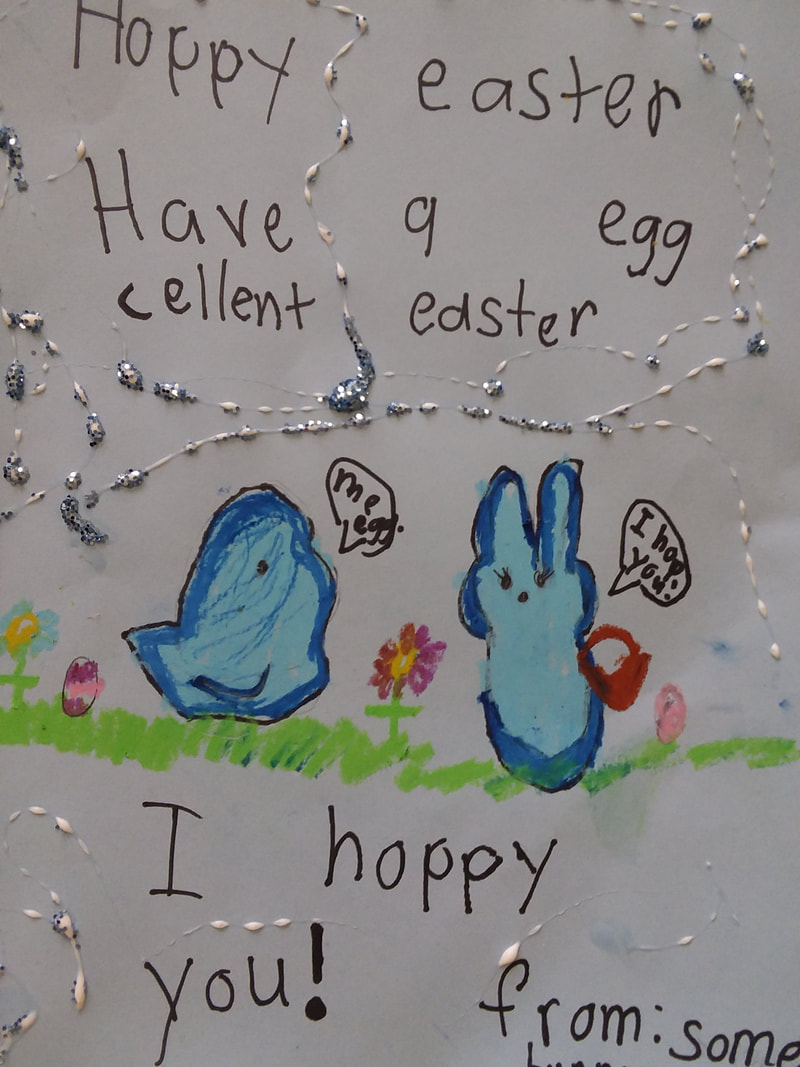
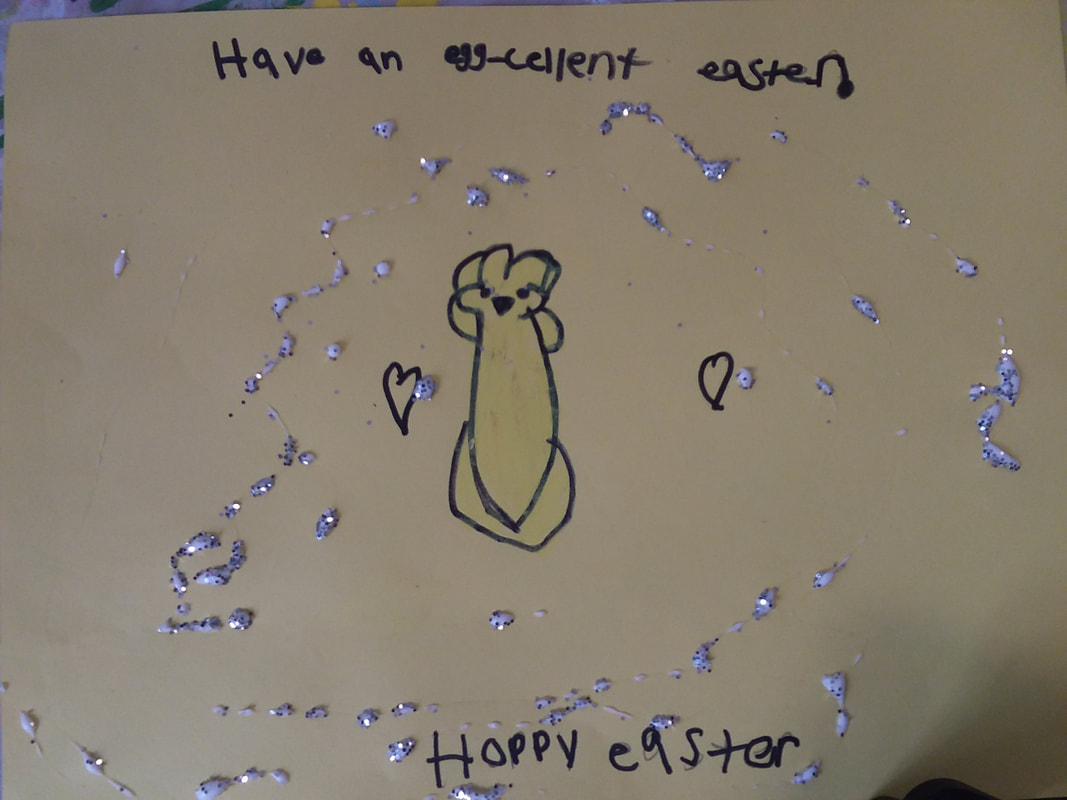
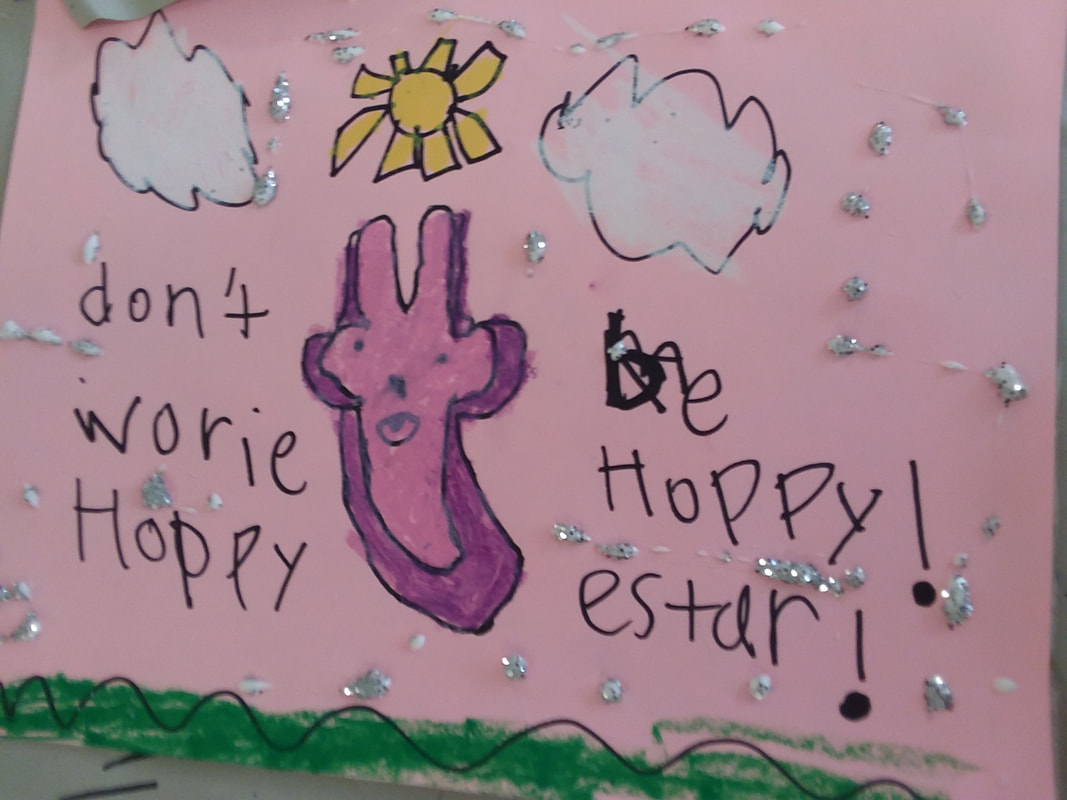
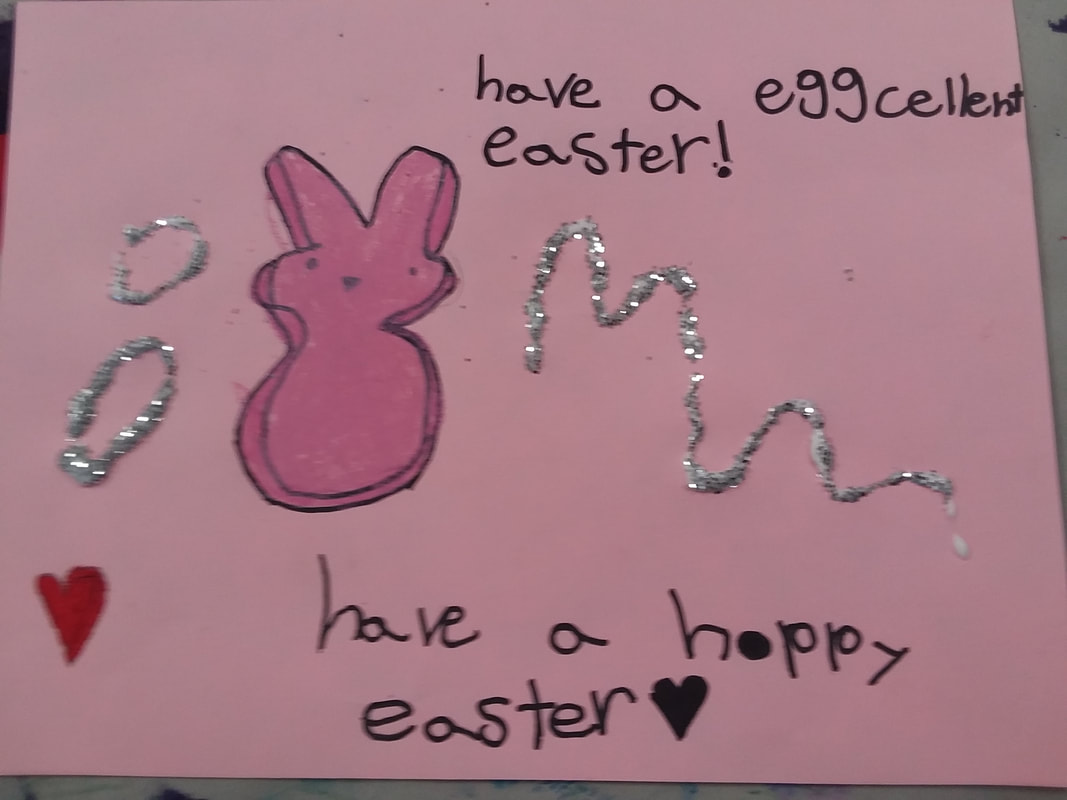
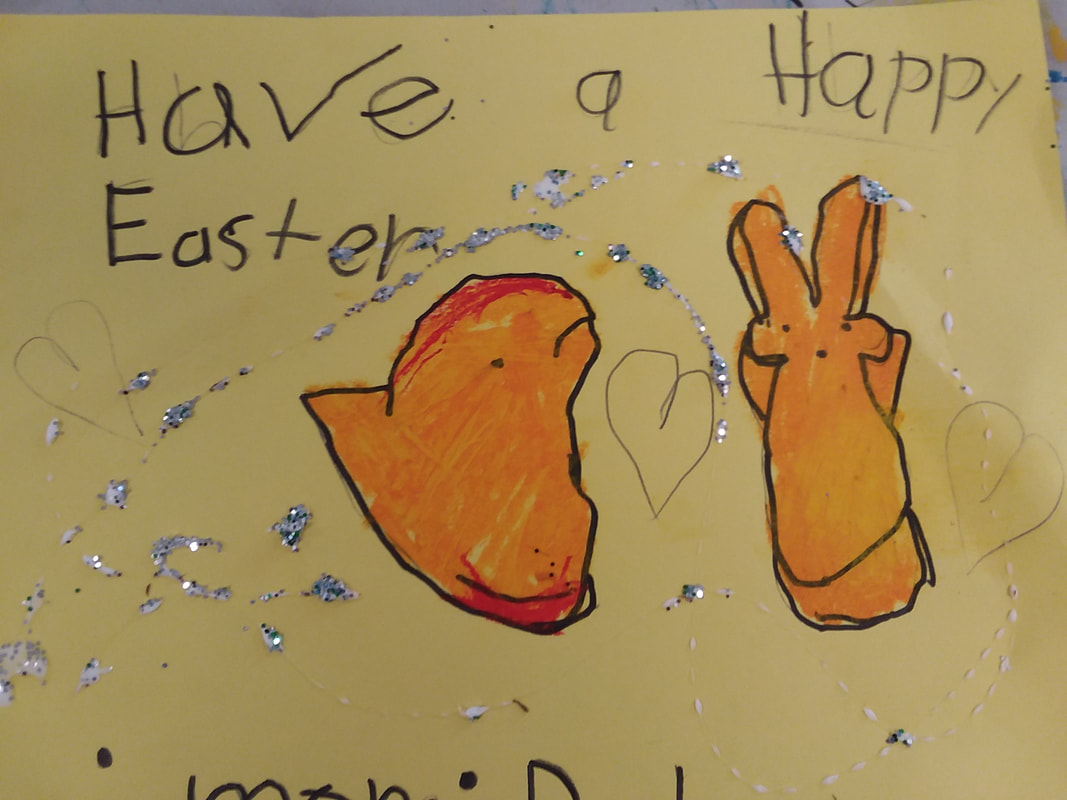
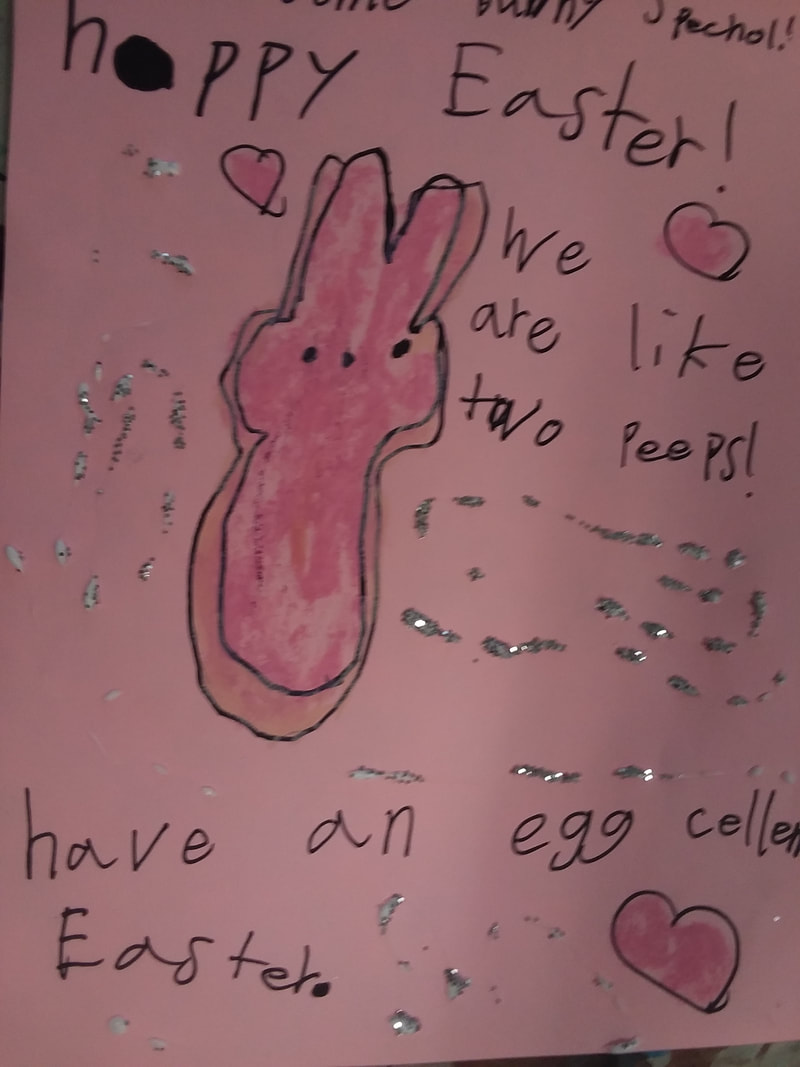
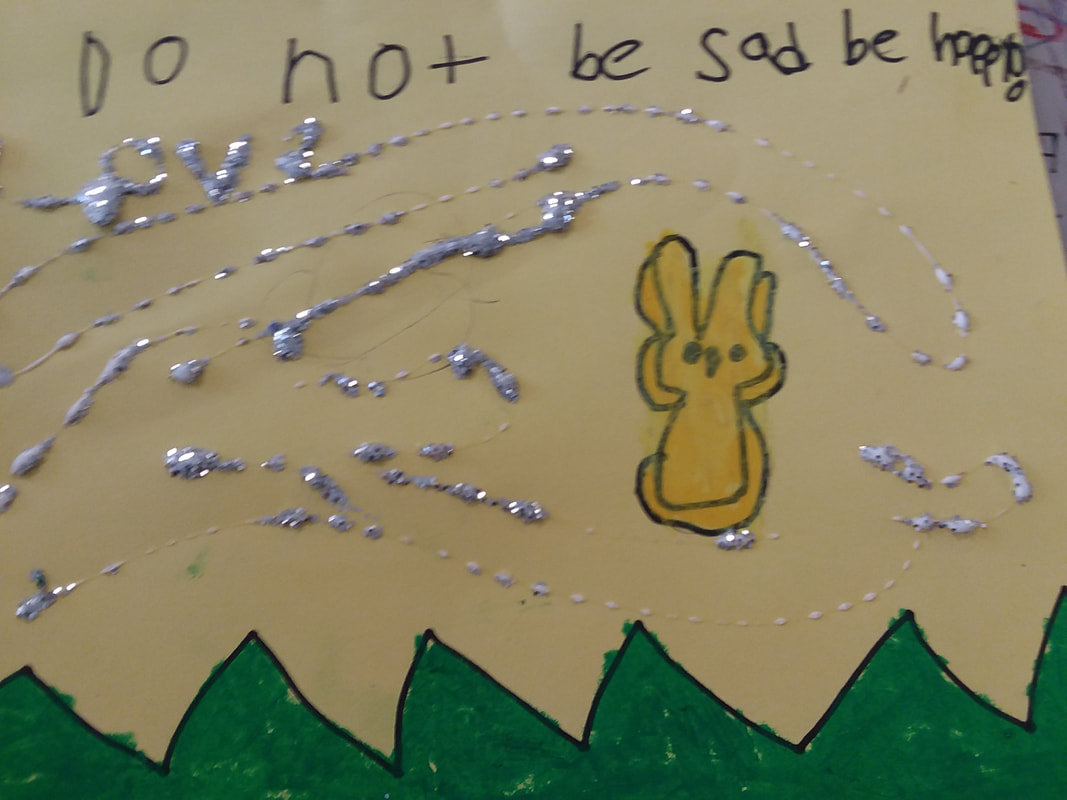
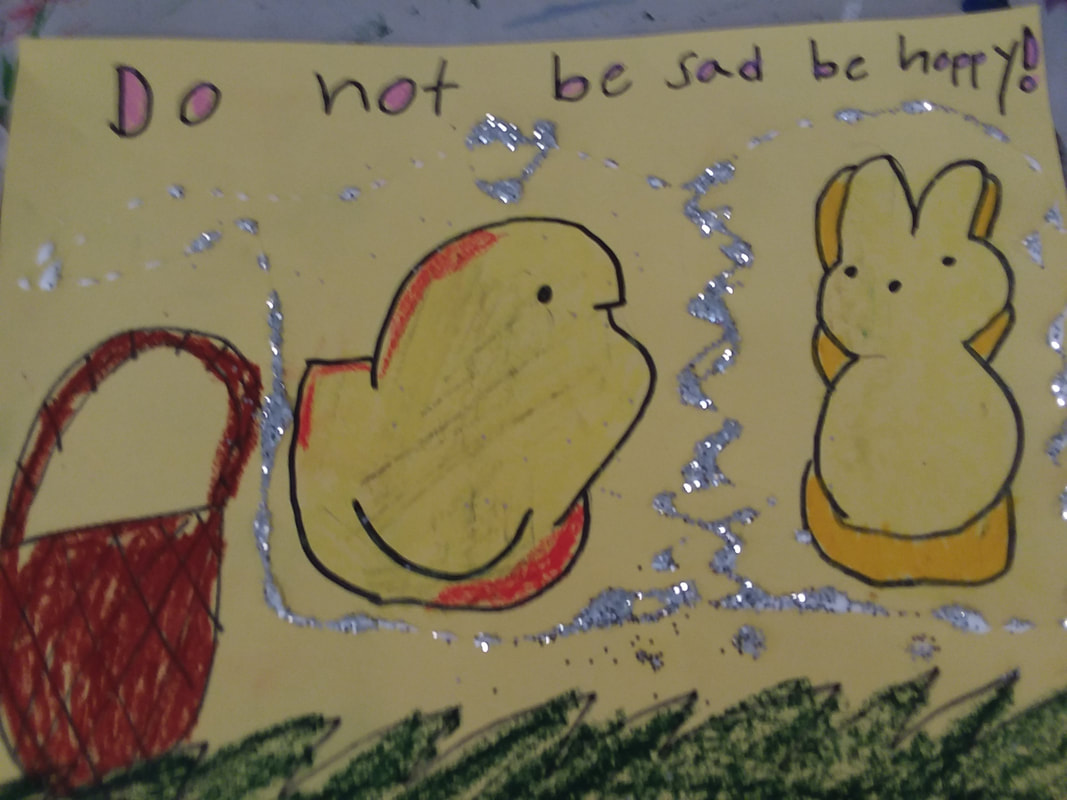
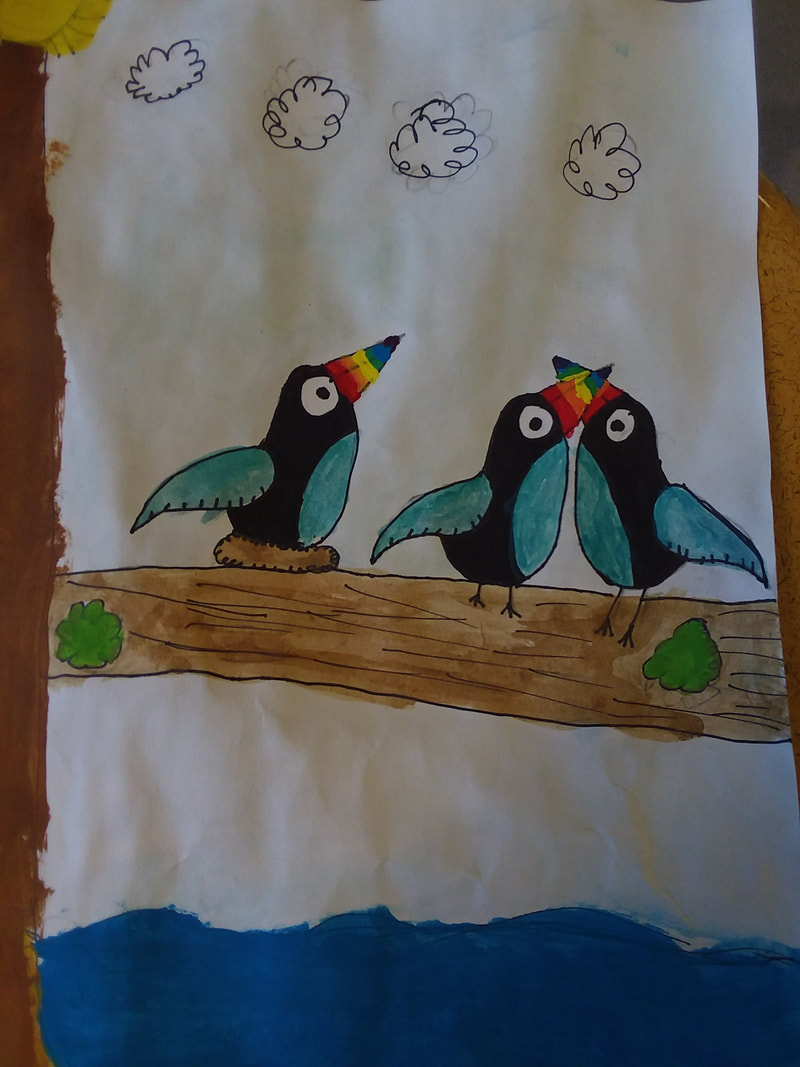
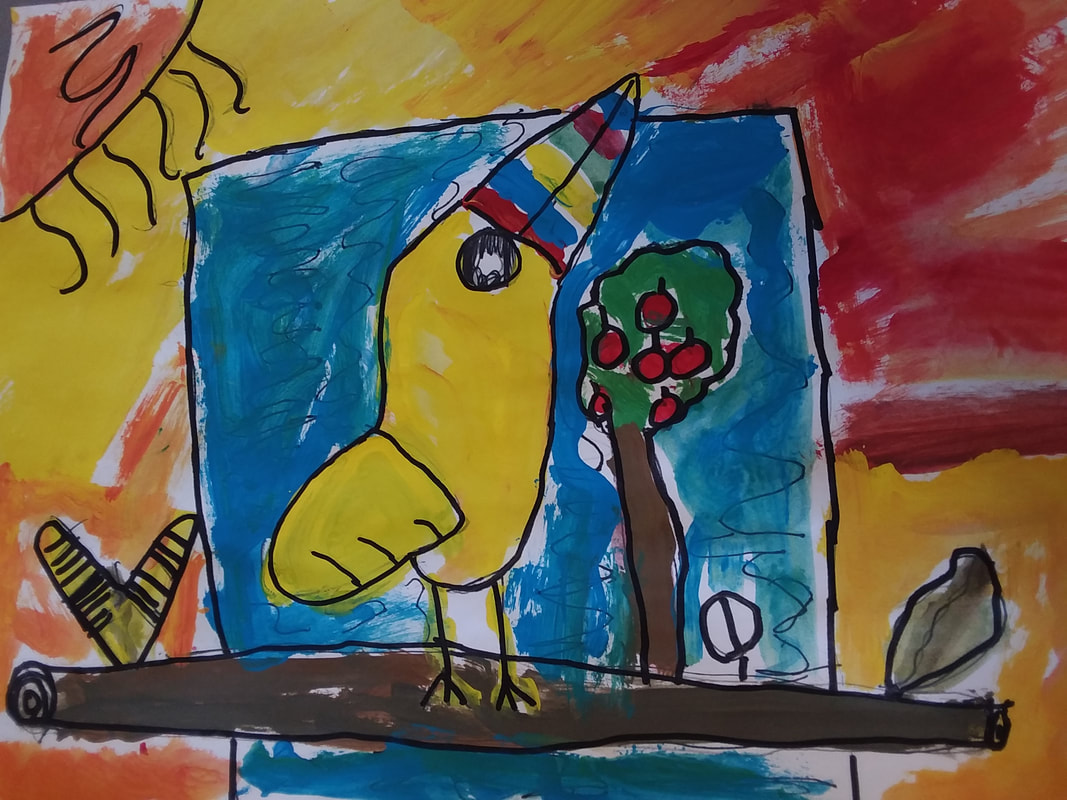
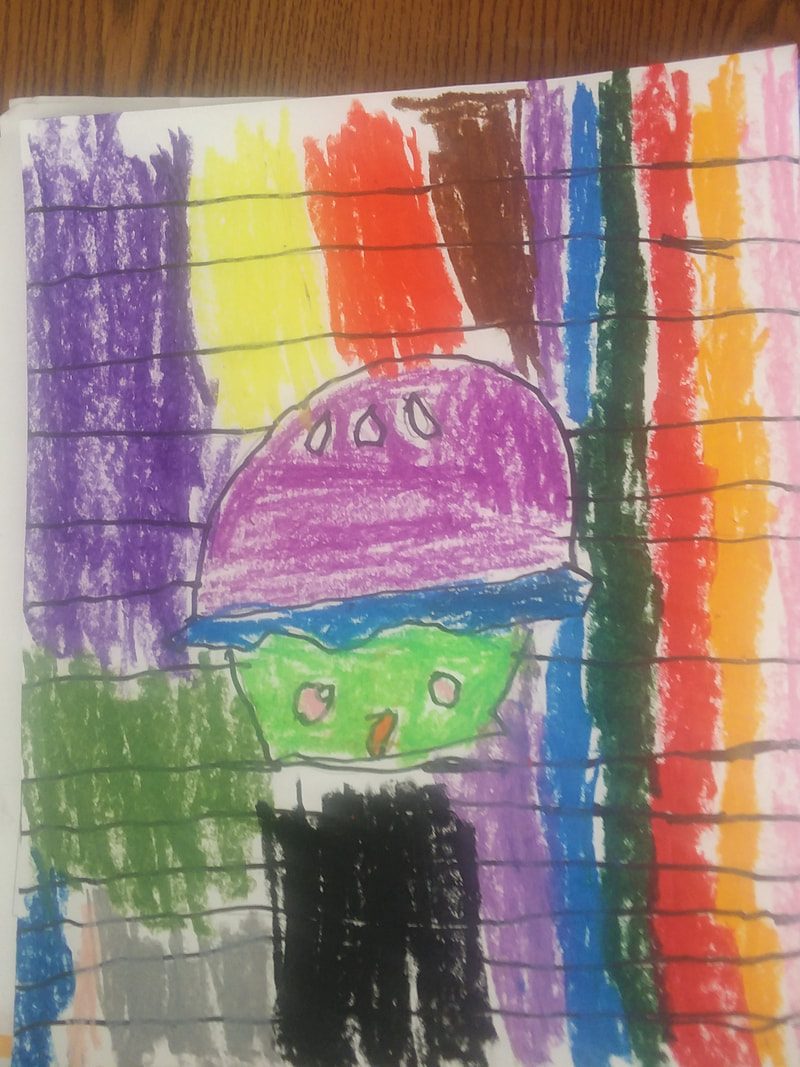
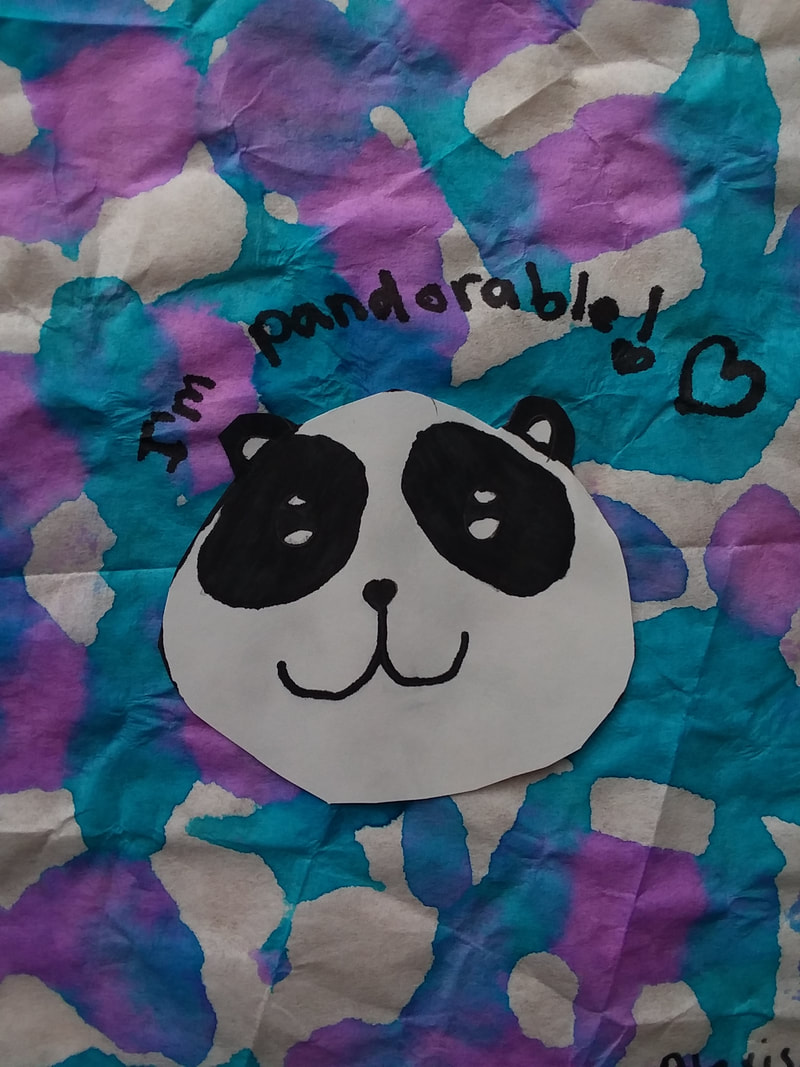
Unit Overview: Students create themed art using video references, oil pastel blending technique, and glitter. First grade smelled spring break in the air and caught spring fever. They were jumpy, and I was bored with typical art lesson. So, without further ado, the Easter Peep Poster project was born. We tied writing into the unit by having student write bunny and egg puns on their posters. For example: "Hoppy Easter", "Have an egg-cellent spring break", and "Don't worry, be hoppy". Finally, we get to discuss a sore subject of mine . . . glitter. I know most art teachers are all about the glitter. But not me. In fact, I can think of only one thing more aggravating than glitter . . . intense, blistering poison ivy covering the entire body. Nonetheless, I tried glitter, on this crazy day, for the first time in my entire teaching history. After a prayer for help from above, I set off, reminding the students that glitter was a privilege. And privileges are earned, not given. My advice for using glitter is to do it by a sink, or in a sink. Line the sink with large pieces of paper to prevent the majority of going down the drain. Then, apply the glitter to the wet glue and give it a super shake to remove any excess glitter. Also, be sparing with the glitter. This is one thing where "more IS NOT merrier". Also, when applying glitter, never use the same color glitter on the same paper. It blends in too much and doesn't look good. Glitter is meant to highlight, to sparkle! Use it with love and care, and sparingly. 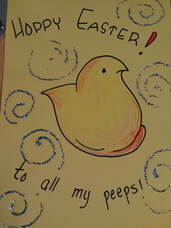 My teacher example
0 Comments
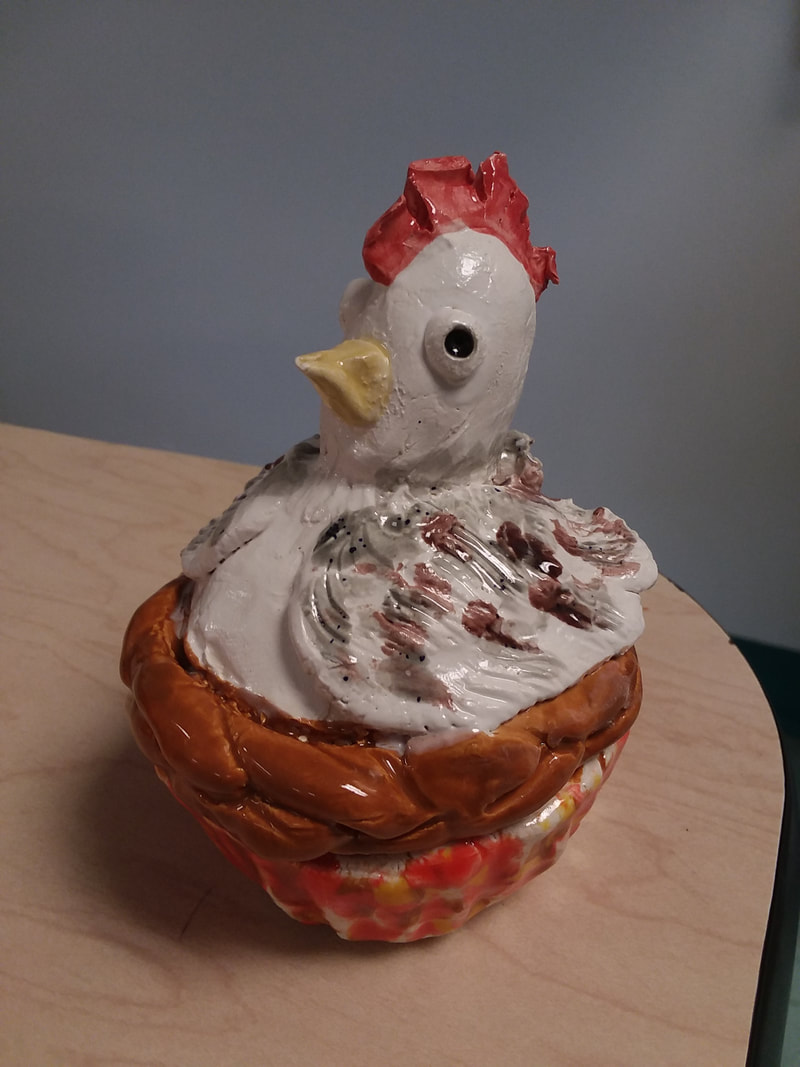
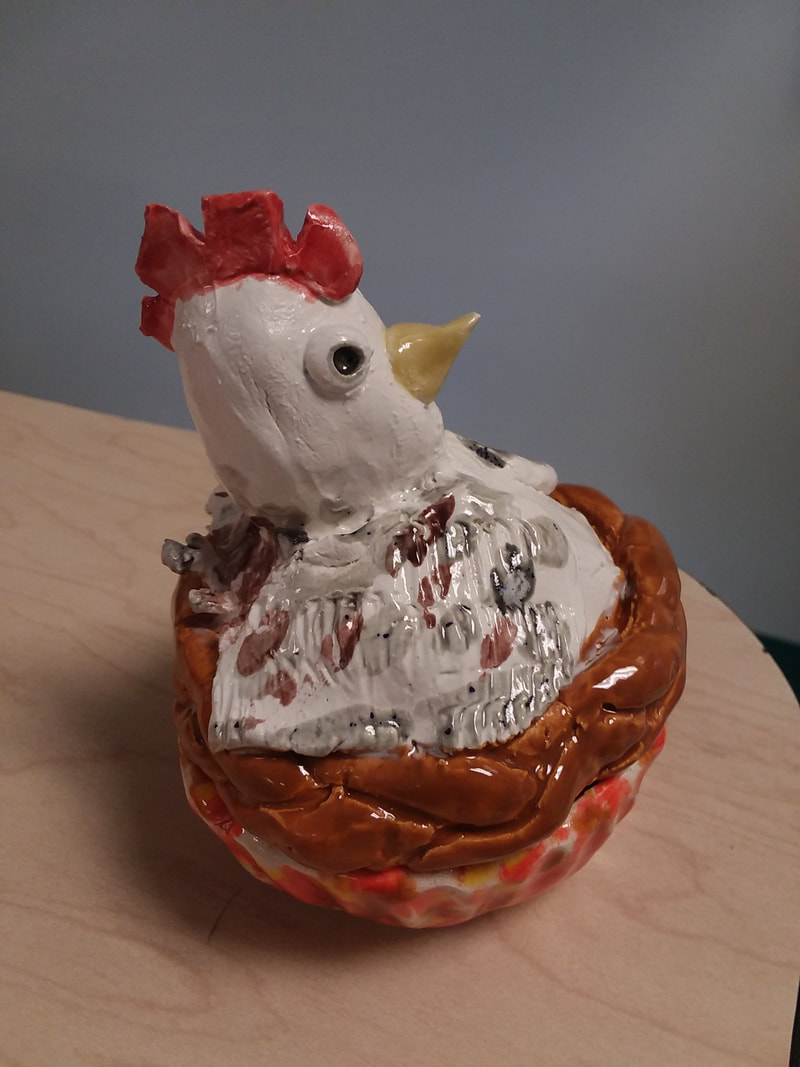
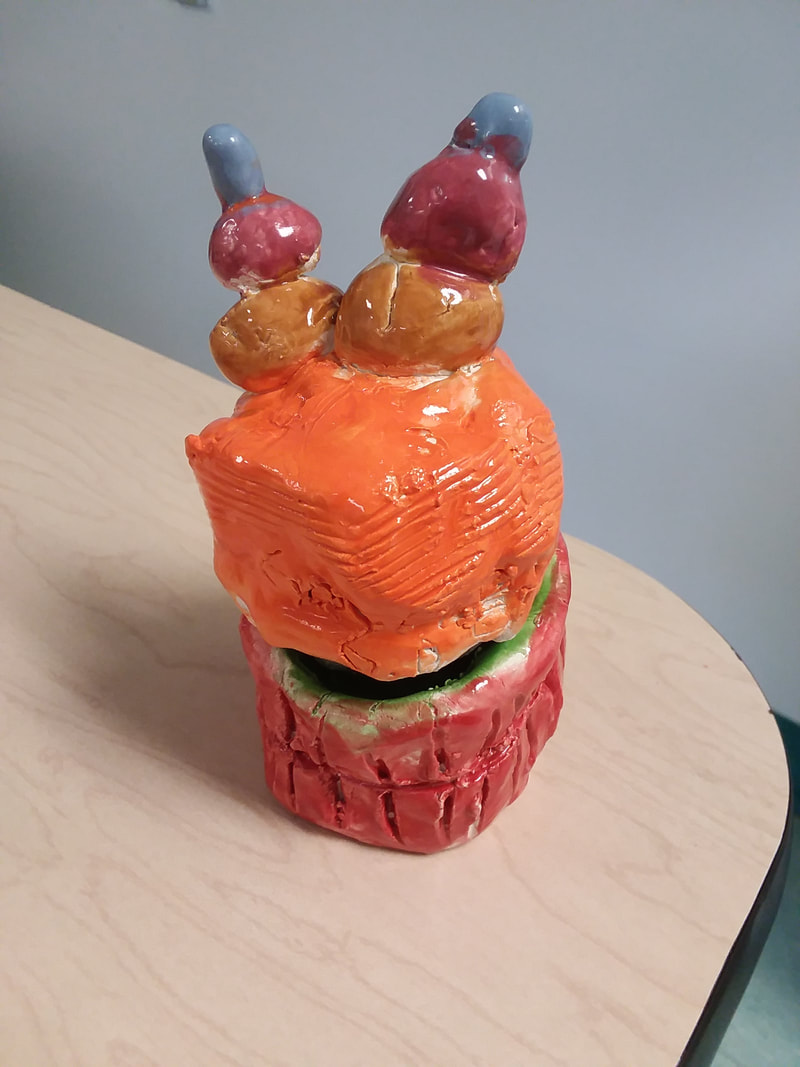
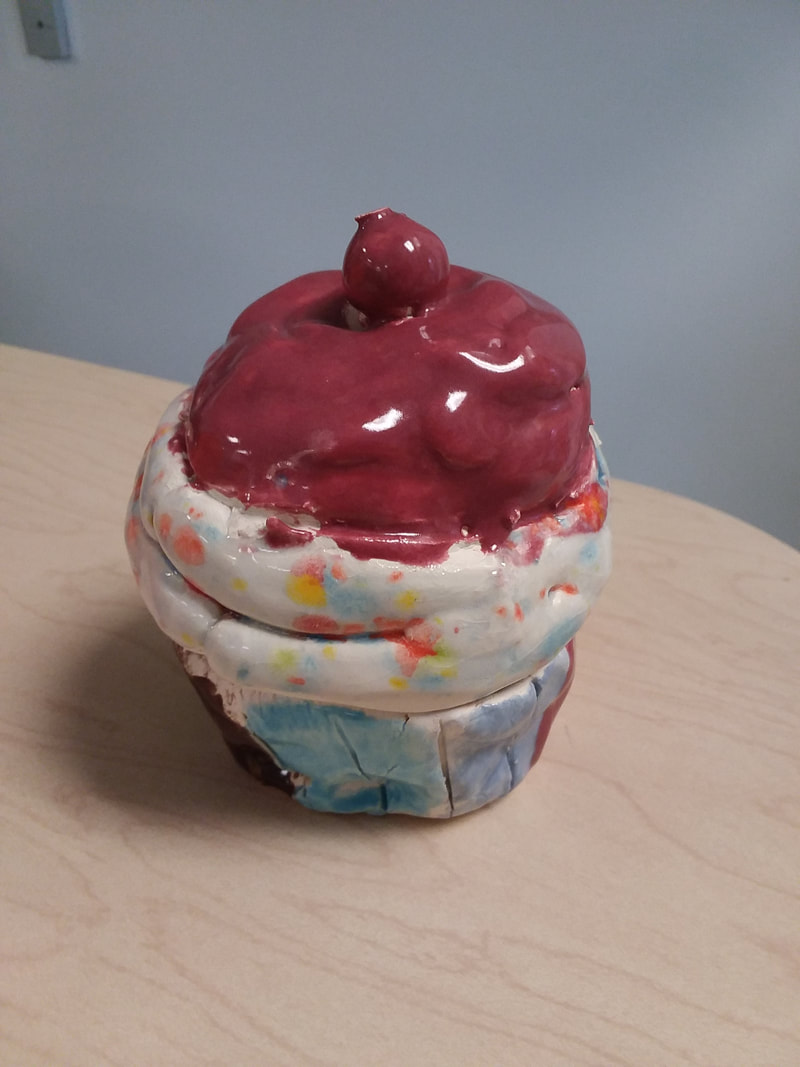
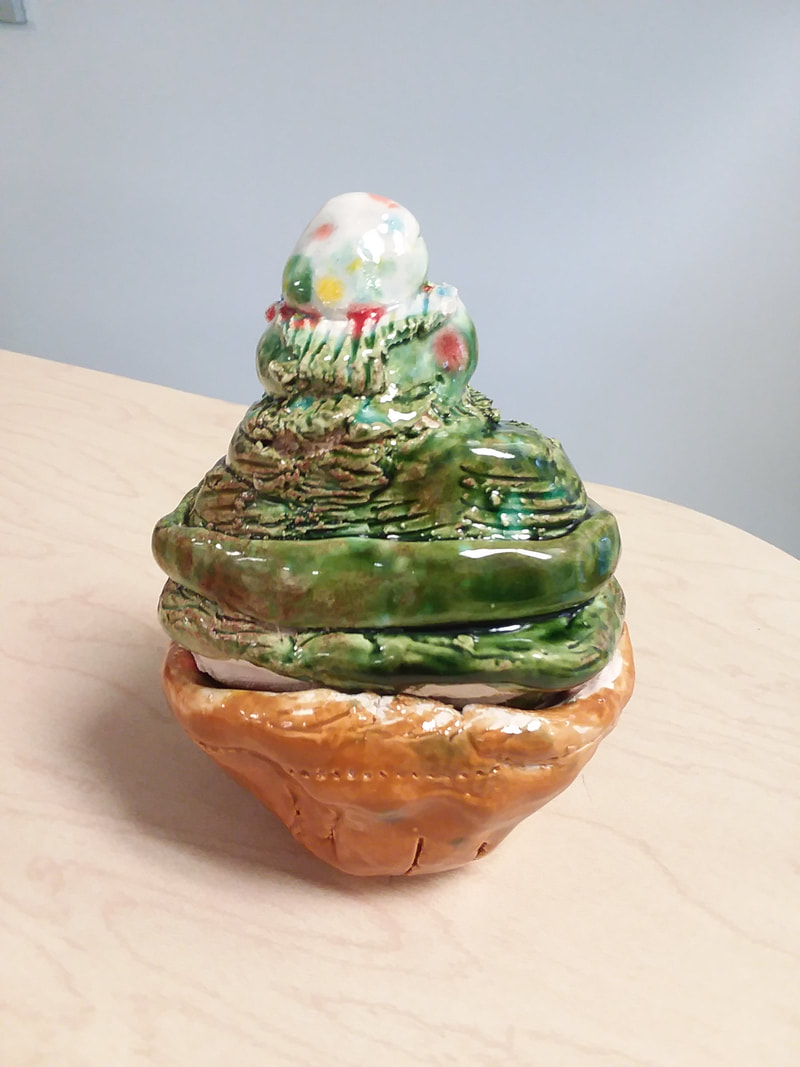
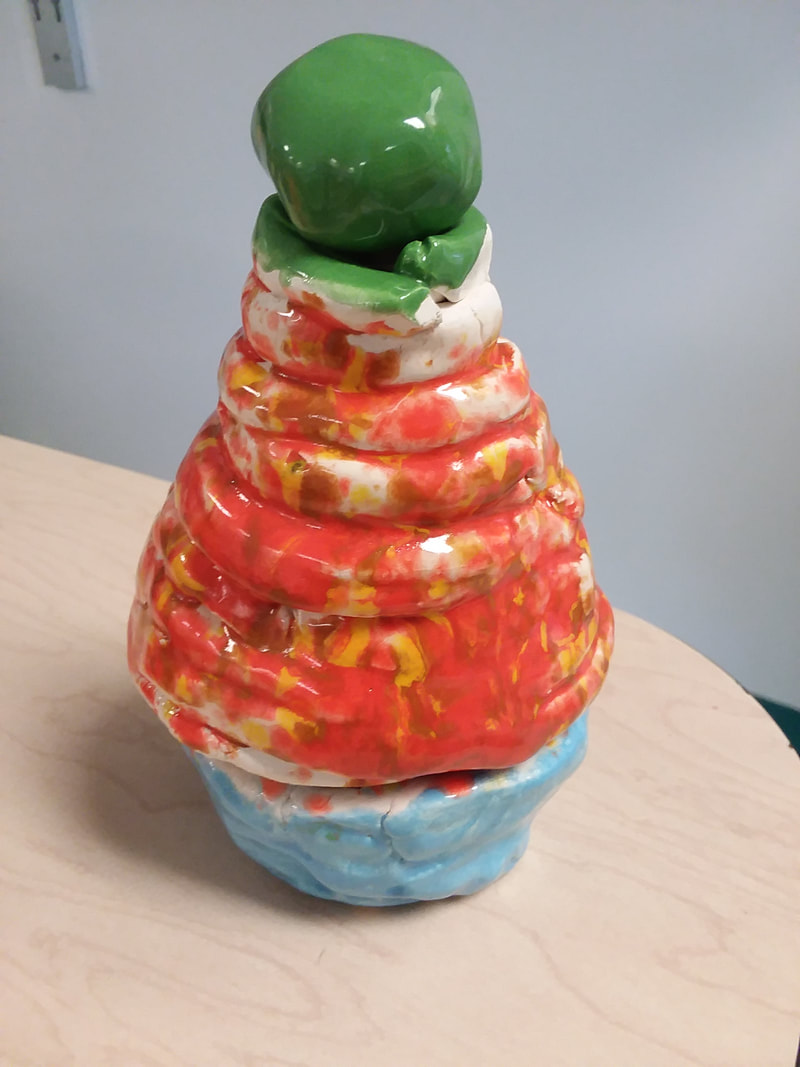
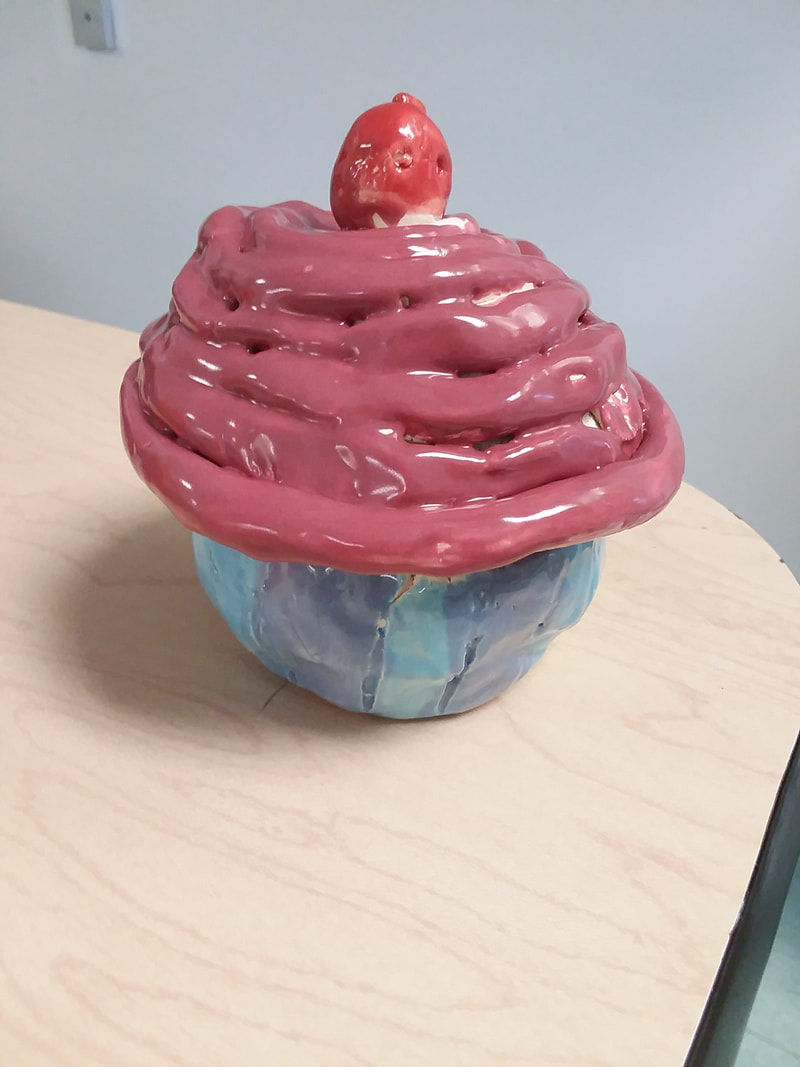
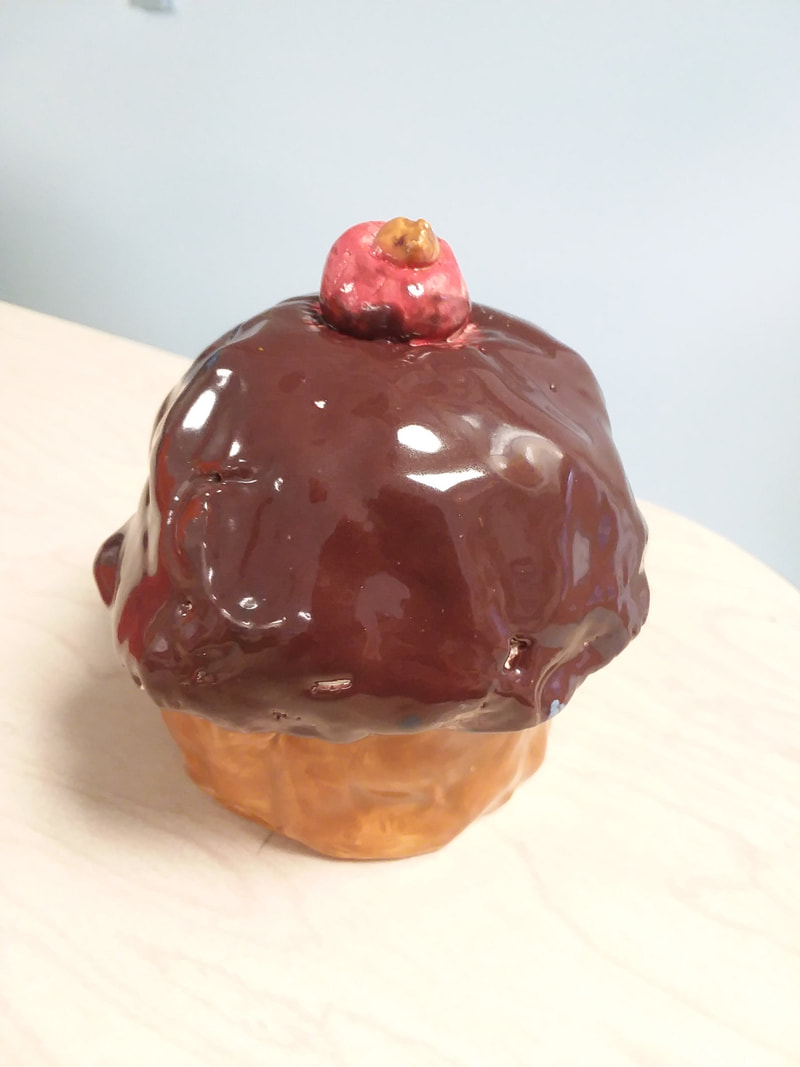
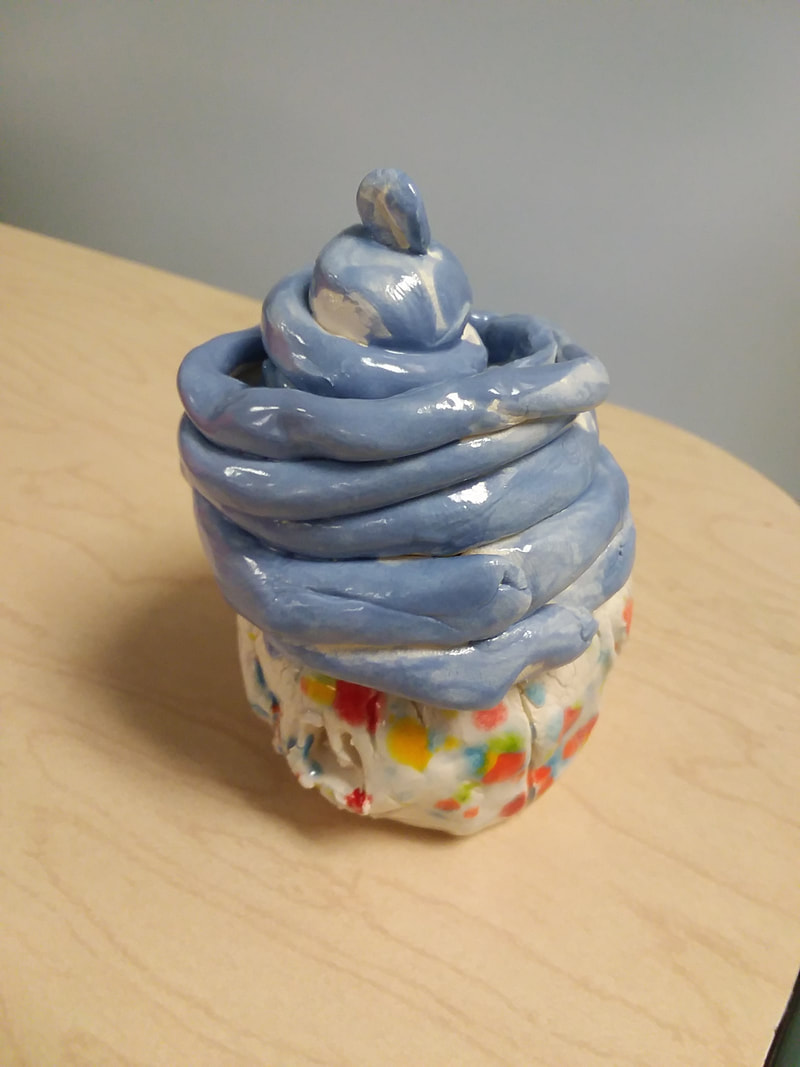
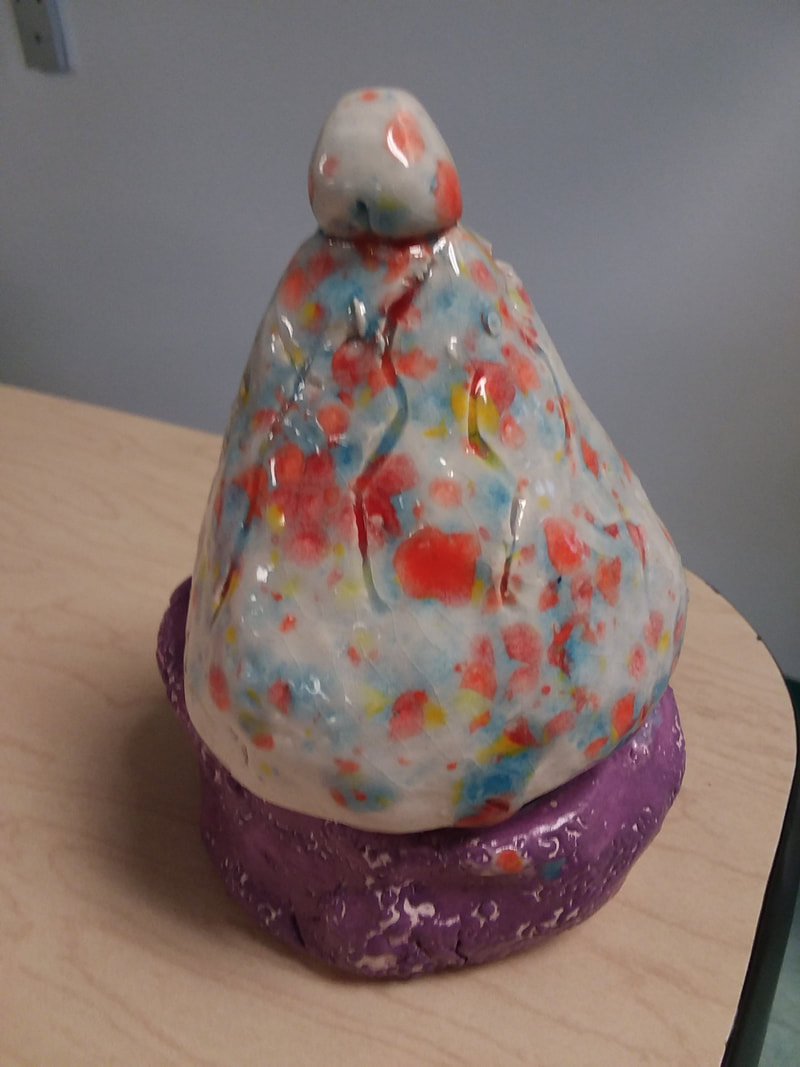
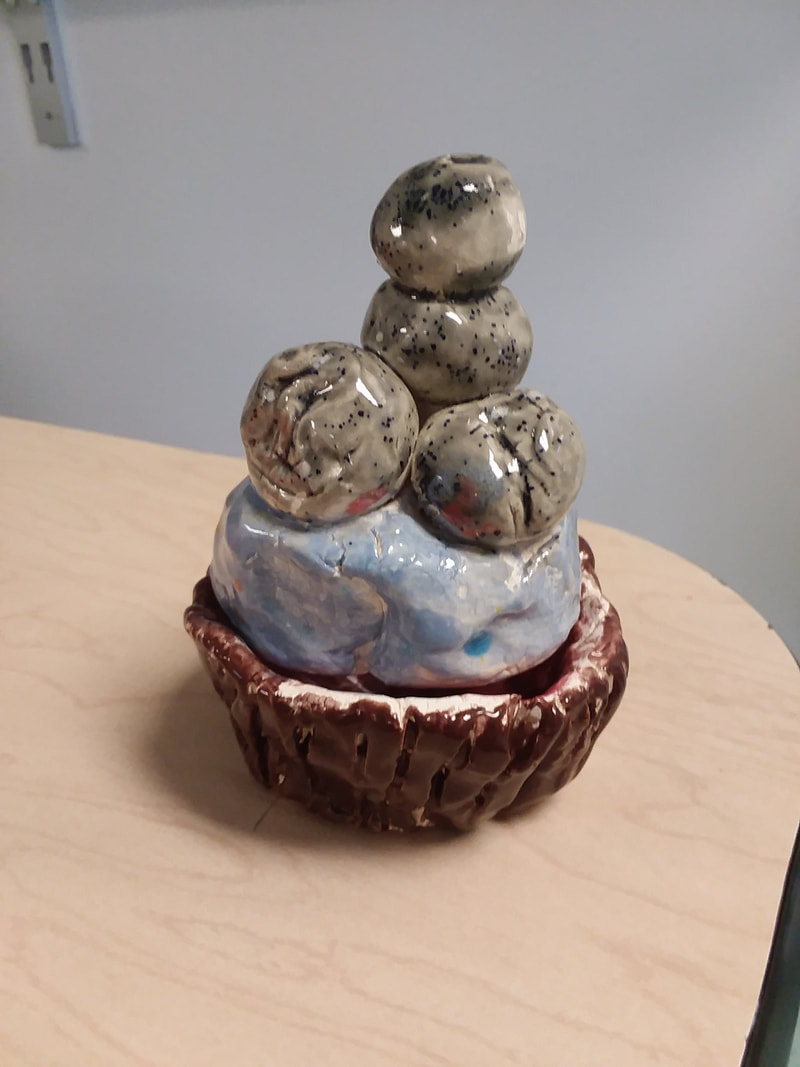
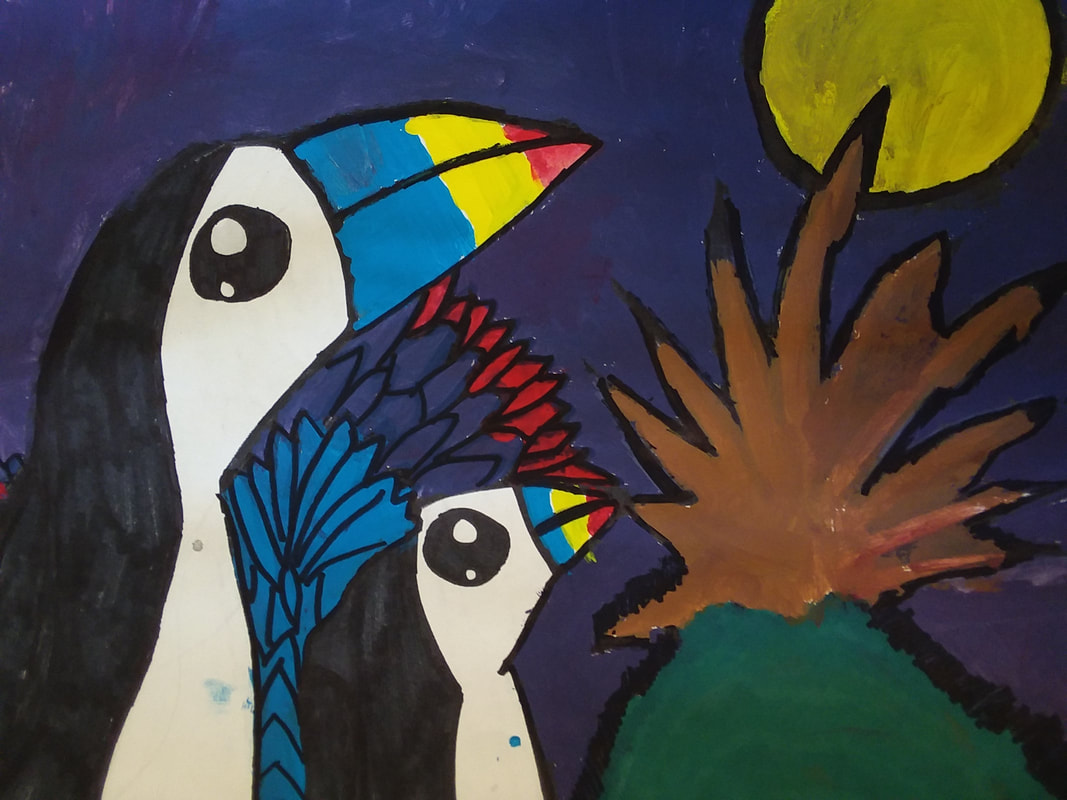
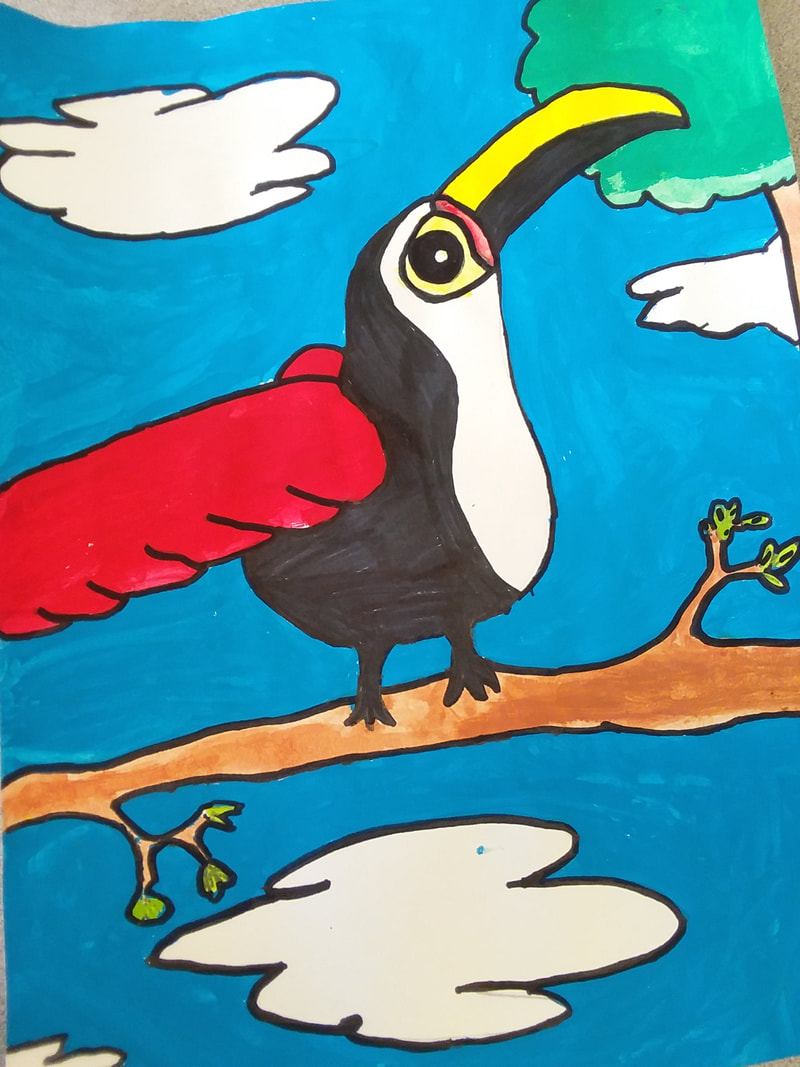
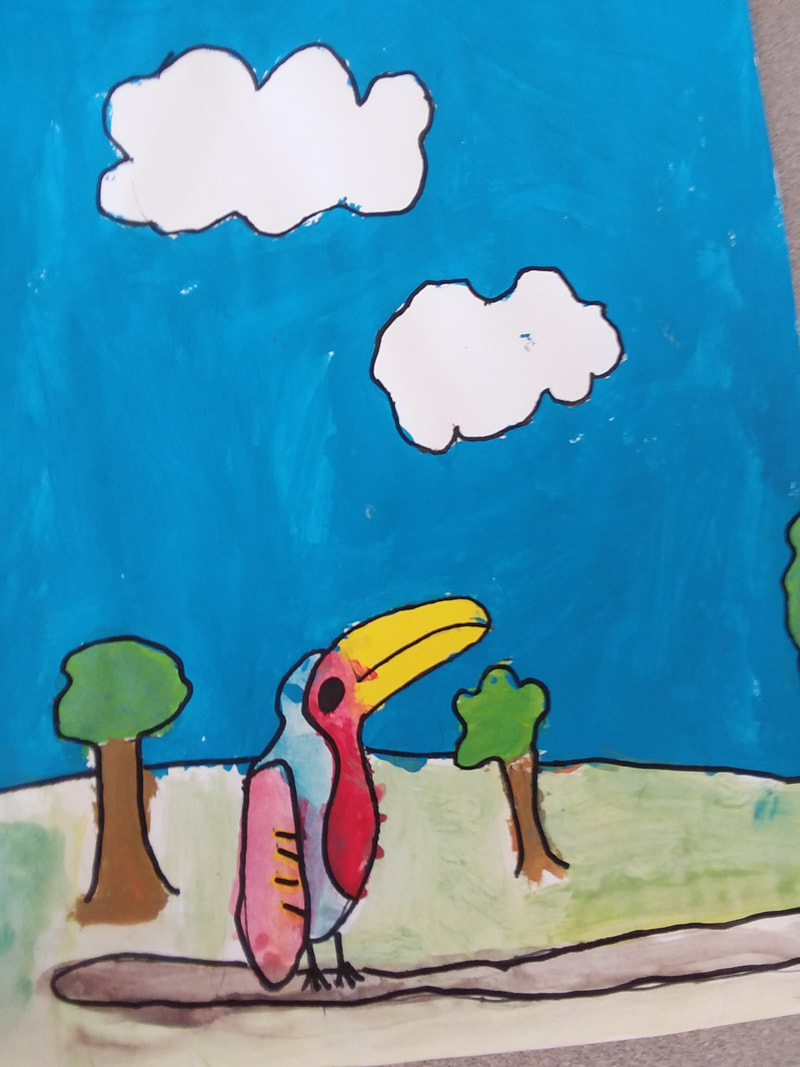
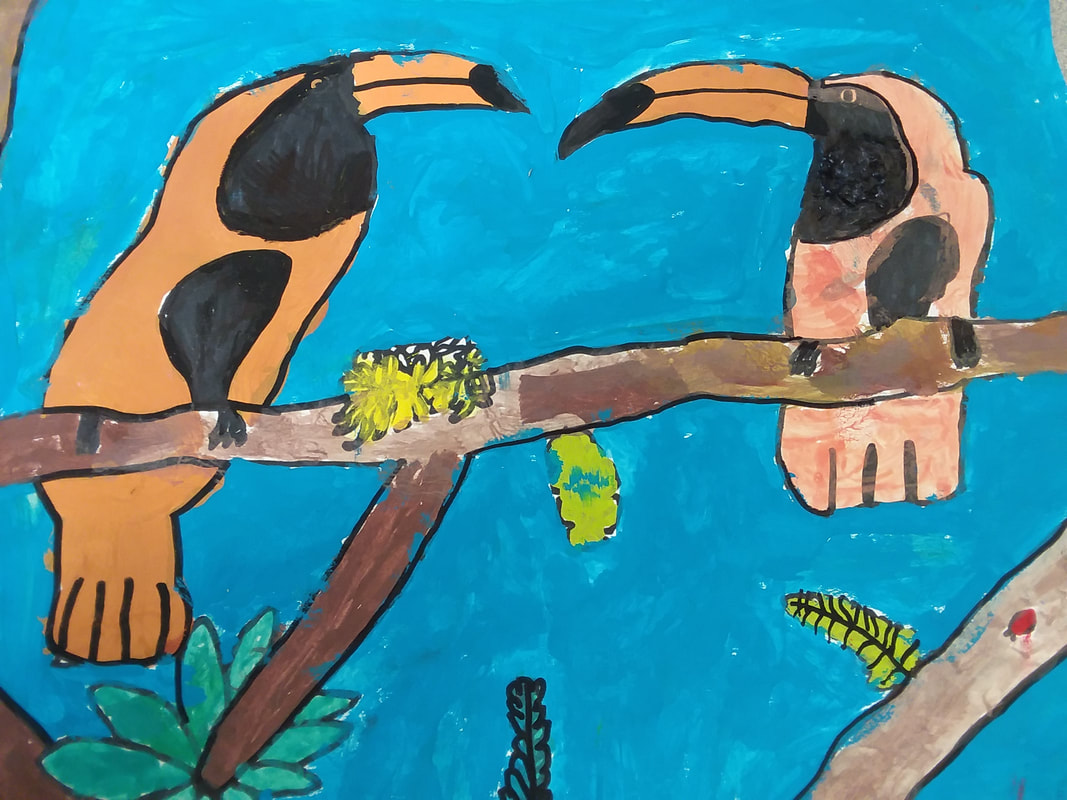
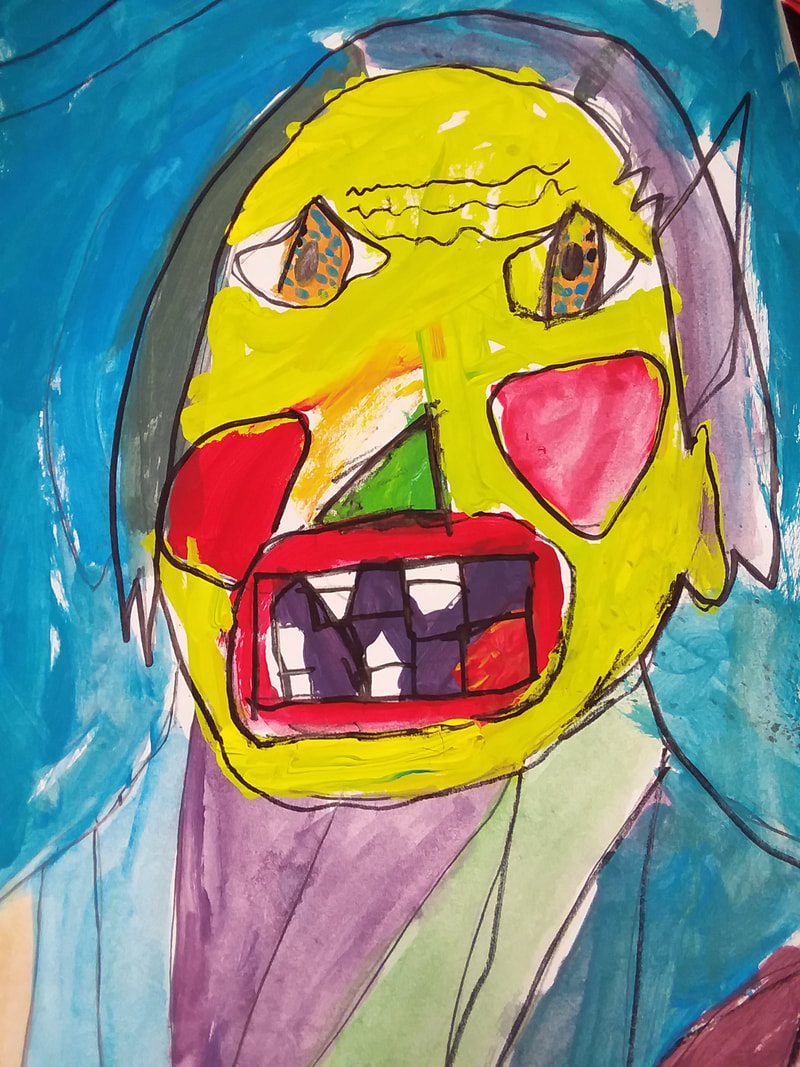
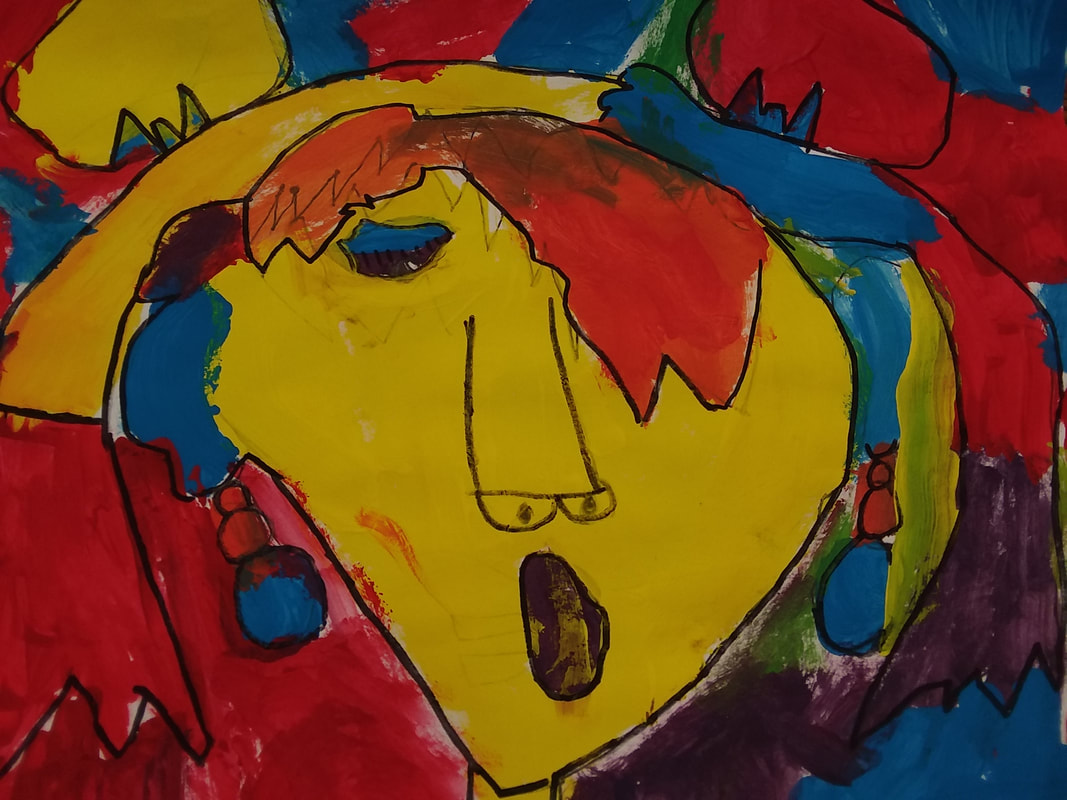
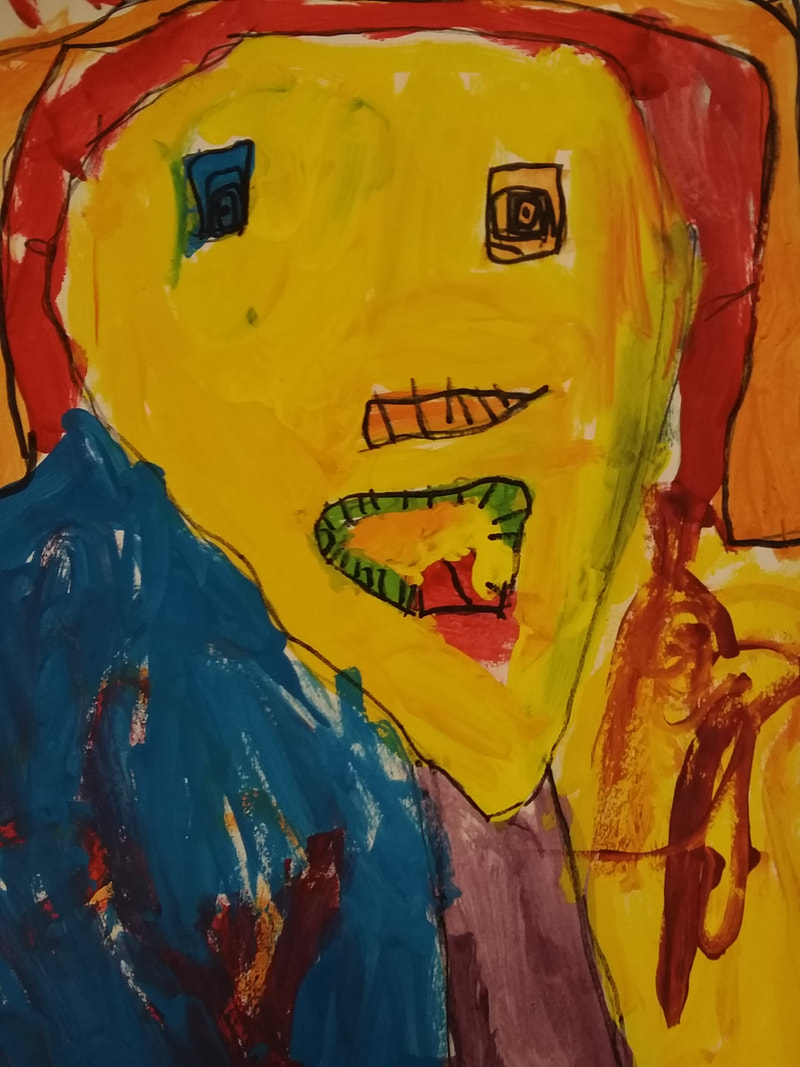
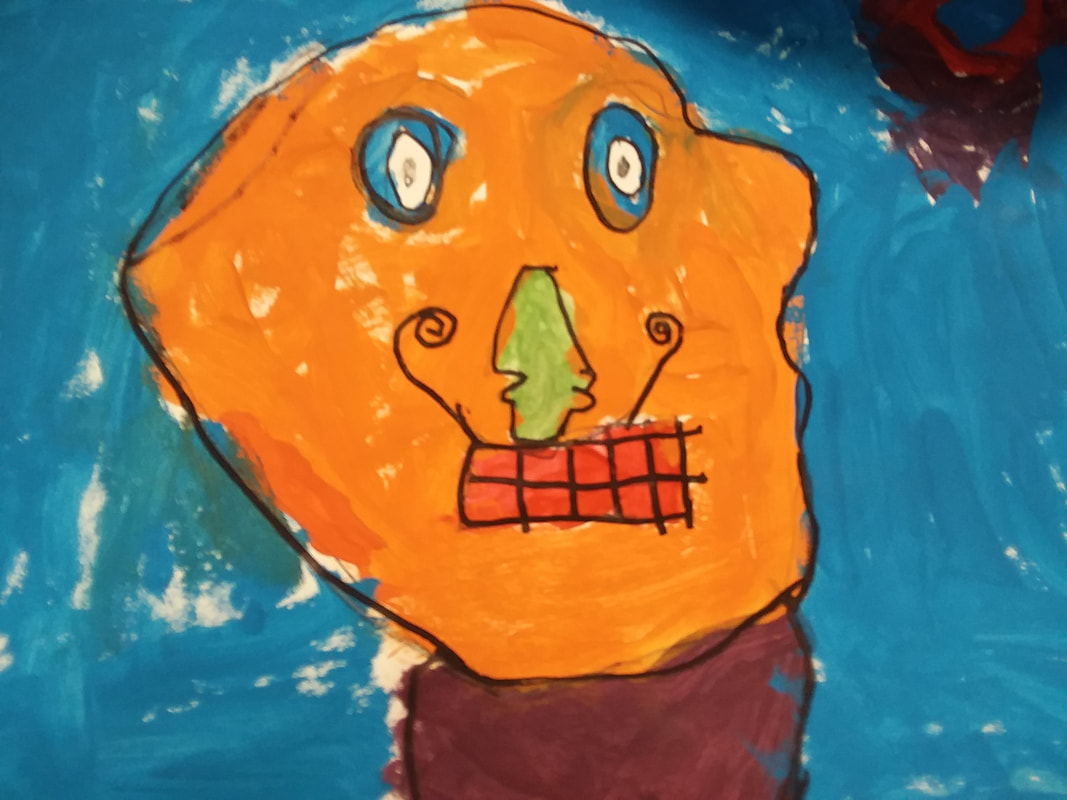
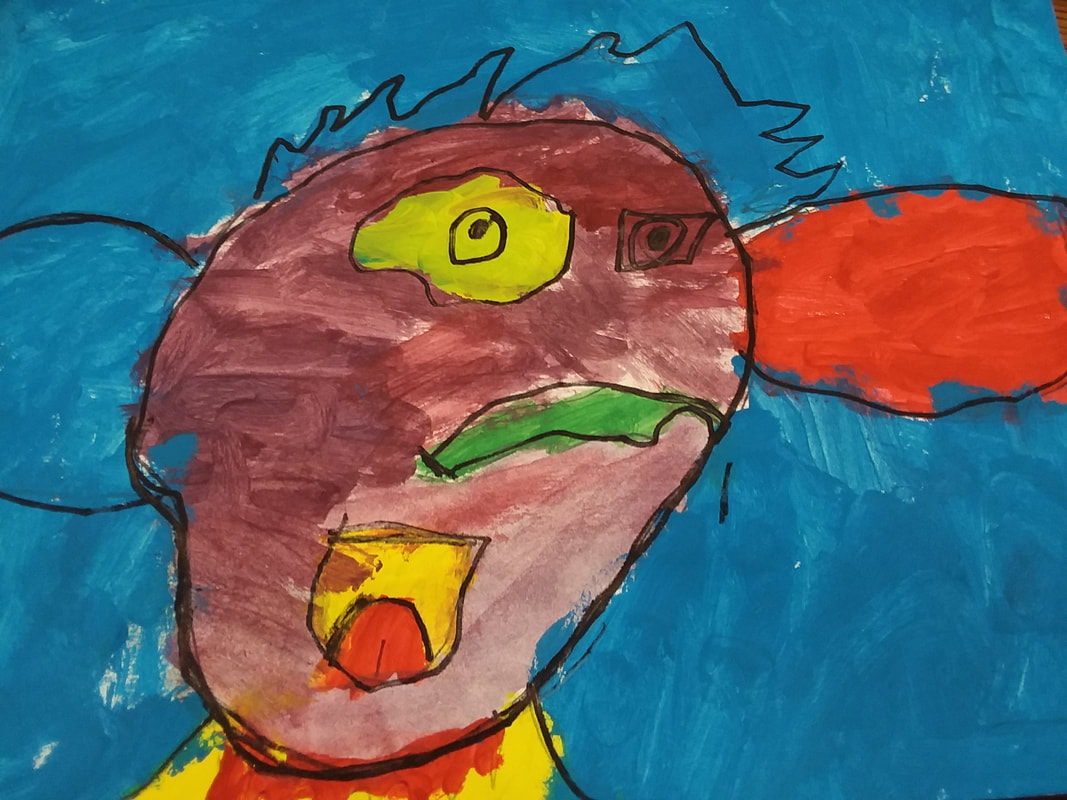
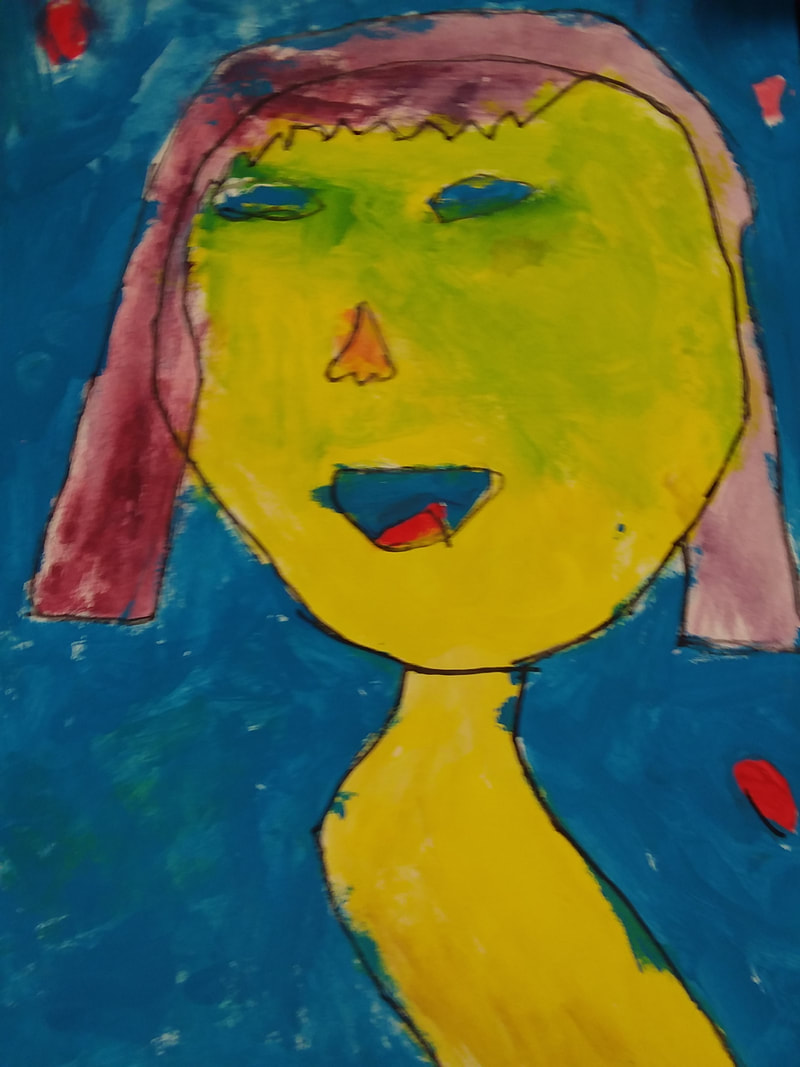
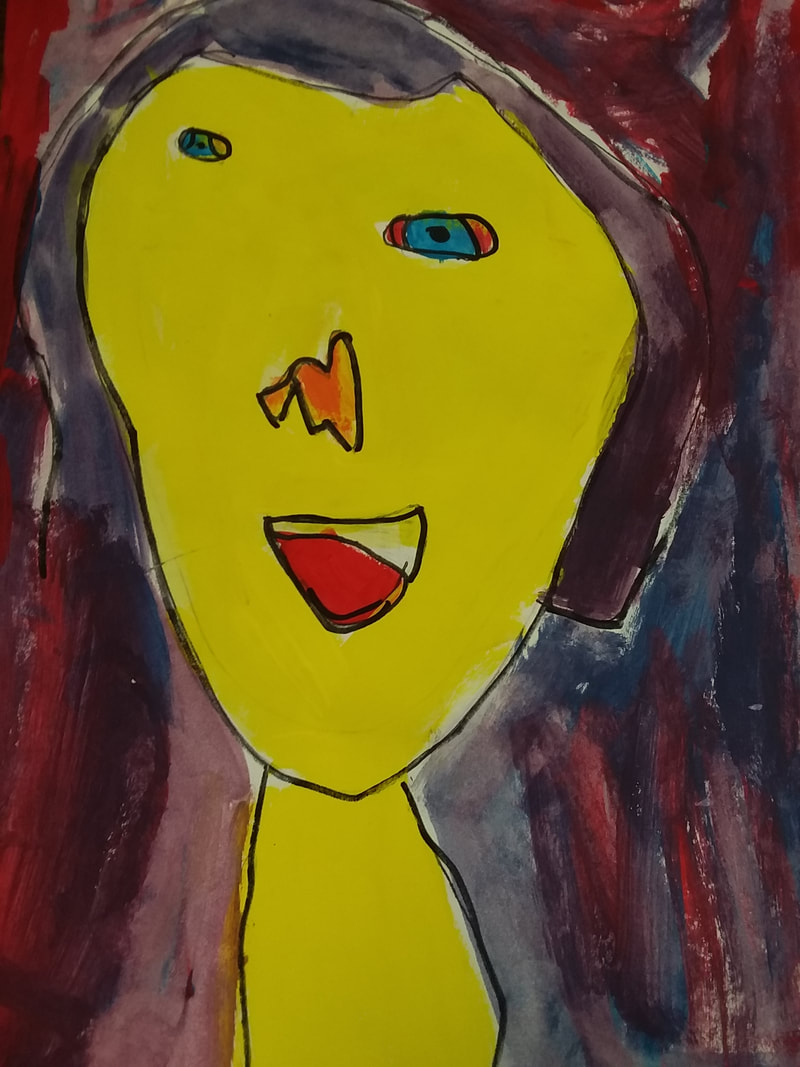
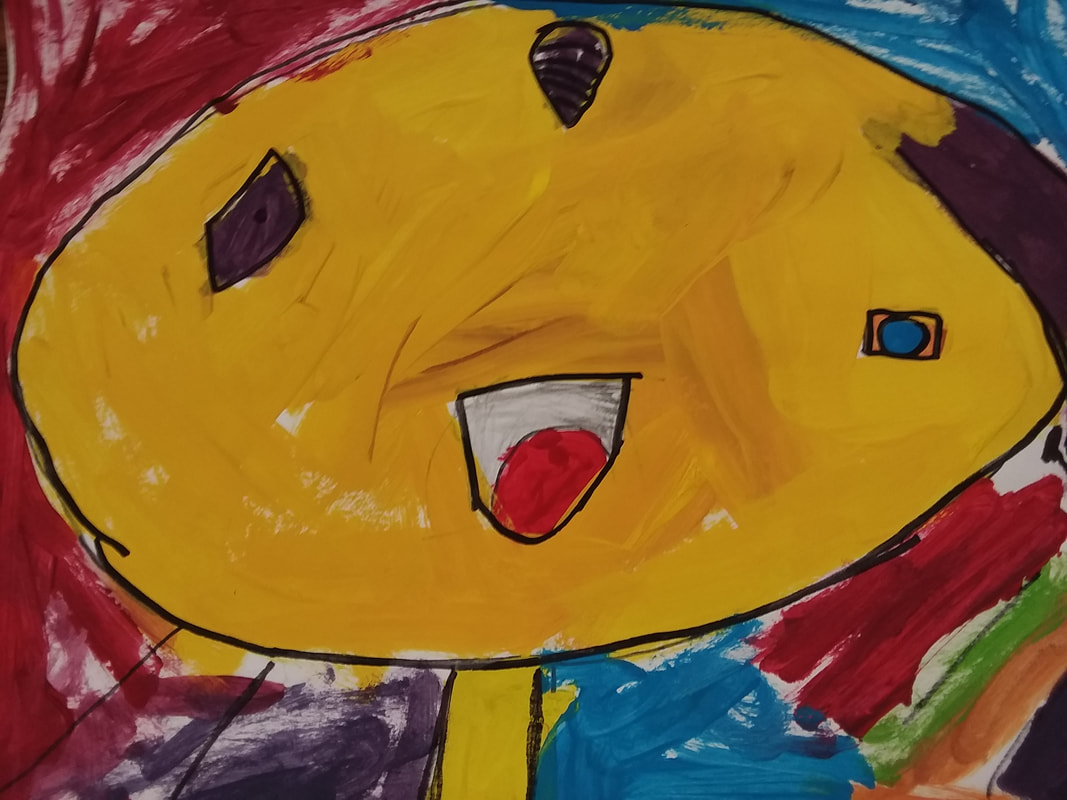
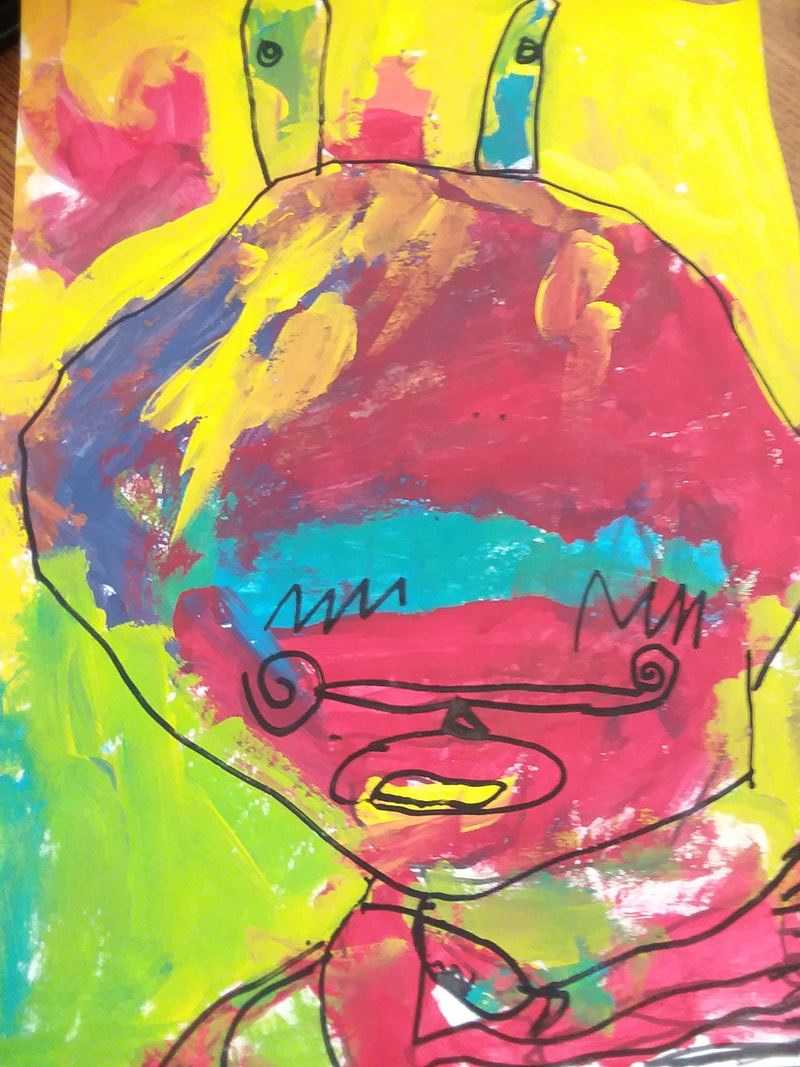
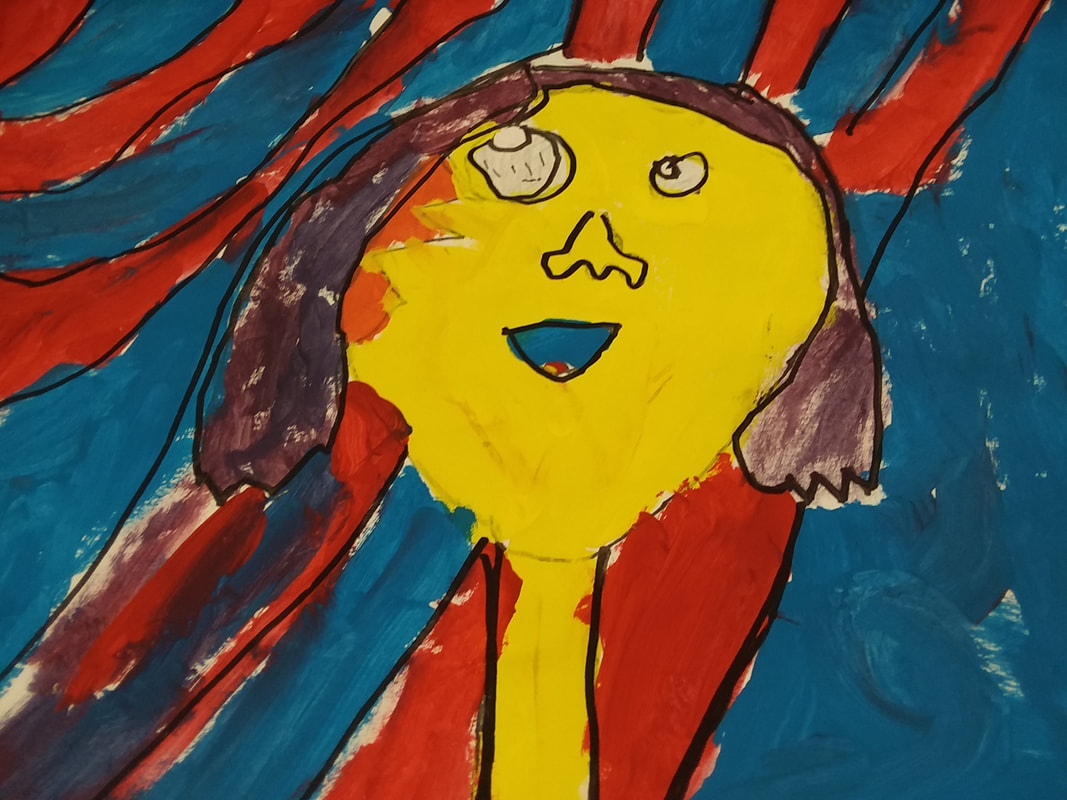
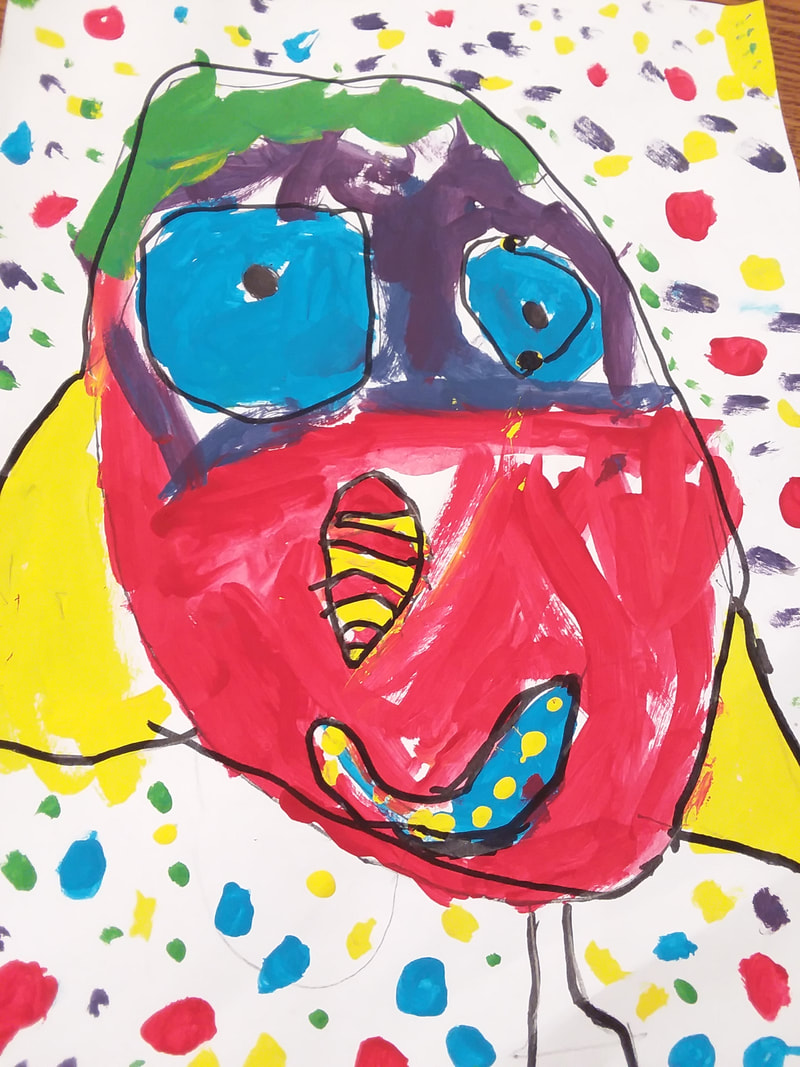
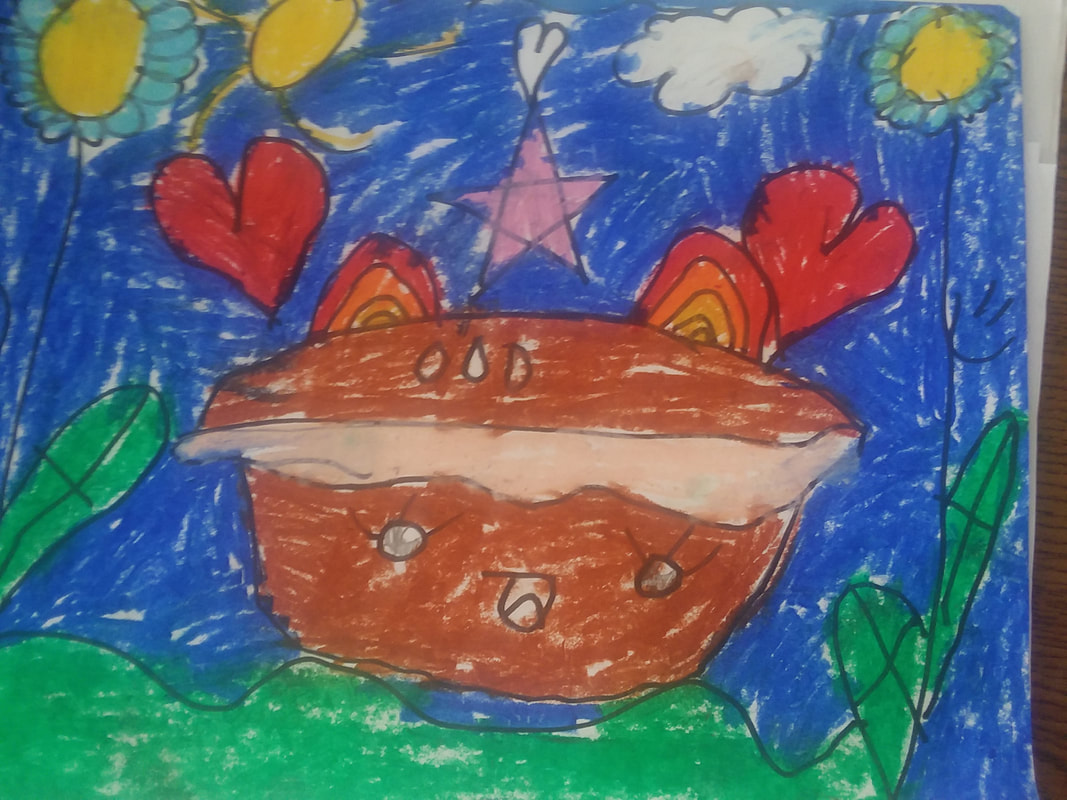
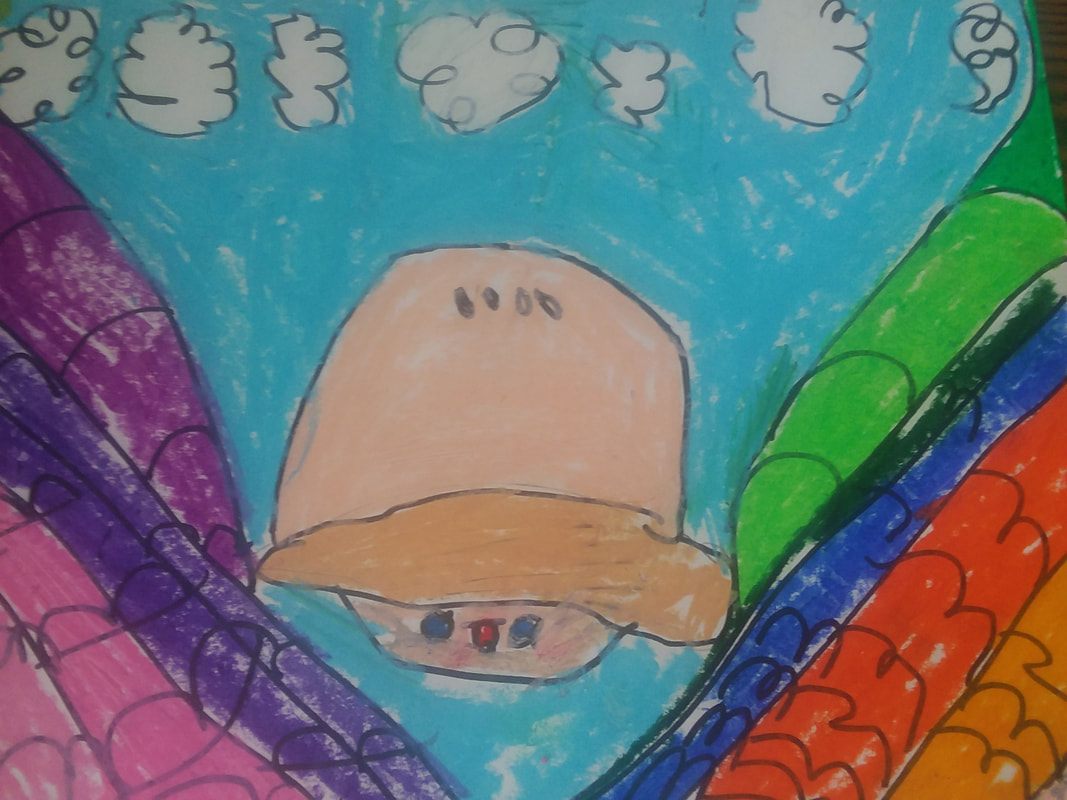
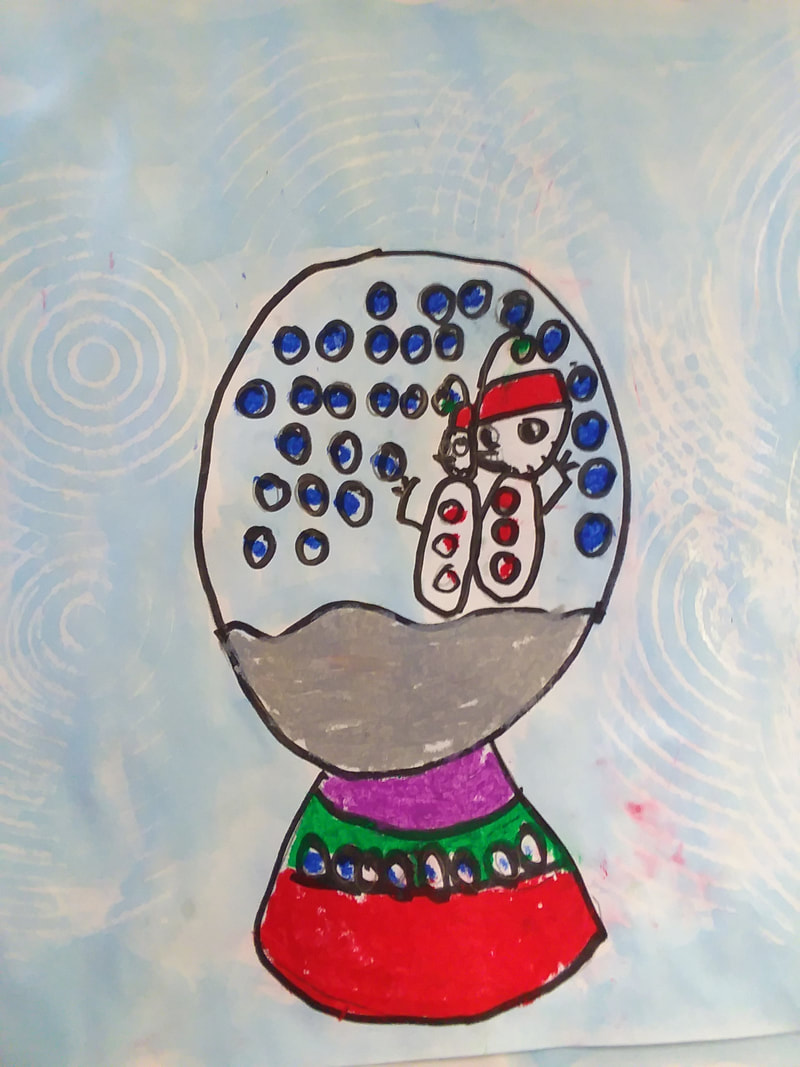
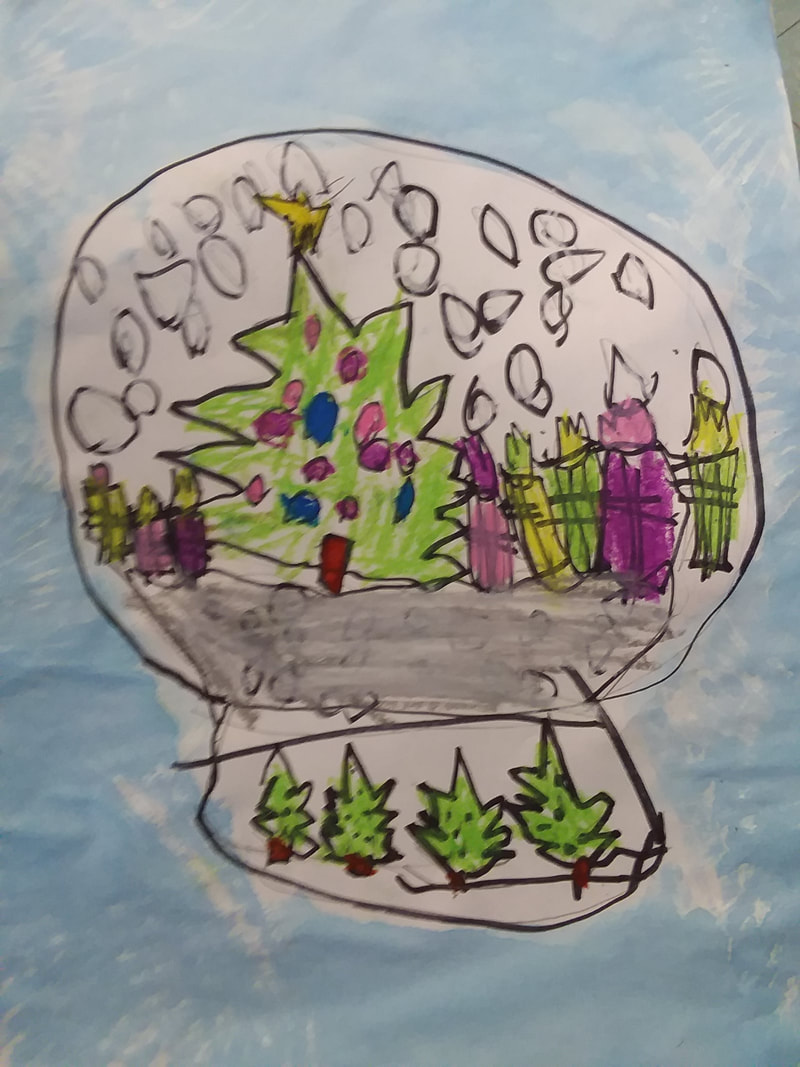
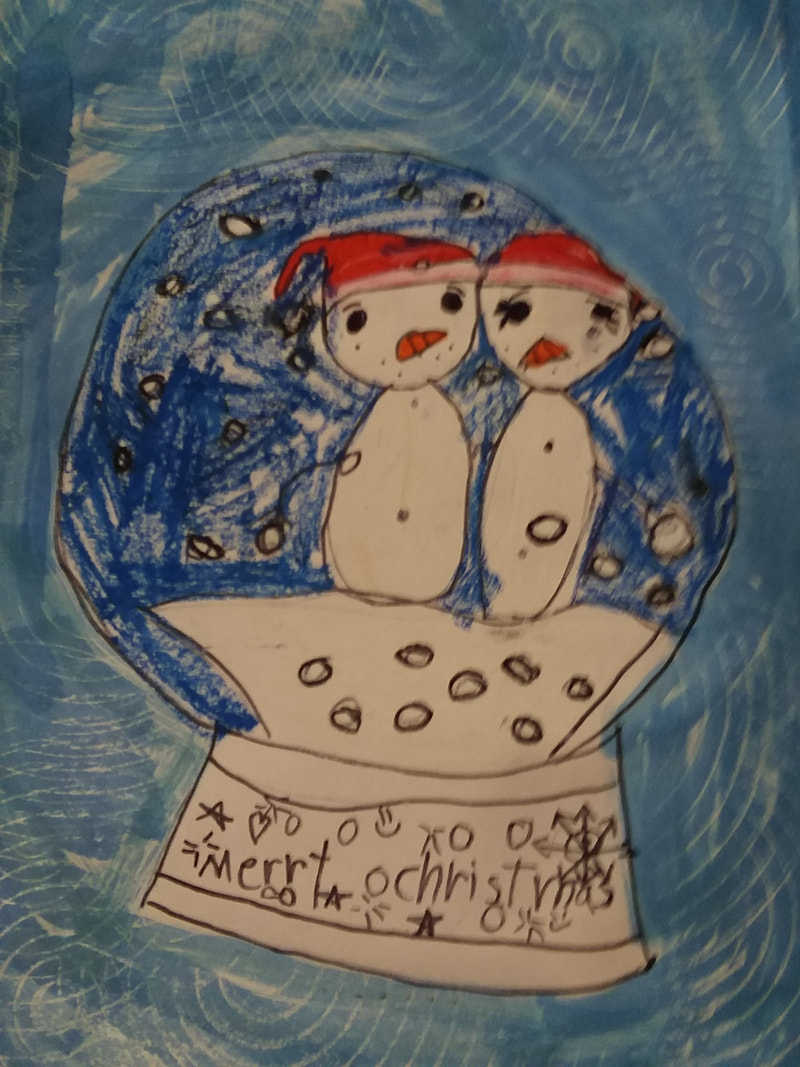
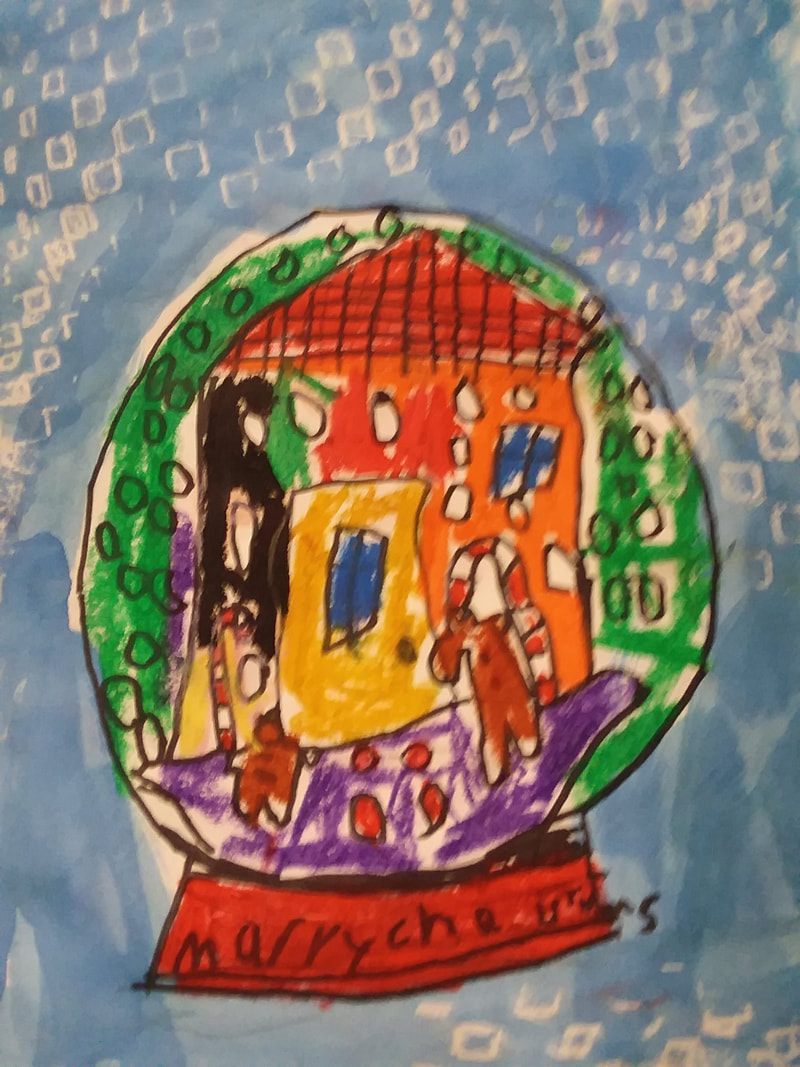
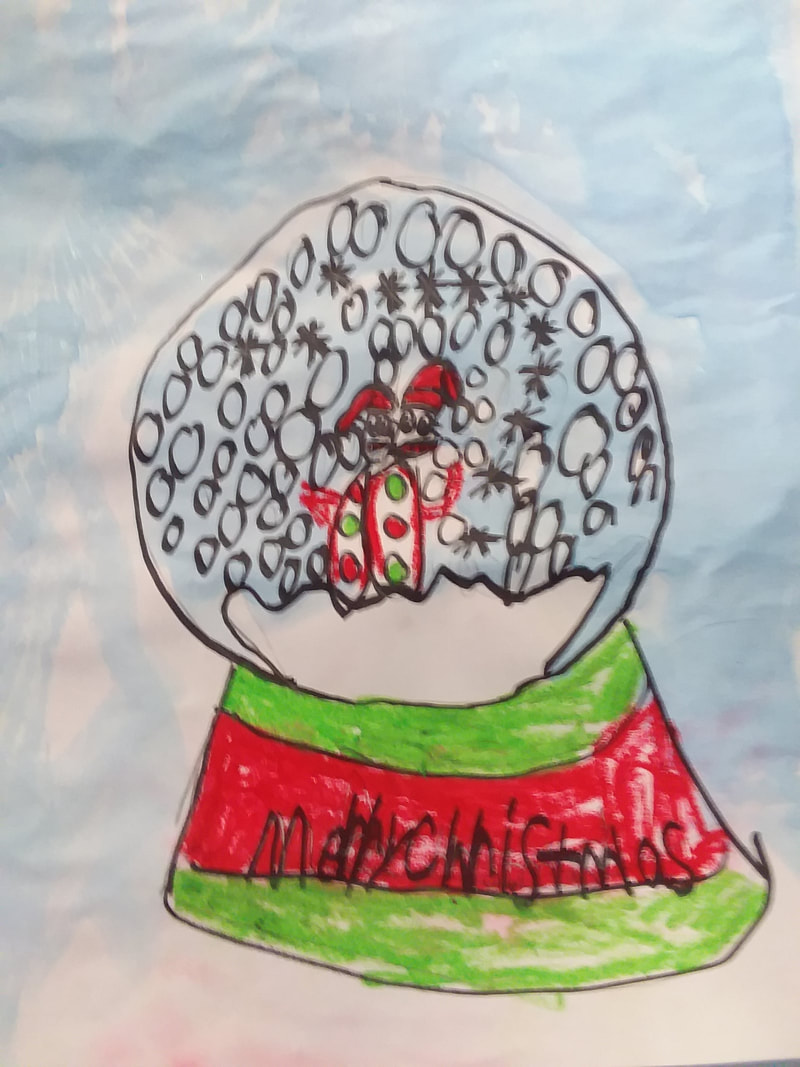
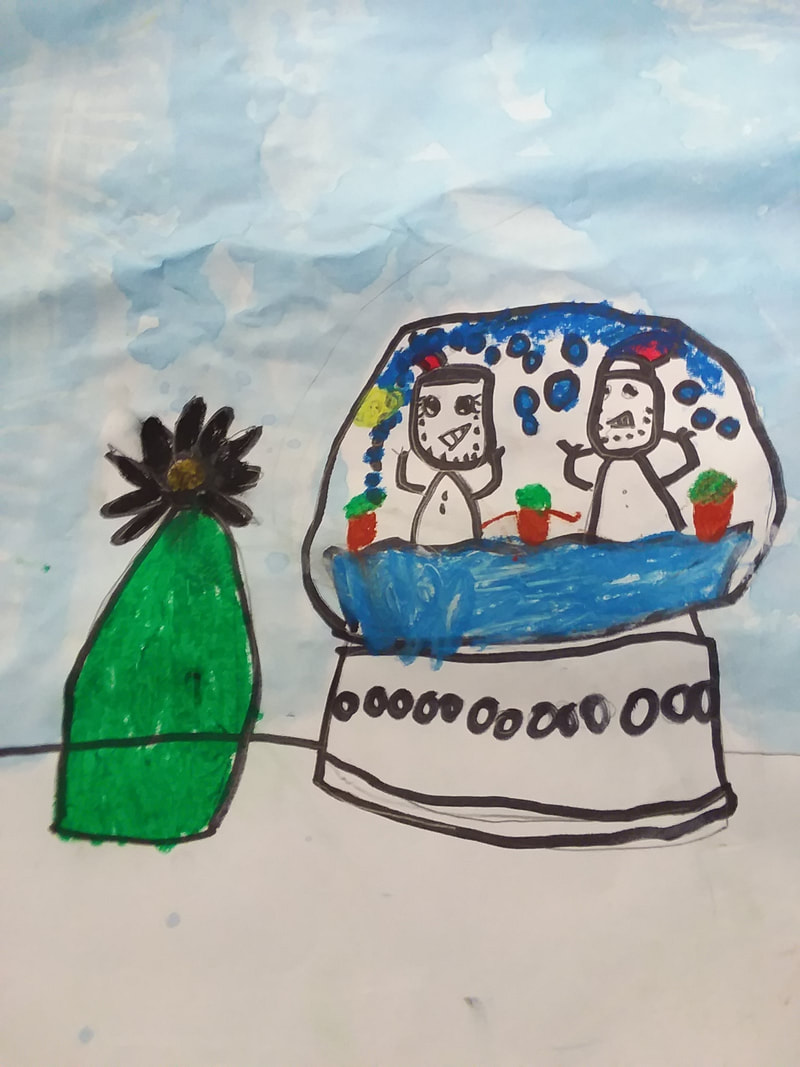
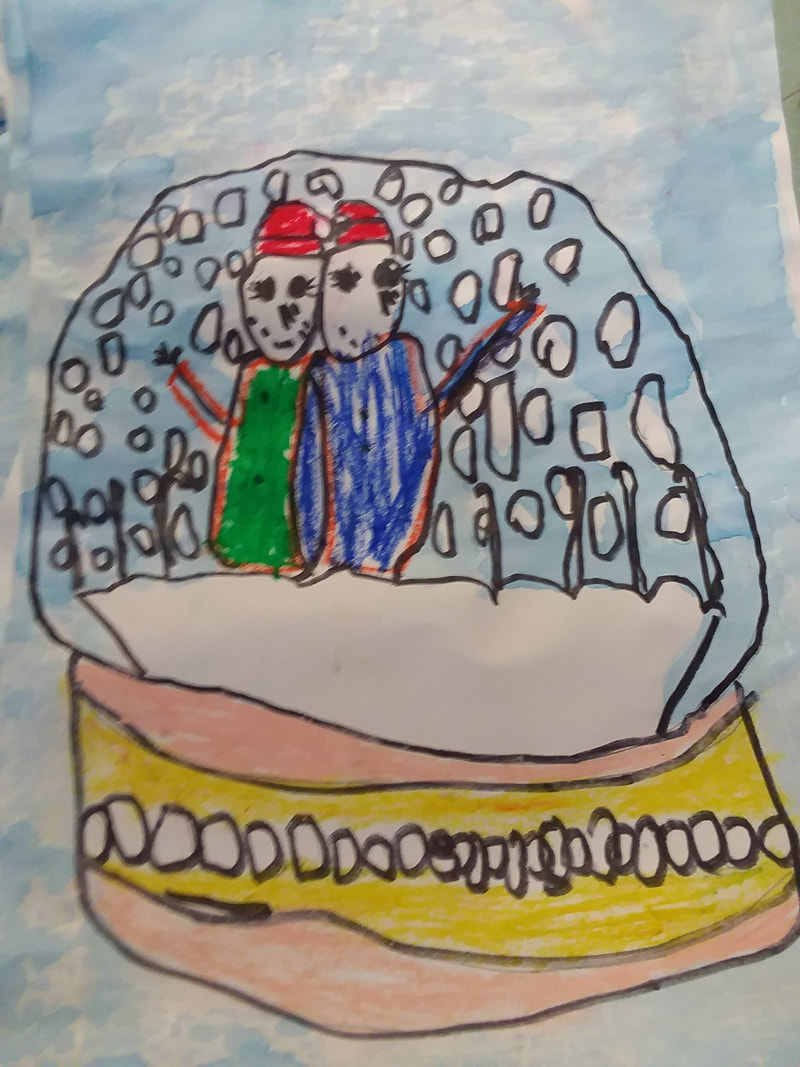
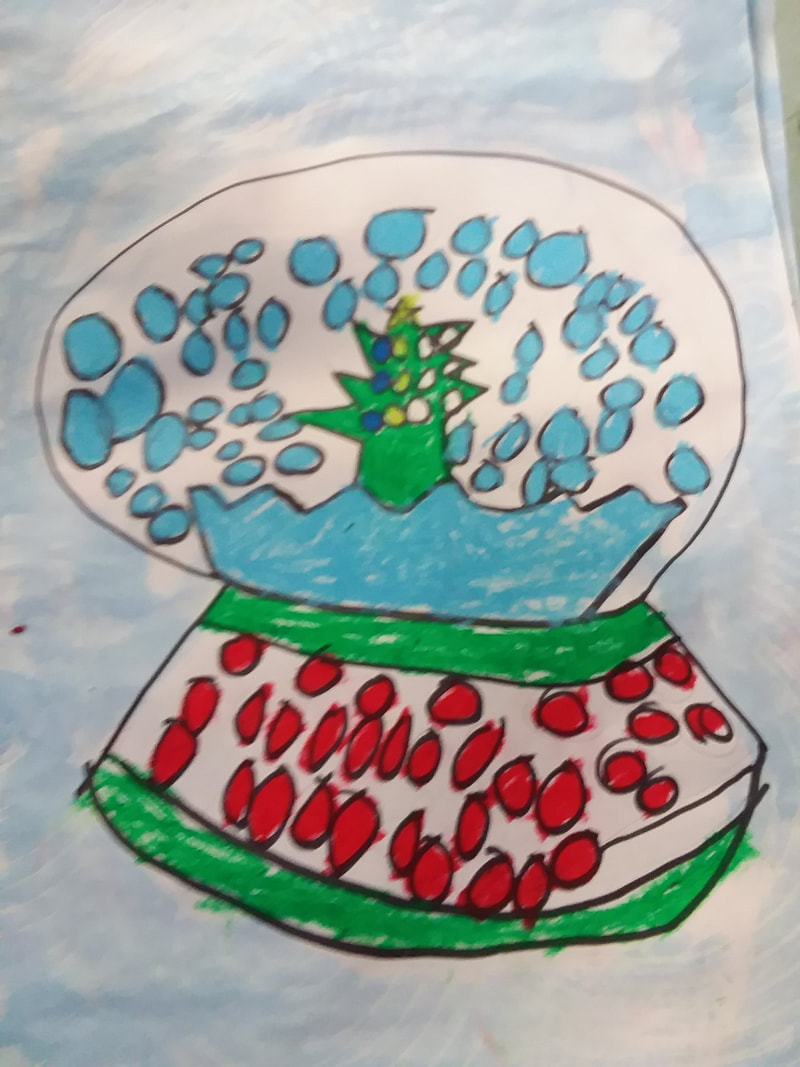
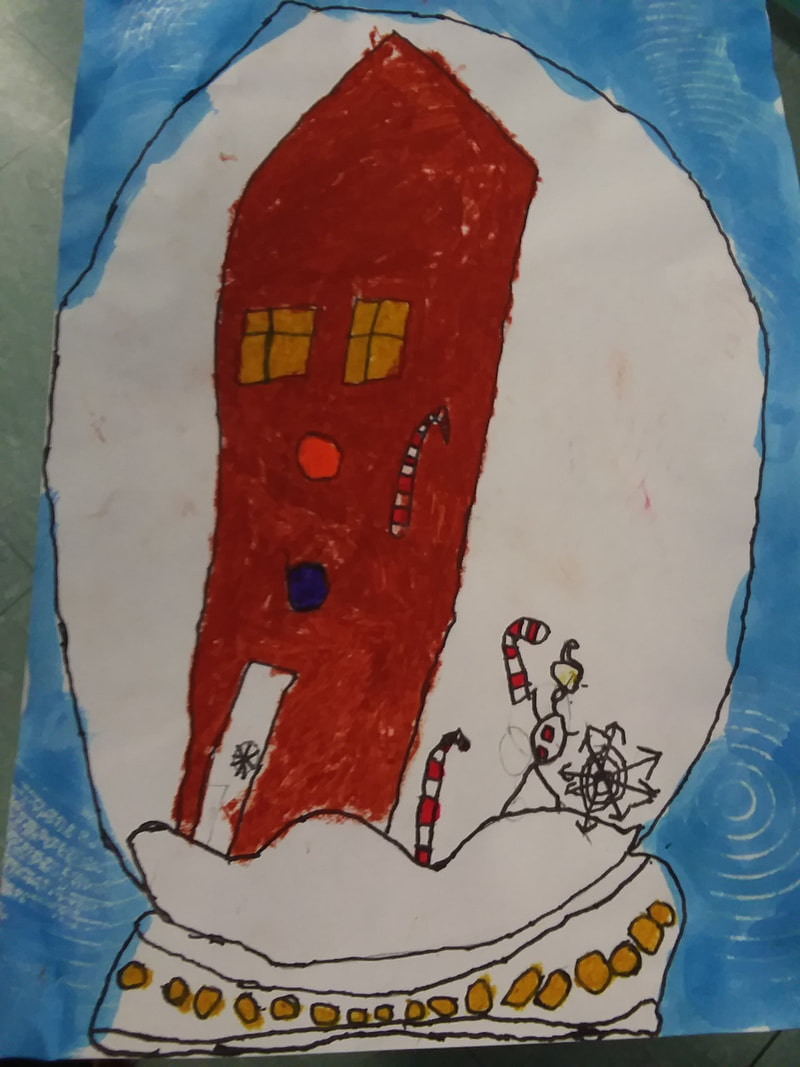
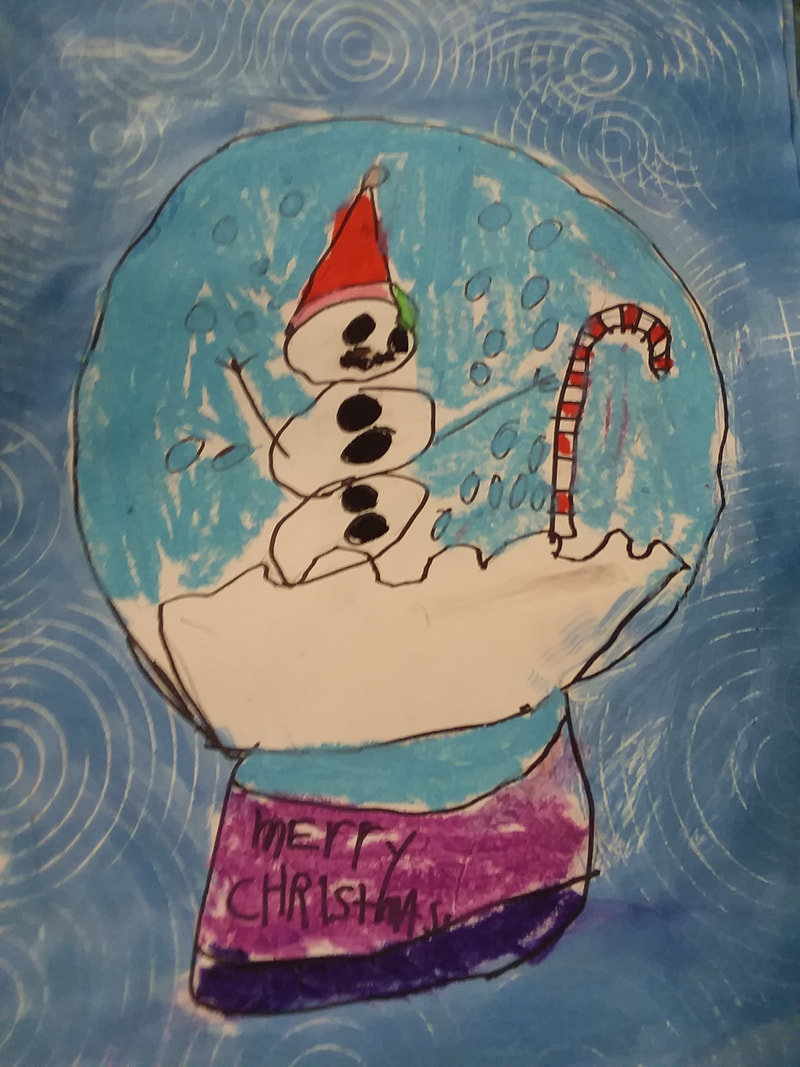
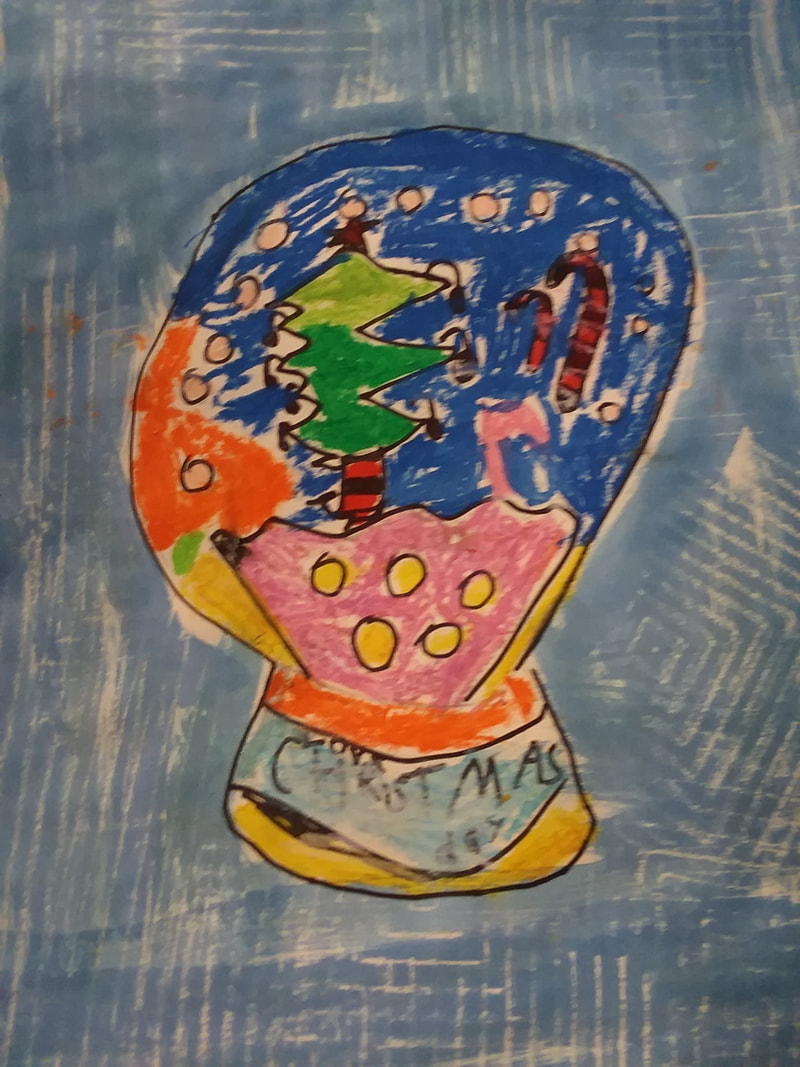
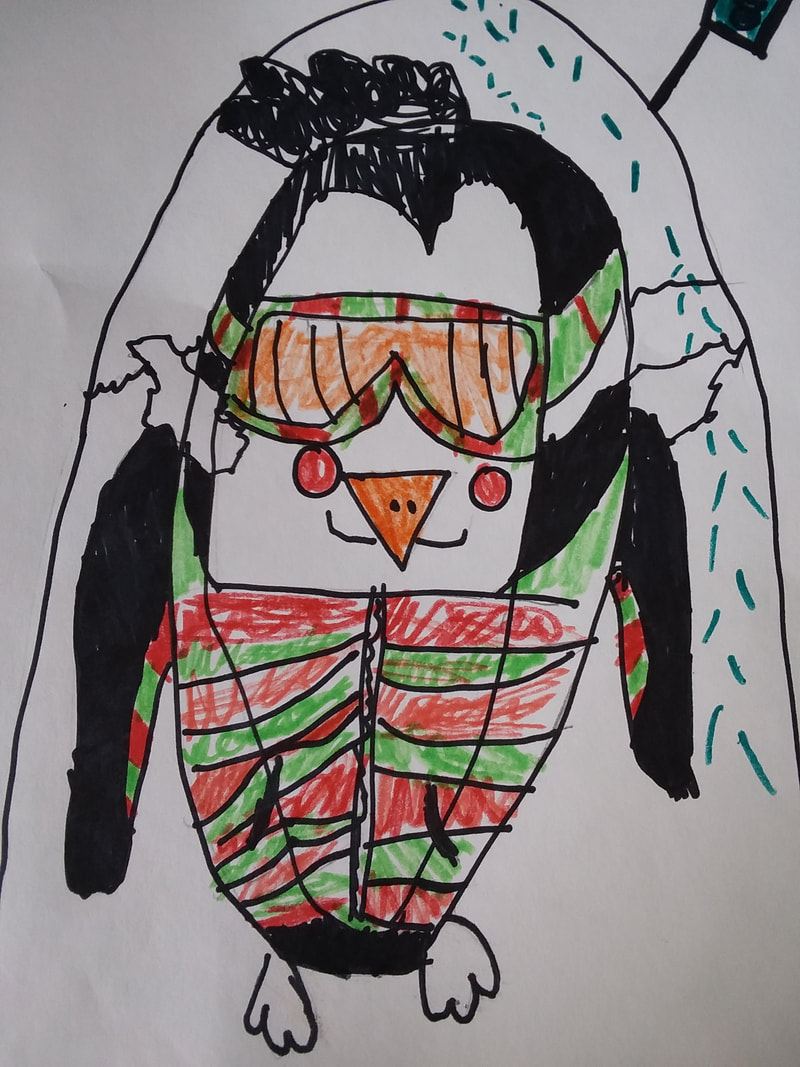
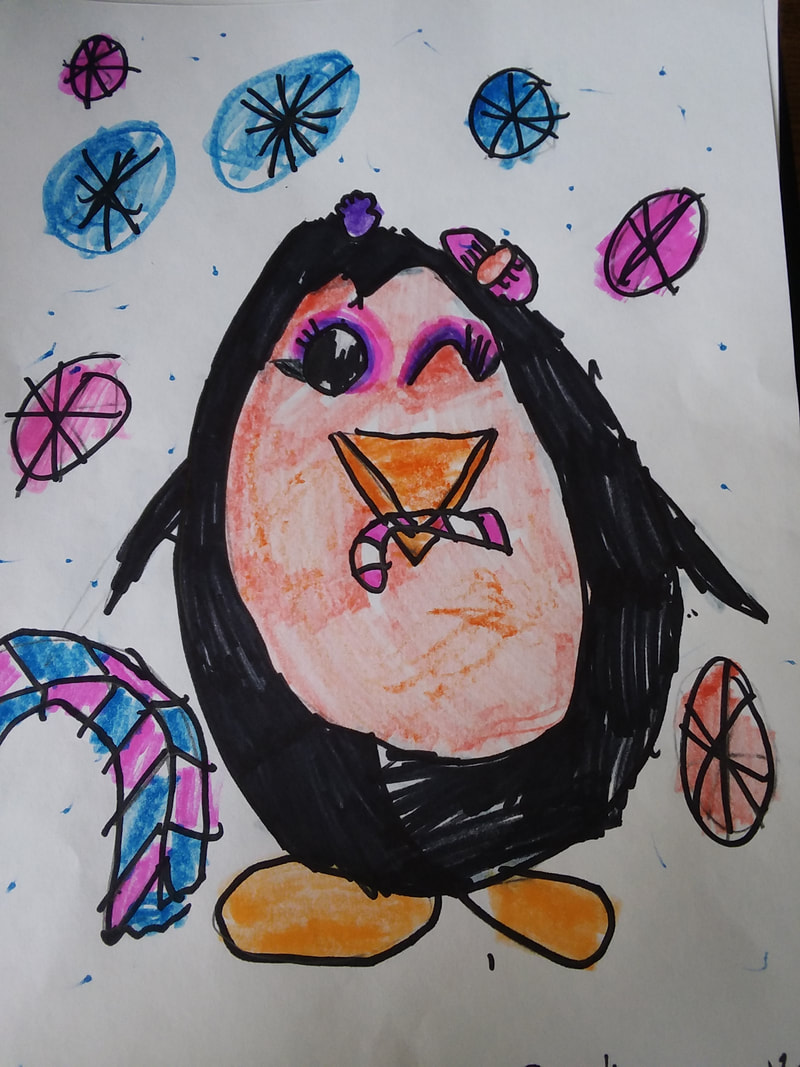
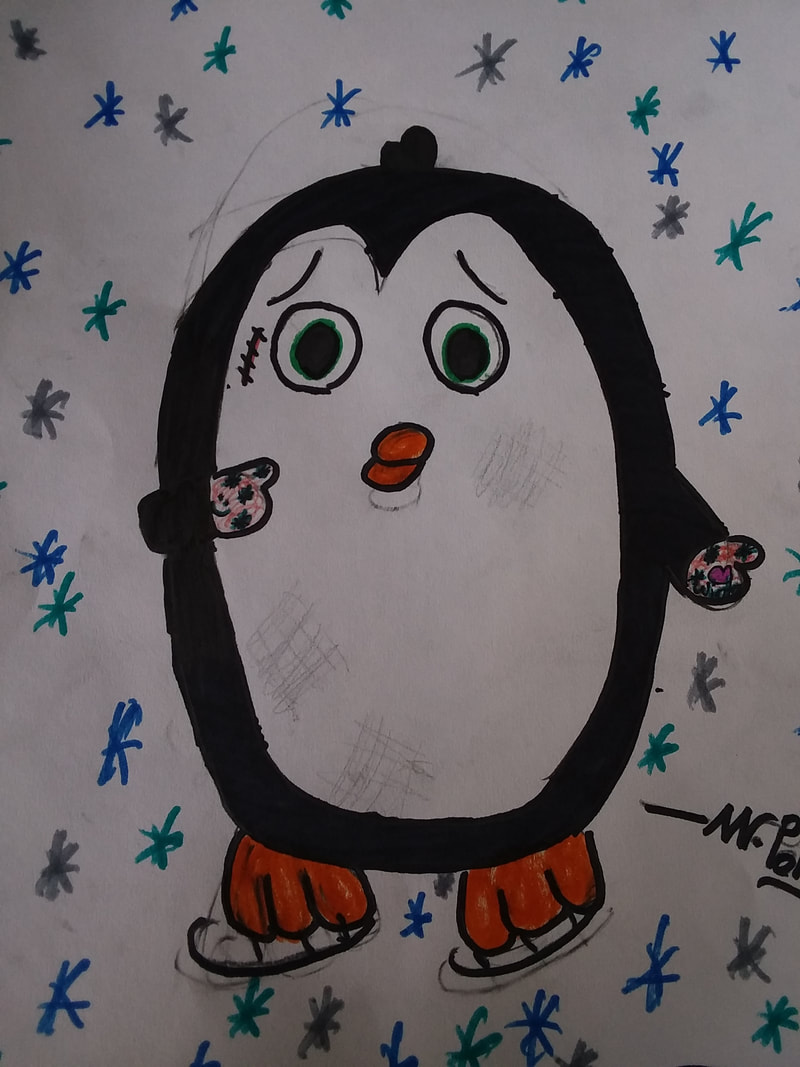
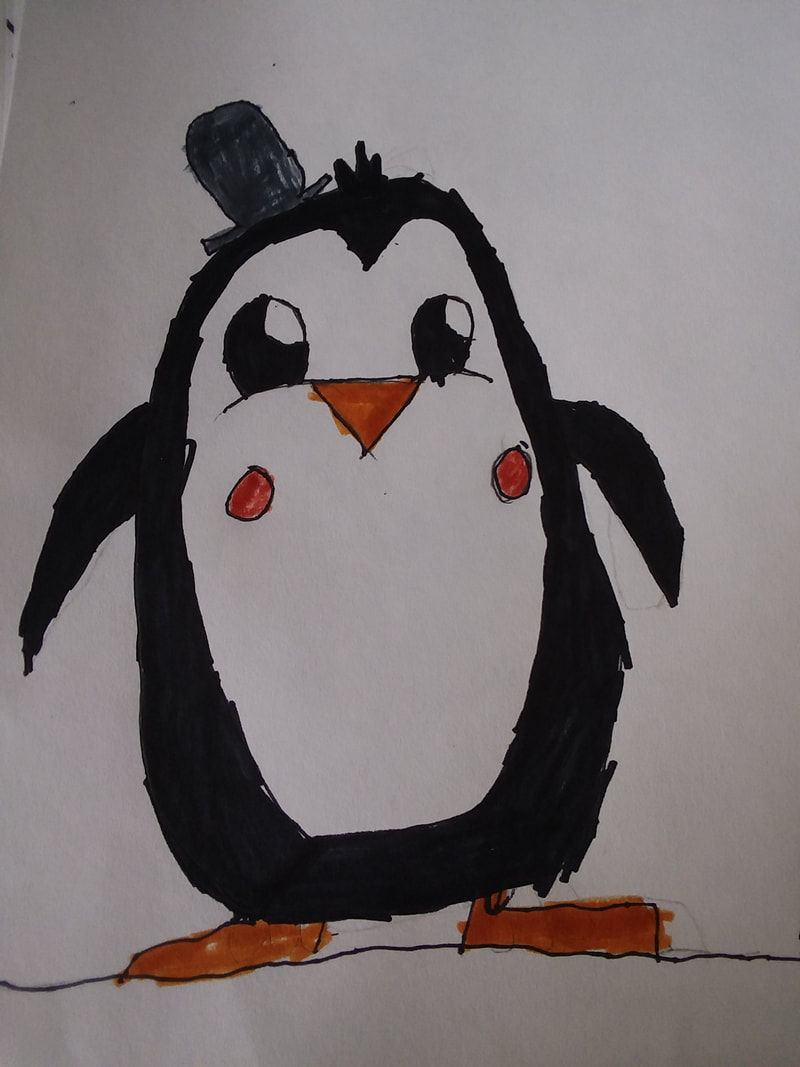
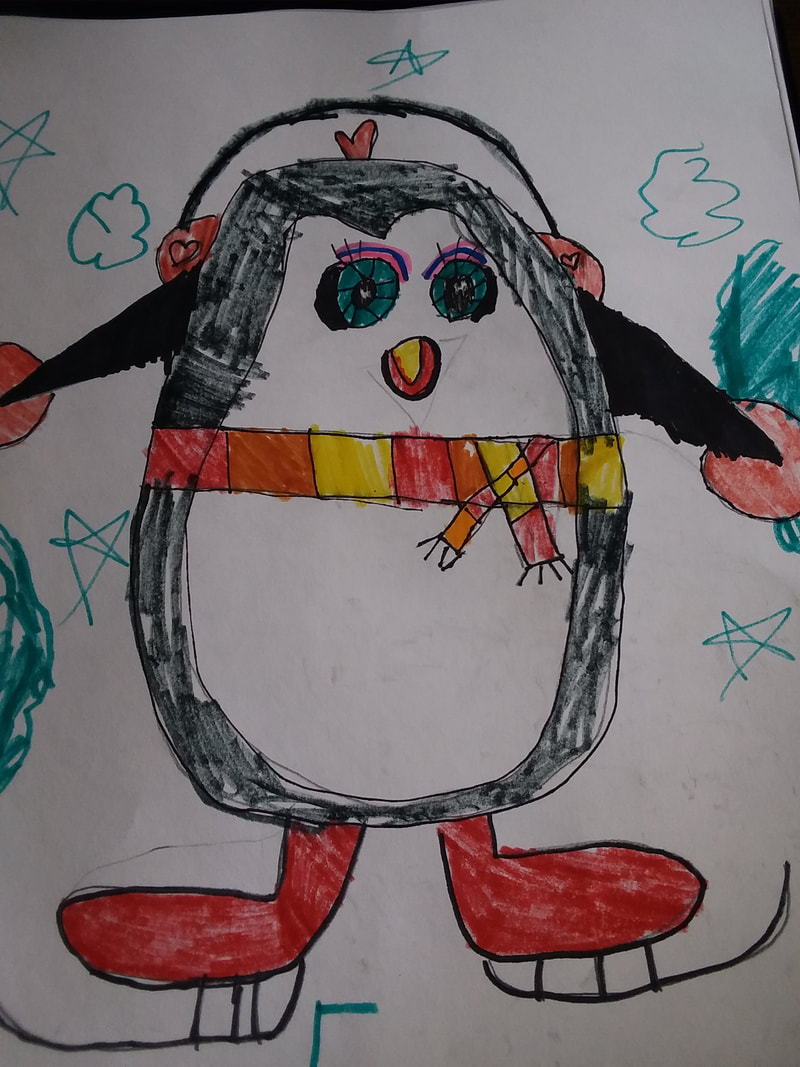
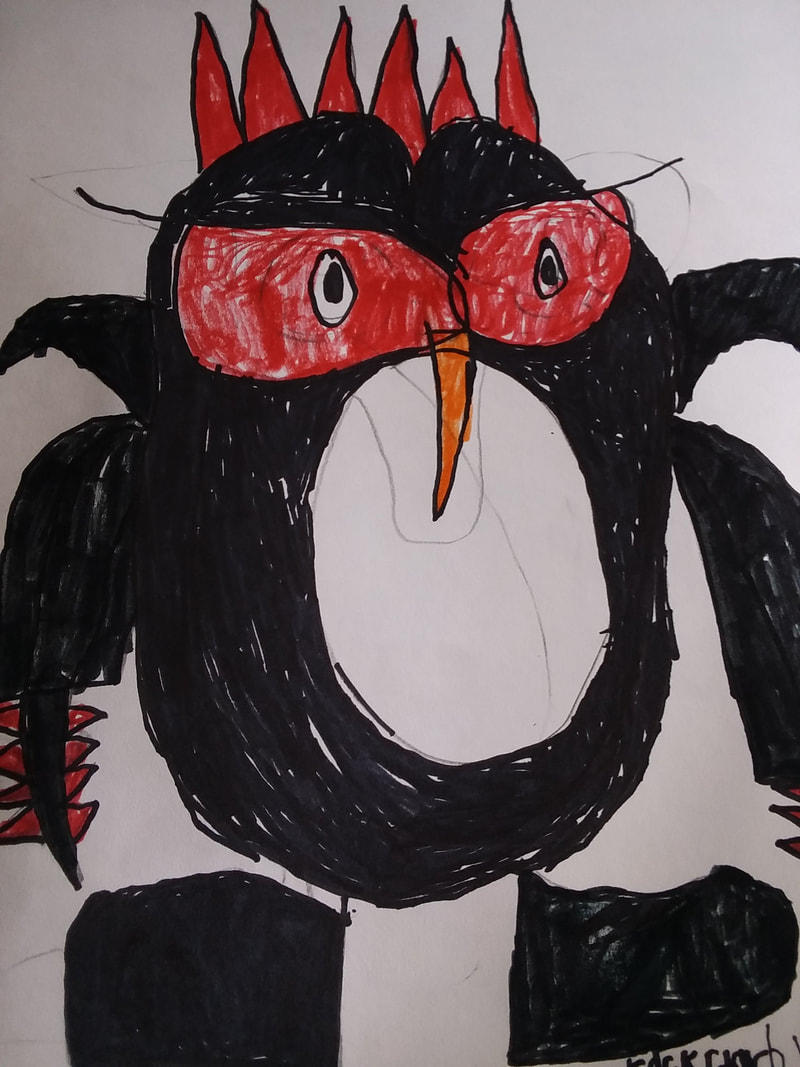
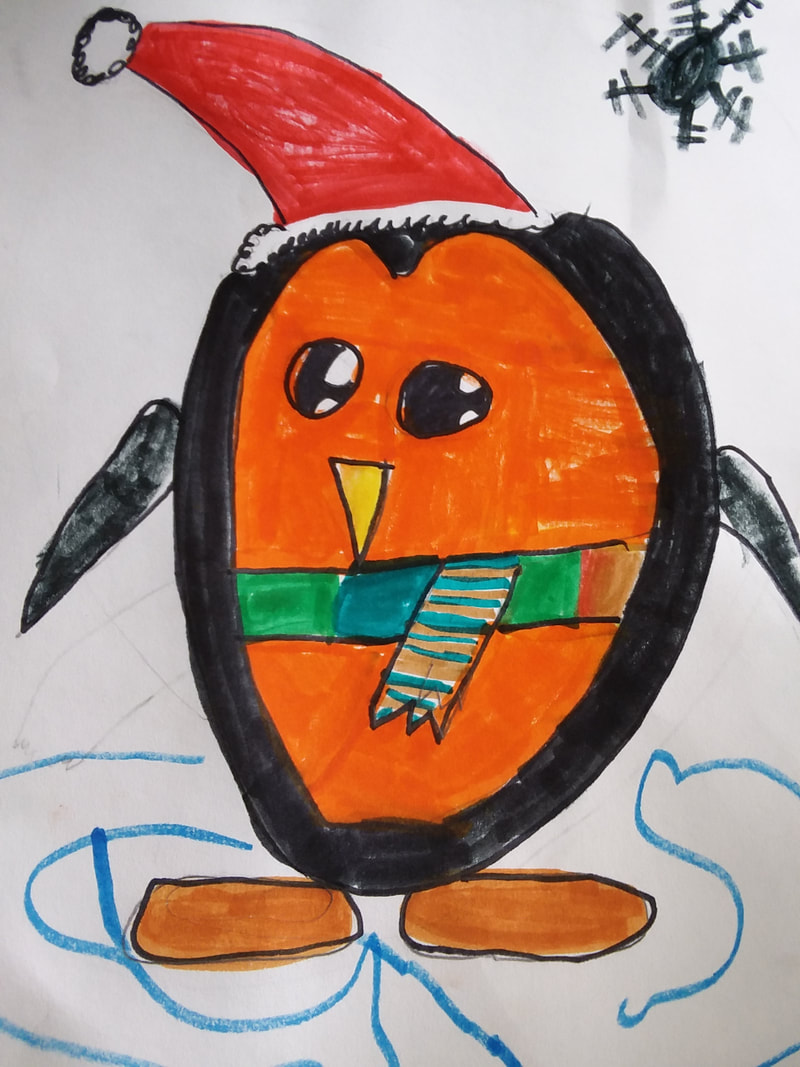
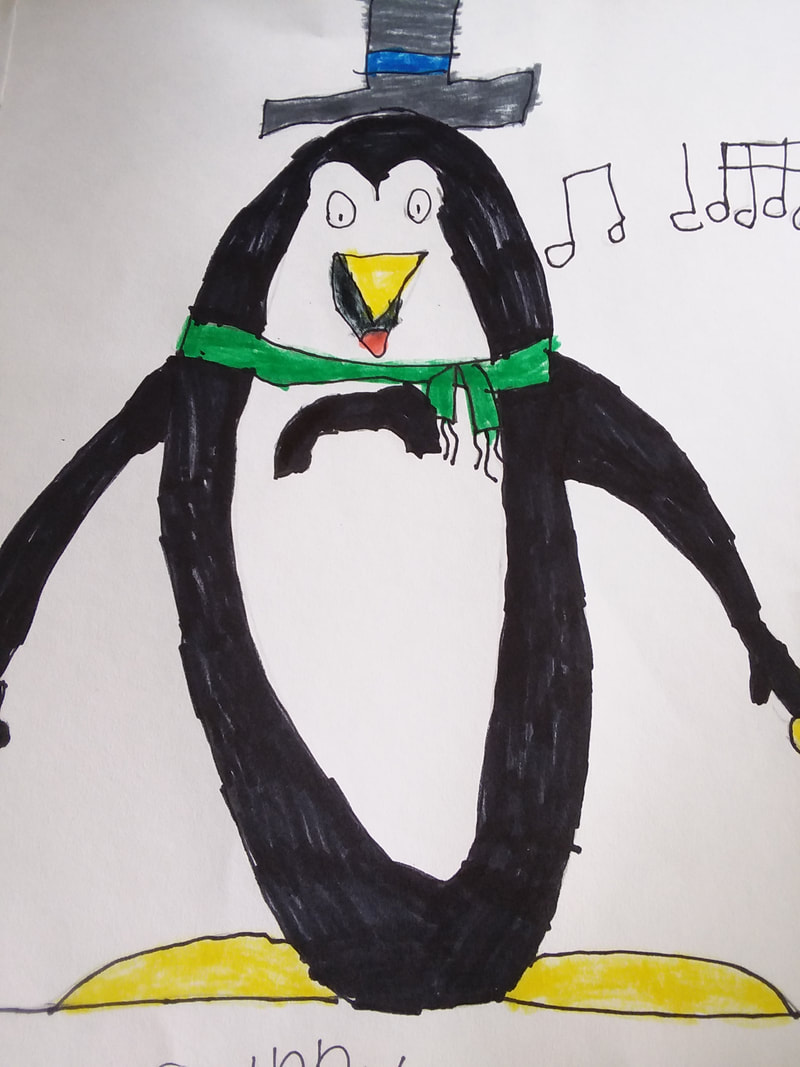
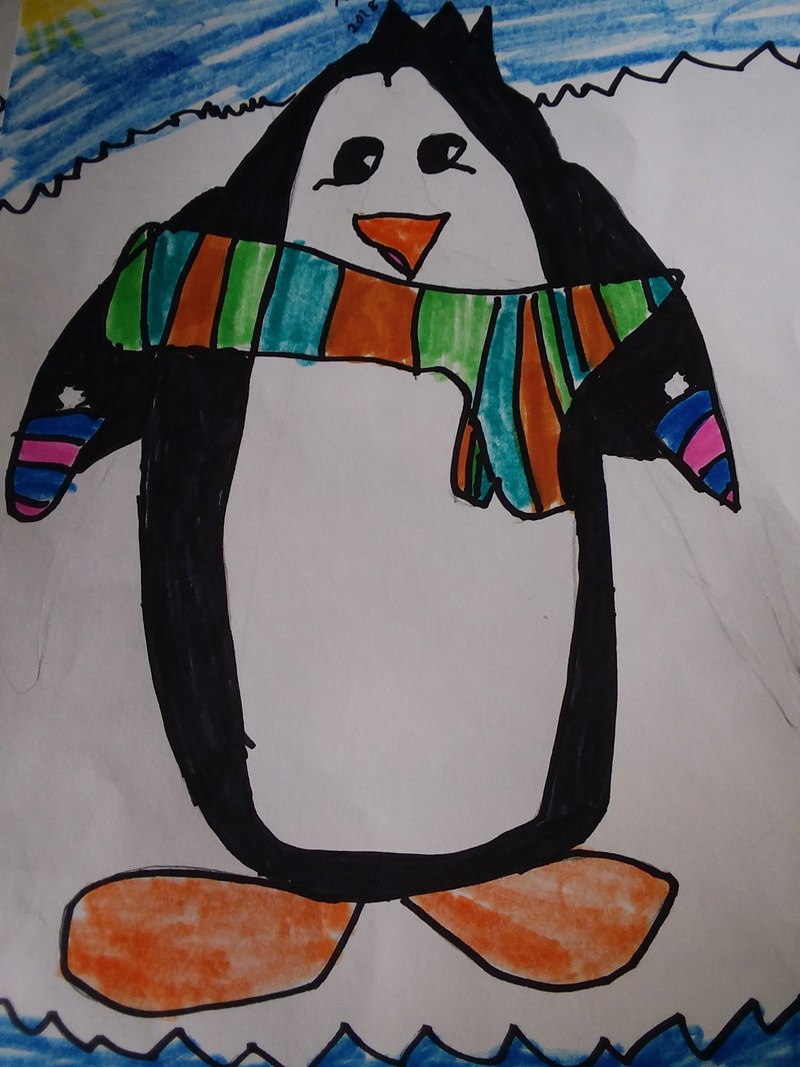
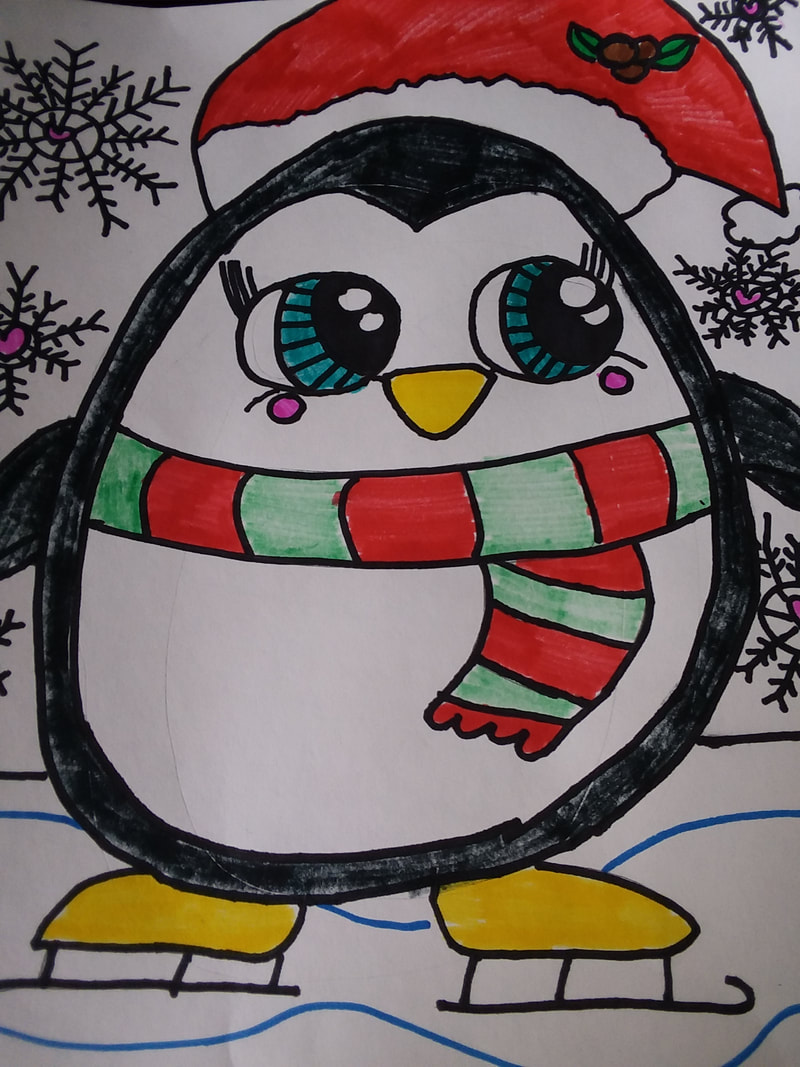
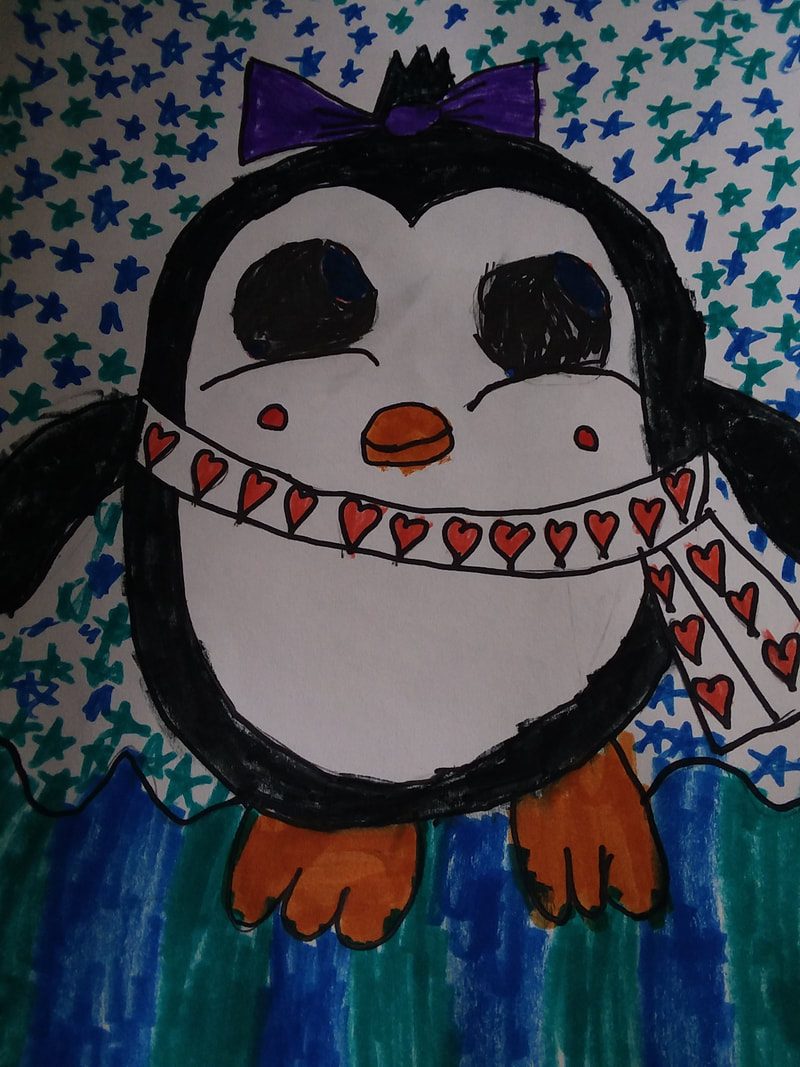
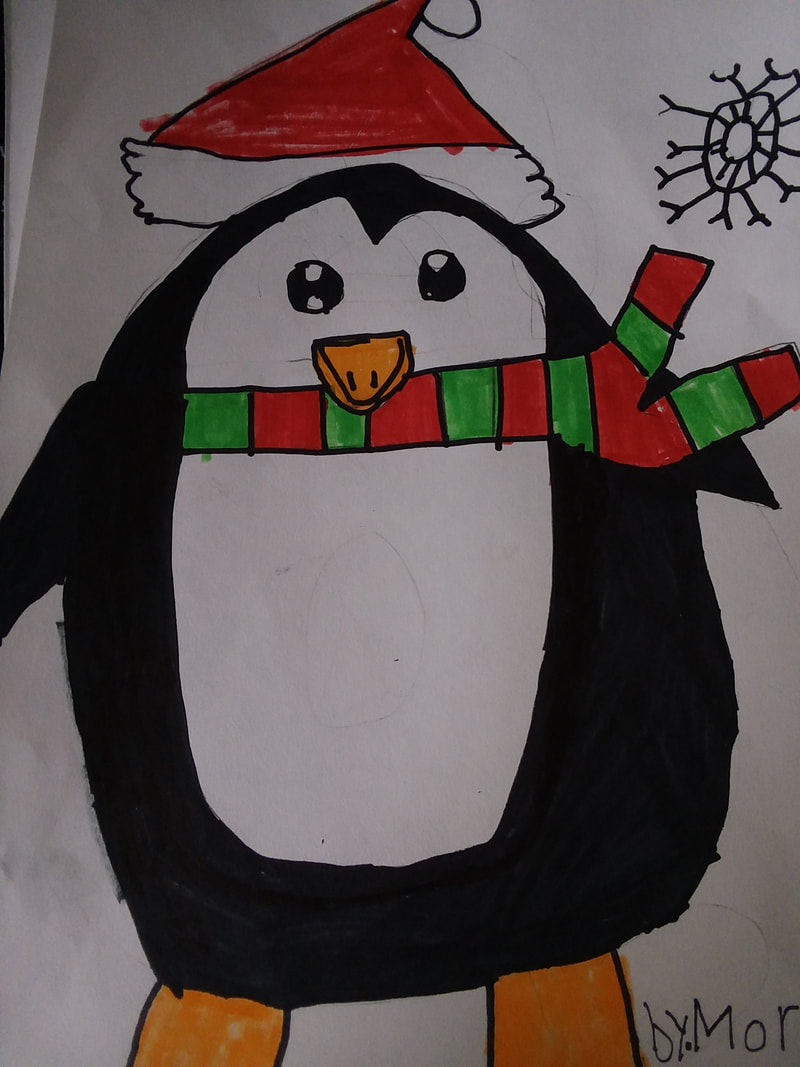
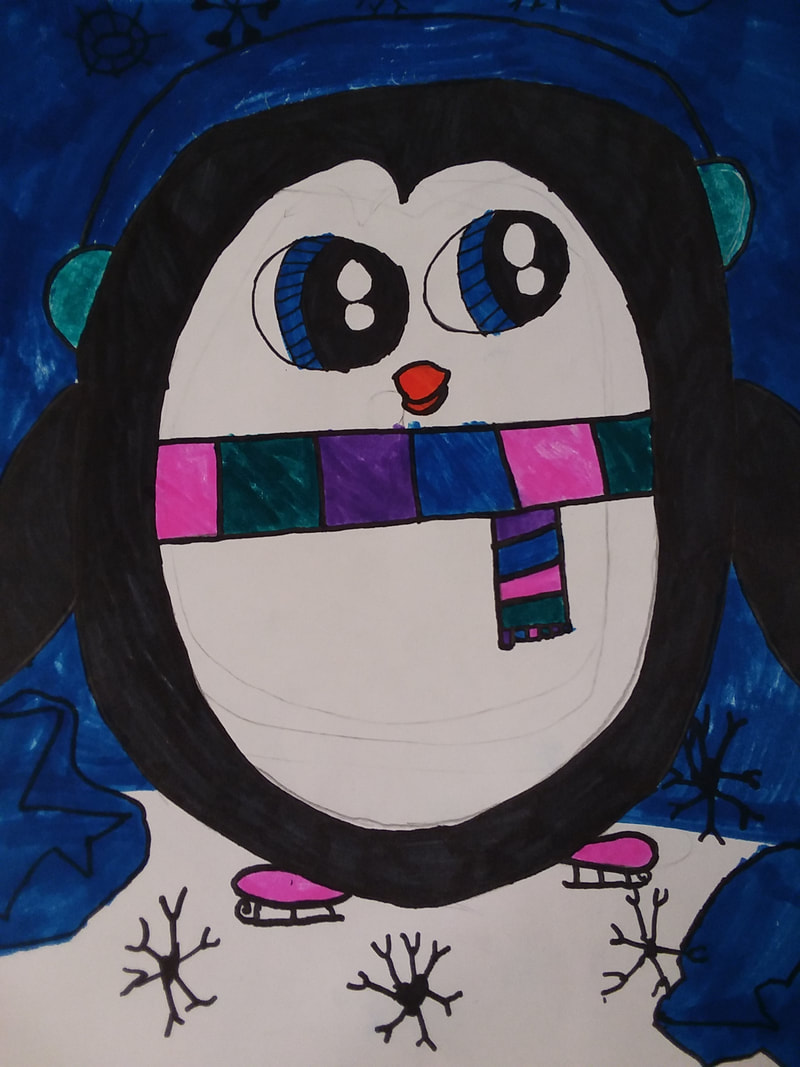
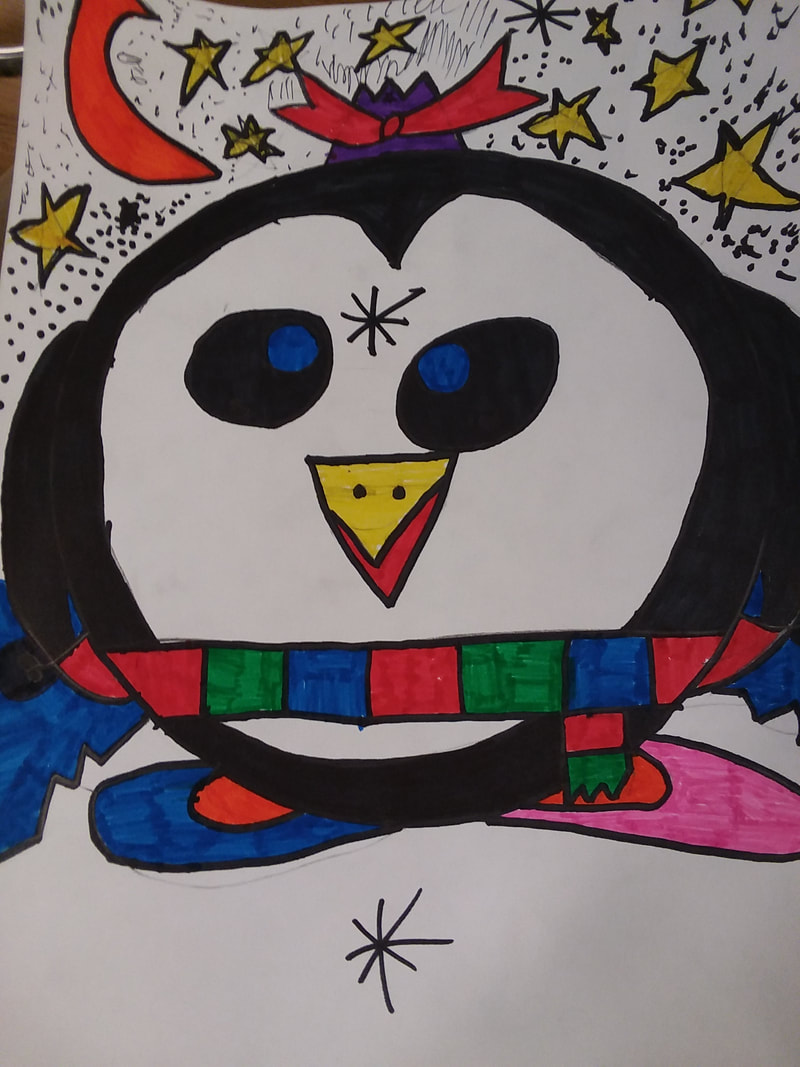
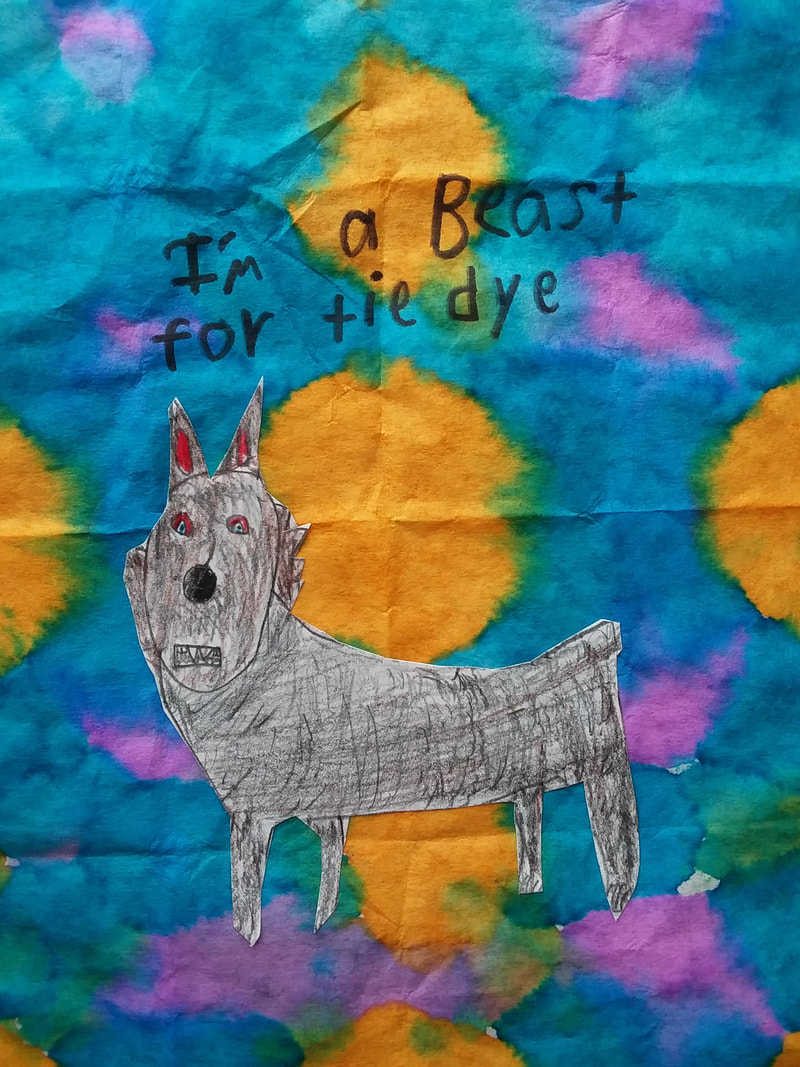
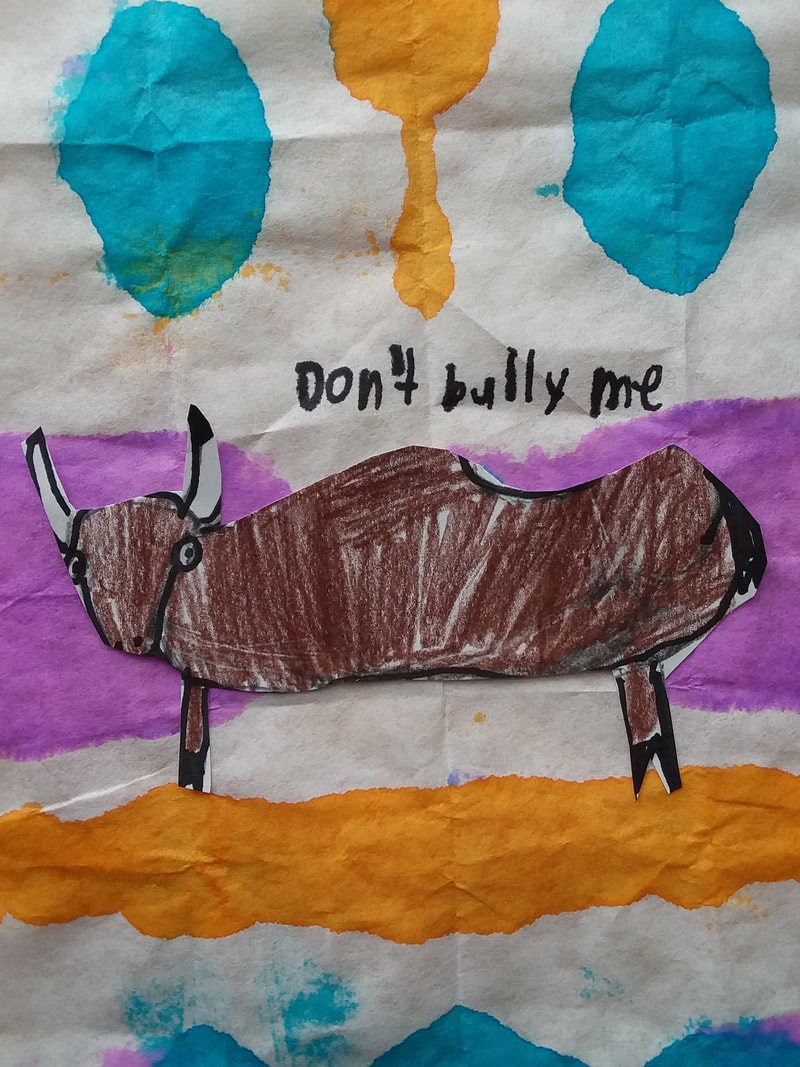
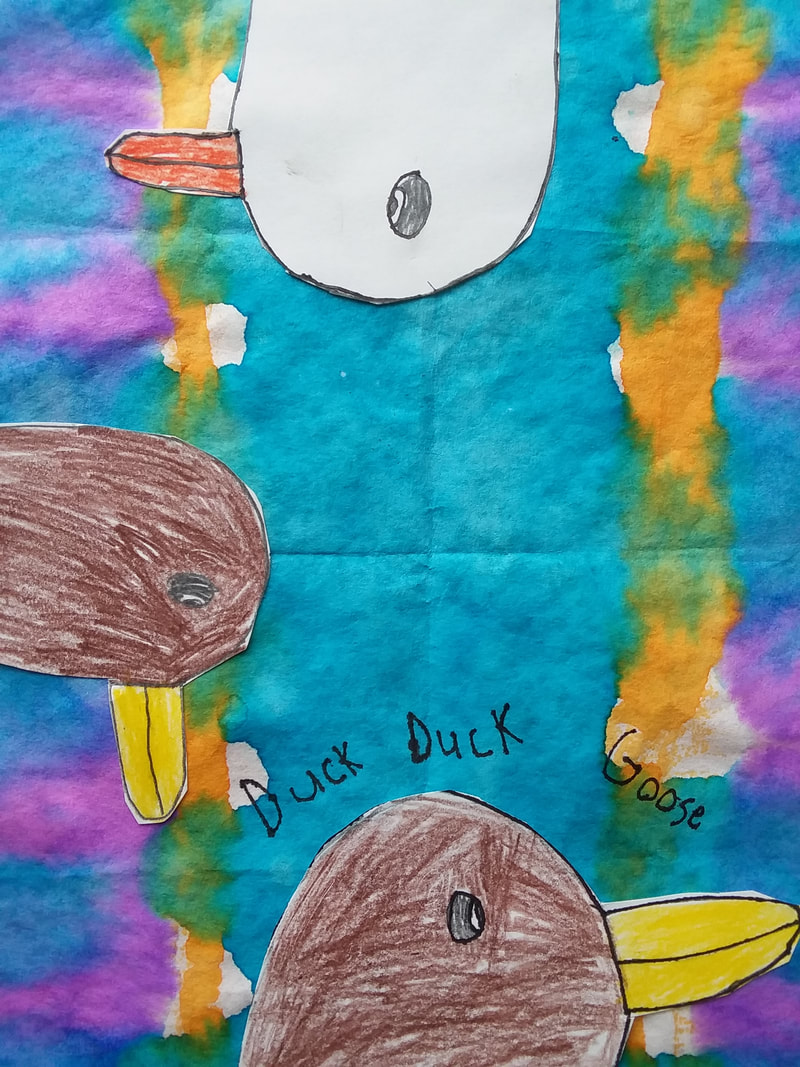
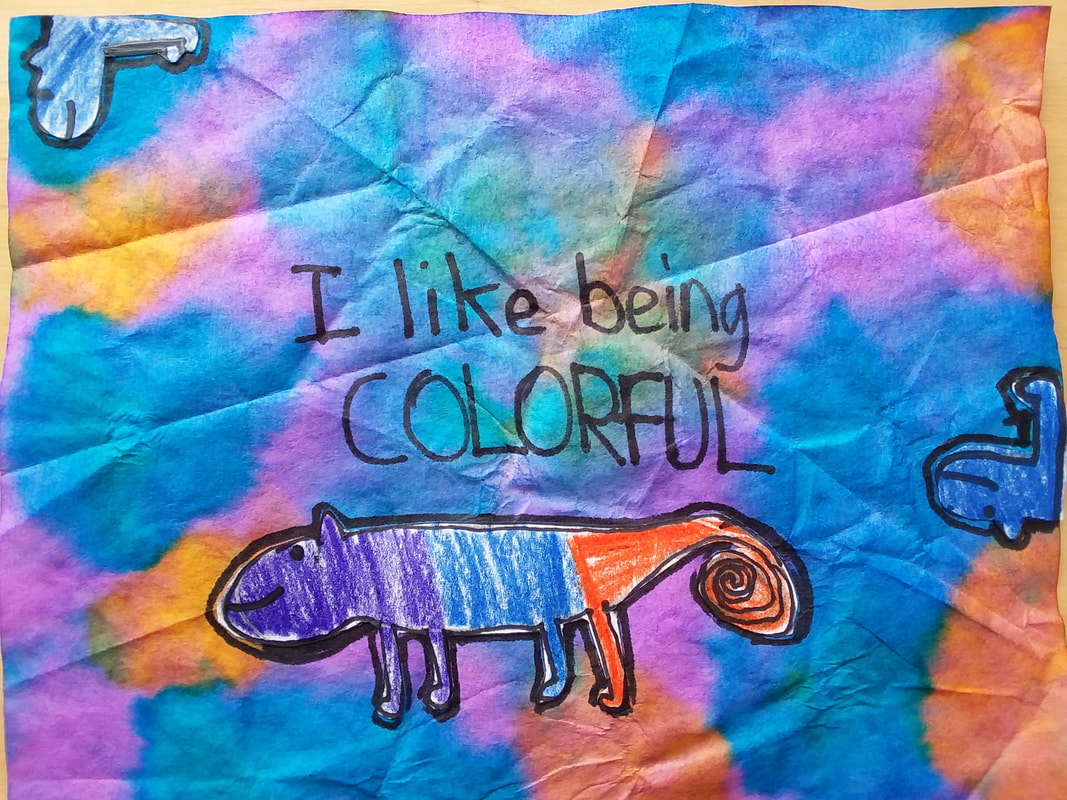
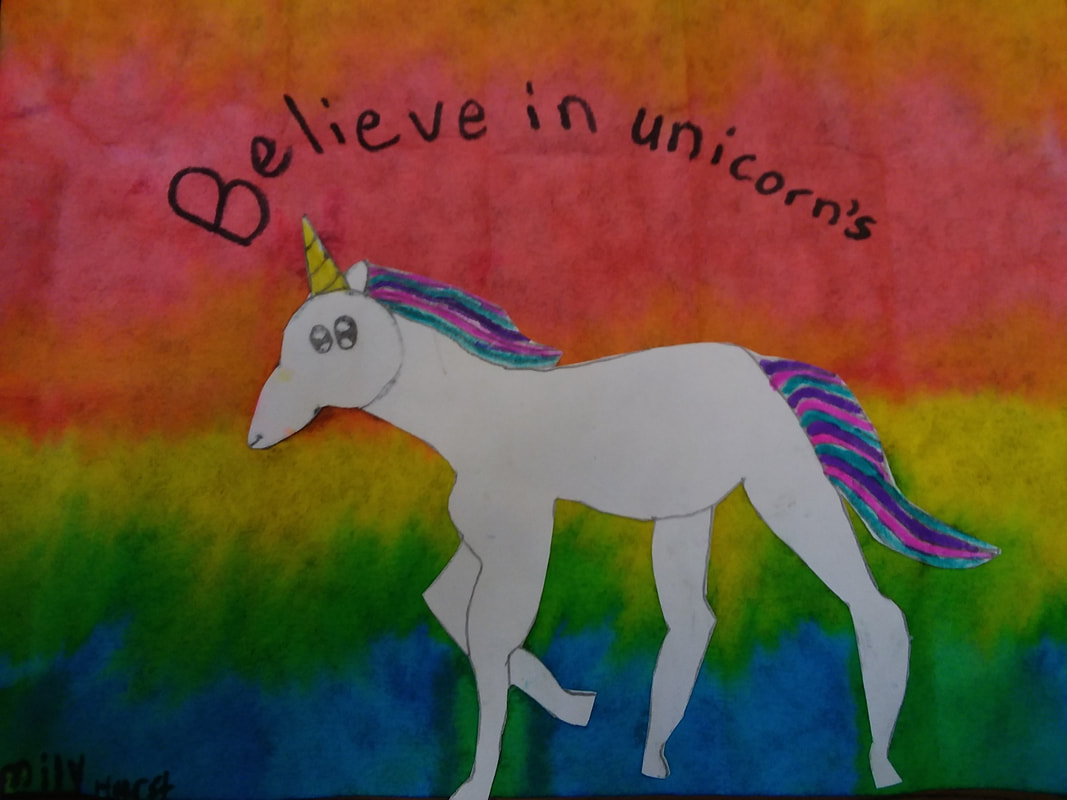
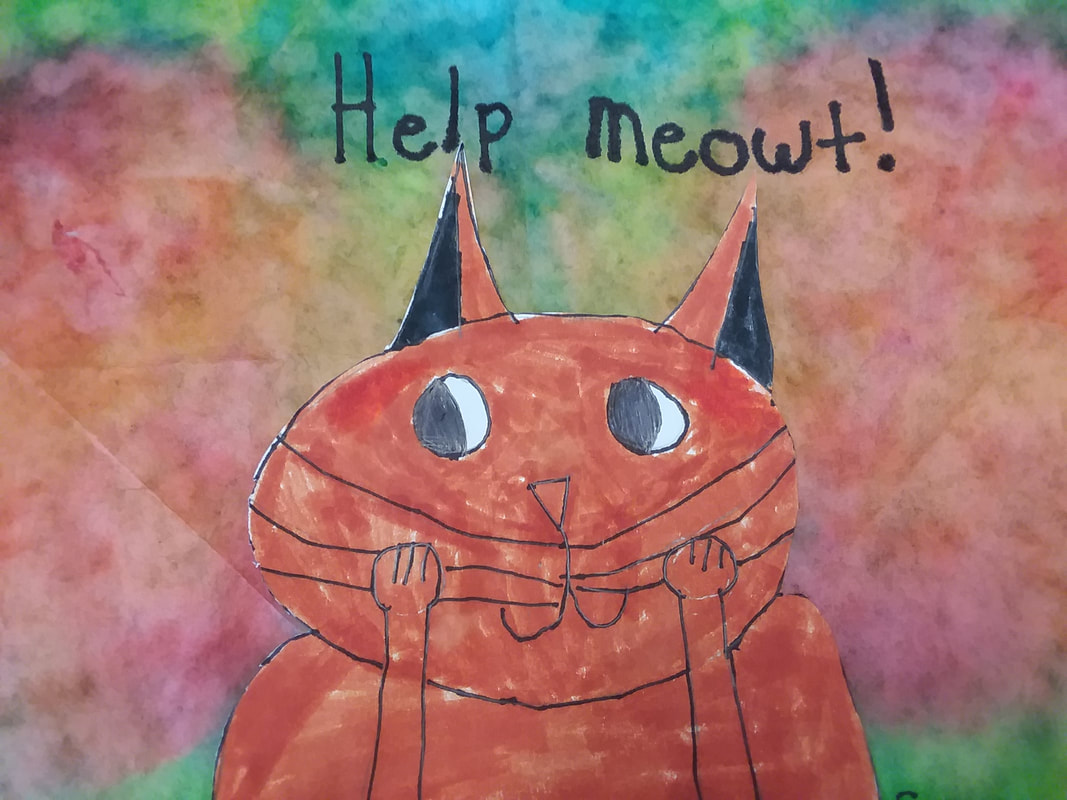
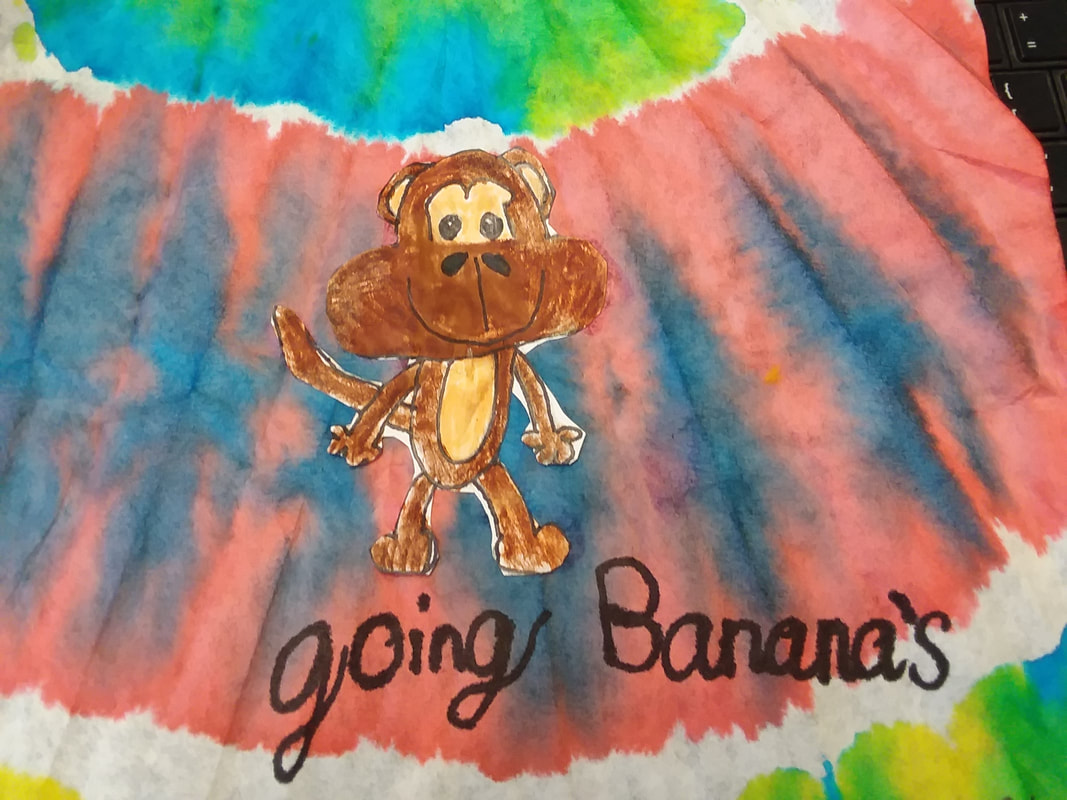
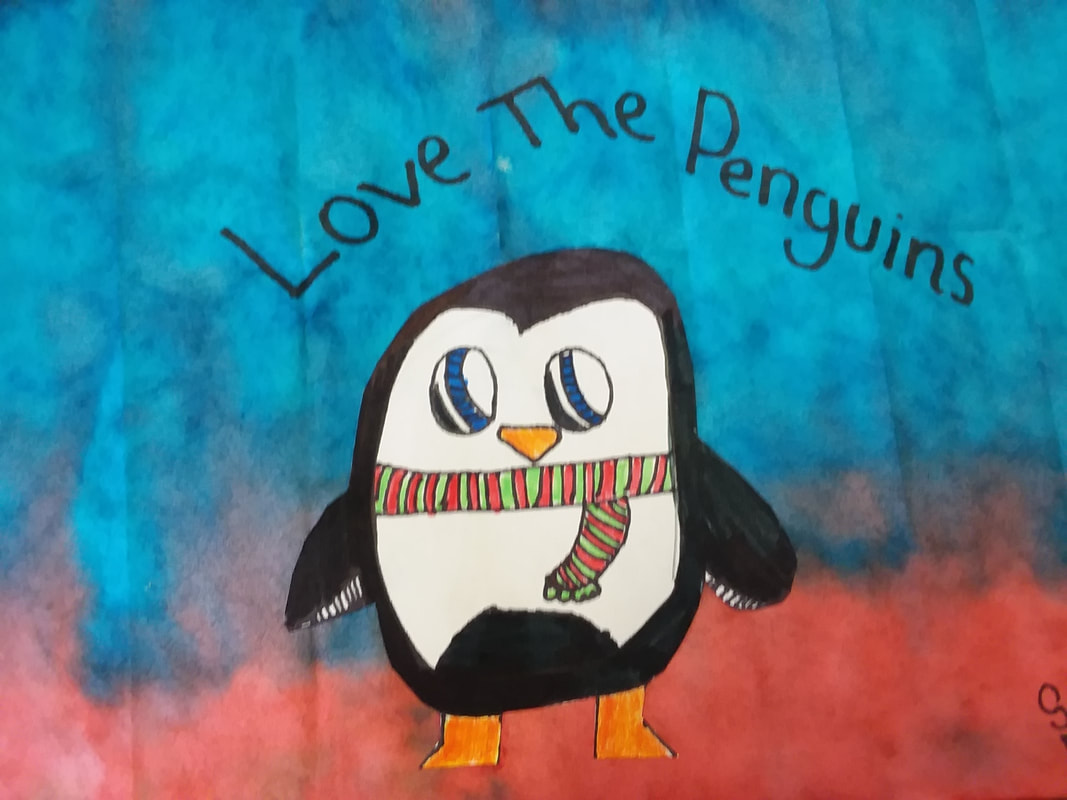
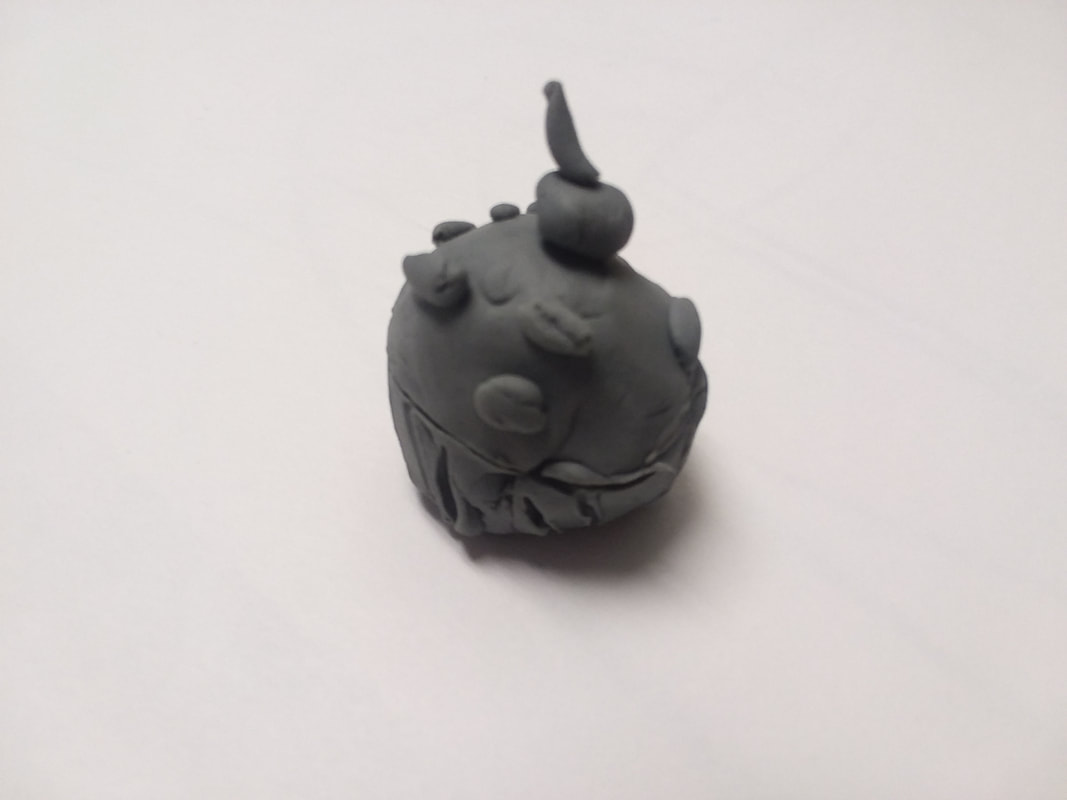
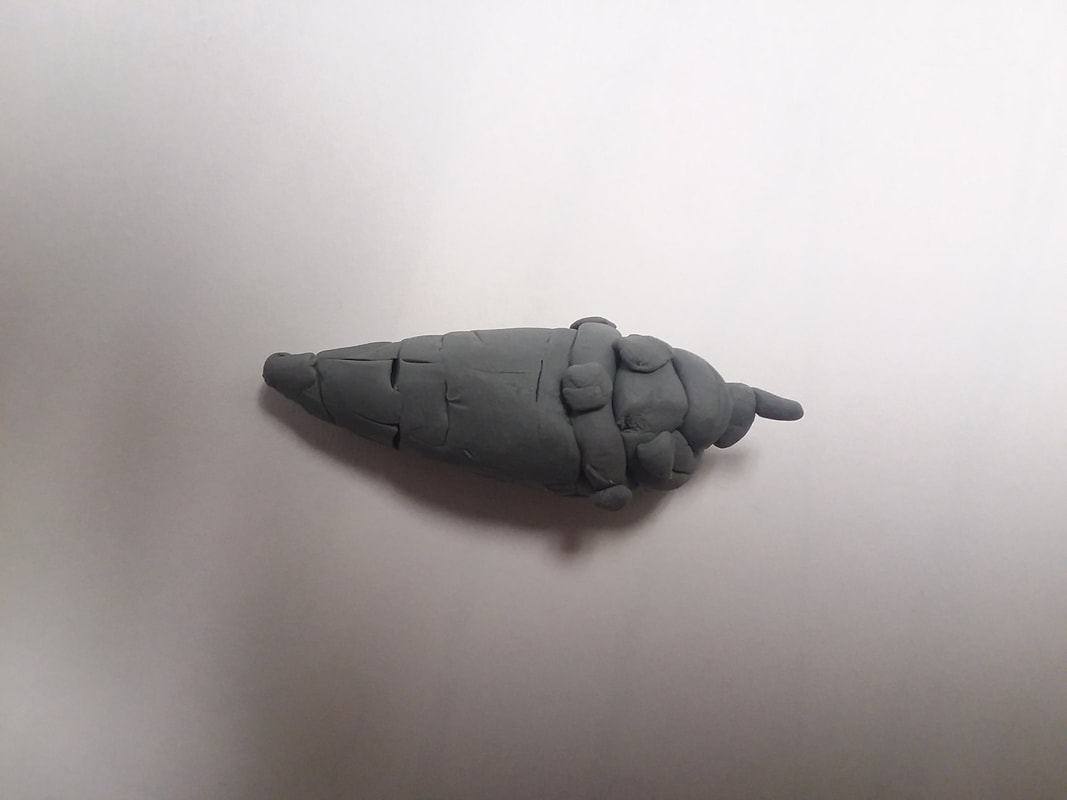
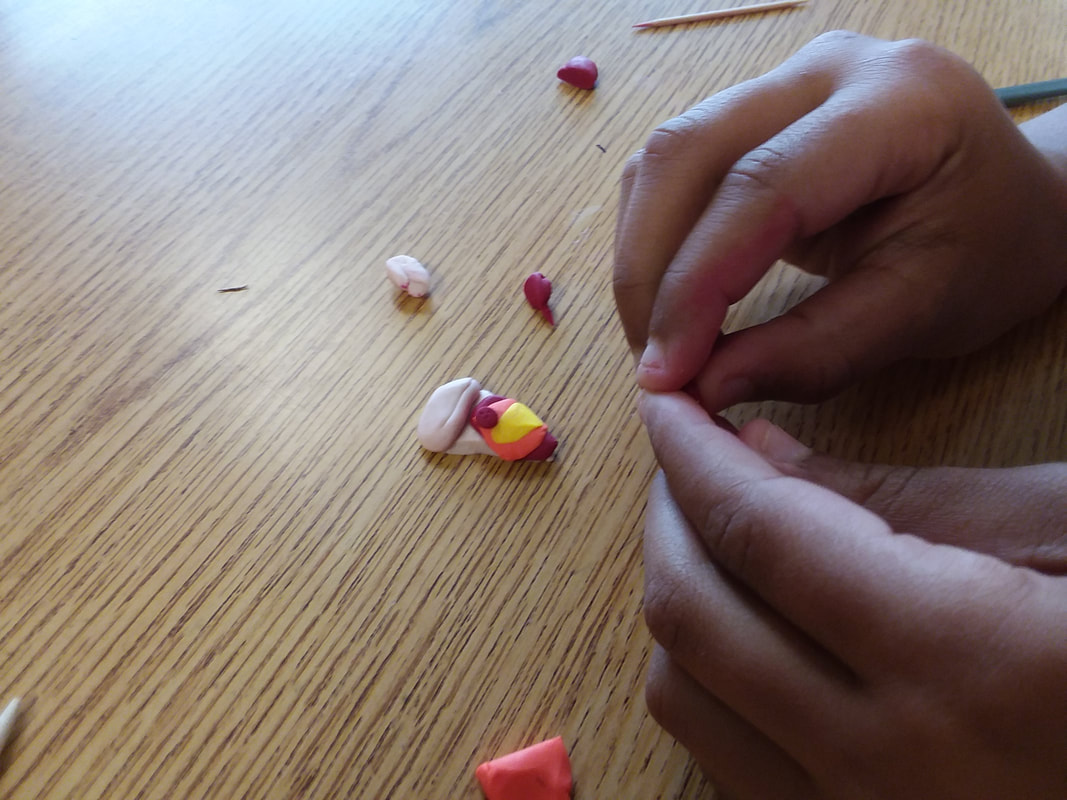
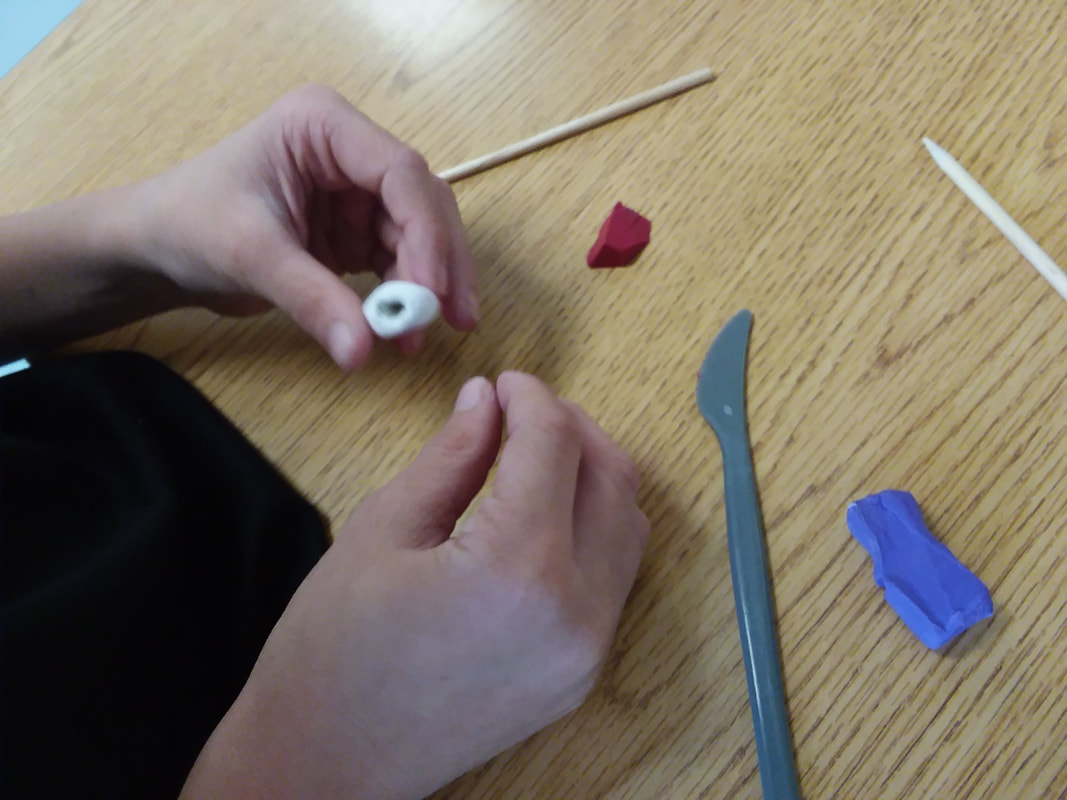
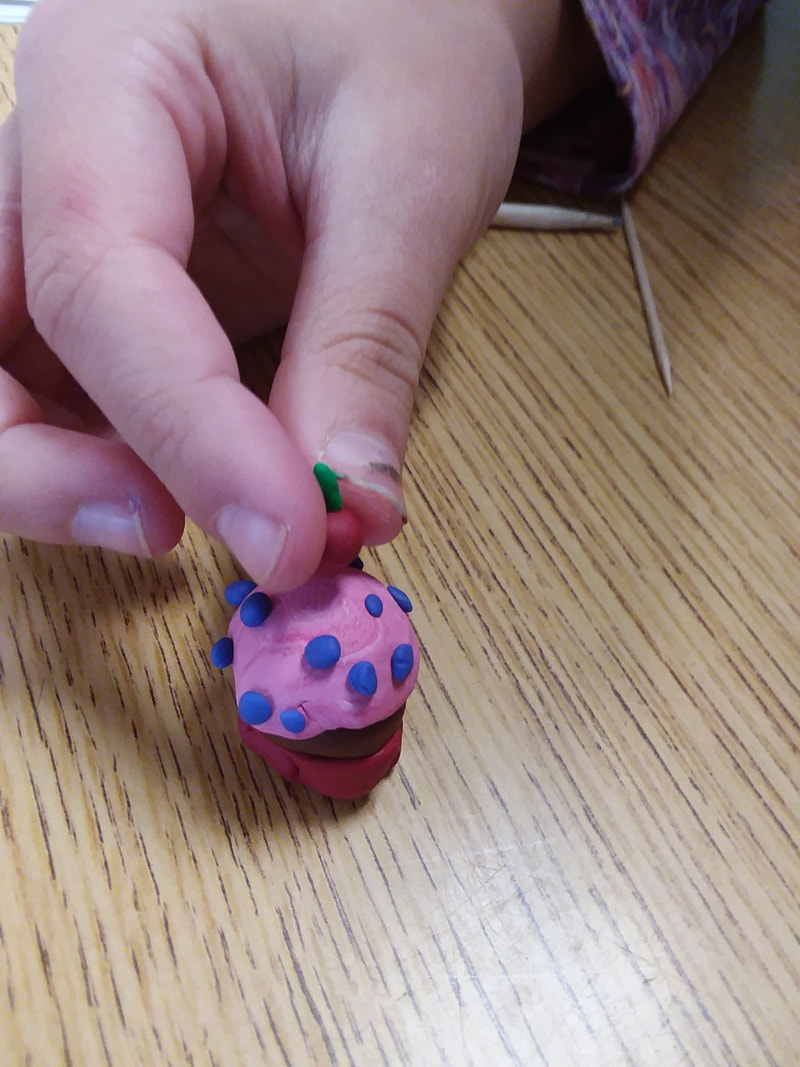
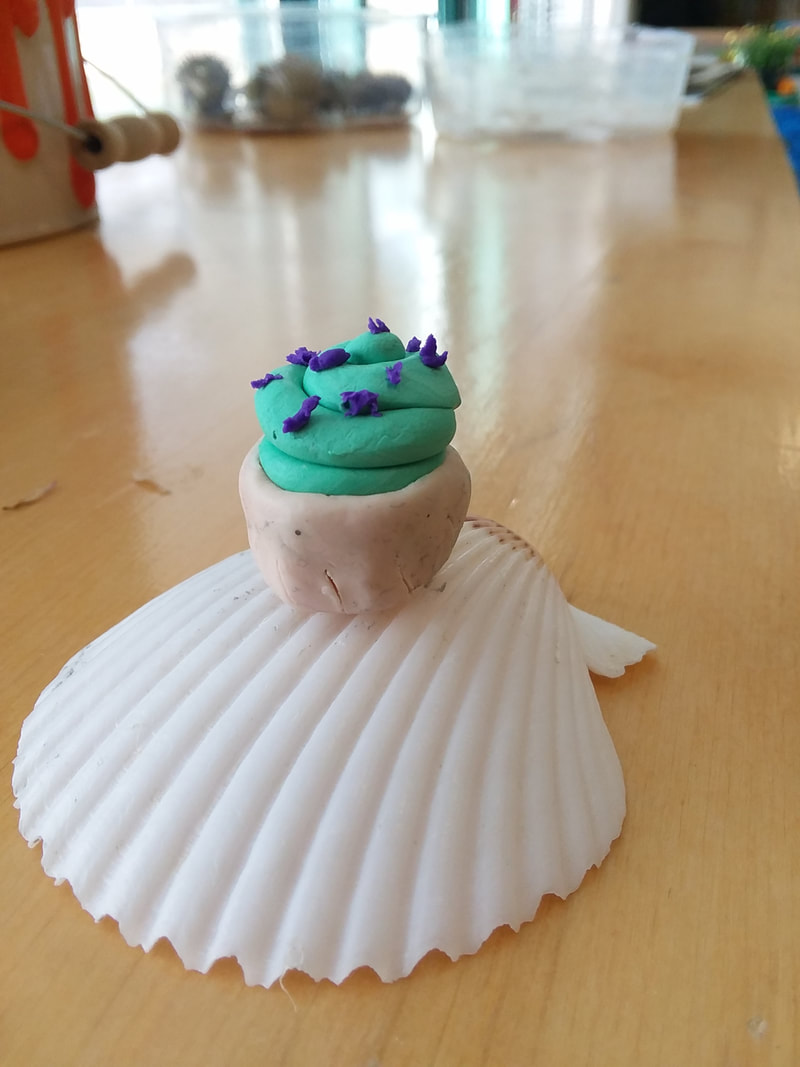
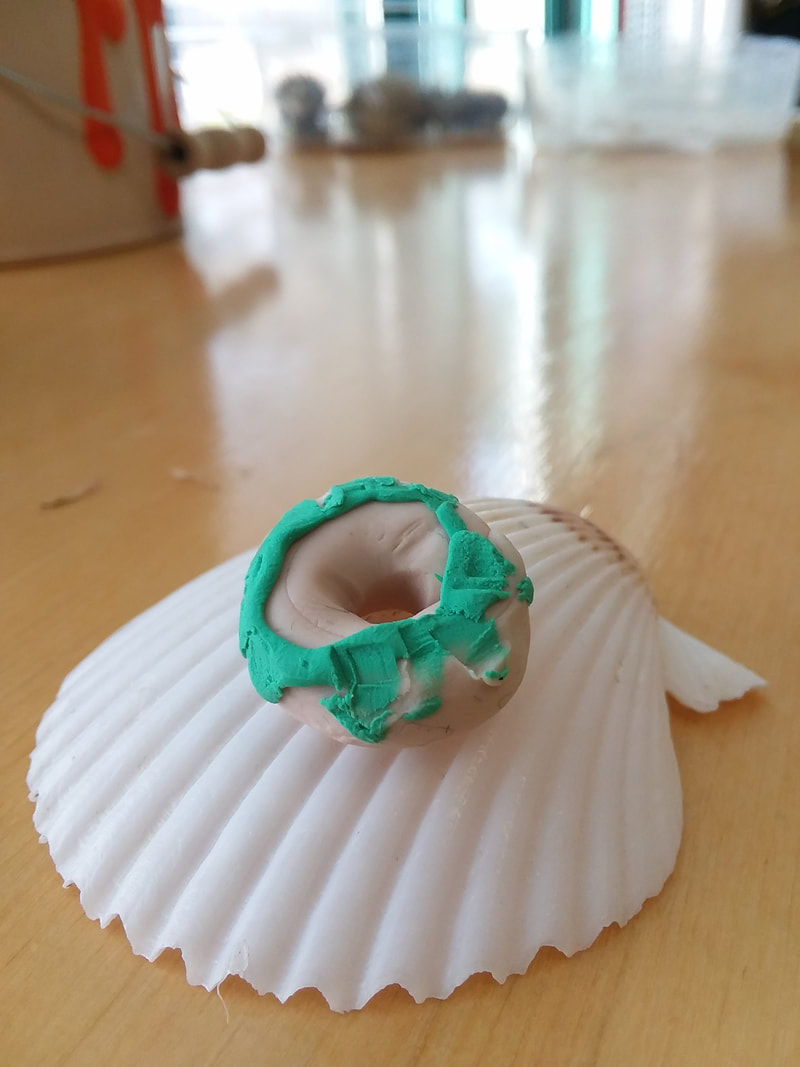
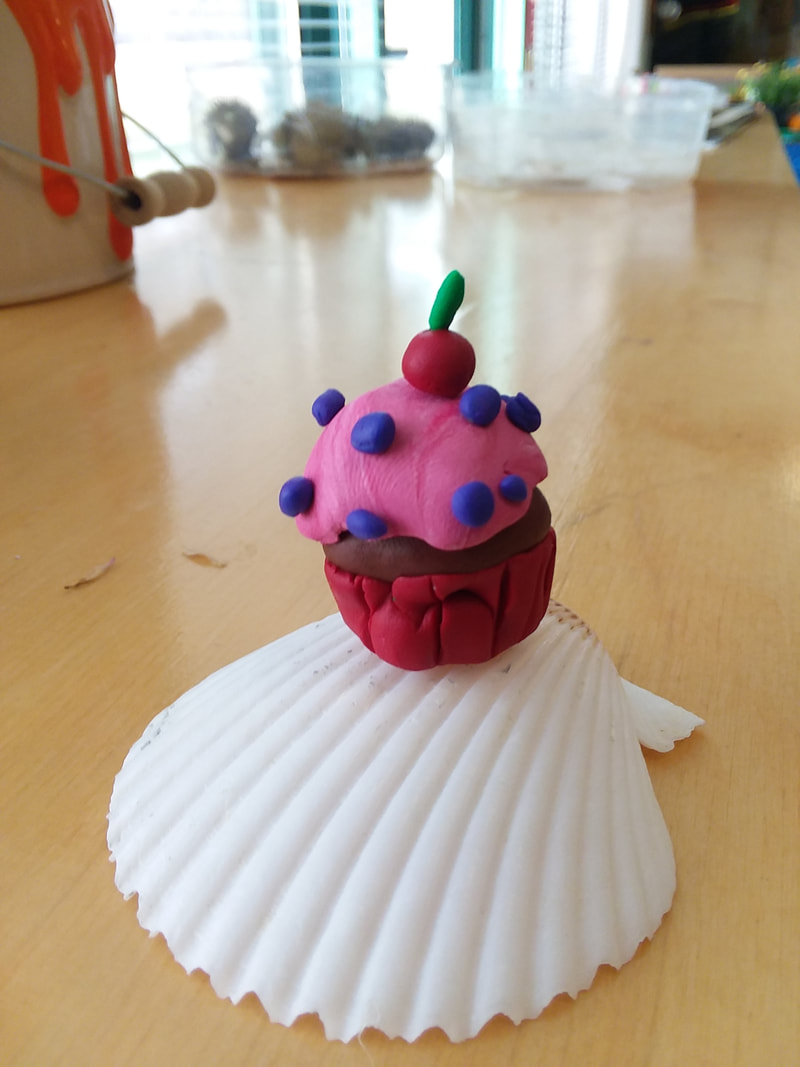
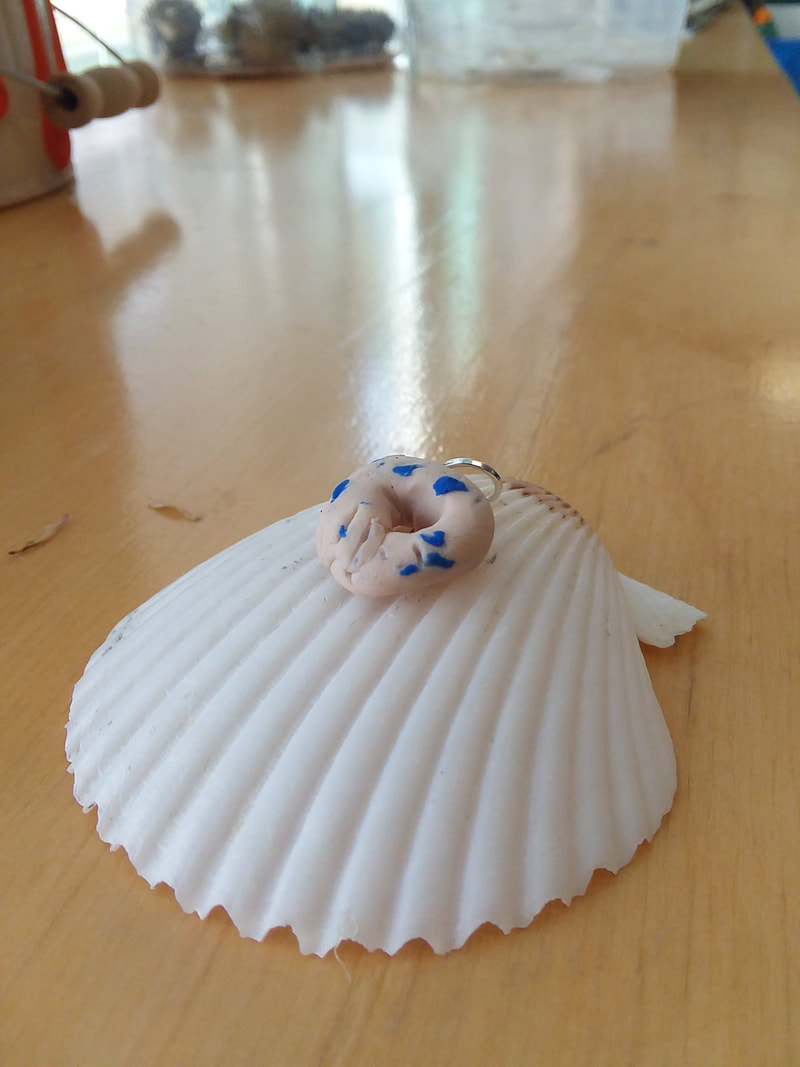
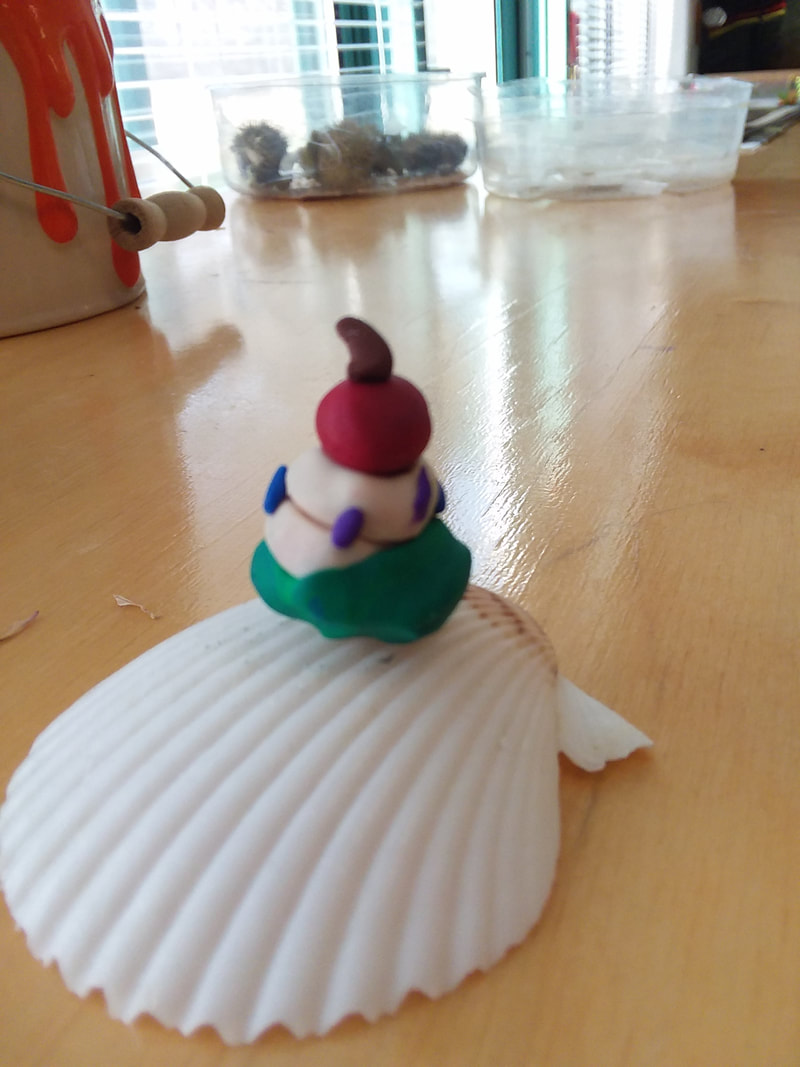
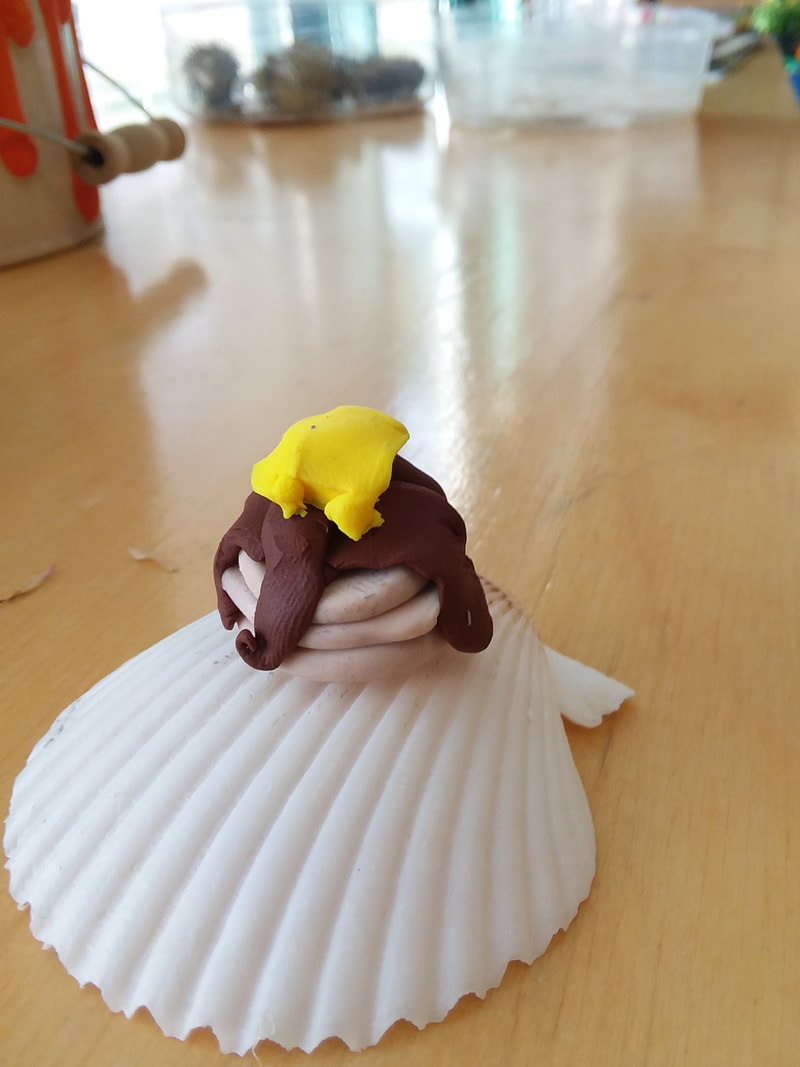
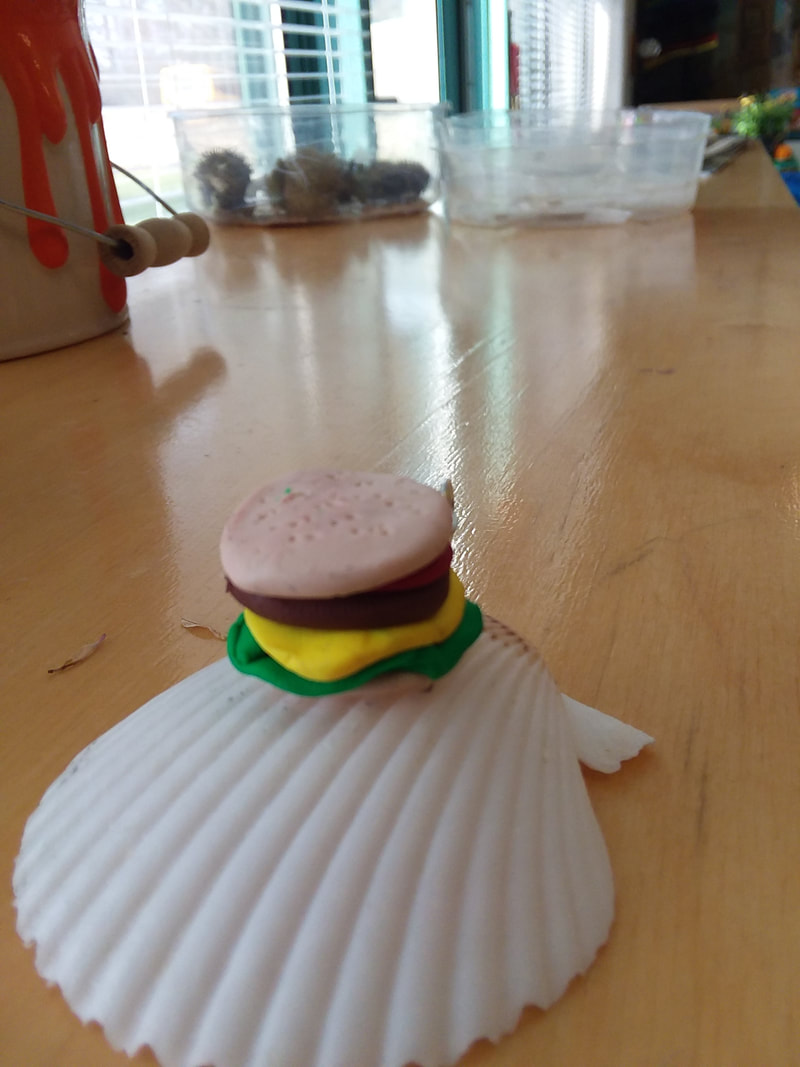
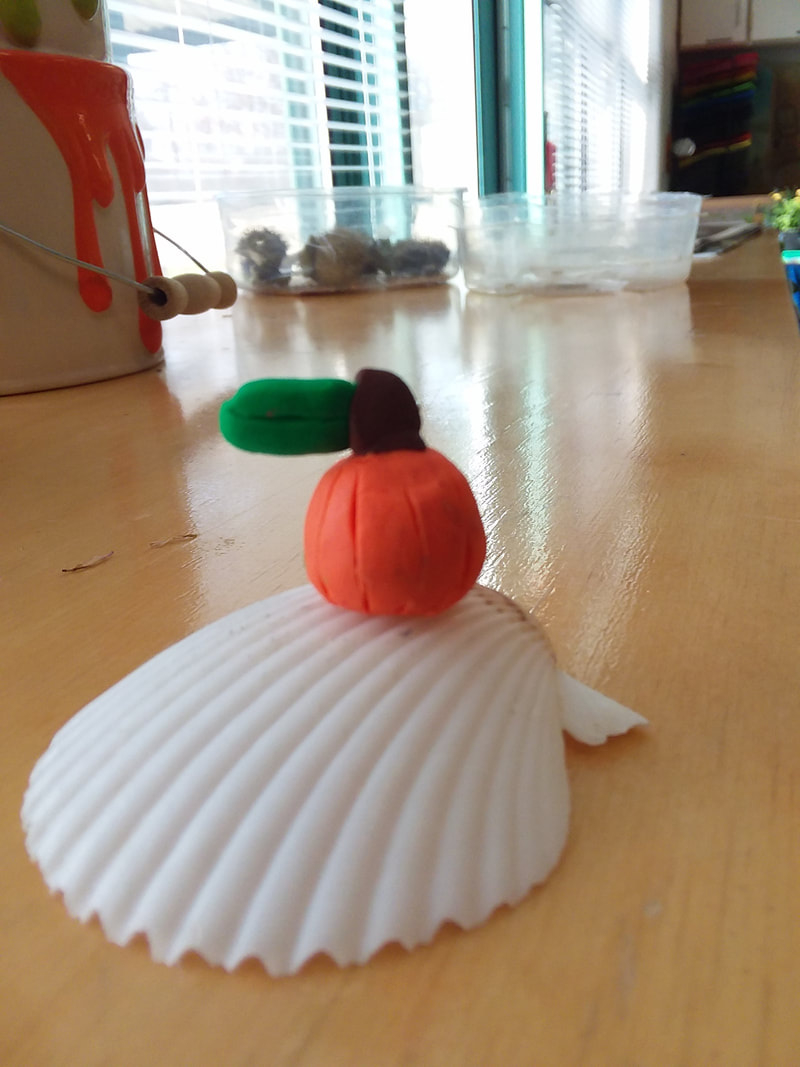
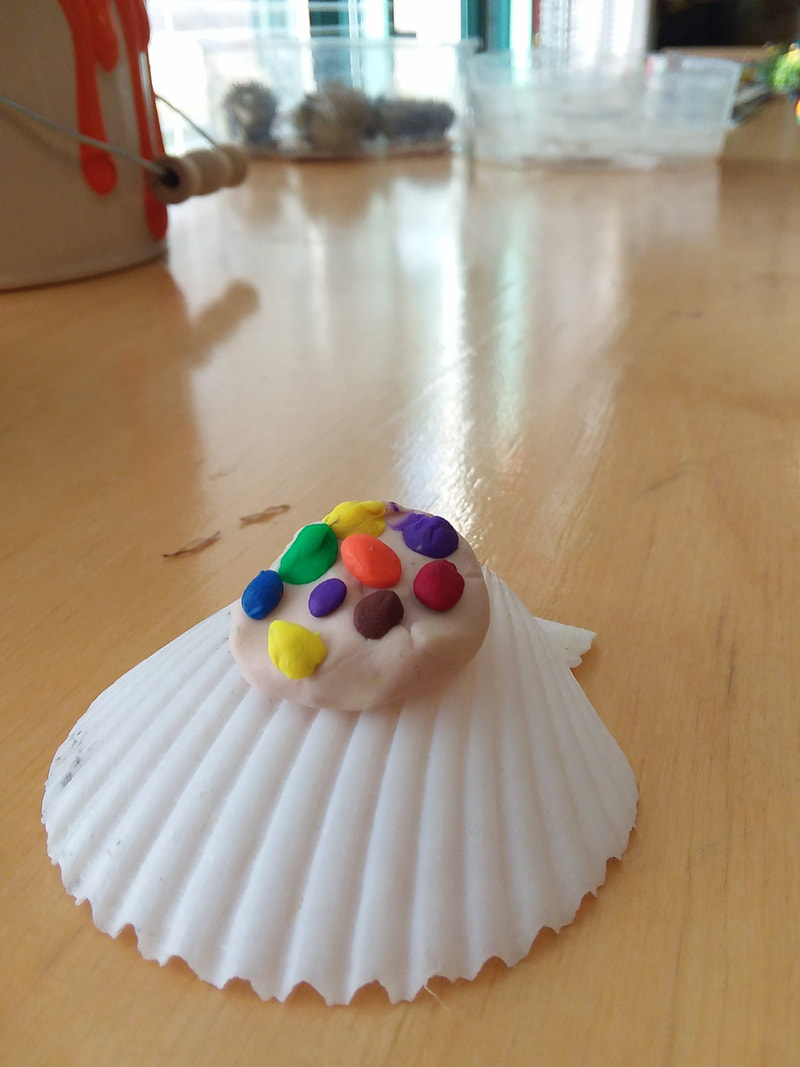
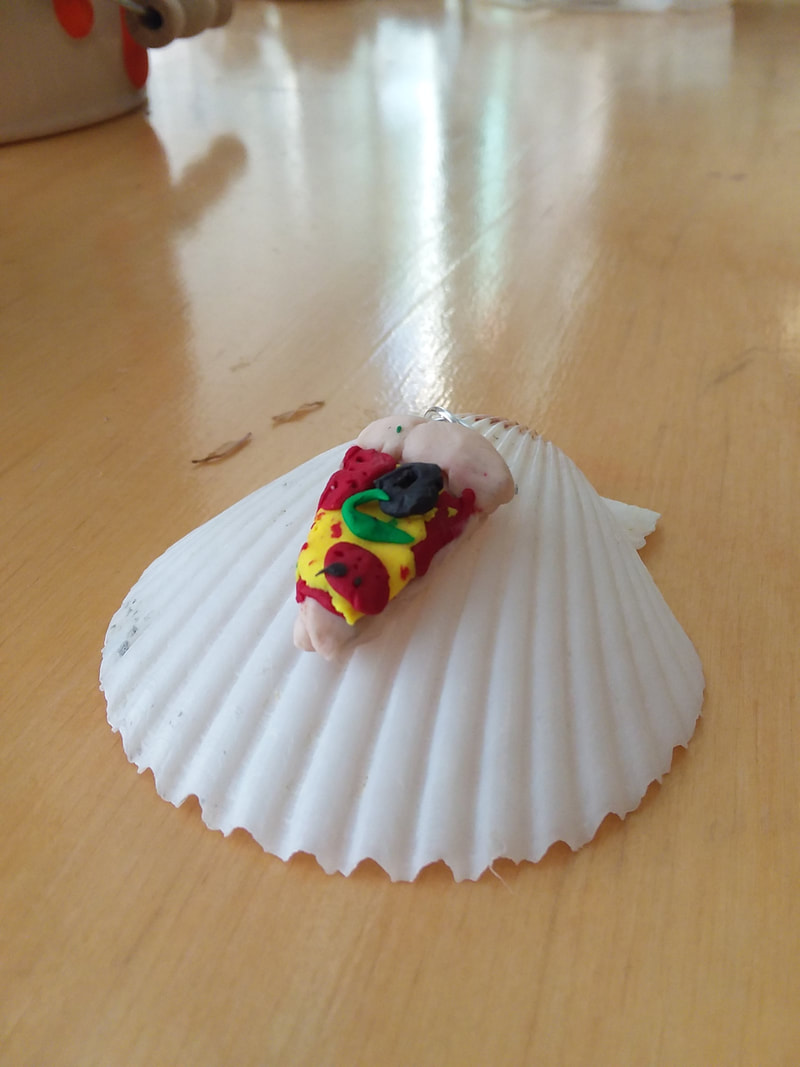
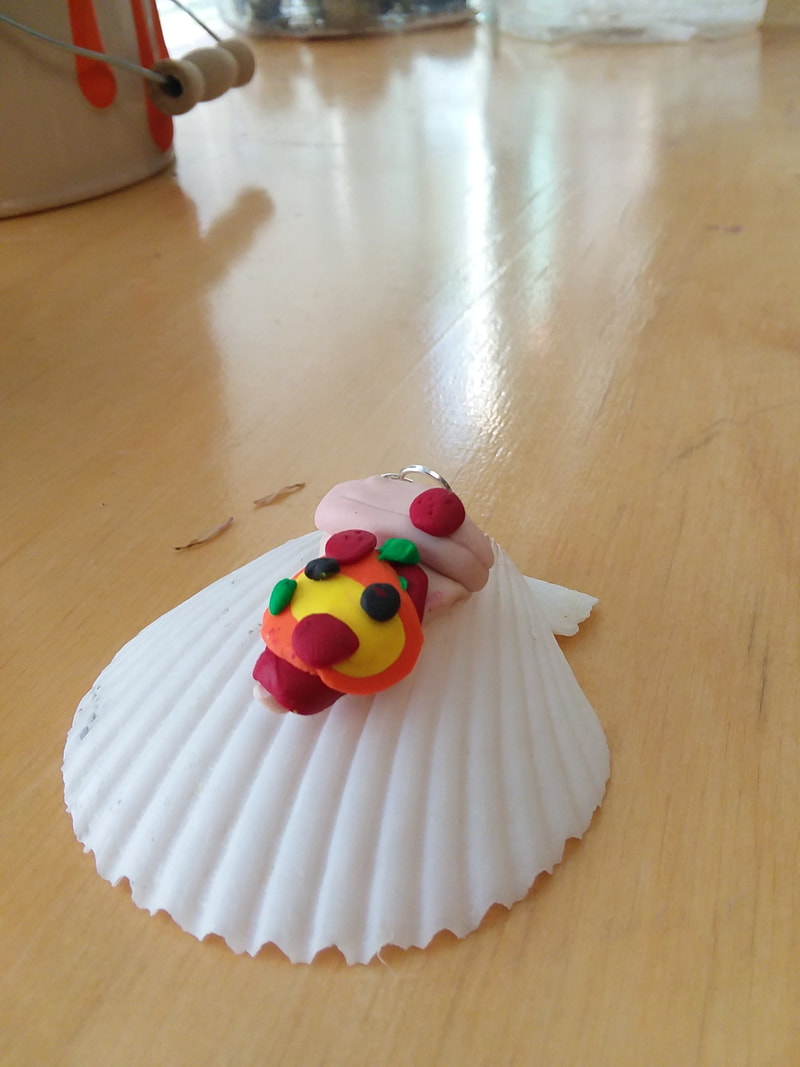
Unit Overview: Students learned how to create a closed ceramic vessel using clay, clay tools, and pinch pot technique in order to create a personal ceramic cupcake. Fourth grade made ceramic cupcakes. For this project, we reviewed how to make a pinch pot by making both the bottom and lid using a pinch pot form. Next, we studied how to properly "score and slip". I have a special rhyme I use to get students to remember how to score and slip. It goes, "Scratch, scratch, water, attach". For every piece of clay that is used to attach, the score and slip method must be used. Otherwise, the whole project falls into one giant mess. These cupcakes are so cute! Mine is a chicken. I plan on buying little chocolate eggs to put inside the vessel so when you lift the lid, the chicken has left you some eggs. Unit Overview: Students experimented with color mixing using the primary colors in order to create a painted picture of a toucan(s). Toucans . . . because they're tropical and colorful. I was feeling some cold weather blues and was looking for something bright and colorful. Toucans fit the bill (ha! get it?). With third grade, I wanted them to review primary and secondary colors. We did so in this project by only using primary colors. Students made all their secondary colors. This was also a good review in keeping a paint palette organized (if you mix the colors messy, you will end up with icky colors). I didn't give the students white or black paint because I wanted the colors to be as crisp as possible. Often, I find that white and black paint takes over a painting instead of adding to it. The toucans were colored in dark with the sharpie if they wanted them to be black. 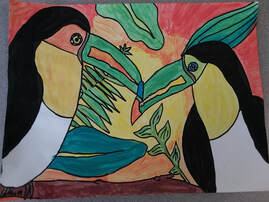 My toucan example Unit Overview: Students studied abstract portraiture using images of art by Pablo Picasso in order to create an abstract portrait painted using primary and secondary colors. I decided to have some fun with my first grade students. I introduced them to Pablo Picasso's portraits. They laughed at the funny faces, were shocked by the crazy skin colors, and were shocked with the long necks, strange eyes, and strange posture. Despite all the bizarre things Picasso added to his pictures, he still made his faces look like people. There were no floating heads, hairless people, or dismembered body parts. With this, students drew a face and facial features, first in pencil, then traced in sharpie. Next, we studied color. Students were given the primary colors, and were encouraged to experiment and create their own colors by mixing. However, students were warned that mixing complementary colors would result in strange looking browns and grays. Students were also given a palette to share. I find that doing this holds one student accountable to another for mixing carefully, and not blending the paints sloppily and ruining hues. With that, these are the results! (As always, I have students re-trace their work with sharpie to bring back out the dark lines in the painting). Unit Overview: Students designed their own personal pies using video instruction in order to celebrate "Pi Day". Happy "Pi" Day y'all! The best part about being an art teacher is the ability to reach beyond our subject and show how art influences math, science, literature, history, etc. Also, I'm married to a nerd, and must celebrate this "holiday" with some pie drawings. Because, who doesn't like pie? Unit Overview: Students designed snowglobes using video instruction in order to create a personalized snowglobe containing the student's favorite winter objects. It's that time of the year! We are trying to convince snow to come our way (Mother Nature got a hot-flash and changed all the snow that was predicted to hit into rain. Boo.) by drawing and painting snowglobes. We also did a little winter magic because . . . well, why not? I found an amazing snowglobe drawing lesson from Art for Kids Hub on Youtube. (Click here for the link) Follow the video, but don't color! The way I instructed the kids to color was by using oil pastels for the interior design of their snowglobe. They did not color around or the "air" inside their snowglobe. Then, we did a little winter magic by taking a white crayon and using texture plates to create "invisible texture". We revealed the texture by later painting our pictures using blue watercolor. Ta-da! Magic! The texture is revealed. The kids loved this little magic trick. It helped them to understand that even though they couldn't see the marks they had made, they were still there. A good life lesson, and art lesson. I love it when philosophy makes an appearance in my projects with kids. 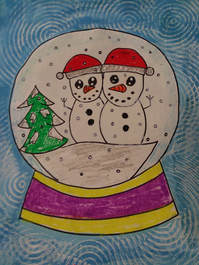 My teacher example - note the texture in the background Unit Overview: Students created winter themed penguins using pencil, sharpie, and marker in order to decorate the school for the Winter Concert. I love it when we have time to create art for school events and activities. It builds a sense of community and engagement. So, my co-teacher had fourth grade make some present pictures to decorate the stage for the Winter Concert. It only made sense then to continue with the theme alliteratively and have third grade make some penguins (Presents and Penguins, get it?). I posted a photo of how to create a penguin and had the student add details that reflected their personal art style. The only requirement was to make penguins that looked like they were in the winter season (no penguins sunbathing on a beach). 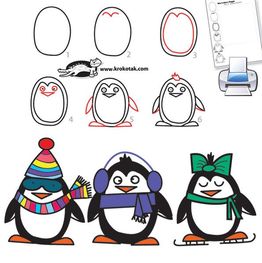 The picture I posted for them to look at. Unit Overview: Students designed dippity-dye artworks using paper, pencils, watercolors, and sharpies in order to create an animal artwork that represented themselves for Art to Remember. This is a fundraiser project through a company called "Art to Remember". This is a great way to raise funds for art clubs, groups, schools, organizations, etc. I did a similar project with third grade a few years ago where we tie-dyed paper using tissue paper. (See unit here.) The difference between that project and this one is the paper. There is special absorbent paper called dippity-dye paper. It is thin like tissue paper and absorbs ink quickly. You can buy the expensive dyes from the company. However, I find that concentrated watercolor paint (the stuff in bottles) works just as well. Students folded the paper into various shapes (we discussed the difference between folding and just crumpling paper) and then dunked their papers into prepared cups of watercolor paint. The paper, when unfolded, gives a tie-dye affect. We then chose animals that we felt represent us. I chose a pangolin (yes, it's an animal) because pangolins are obscure, loners, not exactly attractive, and yet extremely rare and unique. I asked the students to identify the same way with animals. They did a great job. Finally, I permitted students with good handwriting to write a phrase on their paper (permitting they practice good hand-lettering and let me spell-check first). I always enjoy Art to Remember projects, because the students tend to be more invest in something they want printed on a cup or ruler. I always feel that these artworks turn out so cool! 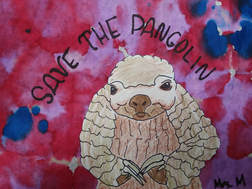 My teacher example Unit Overview: Students created miniature artworks using Sculpey clay in order to discuss how miniature art is made, who makes miniature art, and why miniature art is important. We all know that cute things often come in small packages. But what about making the cute thing in small packages. Well, that's a bit harder. However, thanks to Cassie Stephens (shout out!), I was inspired to use a DIY project of hers as an art lesson: Miniature Food Charms. It was November. There's a common theme for me in the month of November. Food. So we talked about miniature art and food. I showed them incredible miniature artists like Tanaka Tatsuya. Holy burritos. He is an amazing artist. We began our miniature food art adventure by practicing creating small forms using modeling clay. The students didn't get to keep the modeling clay pieces. However, it was good practice. And we evaluated the struggles, challenges, and achievements or working small. Finally, we were ready for Sculpey. The kids loved it! Usually, my kiddos hate it when I get snapshots of their hands (nobody wants to be the art hand model). But during this lesson, they loved it! For reference, I photographed these charms on a seashell. All the charms photographed are the same size or smaller than a quarter. Yeah . . . impressive for fourth grade.
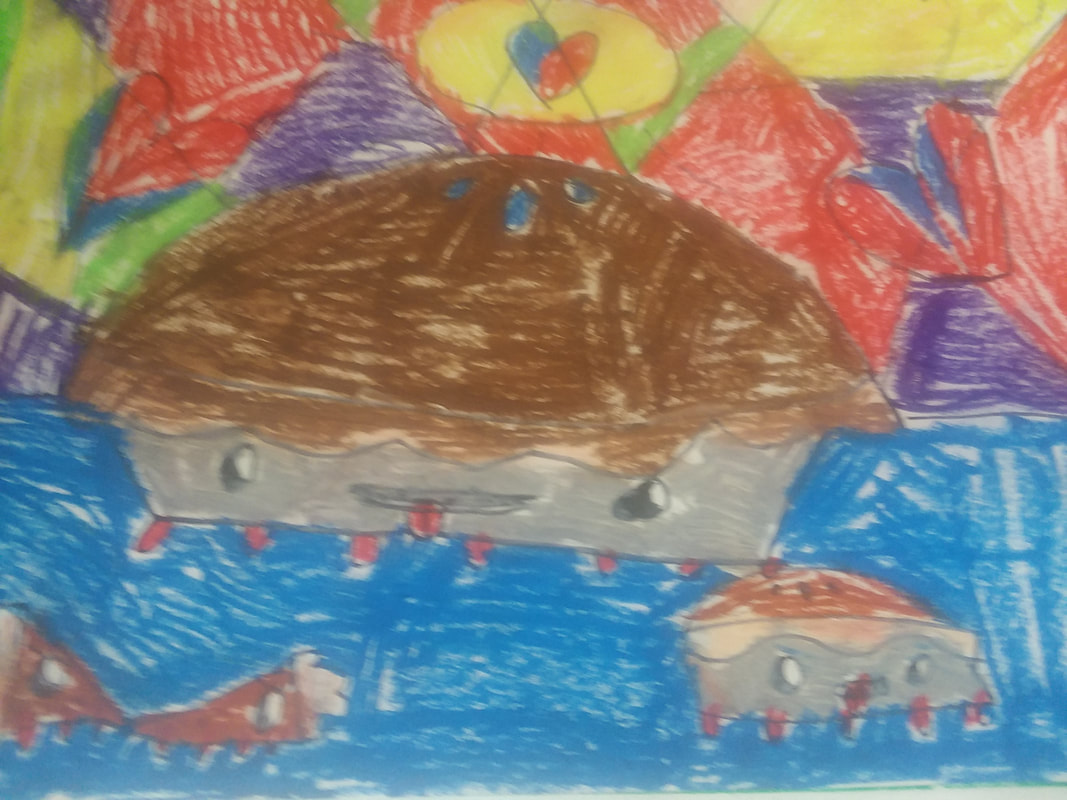
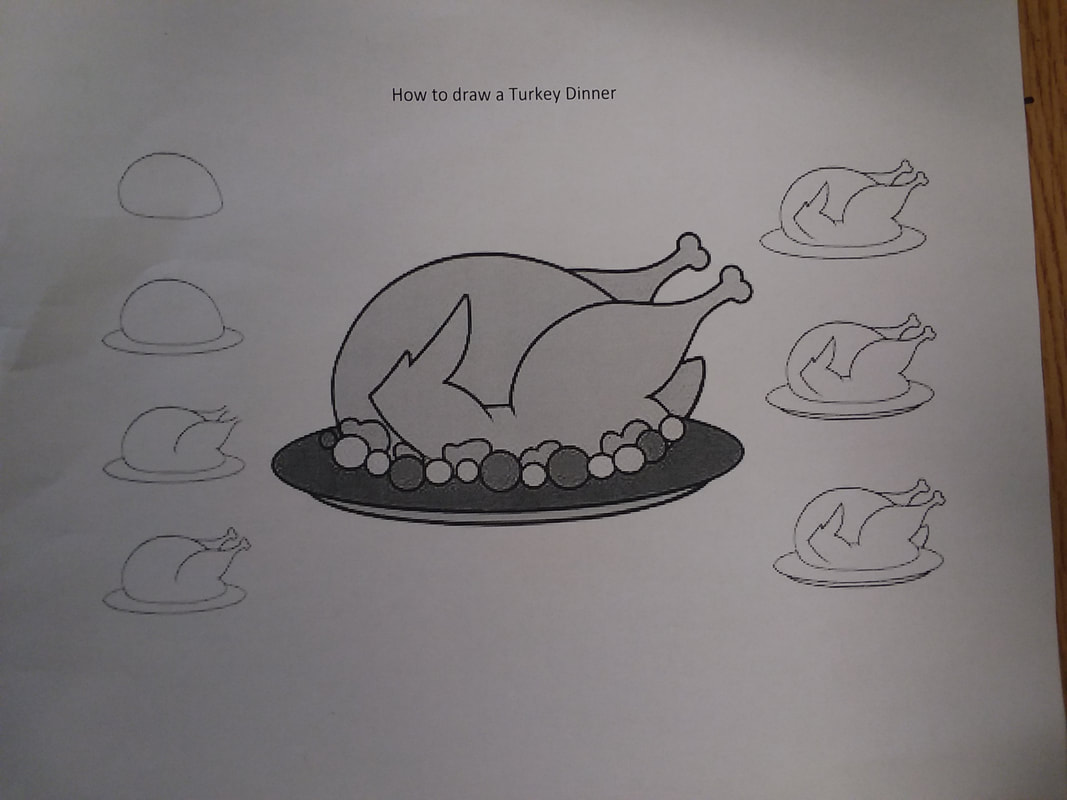
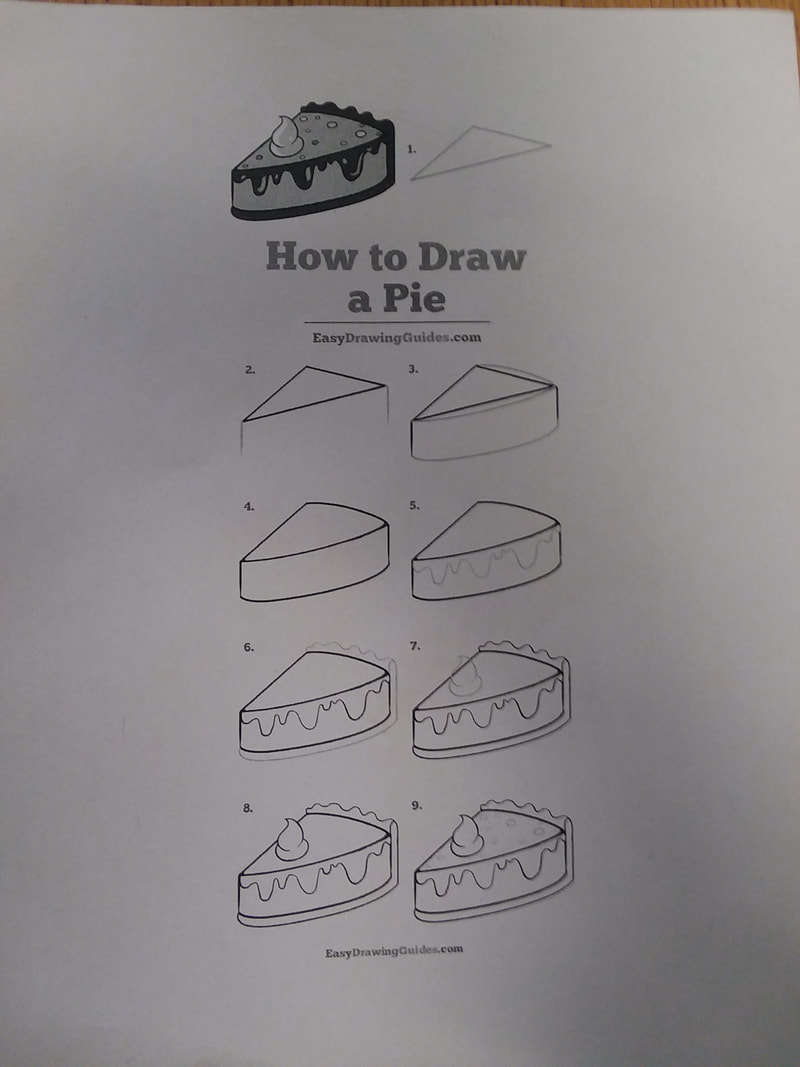
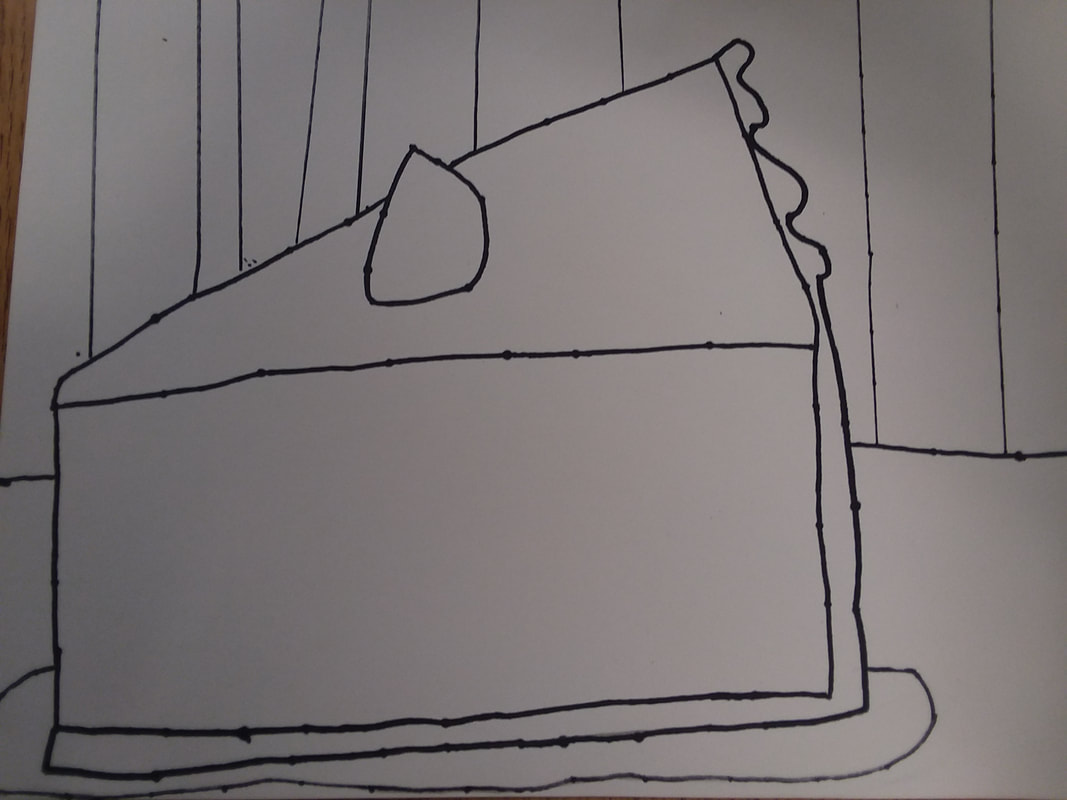
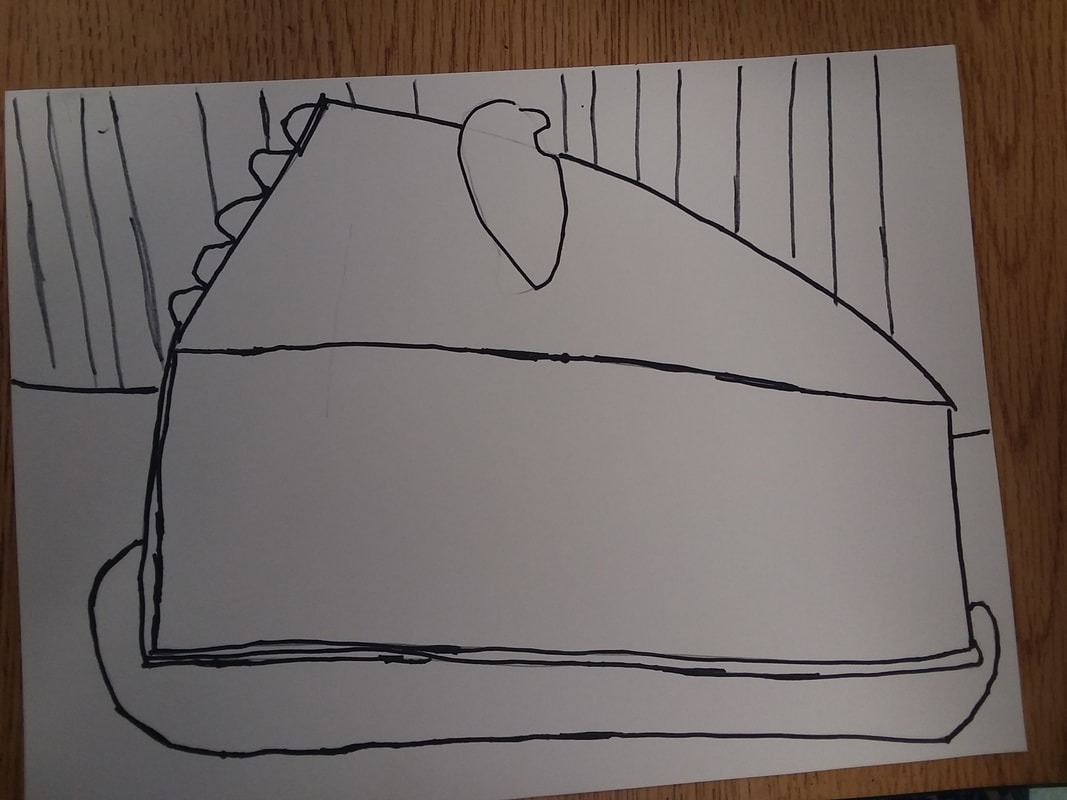
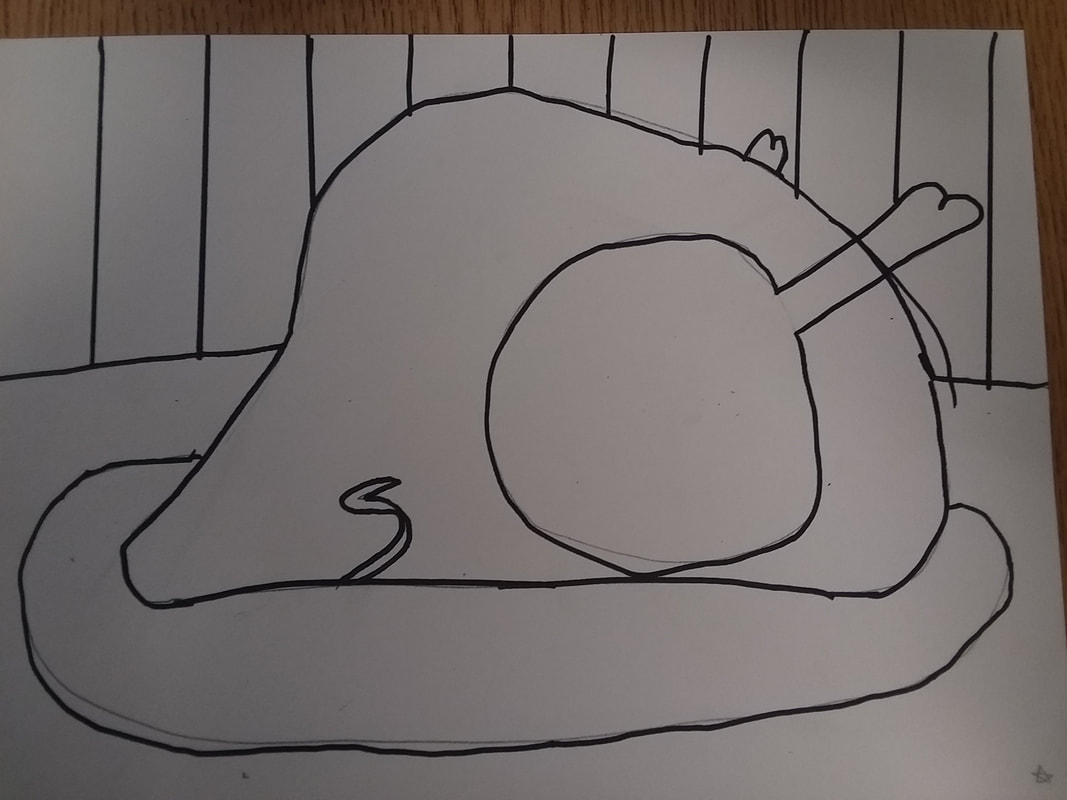
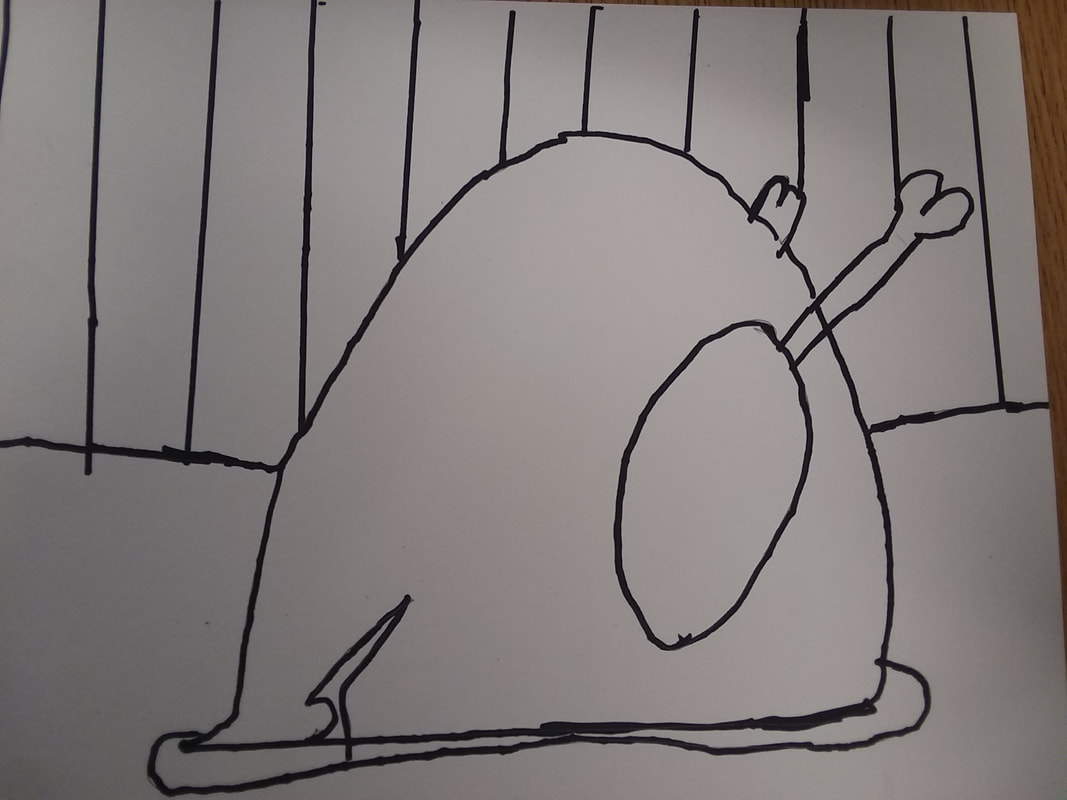
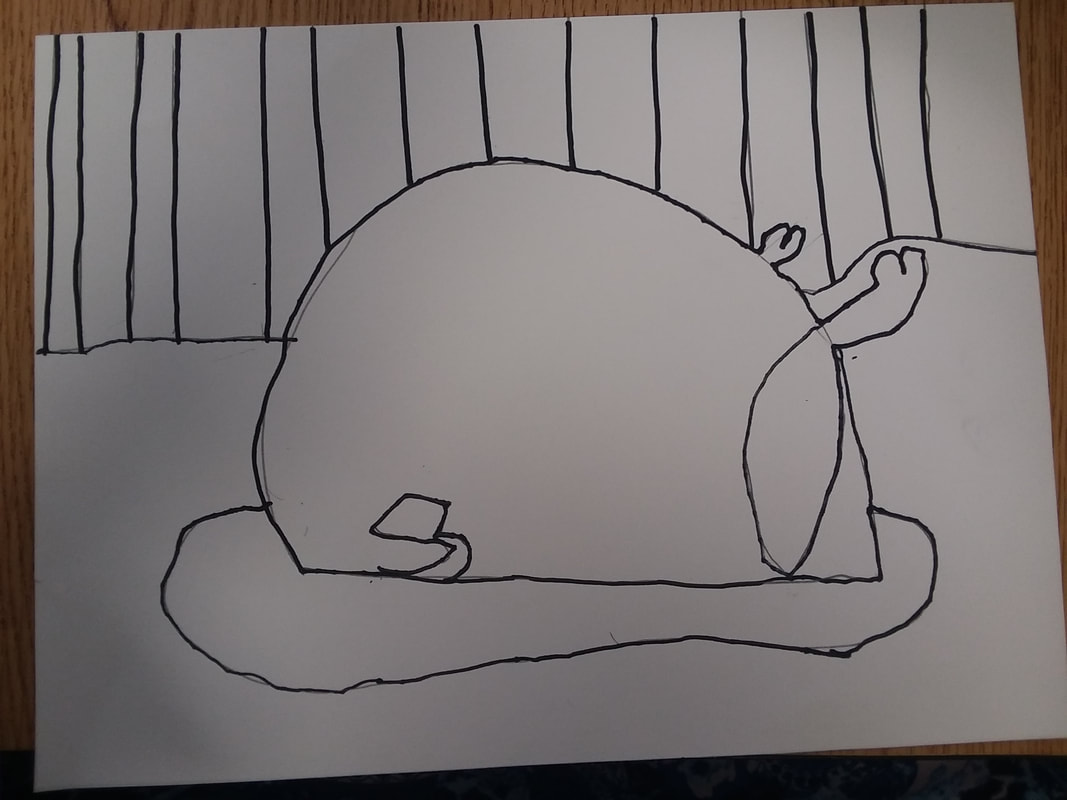
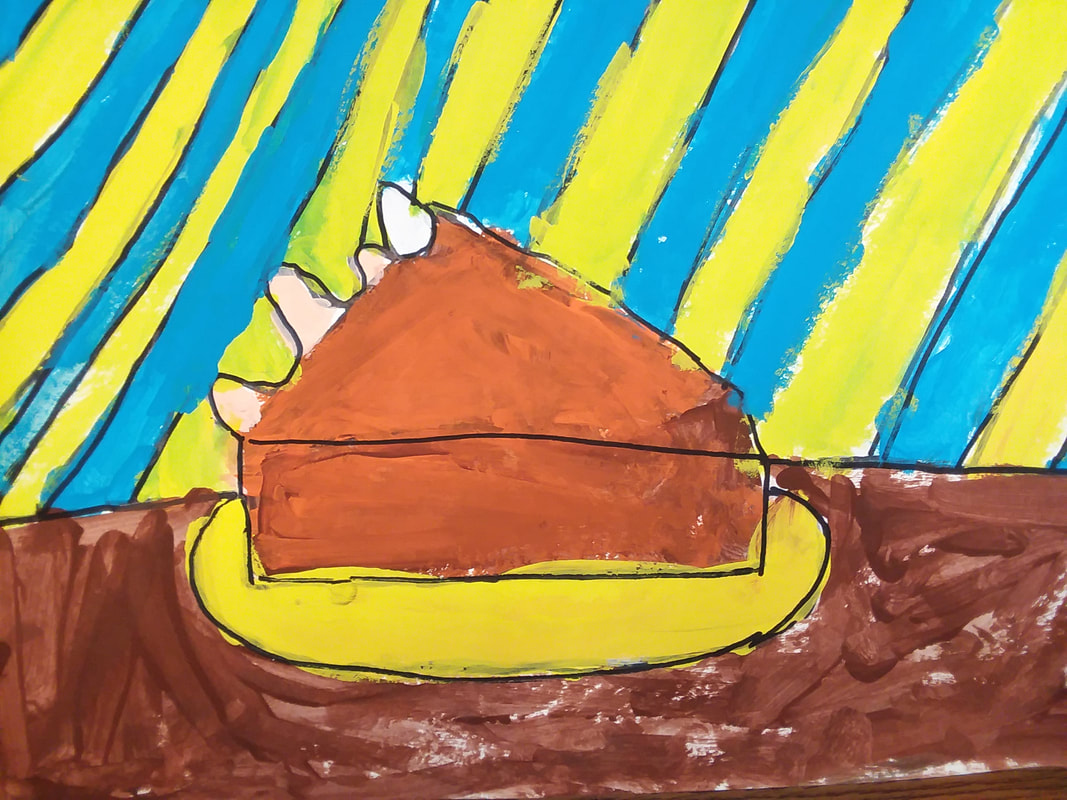
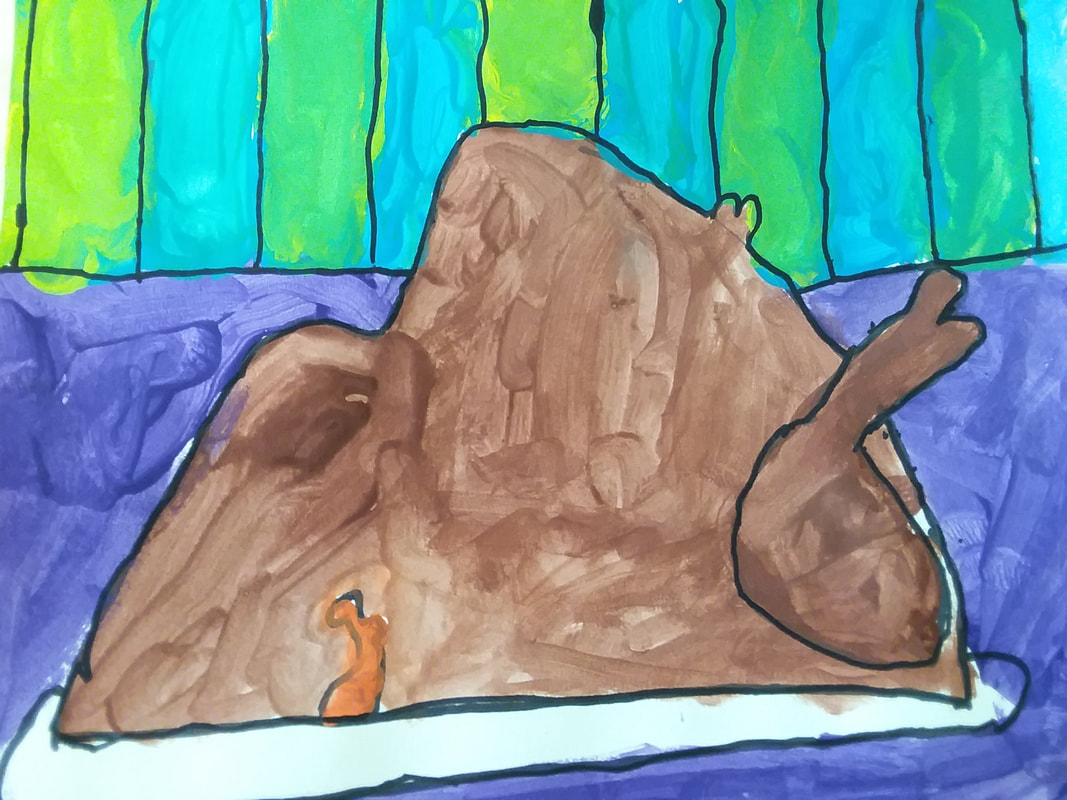
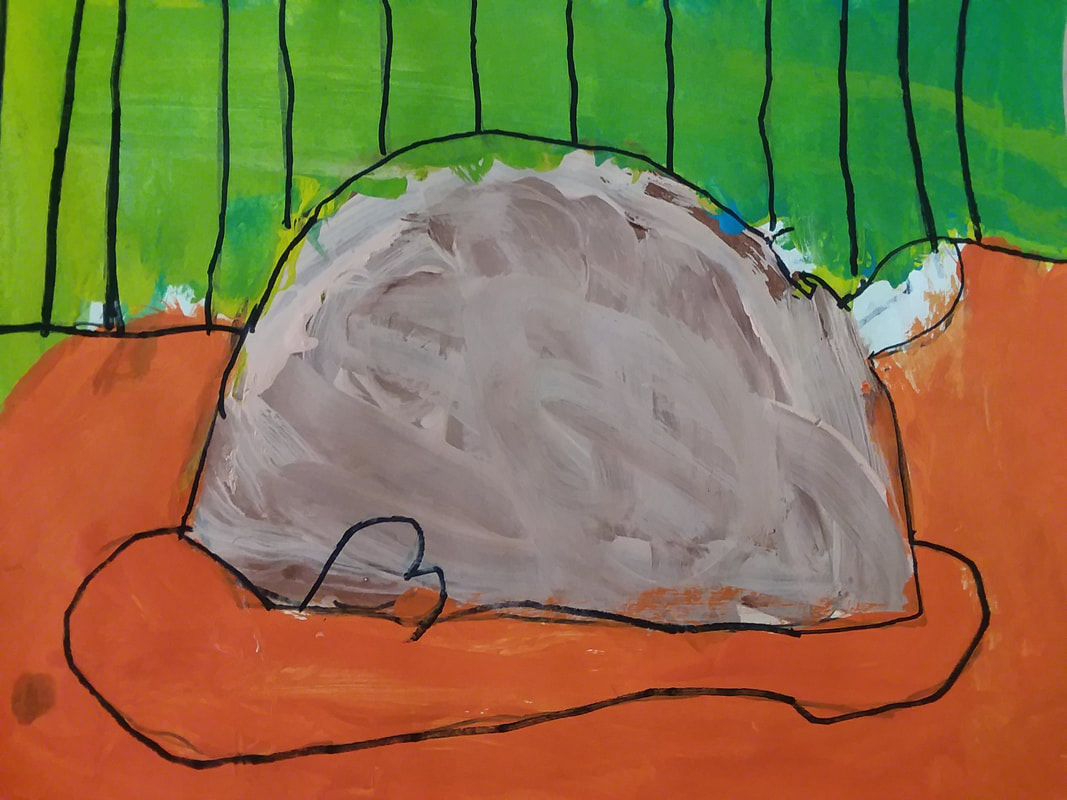
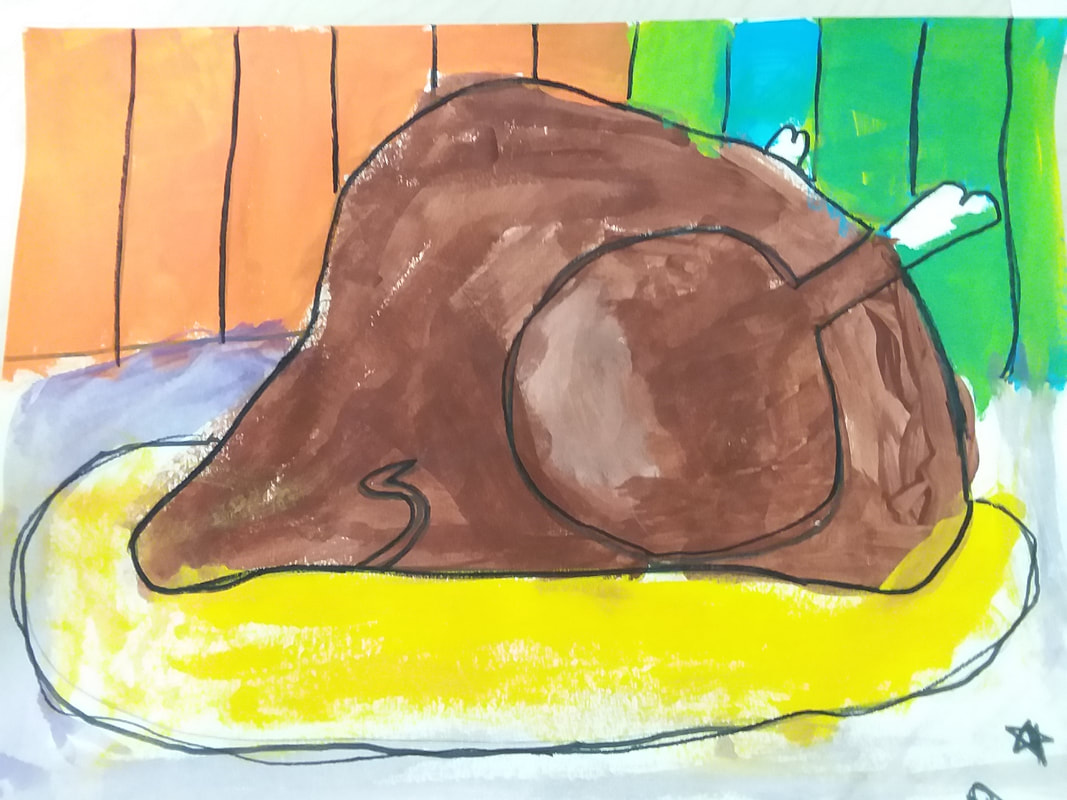
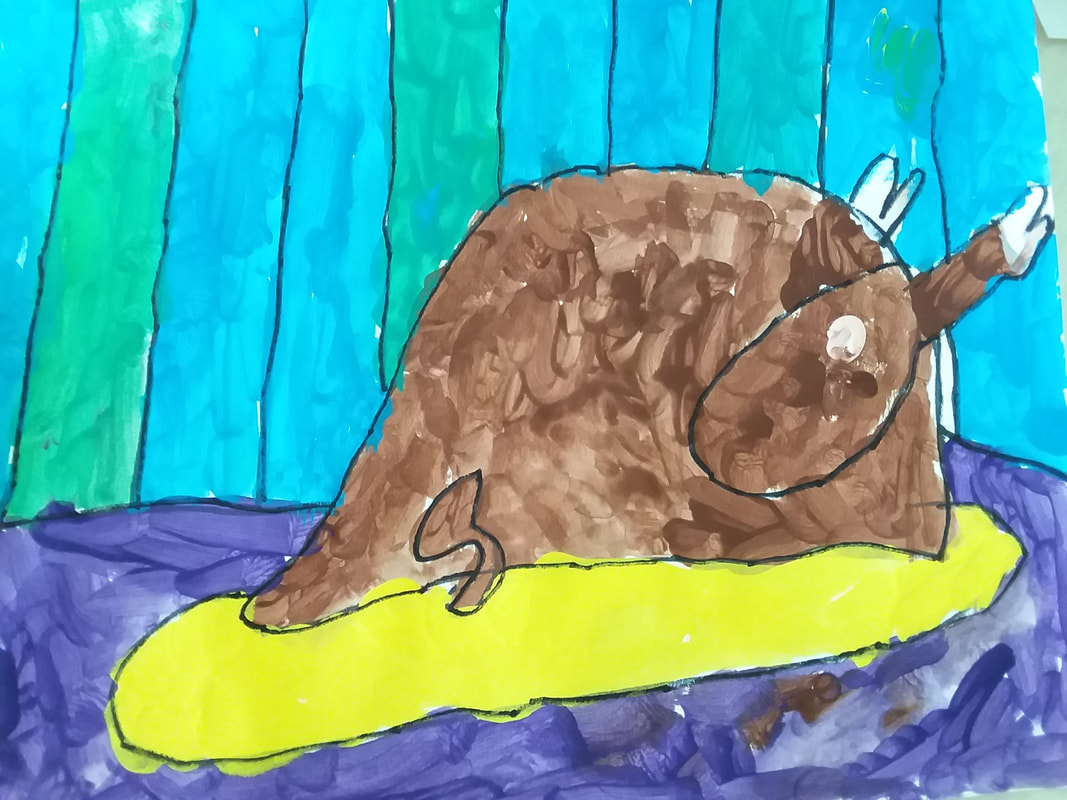
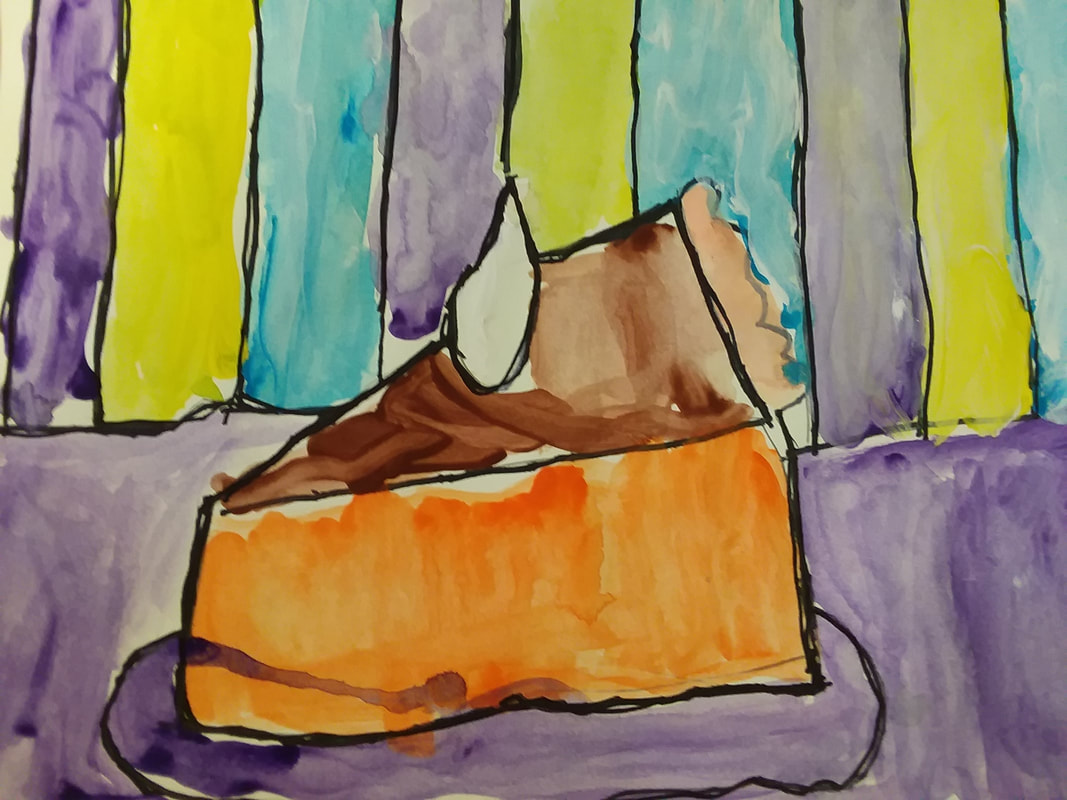
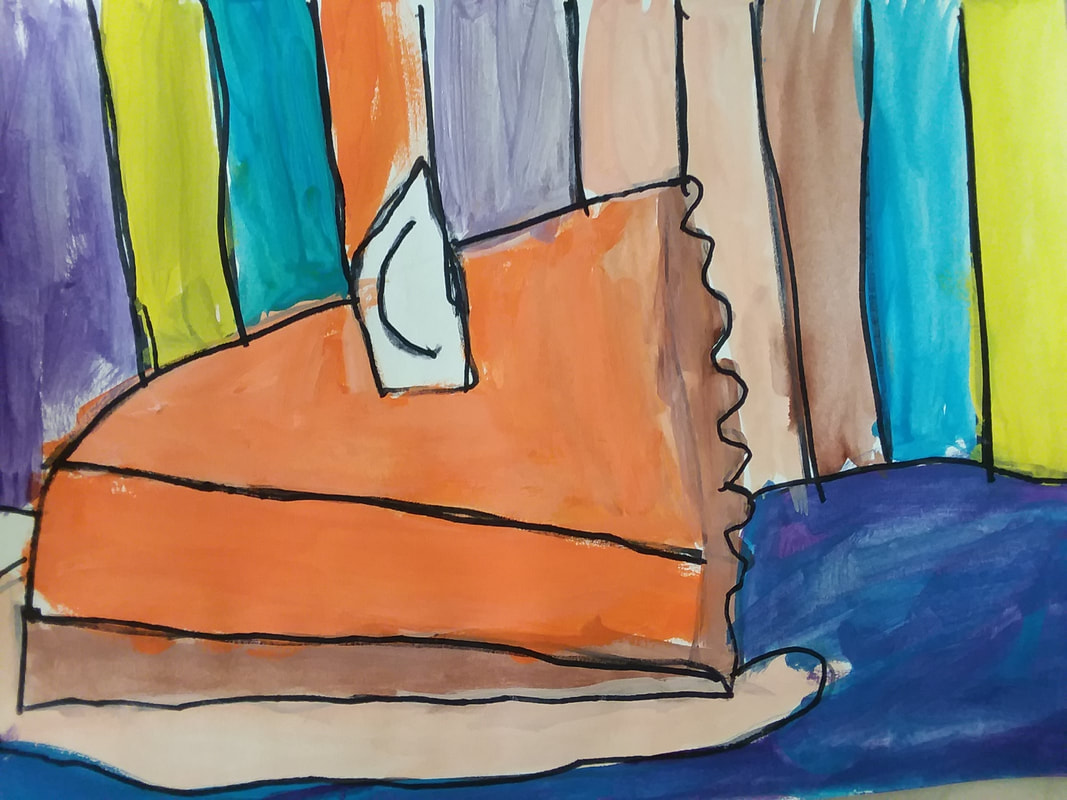
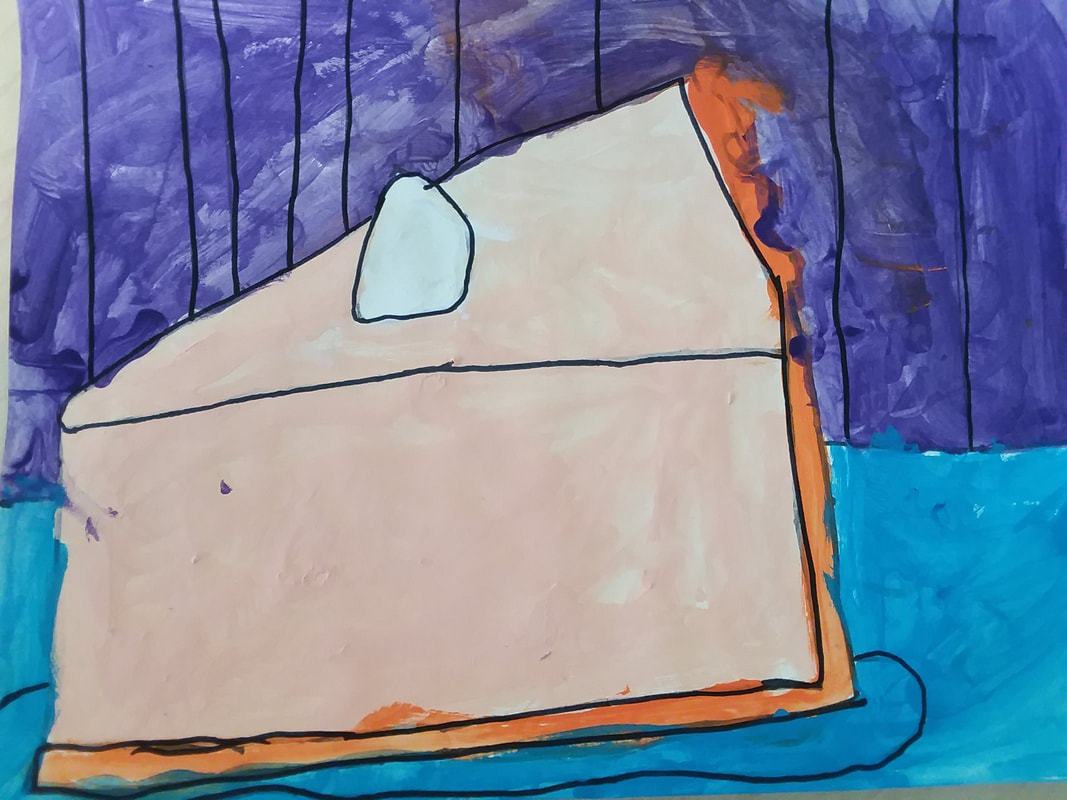
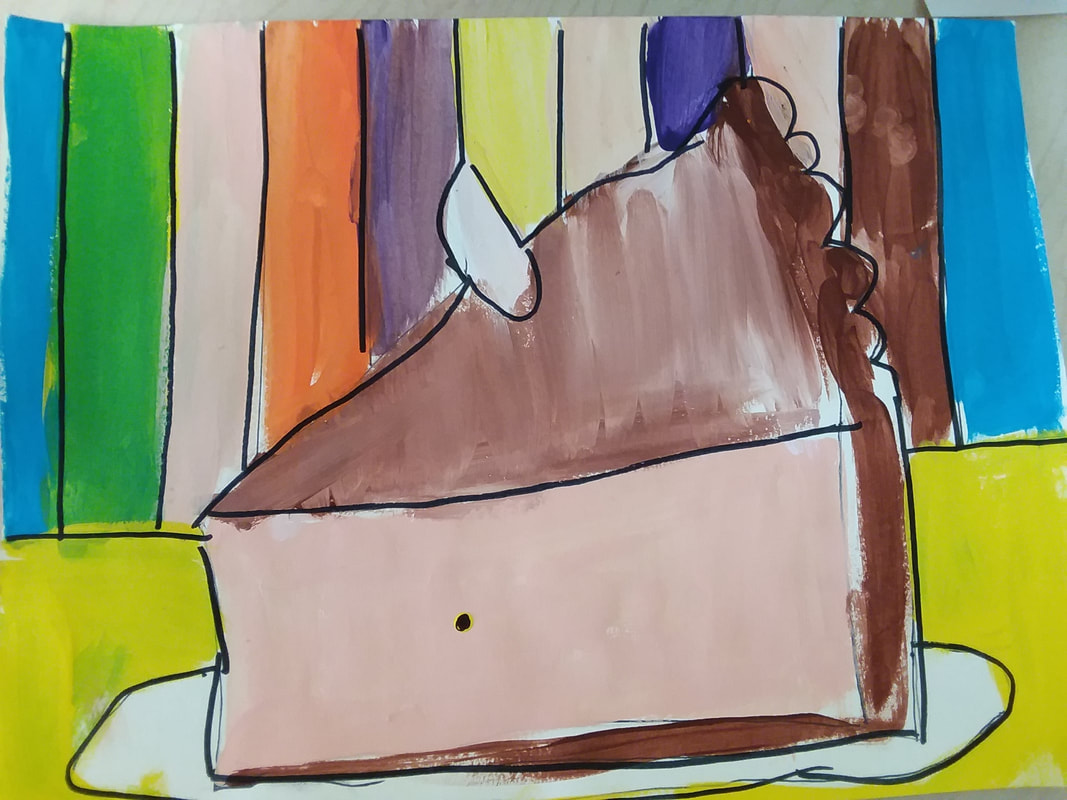
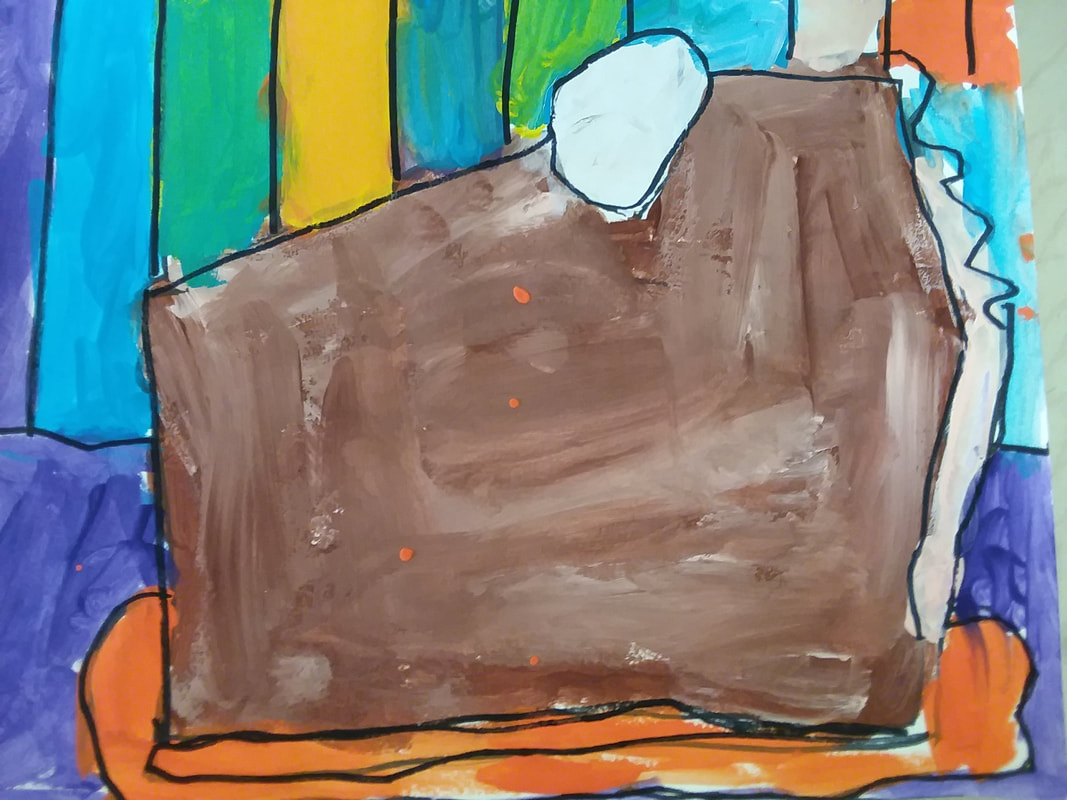
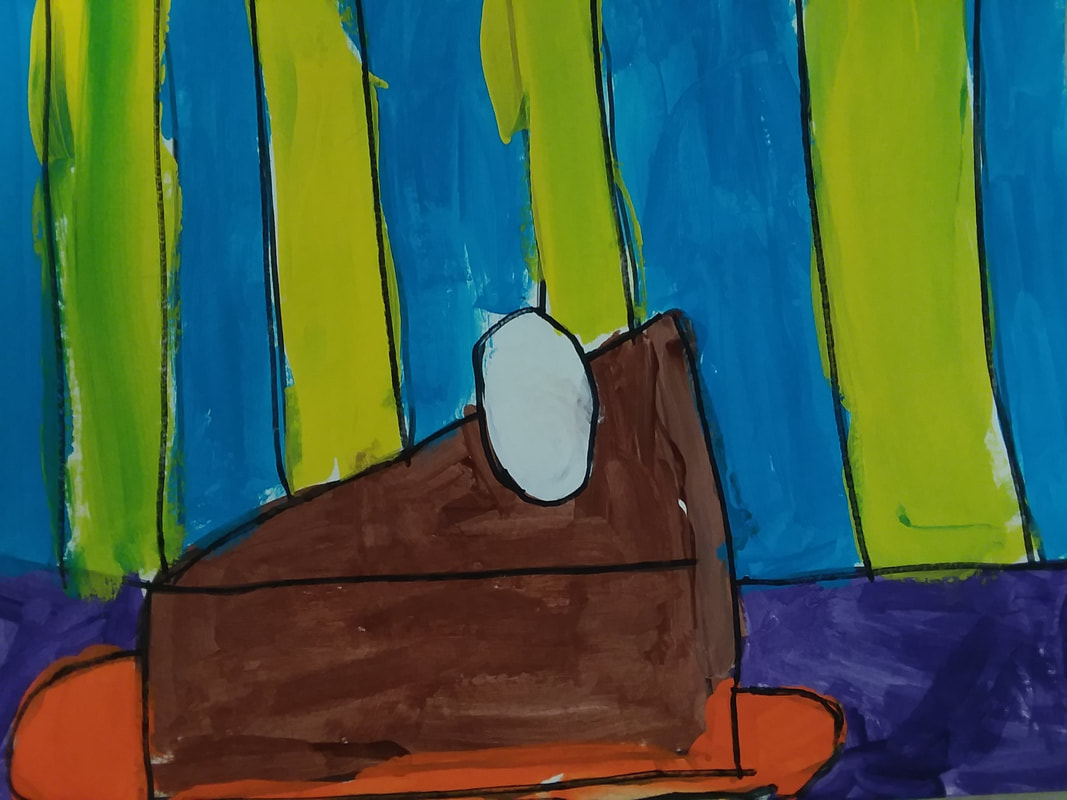
Unit Overview: Students created food pictures of turkey or pie in the style of Wayne Thiebaud in order to depict a personal favorite food item at Thanksgiving. Students created art about food. My favorite subject. It is also a favorite subject of artist, Wayne Thiebaud. He is an American artist who most famously draws, paints, and sketches food items, especially desserts. Because we did these in the month of November (I'm about a week late in posting these), we focused on a foodie holiday, Thanksgiving. The first thing we did was practice drawing Thanksgiving food. I found two step-by-step hand outs that we used to help draw pie and turkey. We draw in pencil and sharpied first. To finish, we painted using tempera paints, and then re-sharpied our lines when the paint had dried completely. |